How to Draw a Dragon Tattoo: Easy 10-Step Guide
Ready to create a legendary dragon? This tutorial is perfect for young artists ages 8+ looking to practice bold, stylized line work. Grab a pencil, an eraser, and a fine-liner pen to bring this mythical creature to life on your page.
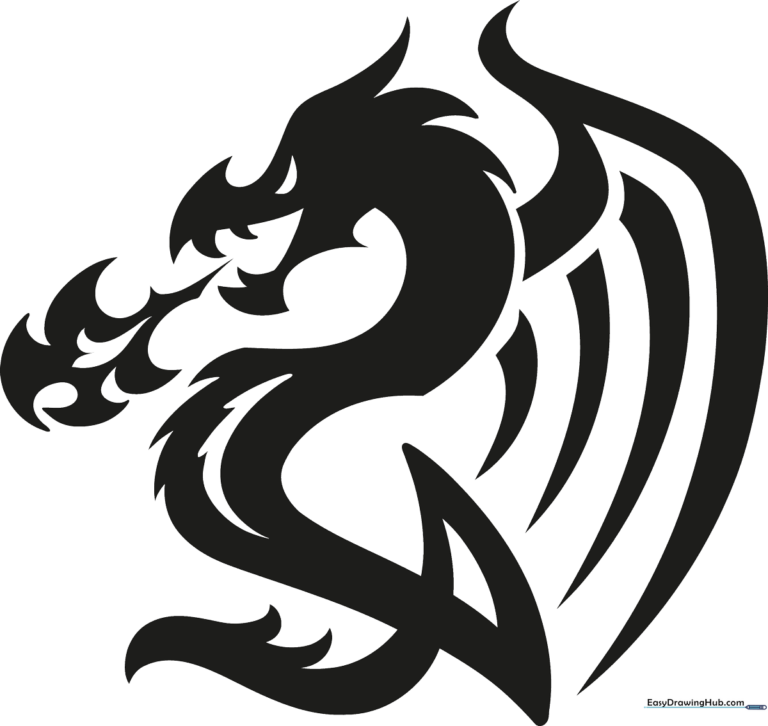
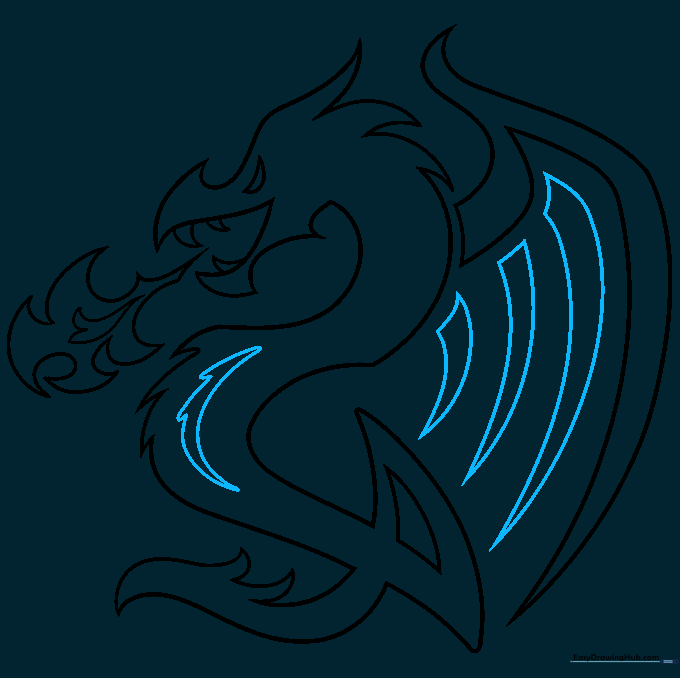
🎯 Final Result
Step-by-Step Instructions
Step 1: Sketching the Dragon's Crown

Use curved lines that meet at sharp, jagged points to create a flame-like shape for the top of the head. Teacher's Tip: Keep your pencil pressure light here so you can easily adjust the shape if the 'flames' look too wide.
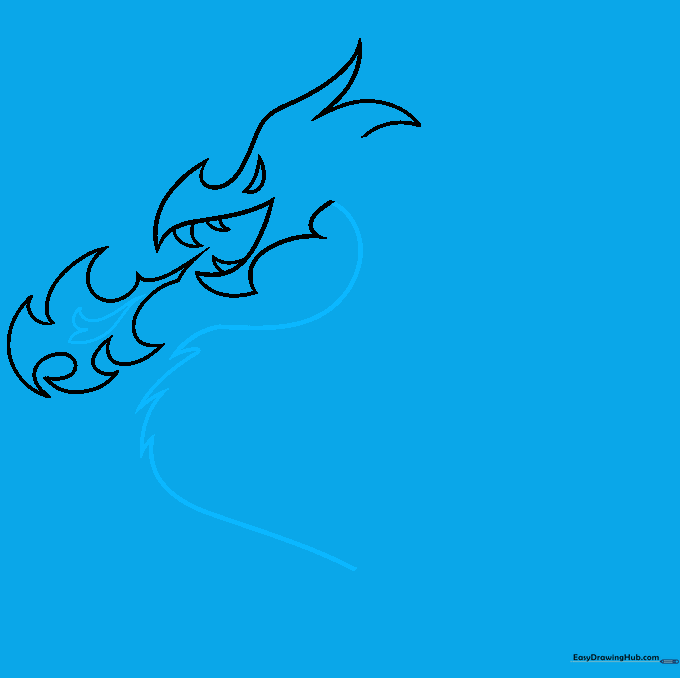
Step 2: Defining the Jaw and Eye

Draw the lower jaw with jagged lines and add sharp, triangular teeth inside. For the eye, draw a crescent moon shape. Teacher's Tip: Make the teeth different sizes to give your dragon a more natural, menacing look.
Step 3: Adding Smoke Effects

Draw swirling smoke coming from the dragon's mouth using jagged, flowing lines. Teacher's Tip: Don't worry about perfect symmetry; smoke is naturally chaotic, so let your hand move loosely.
Step 4: Expanding the Smoke

Continue the smoke pattern until it forms a complete, enclosed shape around the head. Teacher's Tip: Vary the length of your jagged lines to make the smoke look like it is billowing in the wind.
Step 5: Sketching the Neck and Scales
Draw the neck with a long curve and add jagged scales down the chest. Teacher's Tip: Use a 'V' shape for the scales to make them look sharp and armored.
Step 6: Adding Spikes and Tail

Add a spike to the back of the head and draw the coiled tail using three overlapping curved lines. Teacher's Tip: Ensure the tail coil is tight to keep the drawing compact and tattoo-like.
Step 7: Refining the Tail
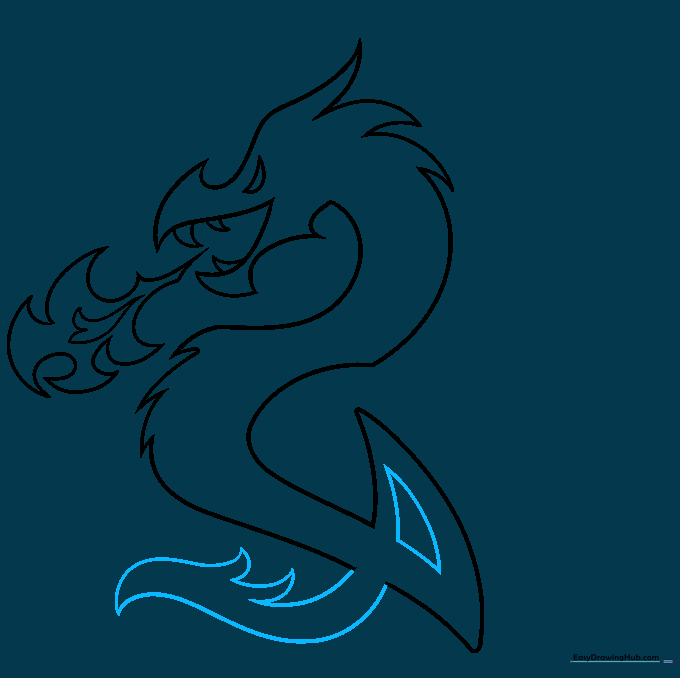
Add a triangle shape inside the tail coil and detail the tail with small spikes. Teacher's Tip: Use shorter, quicker strokes for the spikes to give them a jagged, aggressive texture.
Step 8: Sketching the Wing
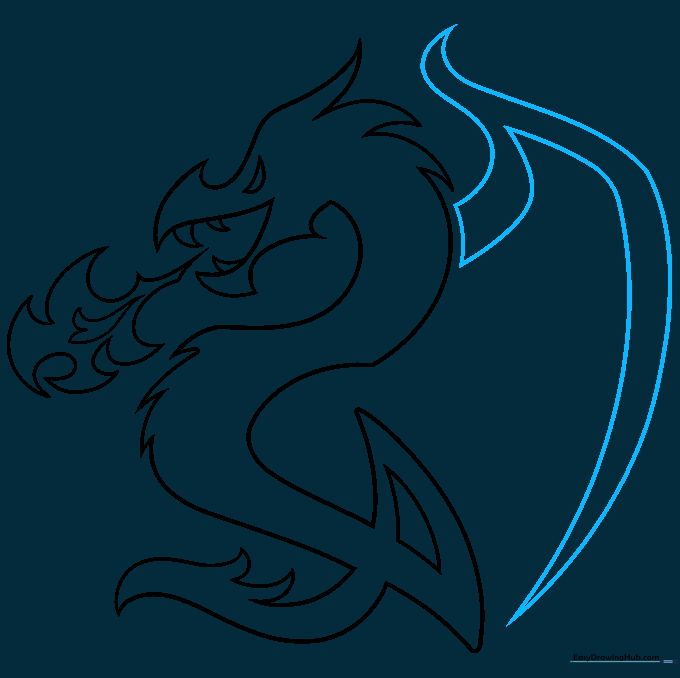
Sketch the leading edge of the wing, the talon, and the sail. Teacher's Tip: Imagine the wing is like a bat's wing; keep the lines smooth but firm.
Step 9: Finalizing Details
Add more scales to the chest and complete the wing structure with long, connected lines. Teacher's Tip: Use a darker pencil or pen to outline your final lines, making the dragon pop off the page.
Step 10: Adding Color

Color your dragon! Traditional tattoo styles look great with black, grey, or deep red pigments. Teacher's Tip: Use a blending stump or your finger to smudge the grey areas for a realistic, shaded tattoo look.
More Tutorials


