How to Draw a Dove: Easy 10-Step Guide for Beginners
Looking for a calming, creative project? This dove drawing tutorial is perfect for artists ages 5 and up. You will only need a pencil, an eraser, and a piece of paper to bring this symbol of peace to life while practicing your line control and symmetry.
🎯 Final Result
Step-by-Step Instructions
Step 1: Sketching the Head and Beak
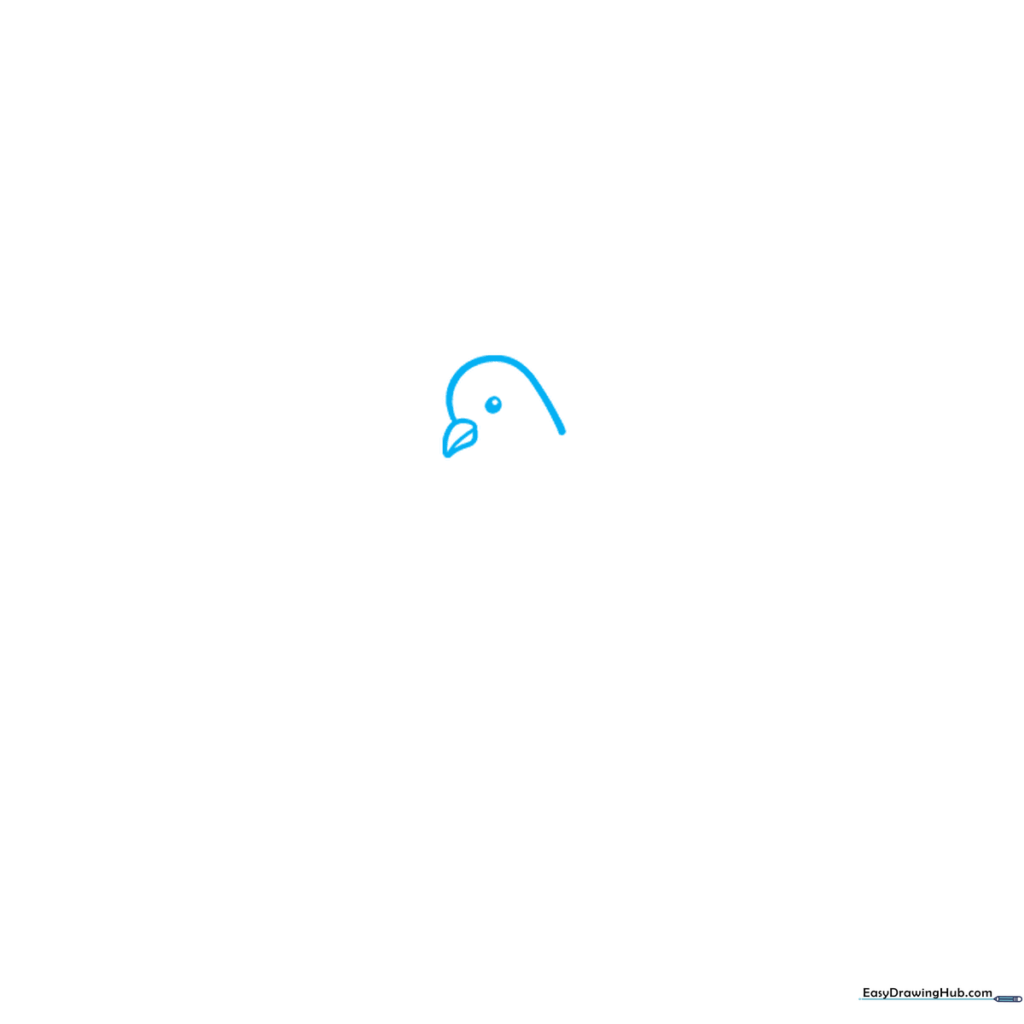
Start by drawing the dove's head using soft, rounded lines. Add a small teardrop shape for the beak. Teacher's Tip: Keep your pencil pressure light so you can easily erase any overlapping lines later.
Step 2: Defining the Wing Structure
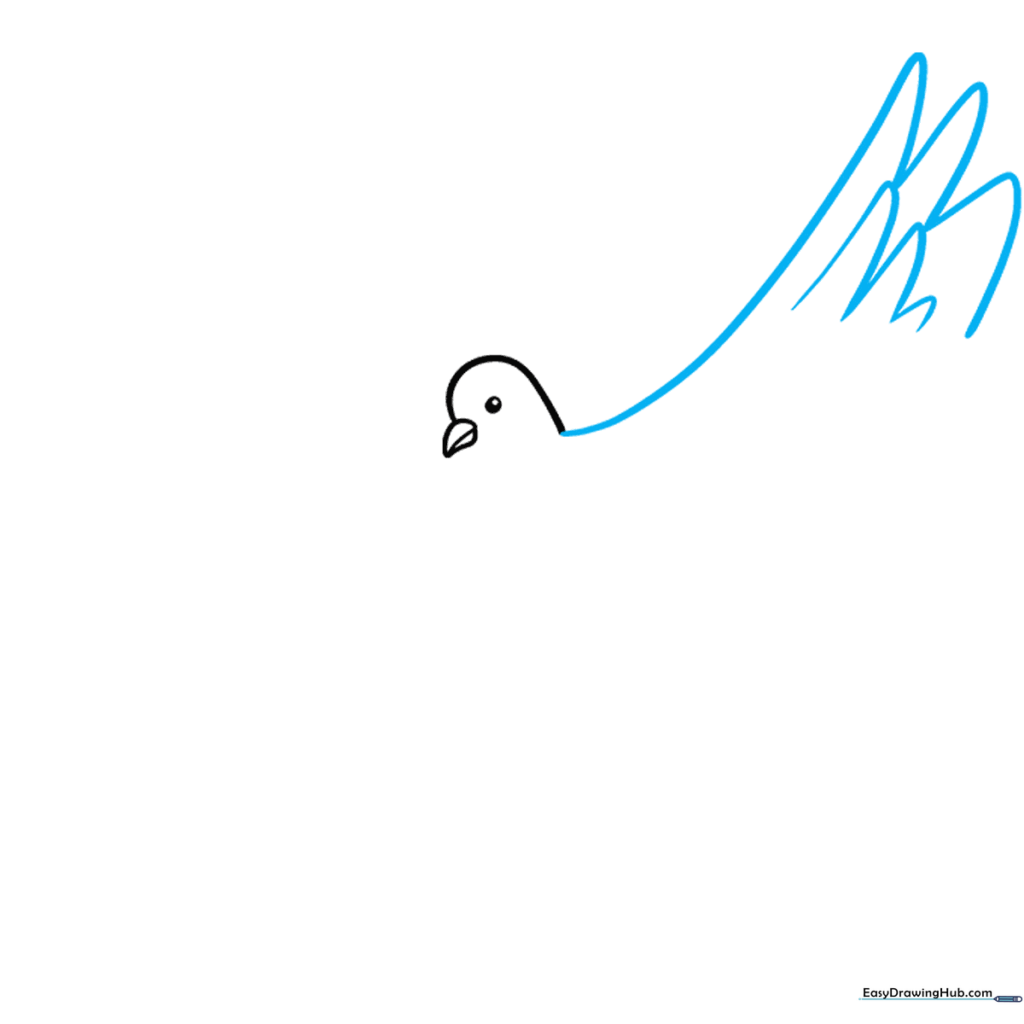
Extend a long, graceful curve from the neck to create the top of the wing. At the tip, add a series of 'U' shapes to represent the flight feathers. Tip: Make these 'U' shapes consistent in size to give the wing a balanced look.
Step 3: Adding Wing Texture
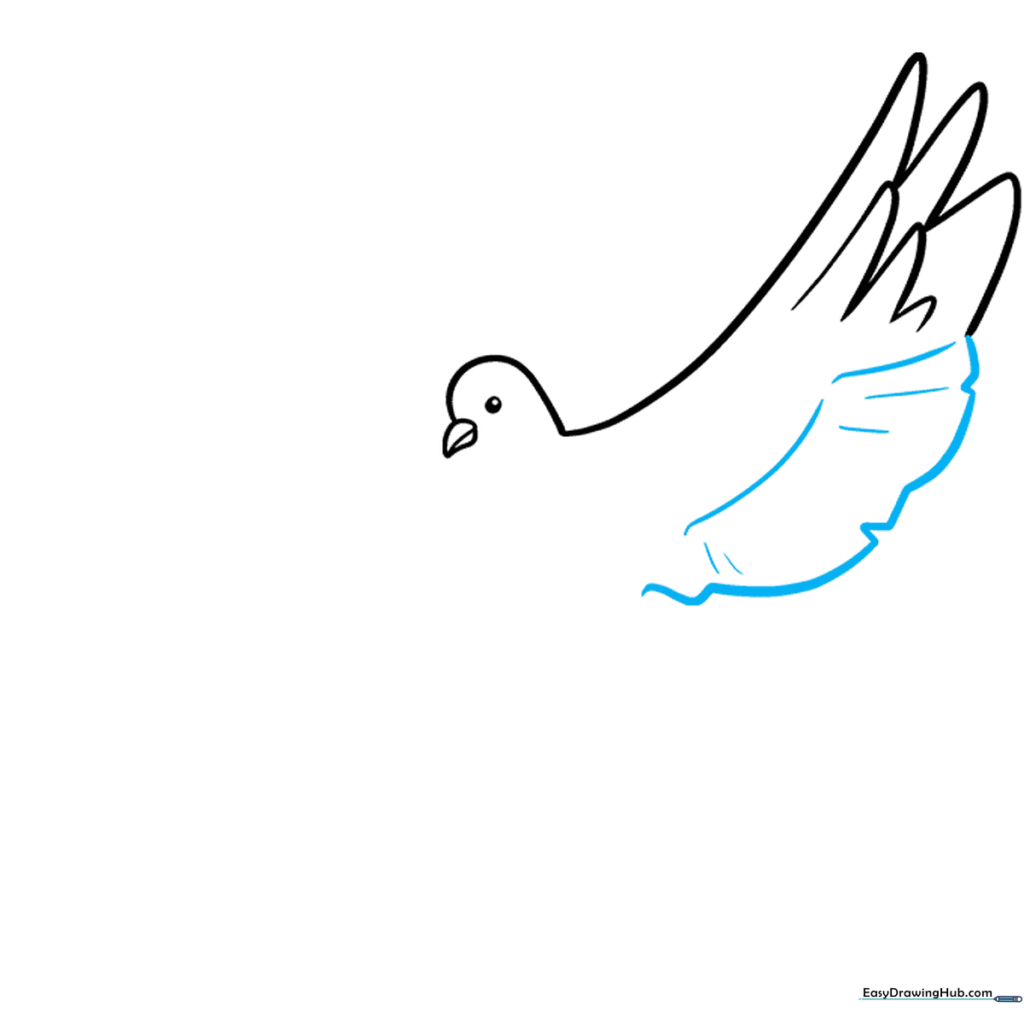
Use a combination of curved and 'V' shaped lines to define the bottom of the wing. These small details add depth. Tip: Think of these as overlapping layers to make the bird look like it's ready for flight.
Step 4: Shaping the Tail
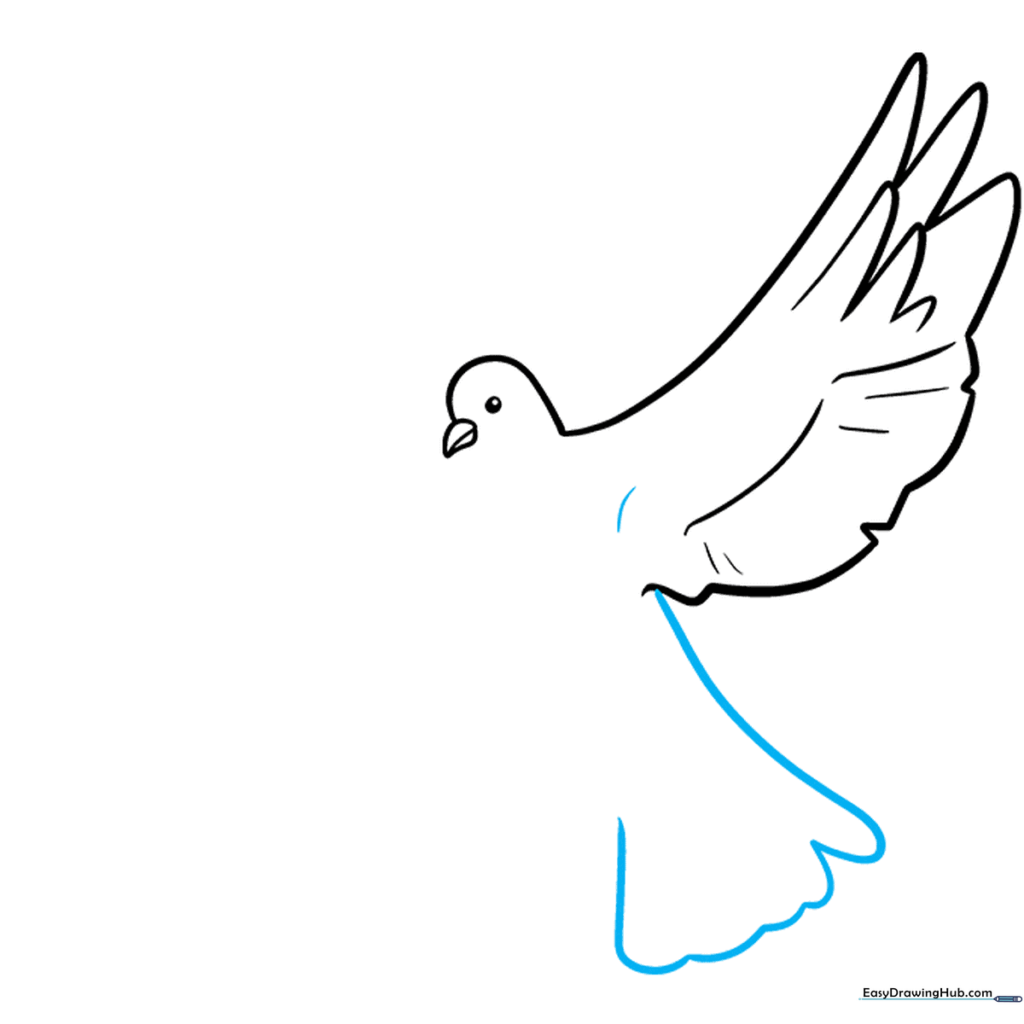
Extend a curved line from the body to start the tail. Double it back to form a large 'U' shape for the primary tail feather. Tip: Use long, sweeping strokes to keep the tail looking smooth and elegant.
Step 5: Detailing the Tail
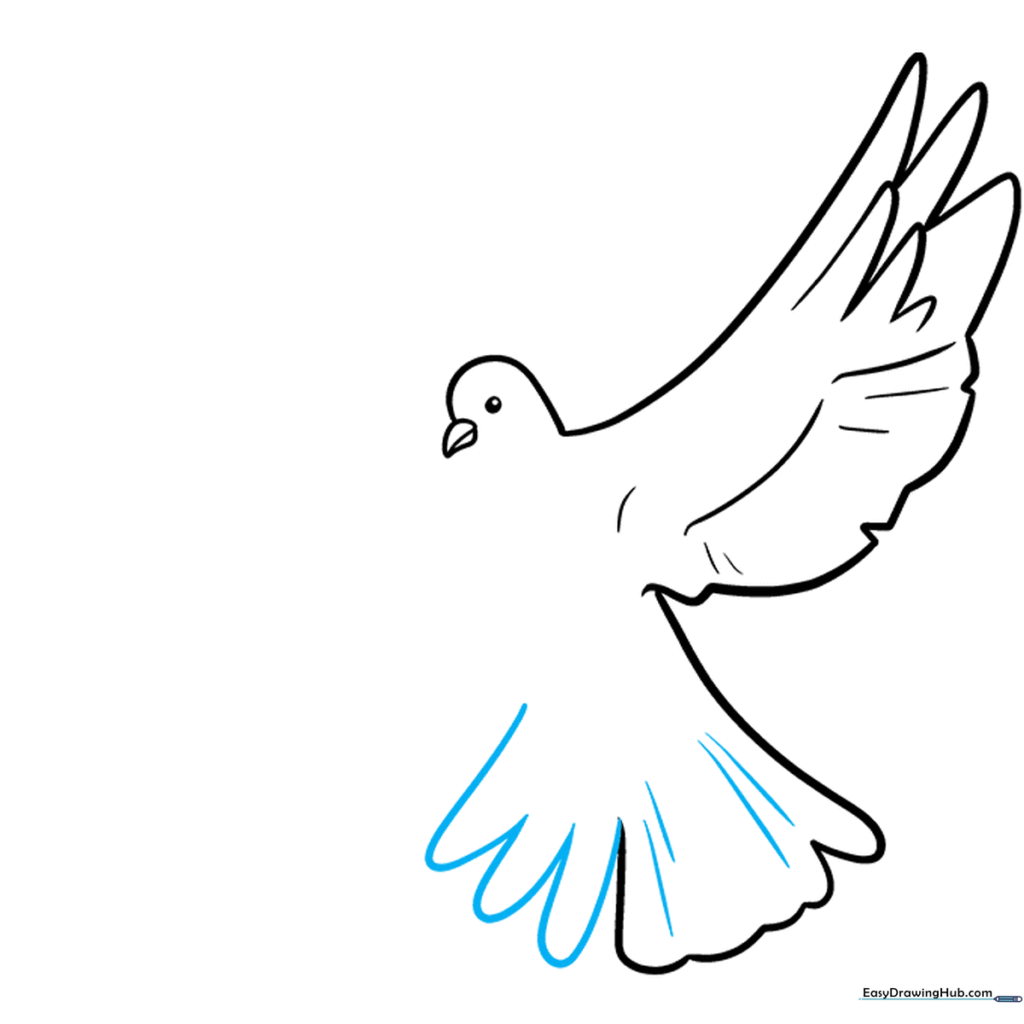
Add more 'U' shaped lines to widen the tail and create a fanned-out effect. Add a few curved lines inside to show the texture of the feathers. Tip: Vary the length of your lines slightly to make it look natural.
Step 6: Drawing the Feet
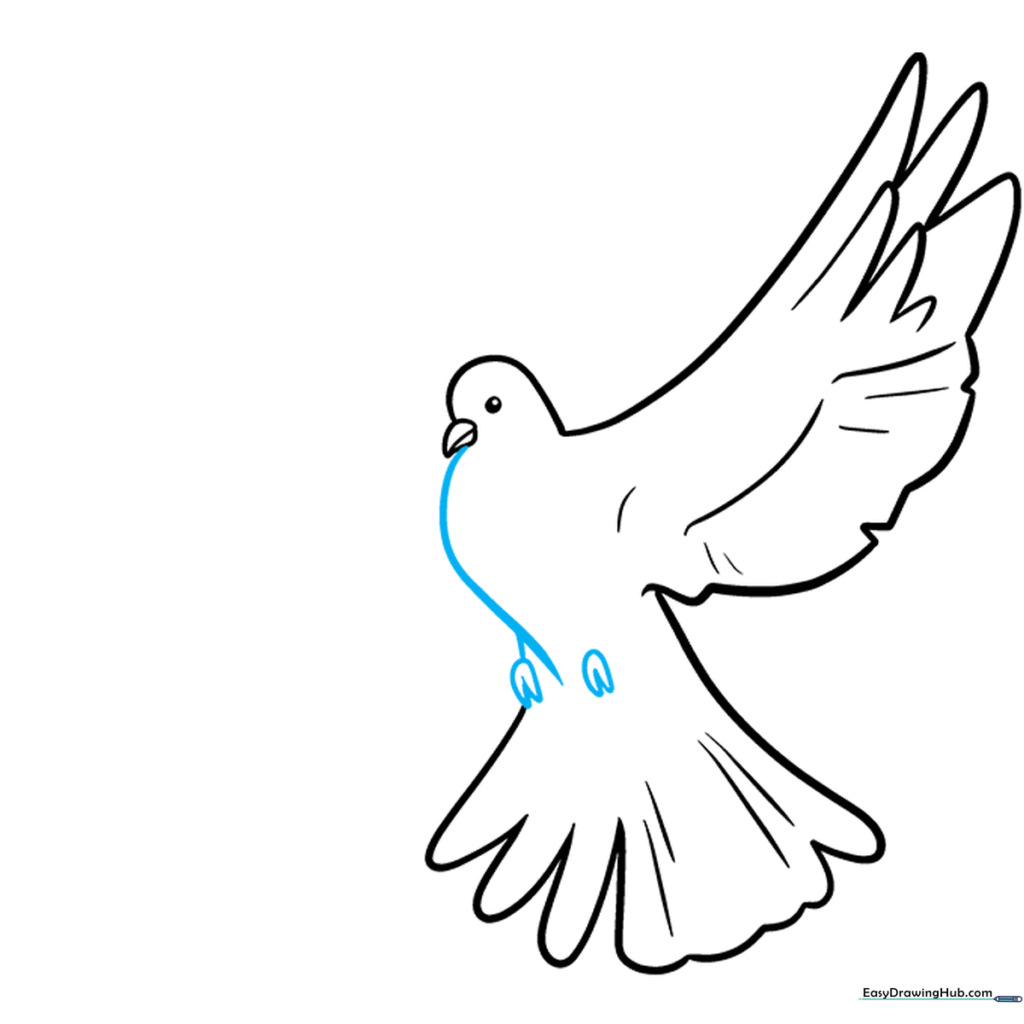
Draw two small 'U' shapes for the feet tucked under the body. Connect them to the belly with a short, clean line. Tip: Keep the feet small so the dove looks light and graceful.
Step 7: Completing the Second Wing
Add the second wing using overlapping curved lines to show perspective. This gives your drawing a 3D feel. Tip: Ensure the feathers on this wing align with the first one for a realistic look.
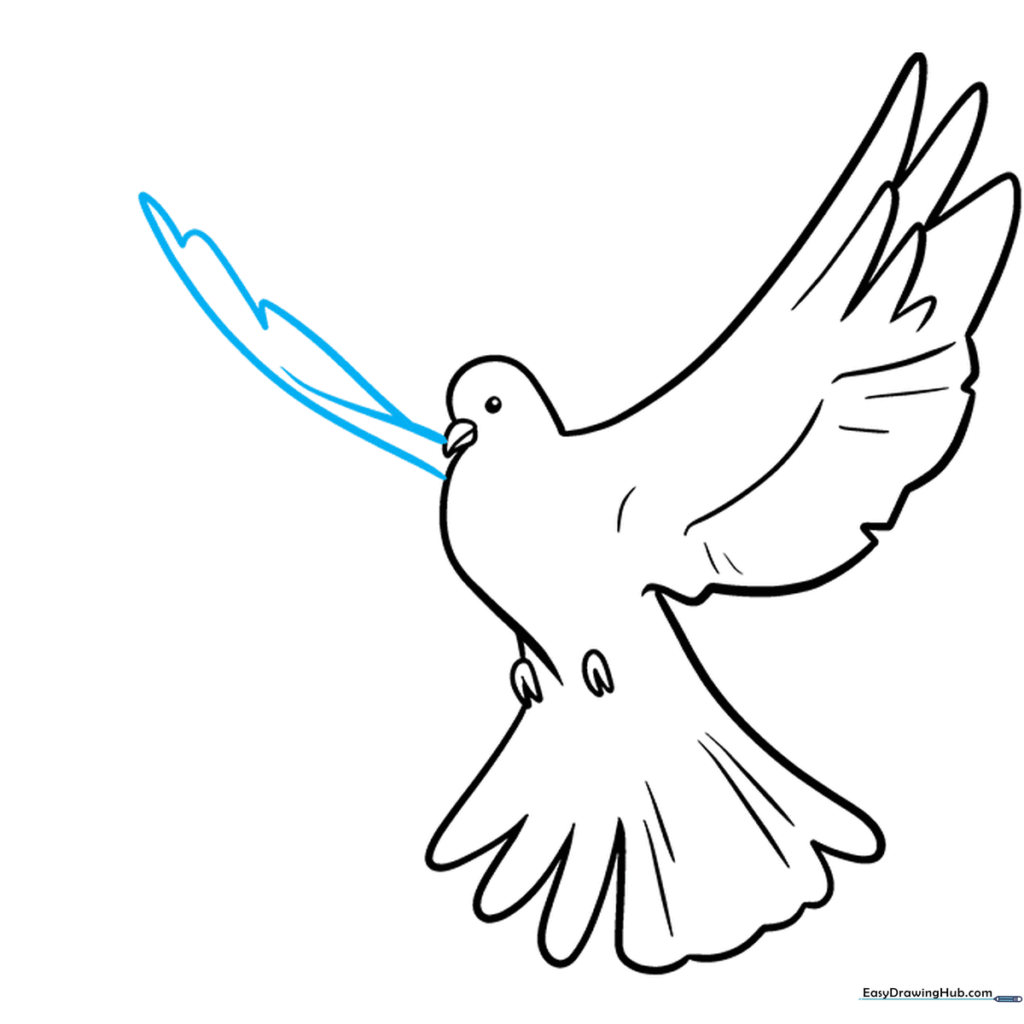
Step 8: Adding the Olive Branch
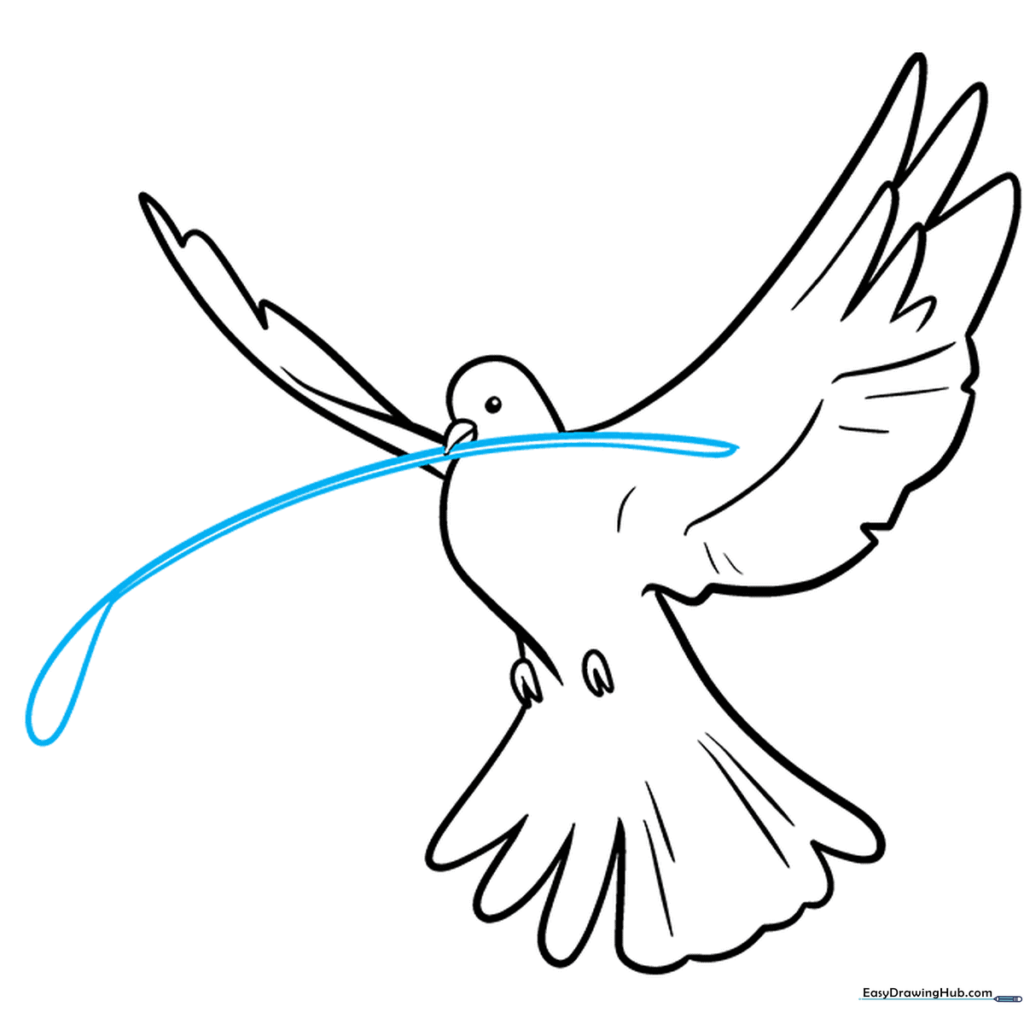
Draw a thin, curved line held in the beak for the olive branch. Add a small teardrop shape at the end for the first leaf. Tip: Keep the branch thin so it doesn't overpower the bird's face.
Step 9: Finishing the Olive Branch
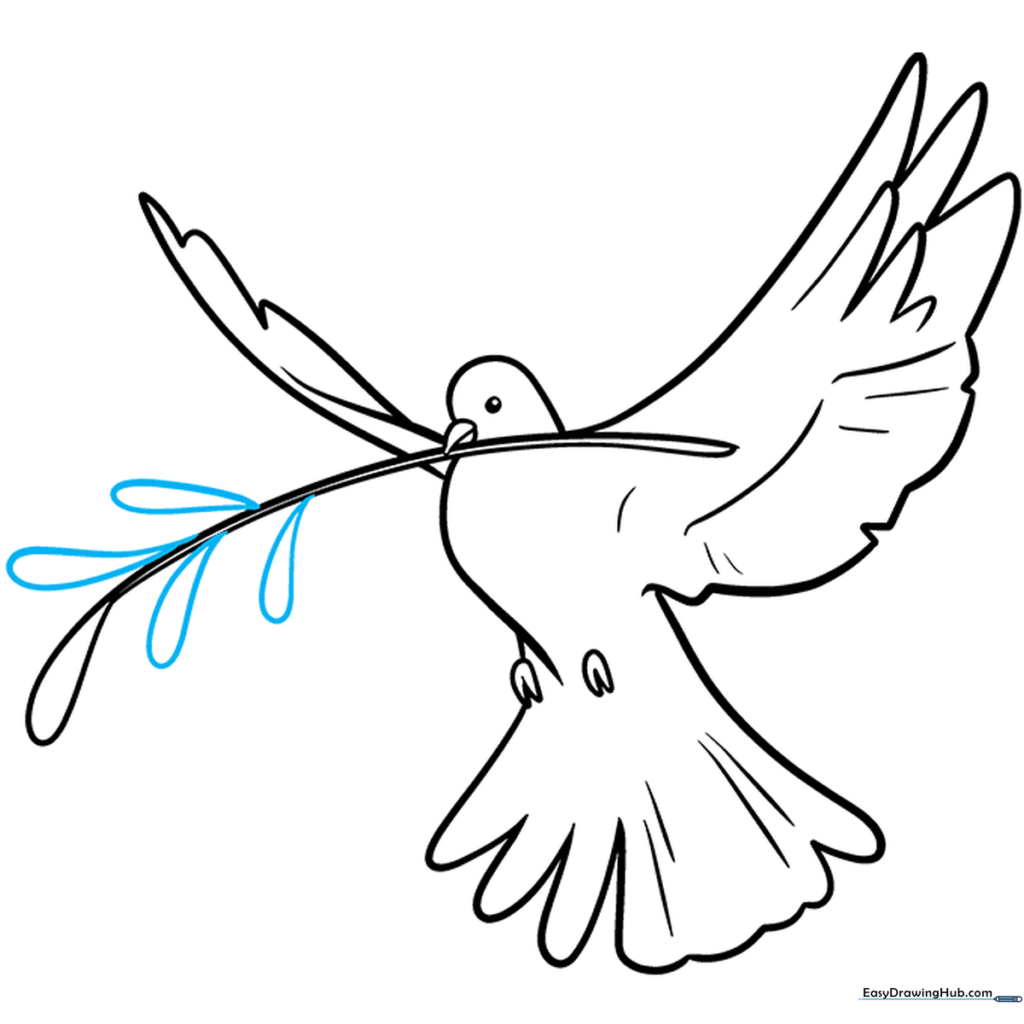
Add four more teardrop-shaped leaves along the branch. Tip: Vary the angle of the leaves to make the branch look like it's swaying in the wind.
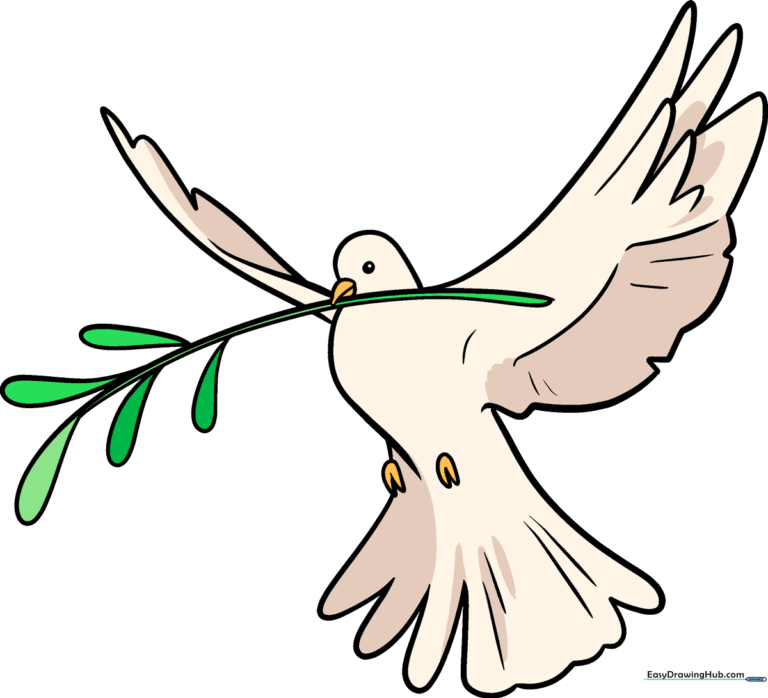
Step 10: Coloring Your Masterpiece
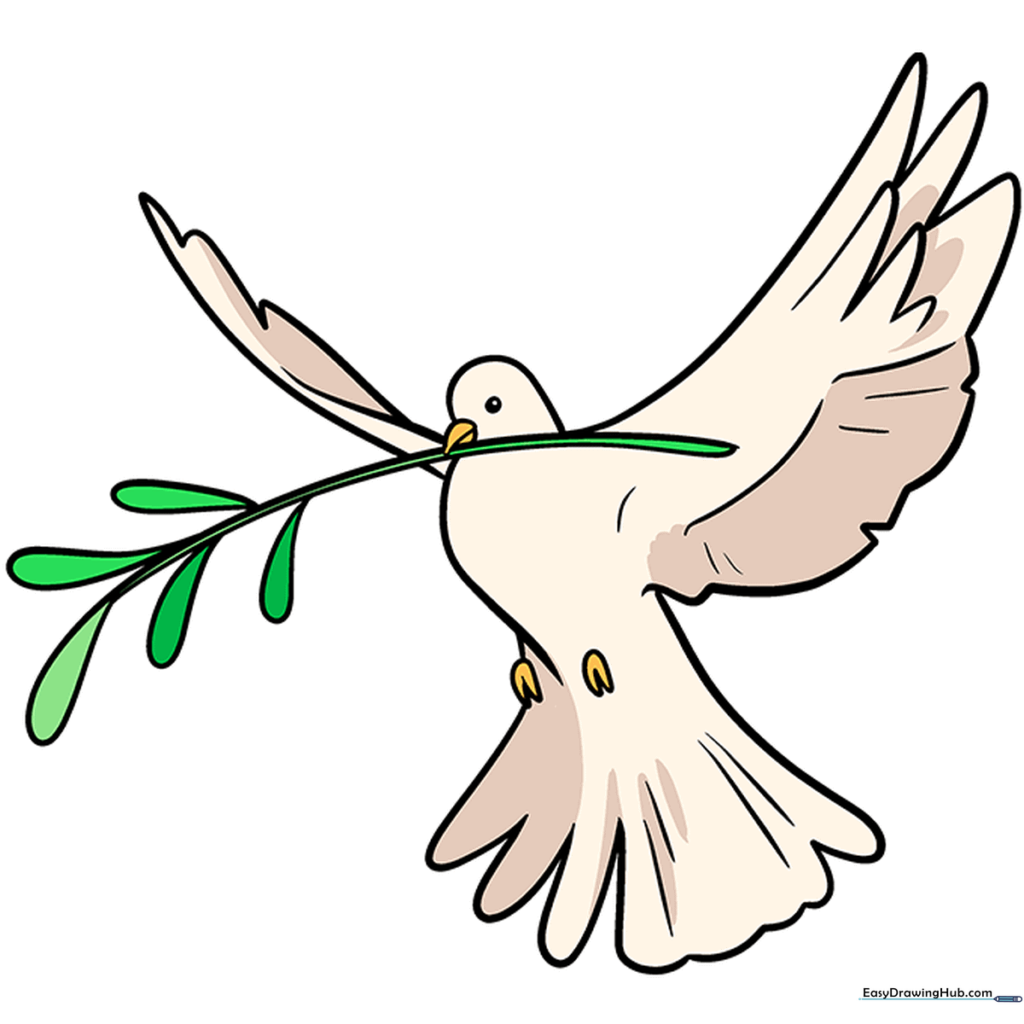
Time to color! Use soft whites and greys for the dove, and a vibrant green for the olive branch. Tip: Use light pressure with your colored pencils to create a soft, feathery texture.
More Tutorials


