How to Draw a Door: Easy 10-Step Guide for Kids
Ready to add some structure to your drawings? This tutorial is perfect for artists ages 5 and up to practice perspective and clean line work. All you need is a pencil, an eraser, and a piece of paper to bring this classic architectural element to life.
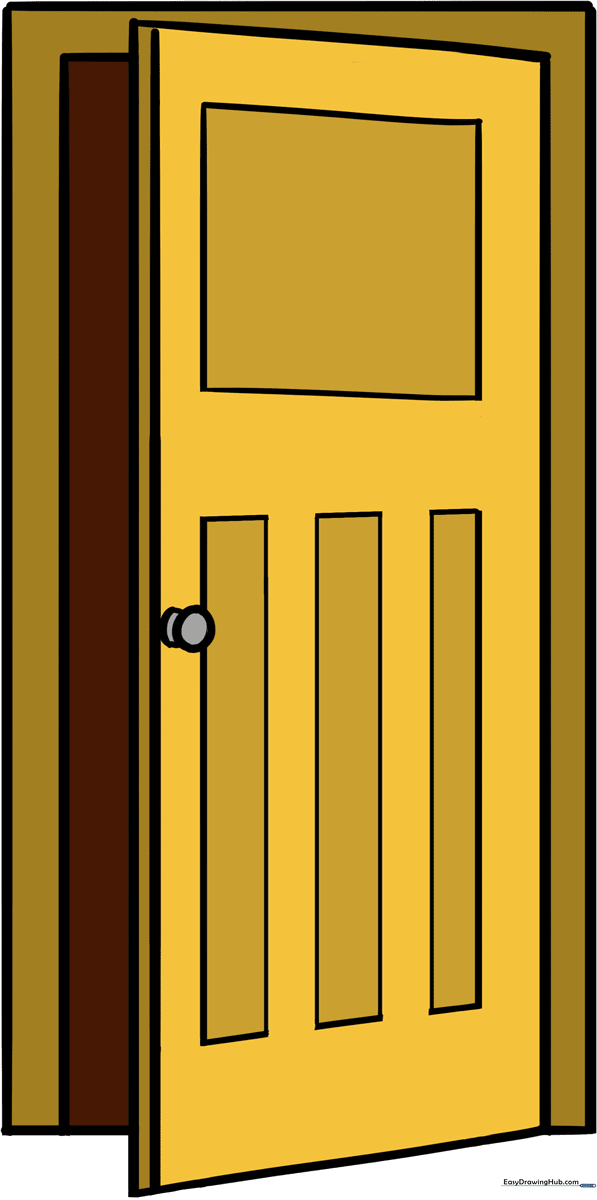
🎯 Final Result
Step-by-Step Instructions
Step 1: Establishing the Base

Start by drawing a straight horizontal line to serve as the bottom of your door frame. Teacher's Tip: Use a ruler if you want perfectly crisp lines, or practice freehand to build steady control.
Step 2: Framing the Door

Draw a vertical rectangle using your base line, then sketch a slightly smaller rectangle inside it. Teacher's Tip: Keep your lines light; this inner frame creates the depth of the door jamb.
Step 3: Creating Perspective
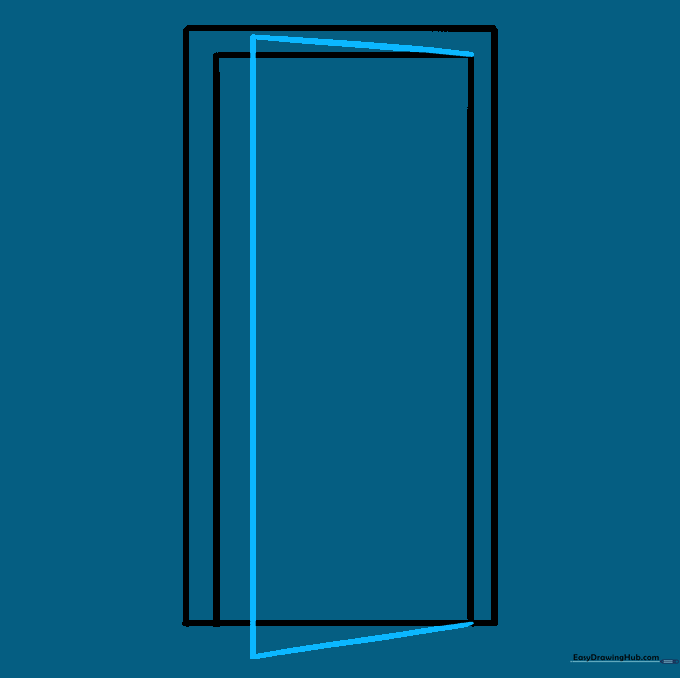
Add a trapezoid shape attached to one side to show the door swinging open. Teacher's Tip: Think of this as a 'tilted' rectangle; it helps kids understand how 2D shapes create 3D space.
Step 4: Cleaning Up

Carefully erase any overlapping lines inside the door area. Teacher's Tip: Use a soft kneaded eraser to lift graphite without damaging the paper fibers.
Step 5: Adding Depth

Draw a vertical line parallel to the long side of the door. Teacher's Tip: This small detail adds thickness, making the door look solid rather than flat.
Step 6: The Doorknob

Sketch a small circle for the knob and a curved line behind it for the plate. Teacher's Tip: Place the knob about two-thirds of the way up for a realistic look.
Step 7: Adding Panels

Draw a smaller rectangle inside the door to create a panel design. Teacher's Tip: Ensure the borders are even on all sides for a professional, balanced look.
Step 8: Refining the Design

Erase a section of the inner rectangle and add a horizontal line to create two panels. Teacher's Tip: This is a great way to practice dividing space equally.
Step 9: Final Details

Add small vertical rectangles at the bottom to suggest trim or molding. Teacher's Tip: Focus on keeping these small shapes consistent in size.
Step 10: Bring It to Life with Color
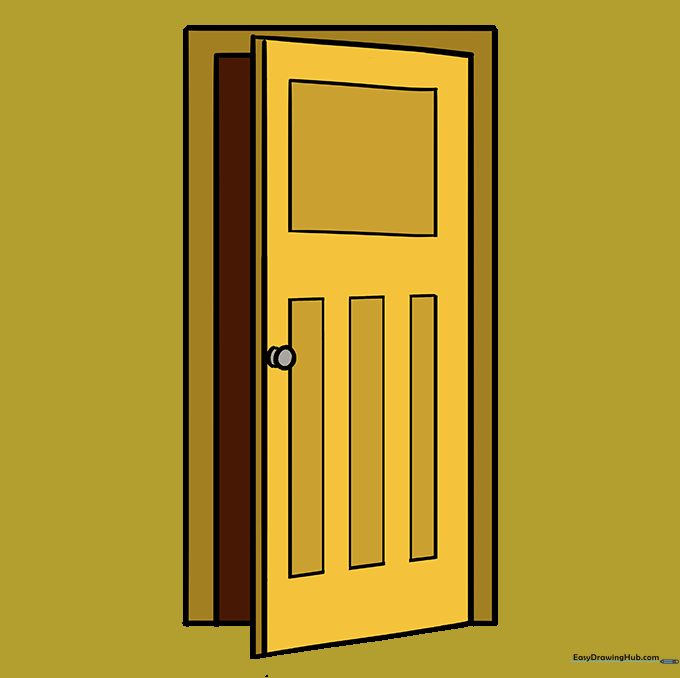
Time to color! Use warm browns for a classic wood look, or get creative with bright colors. Teacher's Tip: Use light pressure with your colored pencils to create smooth, even shading.
More Tutorials


