How to Draw a Donkey: Easy 10-Step Guide for Kids
Looking for a fun, screen-free activity? This step-by-step guide is perfect for young artists ages 5 and up. All you need is a pencil, an eraser, and some paper to bring this friendly donkey to life while practicing basic geometric shapes.
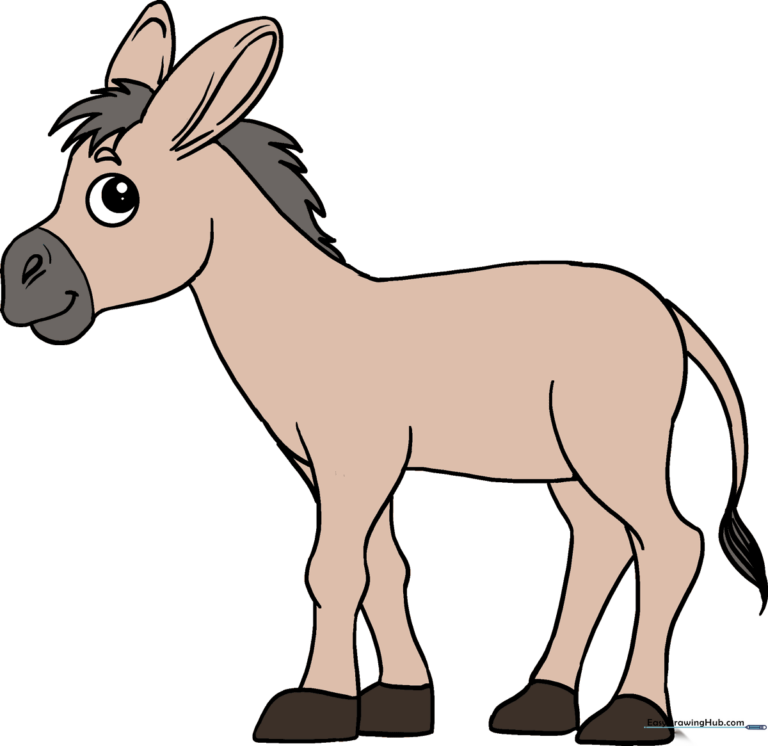
🎯 Final Result
Step-by-Step Instructions
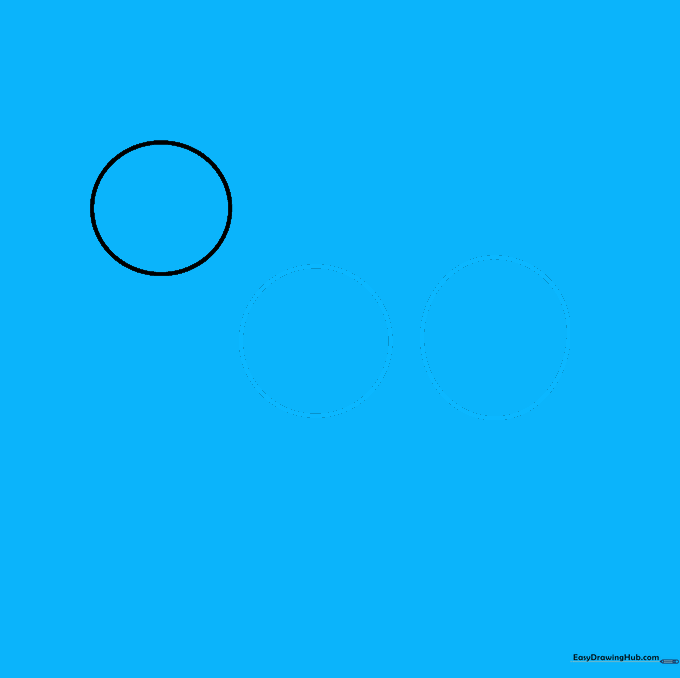
Step 1: Sketching the Head

Draw a light circle to represent the head. Teacher's Tip: Keep it about the size of a coin and press lightly with your pencil so it's easy to clean up later.
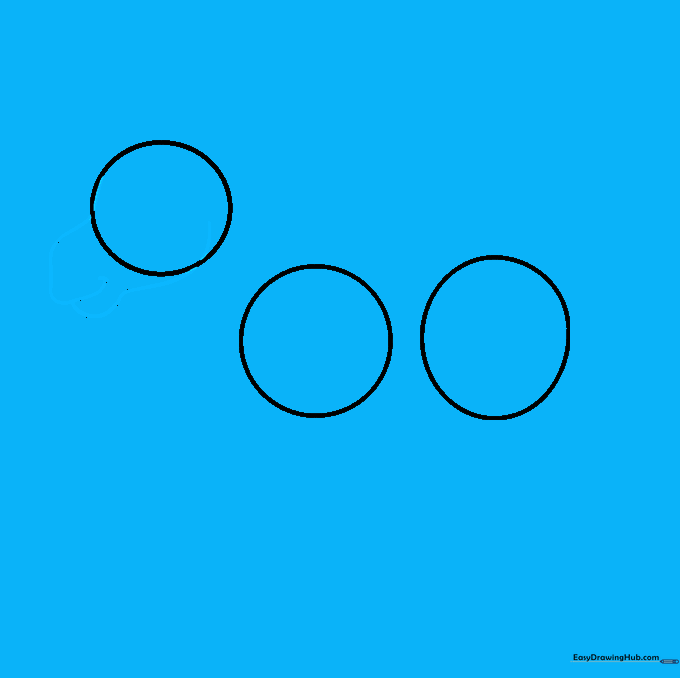
Step 2: Mapping the Body
Draw two larger circles below the head for the shoulders and hips. These act as your 'anchors' to help keep the donkey's body proportions balanced.
Step 3: Defining the Snout
Use curved lines to outline the mouth and jaw. Tip: Imagine you are drawing a rounded 'C' shape that tucks into the head circle to create a friendly expression.
Step 4: Connecting the Body
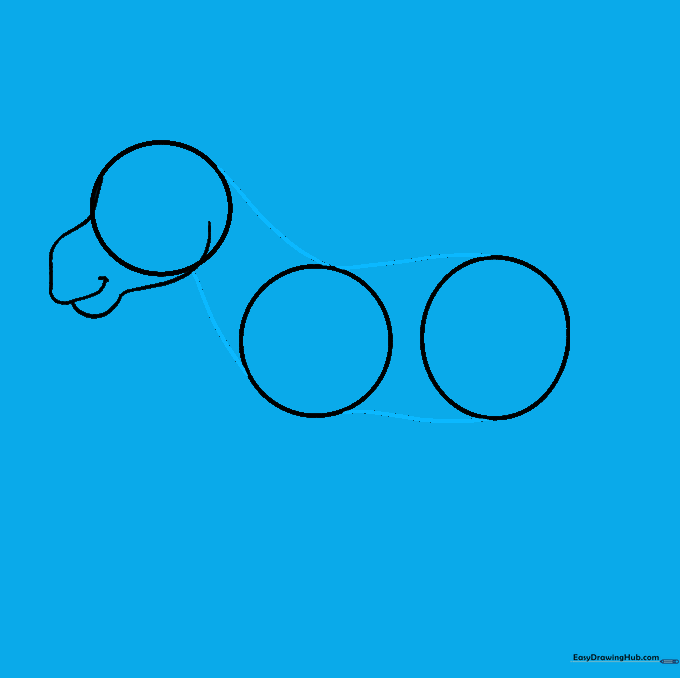
Connect your circles with long, smooth curved lines to create the neck, back, and belly. Think of this as drawing the donkey's 'silhouette'.
Step 5: Drawing the Legs
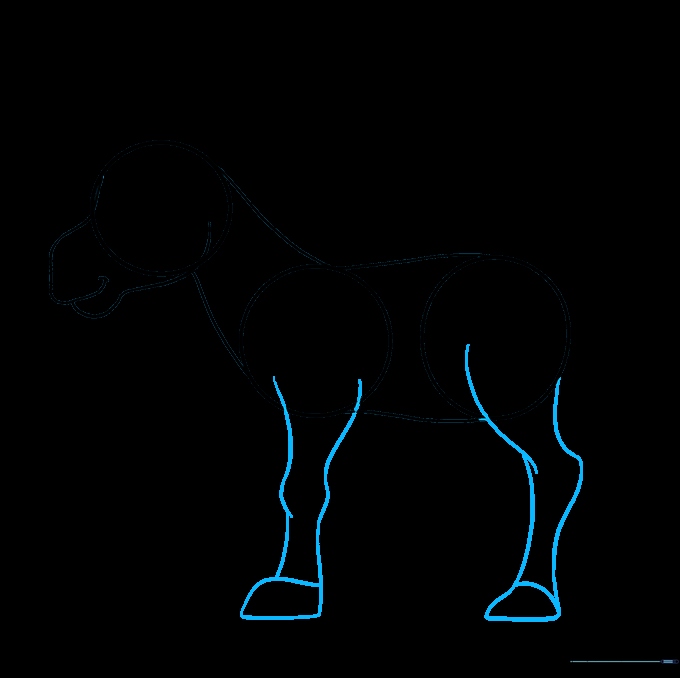
Extend pairs of curved lines downward for the legs. Make sure to bow the lines slightly at the knees and ankles for a realistic look, then cap them with flat-bottomed hooves.
Step 6: Adding Ears and Mane
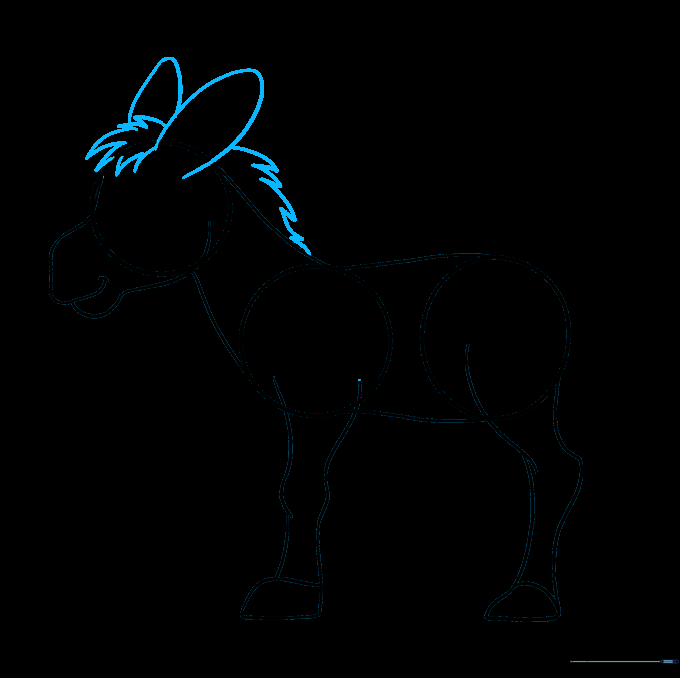
Draw two large 'U' shapes for the ears. Add a jagged, spiky line between them for the mane. Tip: Donkeys have long ears, so don't be afraid to make them nice and tall!
Step 7: Cleaning Up
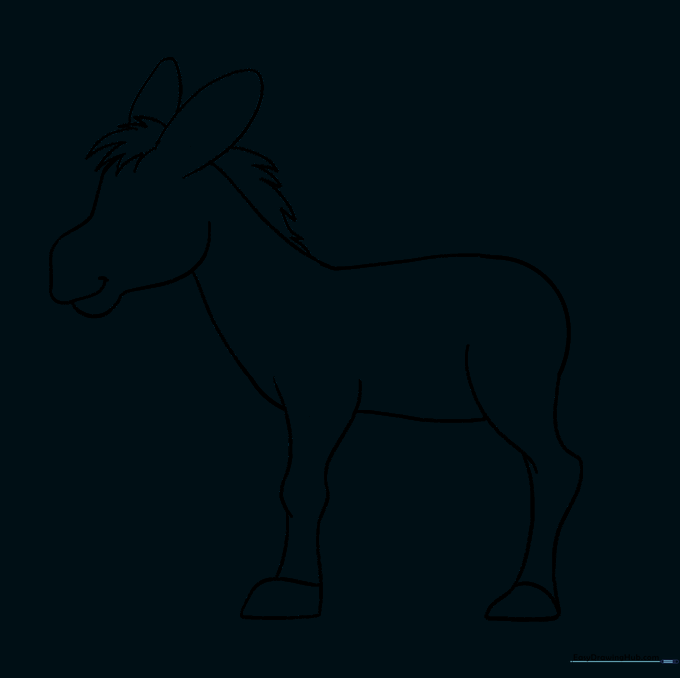
Gently erase the overlapping guide circles from inside the body. This is the moment your drawing starts to look like a real donkey!
Step 8: Adding the Tail
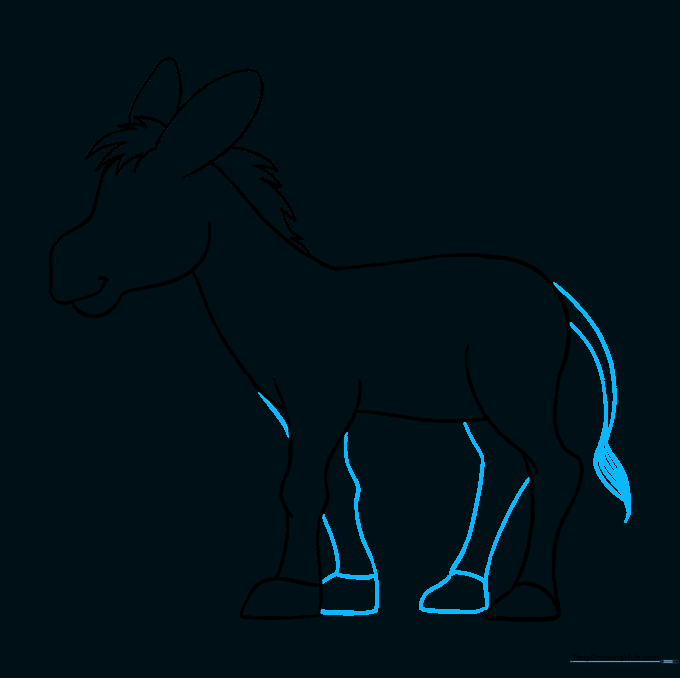
Draw the far legs and a teardrop-shaped tail with a tuft of hair at the end. Tip: Use quick, short strokes for the tail tuft to make it look like real hair.
Step 9: Facial Details
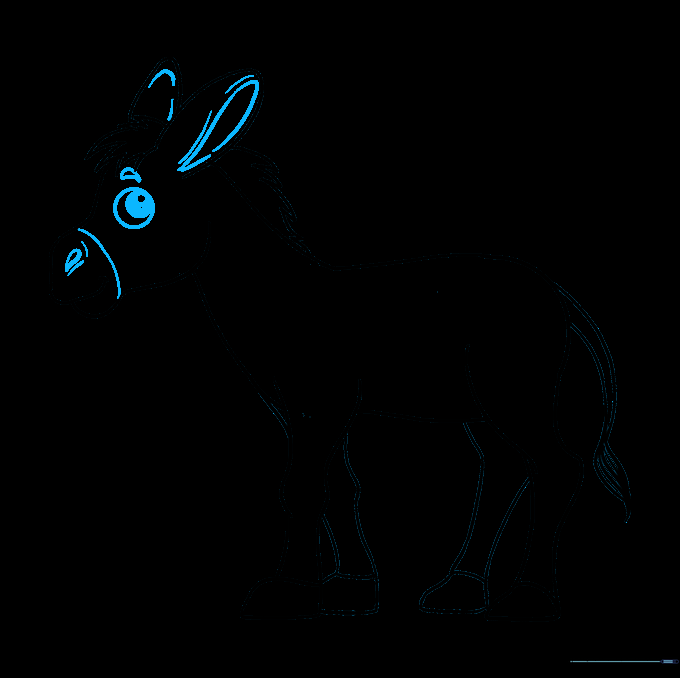
Add the eye and nostril. Draw a large circle for the eye with a smaller pupil inside, leaving a tiny white spot for a 'sparkle' to make the donkey look alive.
Step 10: Bringing it to Life with Color
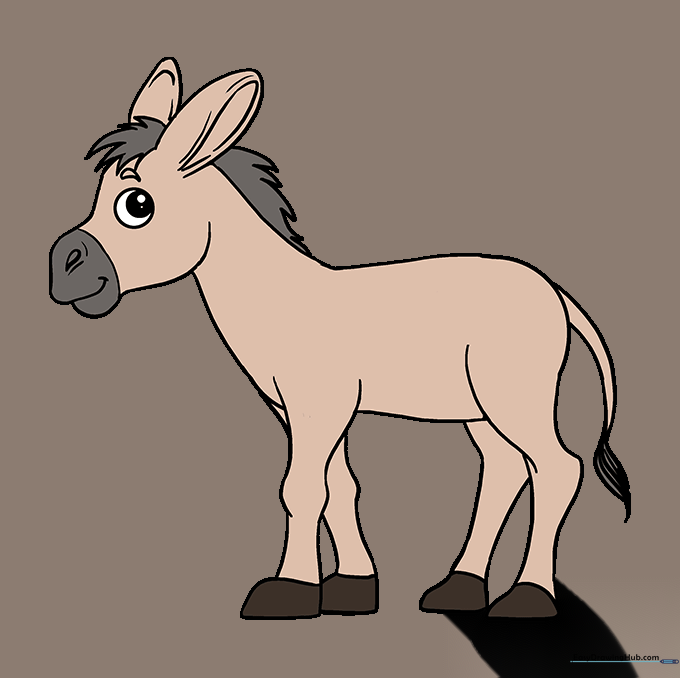
Time to color! Use shades of grey or brown. Leave the muzzle area lighter for a classic donkey look. Great job!
More Tutorials


