How to Draw a Dolphin: Easy 10-Step Guide for Kids
Ready to bring a friendly dolphin to life? This tutorial is perfect for young artists ages 5 and up. All you need is a pencil, an eraser, and a piece of paper to start building your ocean scene.
🎯 Final Result

Step-by-Step Instructions
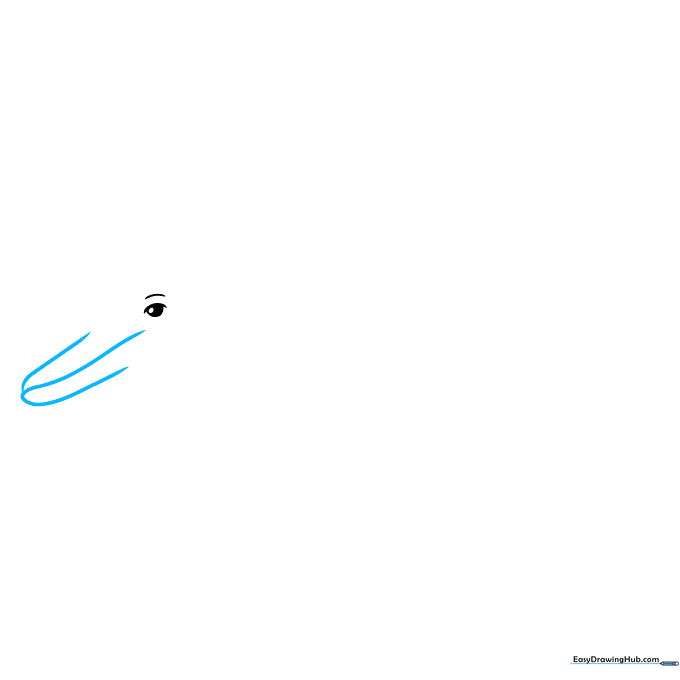
Step 1: Sketching the Eye

Start by drawing two gentle curved lines for the forehead. Add a partial circle beneath them for the eye, with a smaller circle inside. Tip: Keep your pencil strokes light so you can easily erase any mistakes later!
Step 2: Shaping the Beak
Draw the dolphin's beak using a smooth curved line for the top and a shorter, doubled-back line for the bottom. Tip: Dolphins have a distinct 'smile'—try to keep the curve soft and rounded.
Step 3: Defining the Head
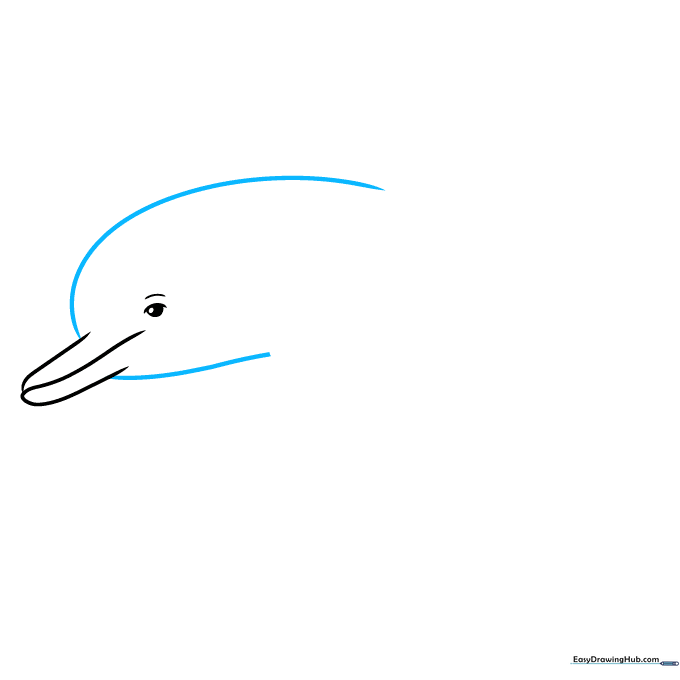
Extend long, sweeping curved lines from the top and bottom of the beak to outline the head. Tip: Use a fluid motion with your wrist to get a natural, graceful curve.
Step 4: Adding the Pectoral Fin
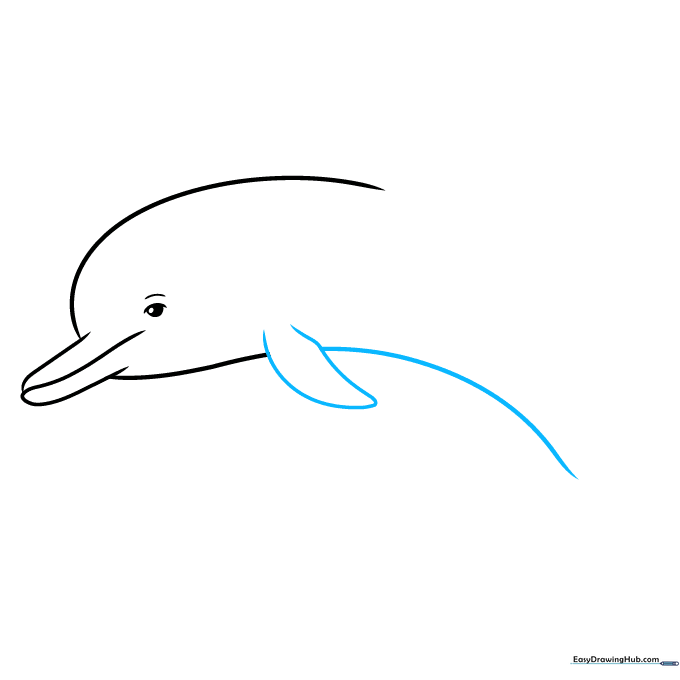
Create the pectoral fin by drawing a curved line that doubles back on itself. Continue the line to form the belly. Tip: Think of the fin as a small, rounded triangle attached to the side.
Step 5: Sketching the Back
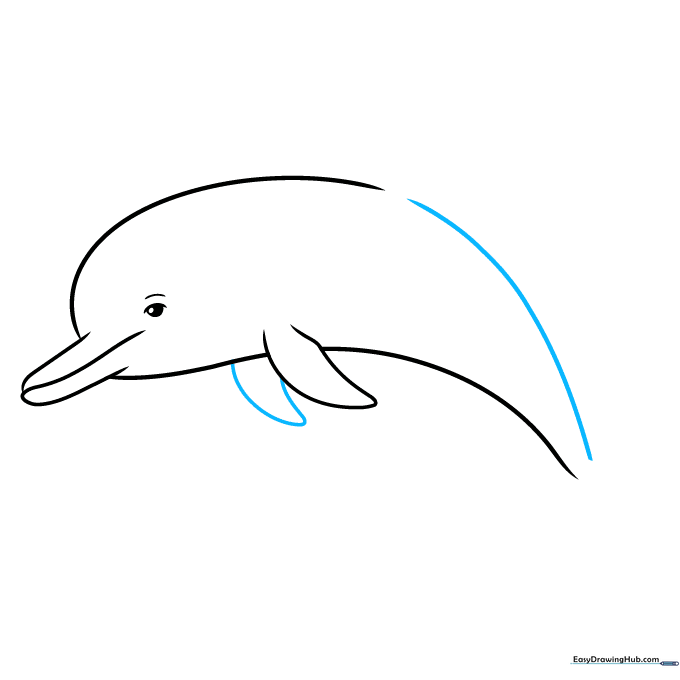
Close the pectoral fin shape and draw a long, elegant curve for the back. Leave a small gap near the tail area for now. Tip: Don't worry if the line isn't perfect; dolphins have very flexible bodies!
Step 6: Dorsal Fin and Tail
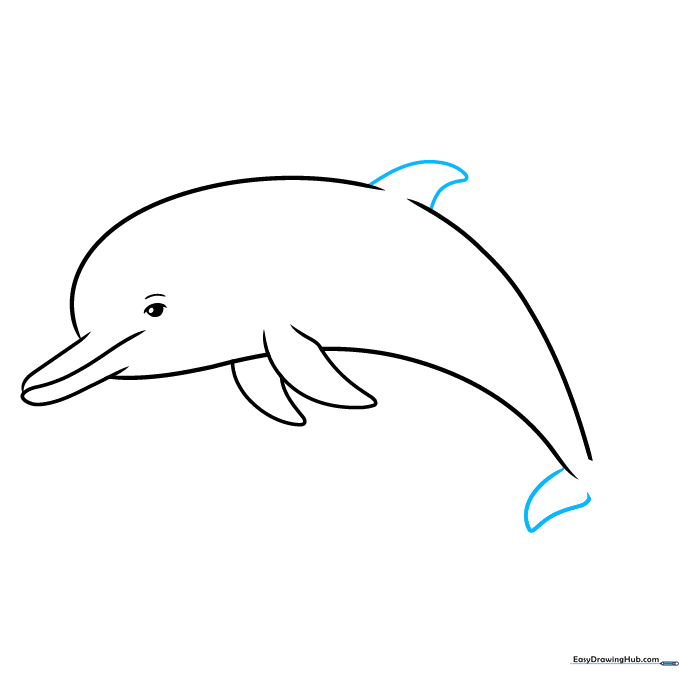
Draw the triangular dorsal fin on the back. Then, start one side of the tail fin. Tip: The dorsal fin should look like a shark fin but slightly more curved.
Step 7: Finishing the Tail
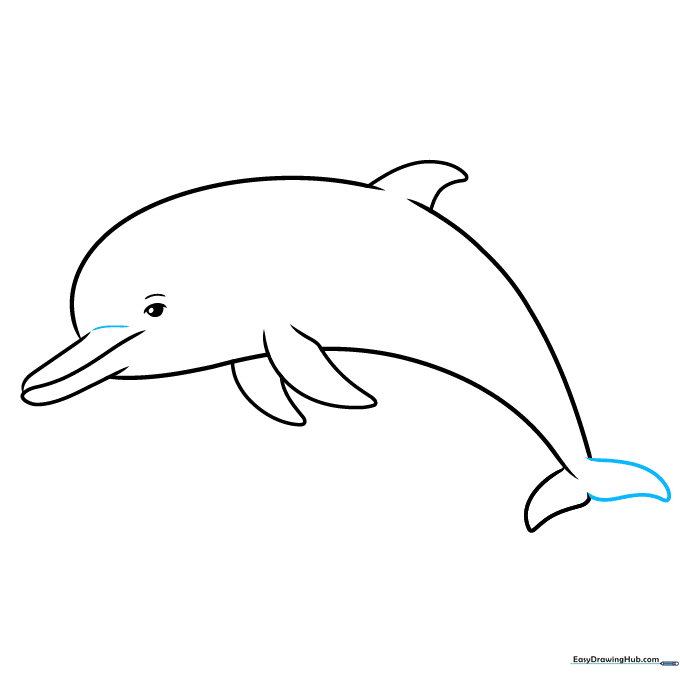
Complete the tail fin and add a contour line to the base of the beak. Tip: Make sure the tail flukes are symmetrical to give your dolphin a balanced look.
Step 8: Adding Details
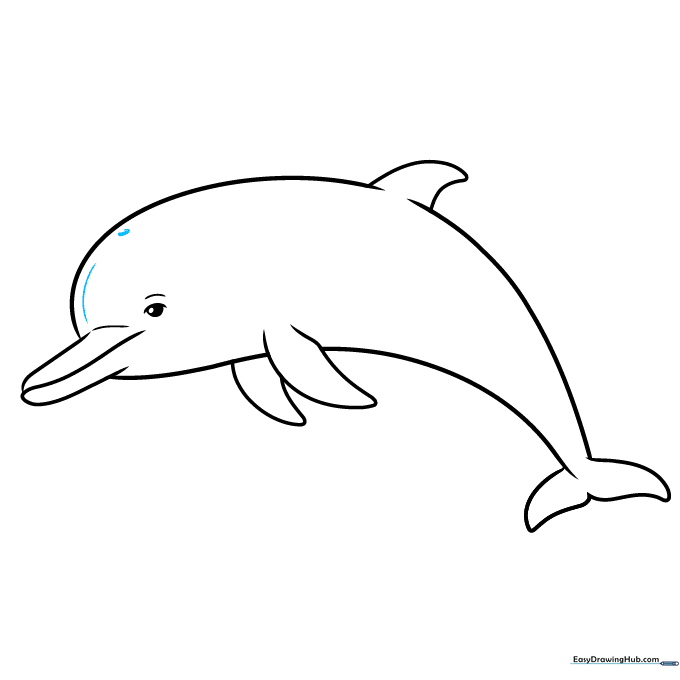
Contour the face and add a 'C' shaped line for the blowhole on top of the head. Shade a small oval inside it. Tip: The blowhole is what dolphins use to breathe, so place it right on the top curve of the head.
Step 9: Refining the Belly
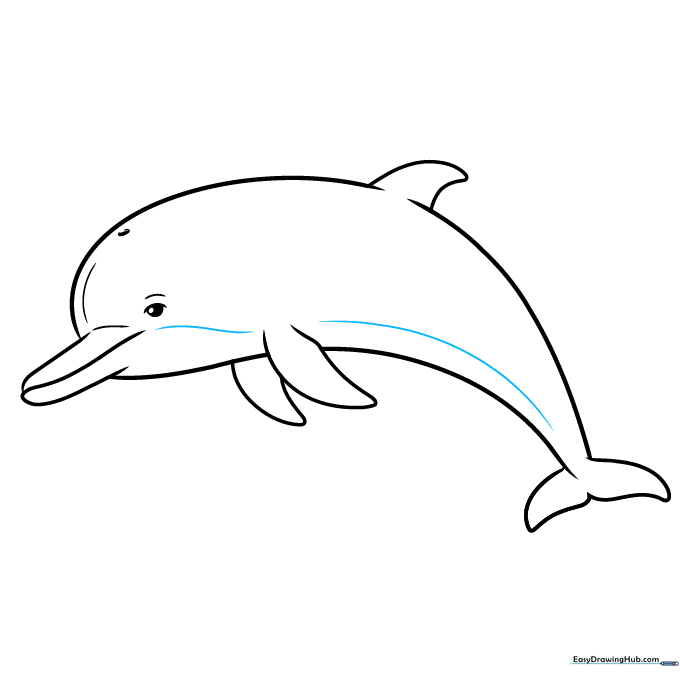
Add final contour lines to the belly to give your dolphin a smooth, rounded appearance. Tip: Use long, continuous strokes to keep the belly looking sleek.
Step 10: Color and Final Touches

Your dolphin is ready! You can leave it as a clean line drawing or add color. Dolphins look great in shades of blue-grey, slate, or even speckled patterns. Tip: Use light pressure with your colored pencils to create a soft, aquatic look.
More Tutorials


