How to Draw a Dolphin in Sunset Scenery: Easy 10-Step Guide
Capture the magic of the ocean with this beginner-friendly drawing project, perfect for artists ages 5 and up. You will only need a pencil, an eraser, and your favorite coloring supplies to bring this tropical scene to life. Follow along to master basic shapes and landscape composition while creating a stunning sunset masterpiece.
🎯 Final Result

Step-by-Step Instructions
Step 1: Sketching the Dolphin's Face

Start by drawing the dolphin's beak and eye. Use a curved line for the snout and two small circles for the eye. Teacher's Tip: Keep your pencil pressure light so you can easily erase any stray marks later.
Step 2: Defining the Body
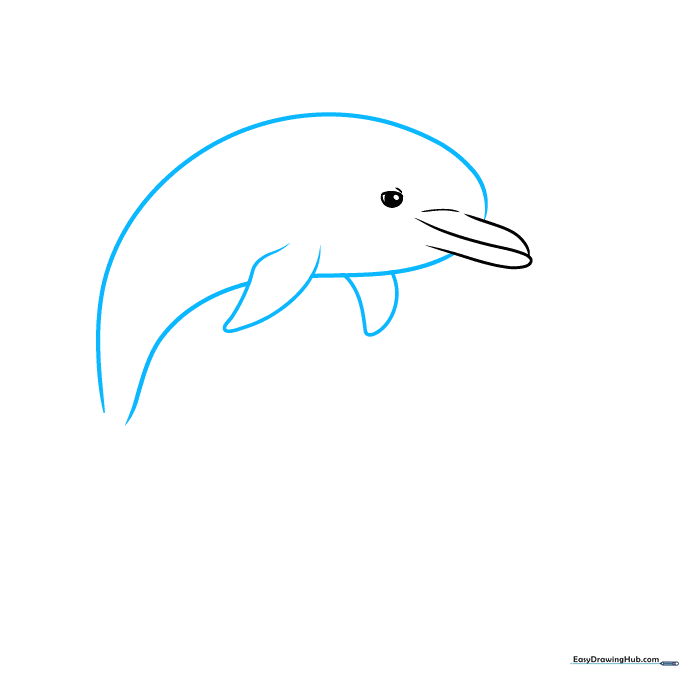
Use long, sweeping curved lines to form the back and belly. Add the pectoral fin by doubling back on your lines. Teacher's Tip: Think of the dolphin's body as a smooth, elongated teardrop shape.
Step 3: Adding Fins and Tail

Draw the triangular dorsal fin on the back and the tail flukes. Teacher's Tip: Make the dorsal fin slightly curved rather than perfectly straight to give it a more natural, organic look.
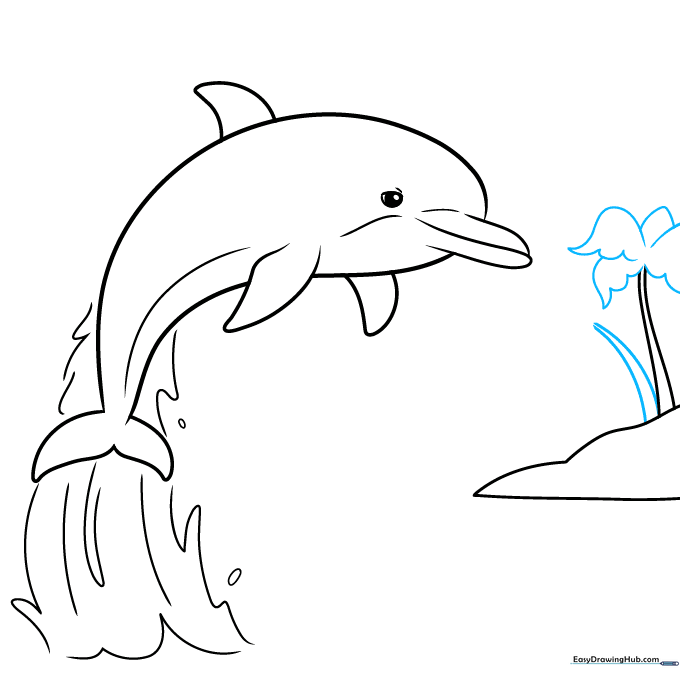
Step 4: Creating Splashing Water

Use short, choppy curved lines around the base of the dolphin to represent water splashing as it jumps. Teacher's Tip: Vary the length of your lines to make the splash look dynamic and energetic.
Step 5: Adding the Island and Palm Tree

Sketch a small island with a curved top and flat bottom. Add two parallel lines for the palm tree trunk. Teacher's Tip: Don't worry about making the island perfectly symmetrical; nature is rarely perfect!
Step 6: Drawing Palm Leaves
Draw large, scalloped leaves at the top of the trunk. Teacher's Tip: Use quick, confident strokes for the leaves to give them a breezy, tropical feel.
Step 7: Setting the Horizon
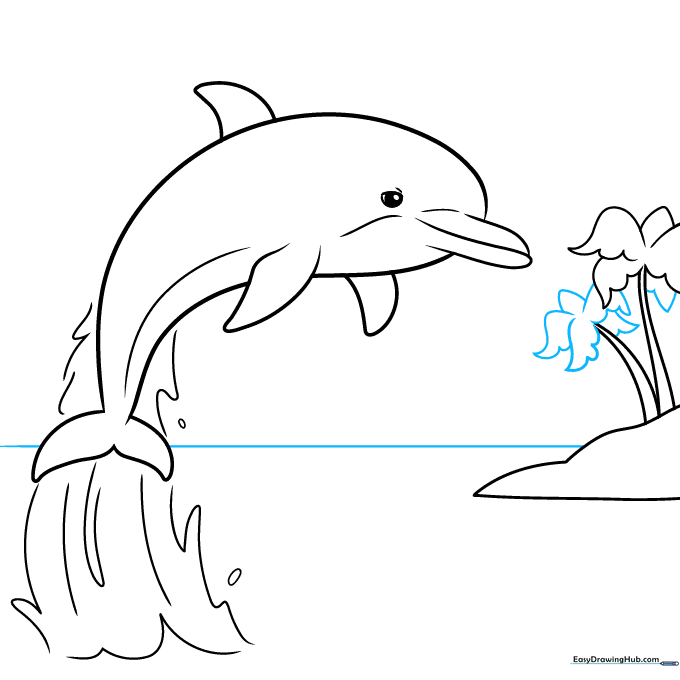
Draw a straight horizontal line behind the island to separate the sky from the ocean. Teacher's Tip: Use a ruler if you want a perfectly flat horizon, or draw it freehand for a softer look.
Step 8: Adding the Sun and Clouds

Draw a semi-circle on the horizon for the sun and add fluffy clouds nearby. Teacher's Tip: Keep the clouds rounded and soft to contrast with the sharp lines of the palm tree.
Step 9: Final Details

Add a few more clouds in the sky to fill the space. Teacher's Tip: Vary the size of your clouds to create depth in your drawing.
Step 10: Bringing it to Life with Color

Color your drawing using warm sunset tones like orange, pink, and purple. Teacher's Tip: Use light, circular motions when coloring to create a smooth, blended gradient in the sky.
More Tutorials


