How to Draw a Dolphin Heart: Easy 10-Step Guide
Perfect for ages 5 and up, this drawing activity helps children master curved lines while creating a charming heart-shaped composition. All you need is a pencil, an eraser, and a piece of paper to get started. Follow along to build confidence and artistic precision with this fun, sea-themed project.
🎯 Final Result

Step-by-Step Instructions
Step 1: Sketching the First Dolphin's Beak

Start by drawing a soft, 'U' shaped curve for the dolphin's beak. Add a small oval for the eye with a tiny circle inside for the pupil, then draw a curved brow above it. Teacher's Tip: Keep your pencil lines light so you can easily adjust the shape if the dolphin looks a bit too grumpy!
Step 2: Shaping the Body
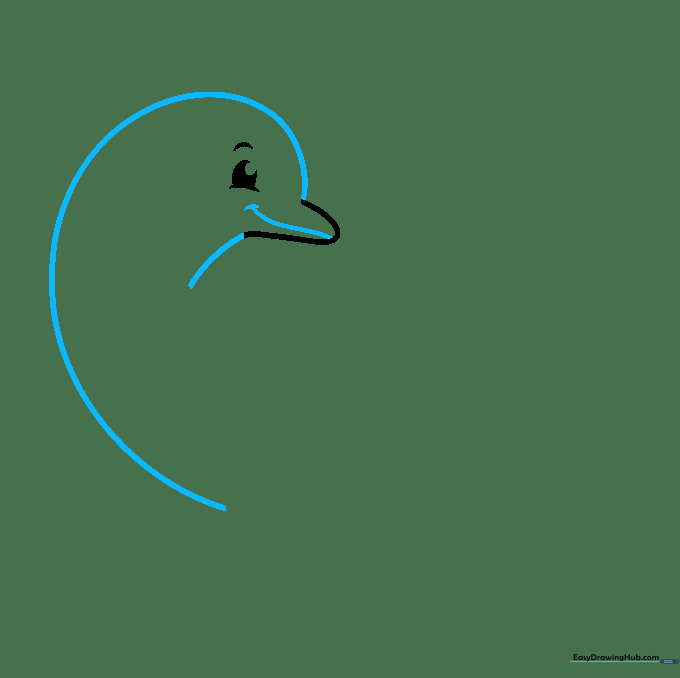
Draw a long, sweeping curve starting from the top of the beak to create the dolphin's head, back, and tail. Add a shorter line below the beak for the chin. Teacher's Tip: Imagine the dolphin is jumping out of the water; use a fluid, continuous motion for the back to make it look smooth.
Step 3: Adding the Flipper and Tail
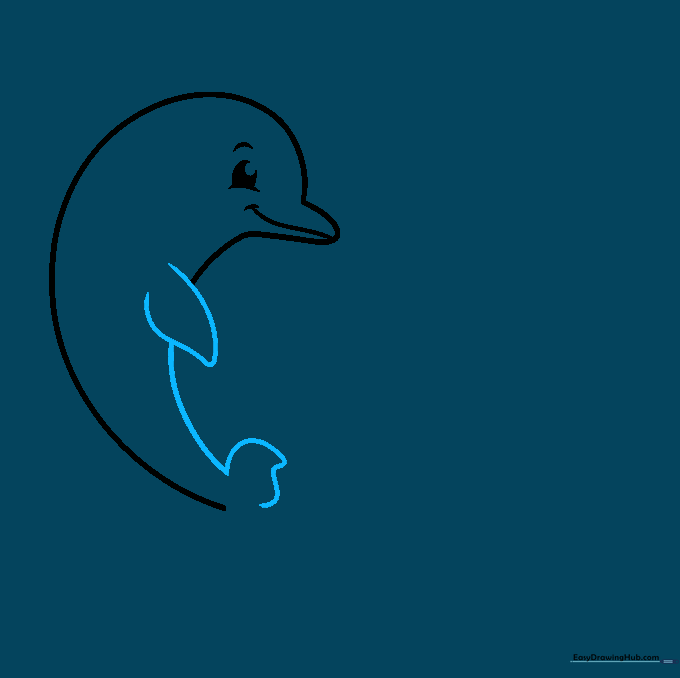
Extend a curved line from the belly and loop it back to form the pectoral flipper. Continue the belly line toward the tail and add one side of the tail fin. Teacher's Tip: Make the flipper look like a small triangle with rounded corners to keep it looking friendly.
Step 4: Completing the Fins

Add the dorsal fin on the back using a curved triangle shape, and finish the tail fin. Teacher's Tip: Try to make the dorsal fin look like a shark fin but softer—it should curve slightly toward the tail.
Step 5: Starting the Second Dolphin
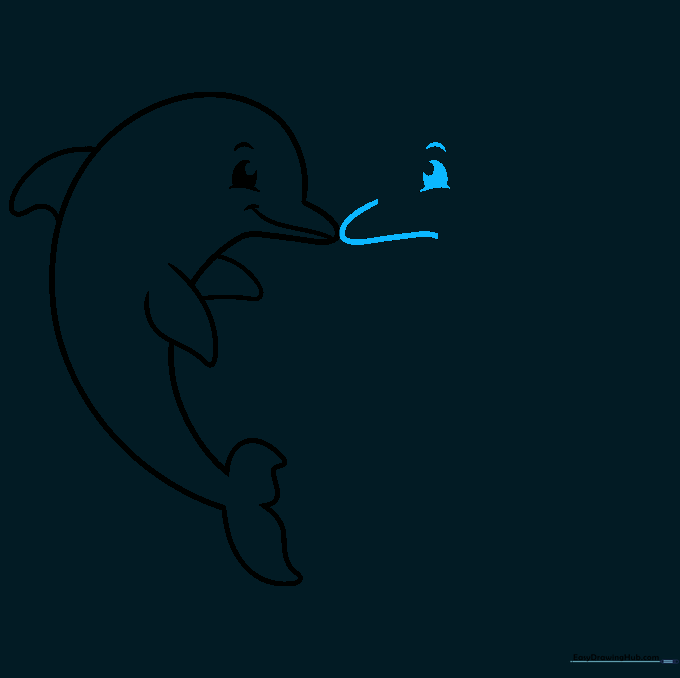
Now, draw a mirror image of the first dolphin on the opposite side. Ensure the beaks touch to form the top of the heart. Teacher's Tip: Use the first dolphin as a guide to keep the size consistent.
Step 6: Outlining the Second Body
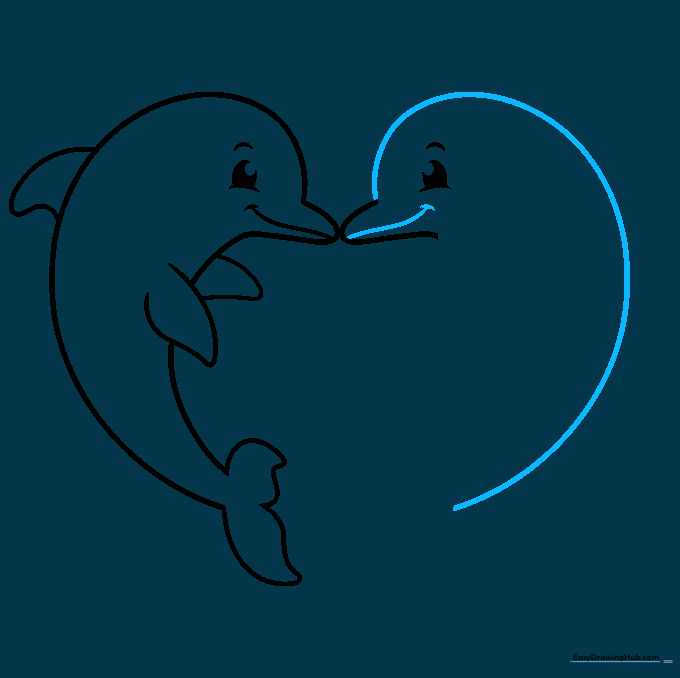
Draw the head and back curve for the second dolphin, mirroring the first. Add a small smile line. Teacher's Tip: A simple 'C' shape for the mouth makes the dolphin look happy and friendly.
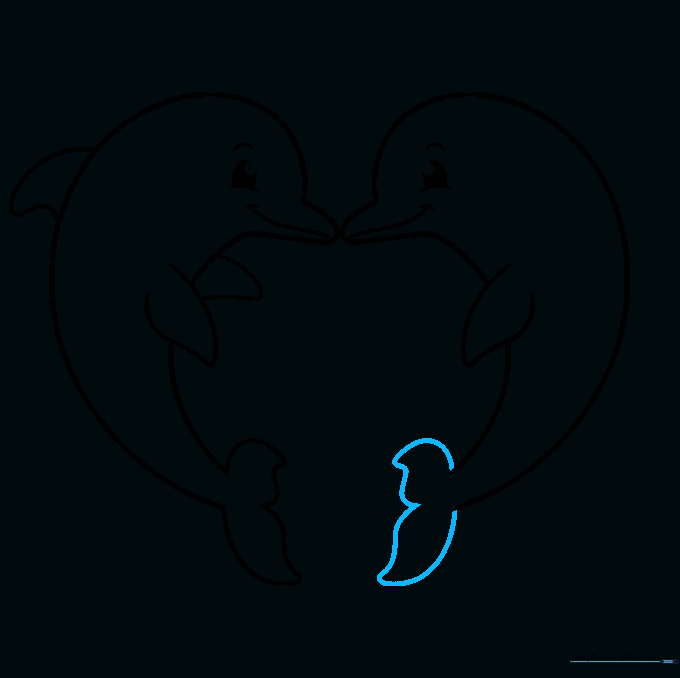
Step 7: Adding the Second Flipper
Draw the pectoral flipper and the belly line for the second dolphin. Teacher's Tip: Ensure the belly curve flows naturally toward the tail area to maintain the heart silhouette.
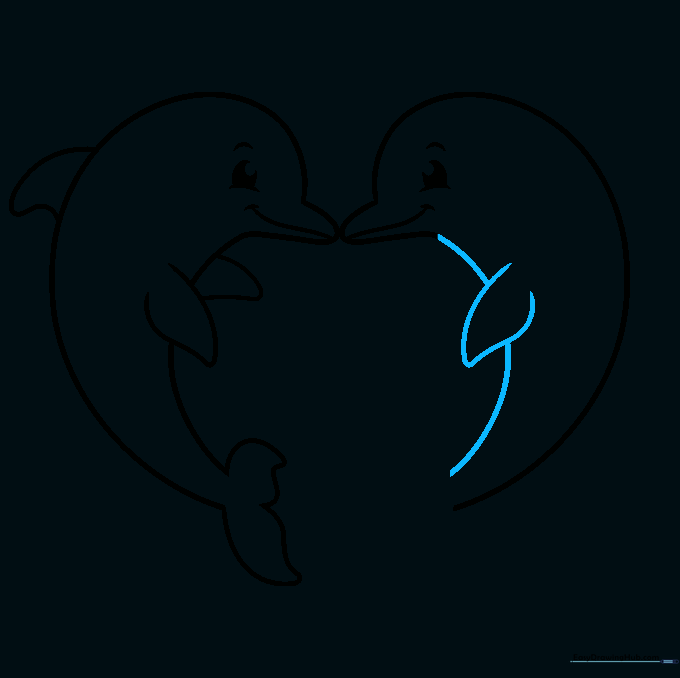
Step 8: Finishing the Tail
Complete the tail fin for the second dolphin using curved lines. Teacher's Tip: The tails should point downward to help complete the bottom point of the heart shape.
Step 9: Final Touches
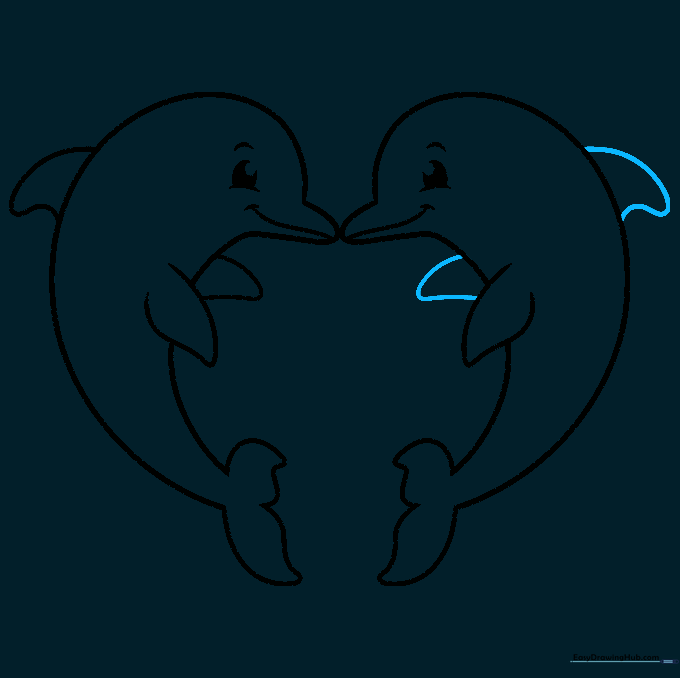
Add the final dorsal fin and pectoral fin details to complete the outline. Teacher's Tip: Once you're happy with the shape, go over your lines with a darker pencil or marker to make them pop.
Step 10: Color Your Masterpiece

Bring your drawing to life with color! While cartoons often use blue, try gray, or even pink like the Amazon River dolphin. Teacher's Tip: Use light pressure with your crayons to create a soft, blended look.
More Tutorials


