How to Draw a Dollar Bill: Easy 10-Step Guide
Ready to practice your precision drawing? This tutorial is perfect for artists ages 7+ who want to master geometric shapes and portrait sketching. You will need a pencil, an eraser, and a fine-liner pen to bring your dollar bill to life.
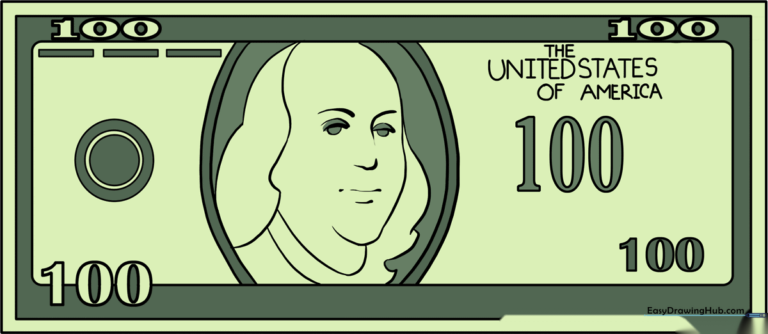
🎯 Final Result
Step-by-Step Instructions
Step 1: Sketching the Outer Frame

Draw a large, clean rectangle to serve as the main body of the bill. Teacher's Tip: Use a ruler if you want perfectly straight edges, or practice your freehand control by drawing it in one smooth motion.
Step 2: Adding Inner Borders

Draw two smaller rectangles inside your first one, creating a layered frame effect. Tip: Keep the spacing between the lines consistent to make your bill look professional.
Step 3: Placing the Denomination

Carefully sketch the number '100' in five different spots: two at the top corners, one at the bottom, and two inside the center frame. Tip: Use block letters to make them stand out clearly.
Step 4: Drawing Decorative Brackets
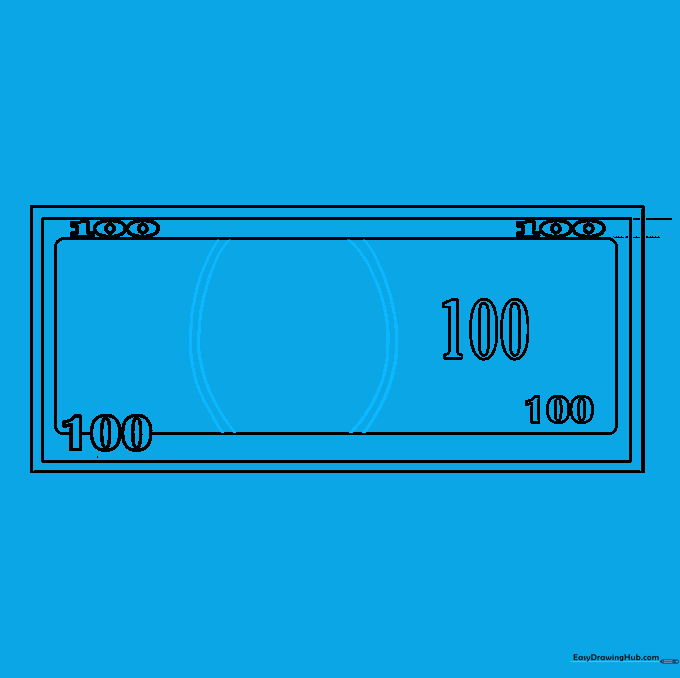
Add two sets of curved parallel lines inside the inner rectangle that look like parentheses. Tip: These small details add texture and make the drawing look more like real paper money.
Step 5: Sketching the Portrait Outline

Start the portrait of Benjamin Franklin by drawing a curved shape for his face and chin. Tip: Keep your lines soft and rounded to capture his likeness accurately.
Step 6: Adding Hair and Collar

Add wavy lines to represent his hair and a simple shape for the collar of his coat. Tip: Short, quick pencil strokes work best for hair texture.
Step 7: Defining Facial Features
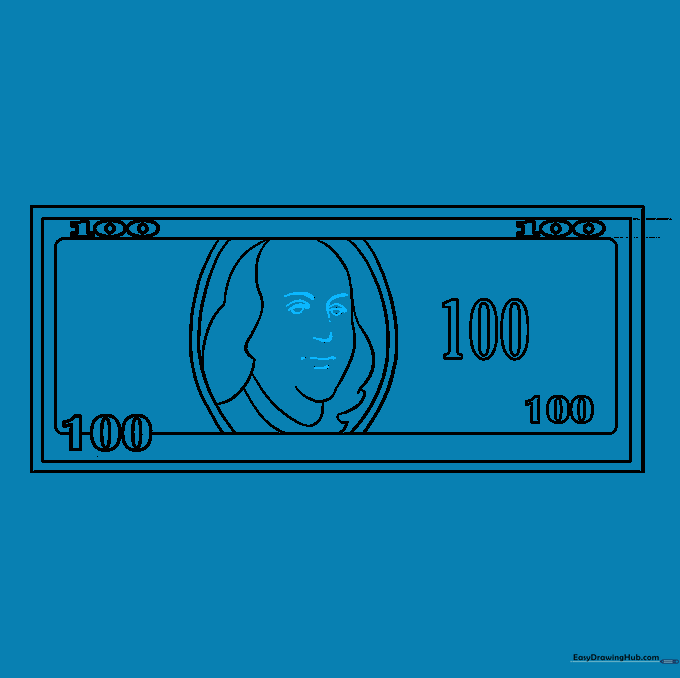
Draw the eyes, nose, and mouth using small, precise curved lines. Tip: Don't press too hard; these features are small and should look delicate.
Step 8: Adding Final Embellishments
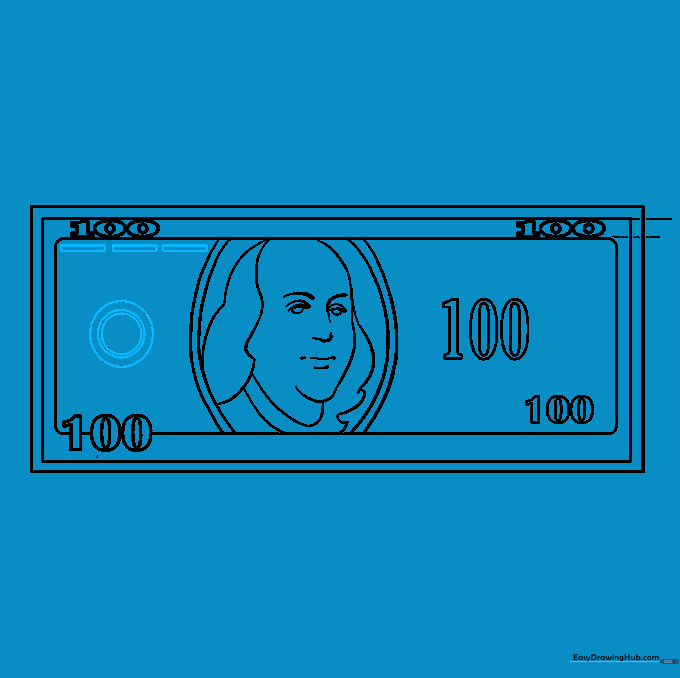
Draw three small, nested circles to the left of the portrait and add rectangular details in the top corner. Tip: These represent the official seals found on currency.
Step 9: Adding Text
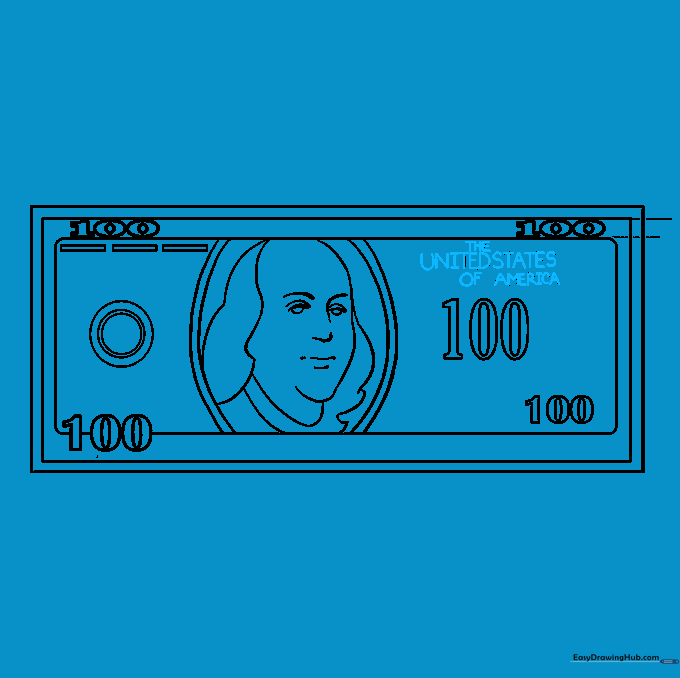
Carefully print 'THE UNITED STATES OF AMERICA' above the '100' on the right side. Tip: Use a fine-liner pen for this step to keep the letters neat and legible.
Step 10: Bringing it to Life with Color
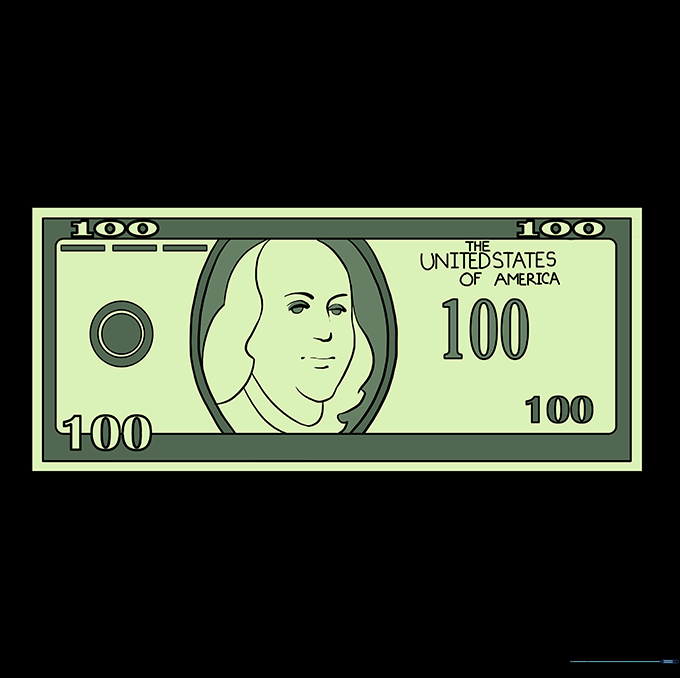
Use light and dark green pencils to shade your bill. Tip: Use light pressure for the background and slightly more pressure for the borders to create depth.
More Tutorials


