How to Draw a Dog Biscuit: Easy 10-Step Tutorial
This fun, screen-free activity is perfect for young artists ages 5 and up. All you need is a pencil, an eraser, and a piece of paper to bring this tasty treat to life. Follow along to master basic shapes and lettering while creating a fun drawing for your favorite furry friend.
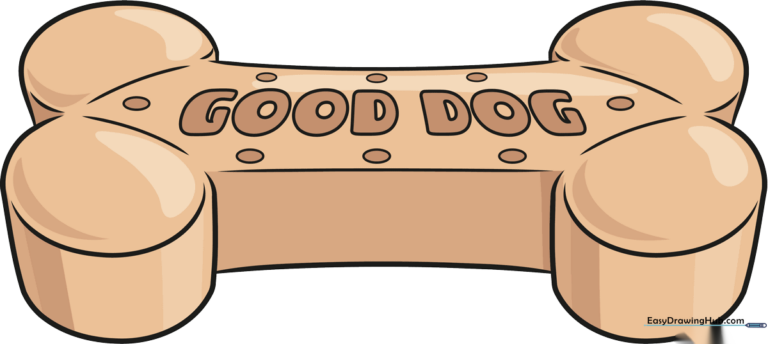
🎯 Final Result
Step-by-Step Instructions
Step 1: Sketching the First Knob

Start by drawing a curved line to form an incomplete rounded shape for the top knob of the bone. Teacher's Tip: Keep your pencil grip loose to ensure the curve looks soft and natural.
Step 2: Defining the Shape
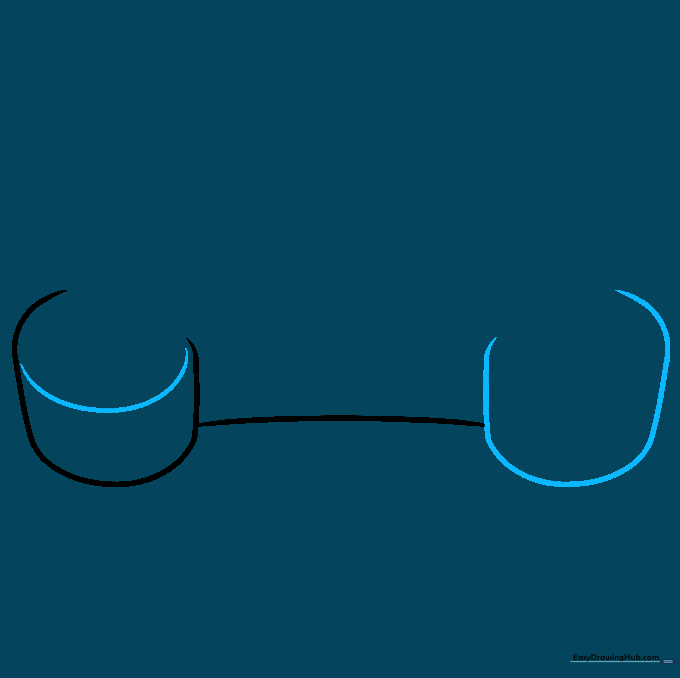
Draw a curved line across the top of the knob to give it a cylindrical, 3D look. Then, mirror this on the opposite side to start the second knob. Tip: Imagine you are drawing the end of a real cookie.
Step 3: Adding Depth

Add a curved line across the second knob to match the first. This consistency helps the biscuit look symmetrical. Tip: Use your eraser to clean up any overlapping lines.
Step 4: Connecting the Shaft
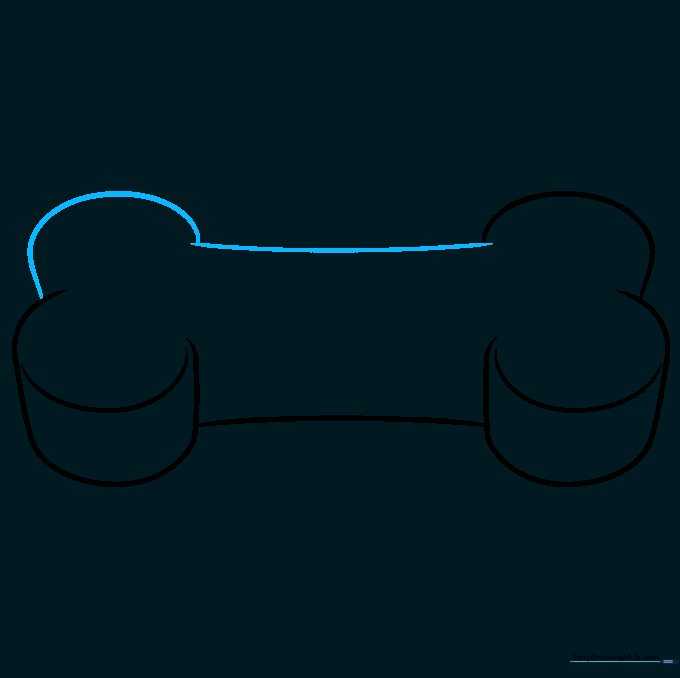
Draw the remaining knobs and connect them with long, smooth curved lines to form the shaft of the biscuit. Tip: Try to make these lines one continuous motion for a smoother look.
Step 5: Adding 3D Details
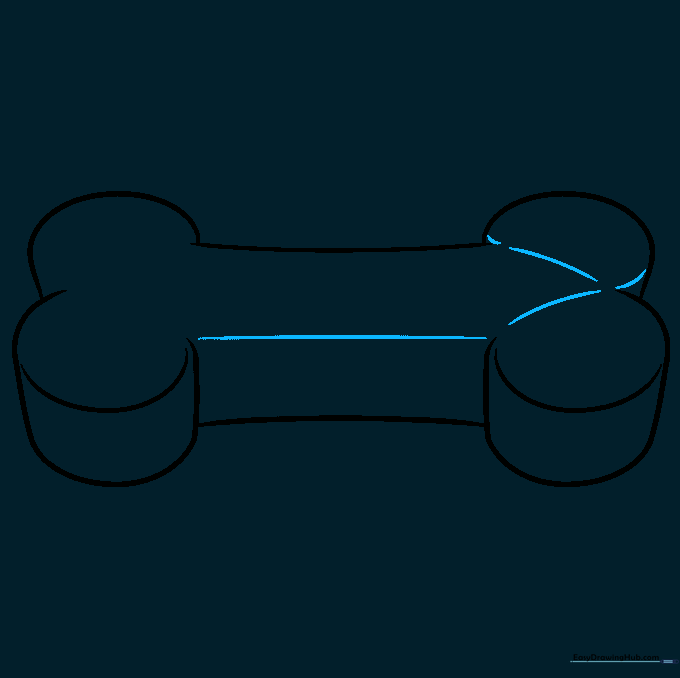
Draw a straight line down the center of the shaft to create a sense of volume. Add small curved lines at the ends of the knobs to show depth. Tip: Keep this line light so it doesn't overpower the drawing.
Step 6: Adding Texture
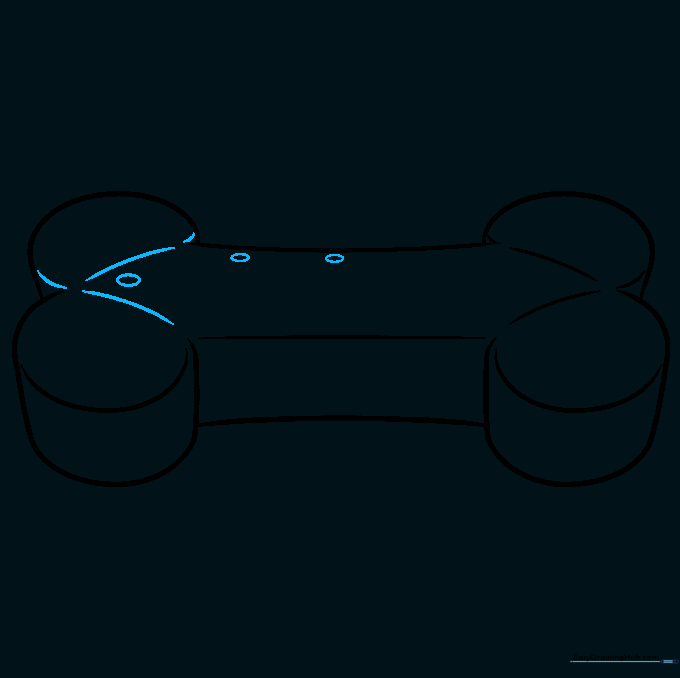
Add small, scattered ovals across the surface of the biscuit to represent texture. Tip: Vary the size and placement of the ovals so it looks like a real, baked treat.
Step 7: Starting the Lettering
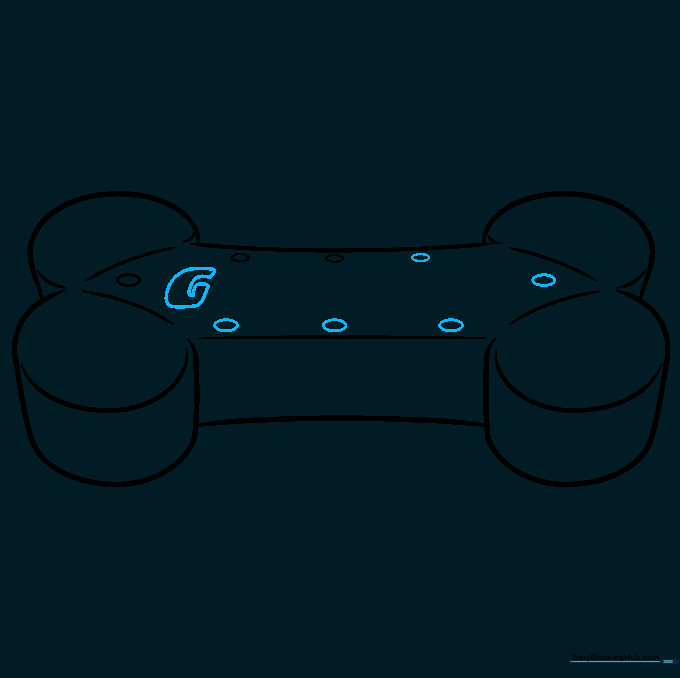
Carefully draw the letter 'G' in the center of the biscuit. Tip: Use light guidelines first if you are worried about spacing.
Step 8: Continuing the Word

Add the letters 'O', 'O', and 'D' to complete the word 'GOOD'. Tip: Keep the letters blocky and consistent in size.
Step 9: Finalizing the Text
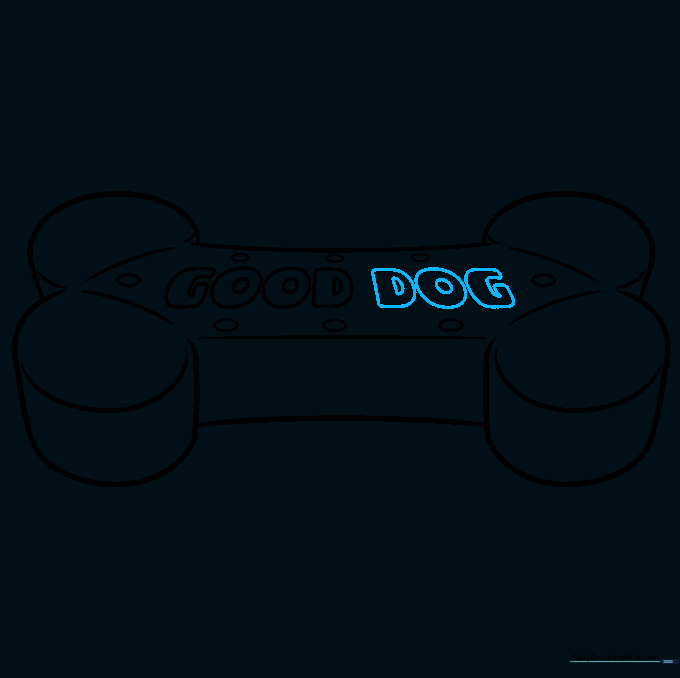
Finish the word by adding 'DOG' to the biscuit. Tip: Ensure the letters are centered so the drawing looks balanced.
Step 10: Adding Color
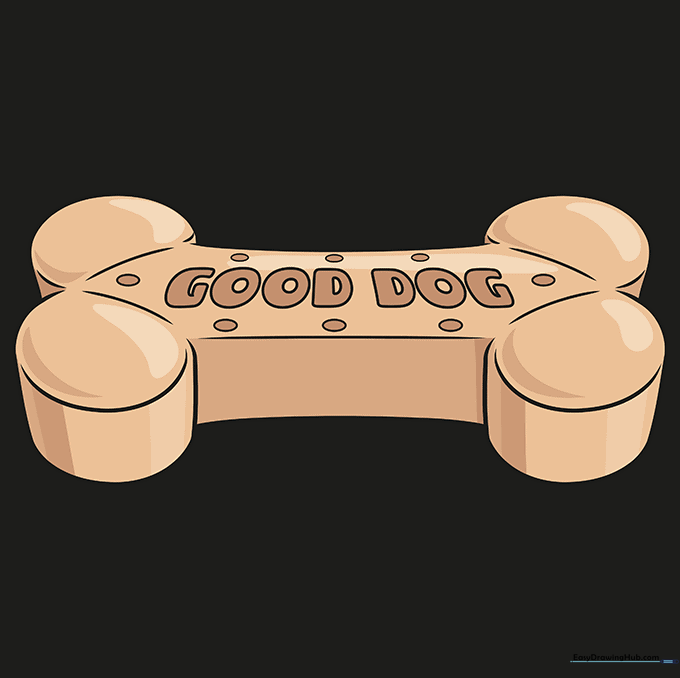
Bring your drawing to life with color! Use warm browns, tans, or even fun colors like red or green. Tip: Use light pressure for a soft, baked look.
More Tutorials


