How to Draw a Doberman: Easy 10-Step Guide for Kids
Ready to bring a loyal Doberman to life? This tutorial is perfect for young artists ages 6+ who want to master canine proportions. Grab a pencil, an eraser, and some paper, and follow along to build your drawing skills one shape at a time.
🎯 Final Result

Step-by-Step Instructions
Step 1: Sketching the Eyes and Snout
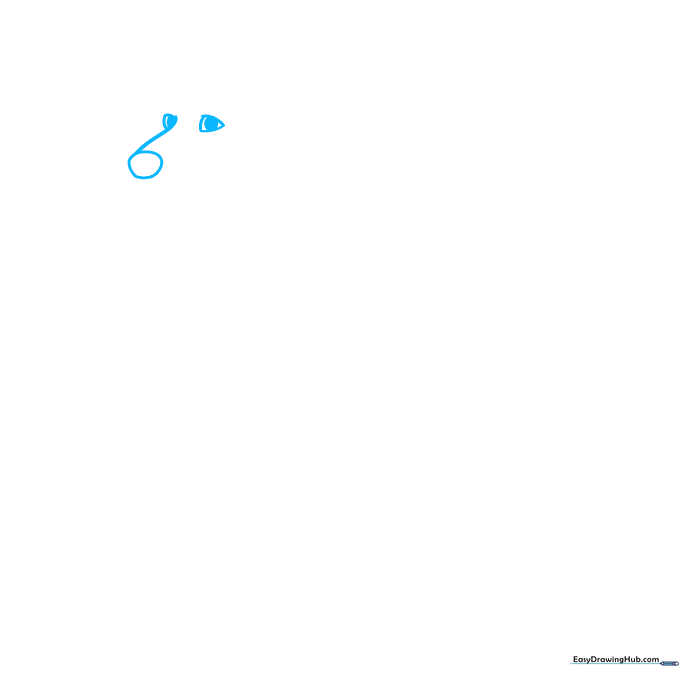
Start by drawing two small triangles for the eyes, adding a dark circle inside each for the pupils. Then, draw a small oval for the nose and connect it to the face with a curved line. Teacher's Tip: Keep your pencil lines light so you can easily adjust the shape of the snout if needed.
Step 2: Defining the Muzzle and Brows
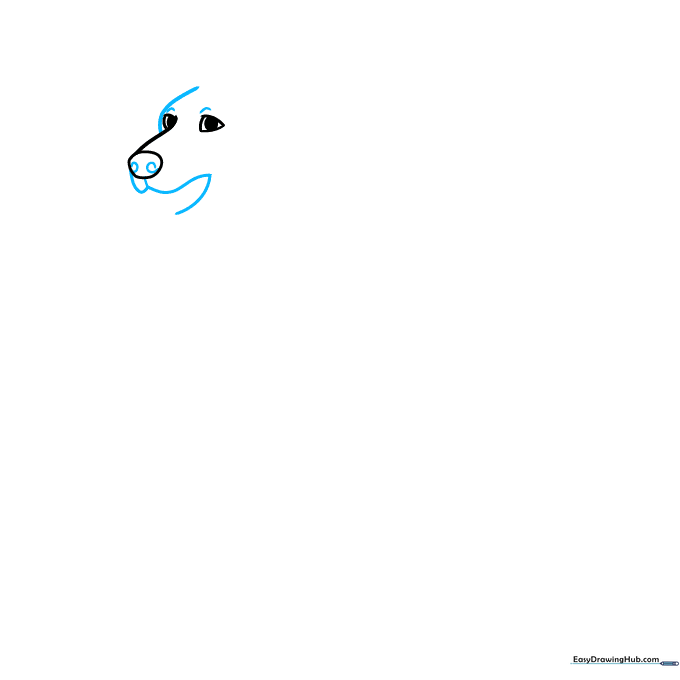
Add character to your dog by drawing the forehead and muzzle using smooth, overlapping curves. Add short, angled lines above the eyes for expressive eyebrows. Teacher's Tip: Use quick, light strokes for the eyebrows to make them look like soft fur.
Step 3: Adding Ears and Mouth
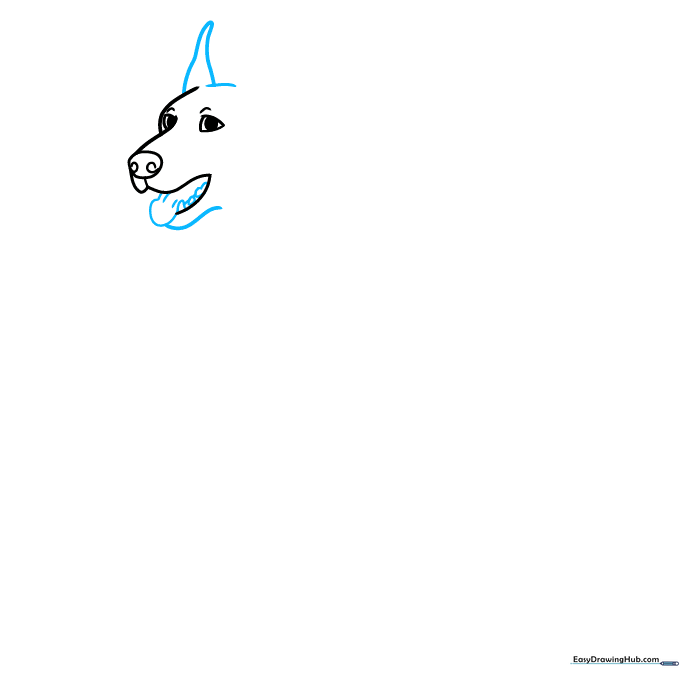
Draw a tall, triangular ear on top of the head and sketch the open mouth below the snout. Include a small tongue and teeth to give your Doberman a friendly, happy expression. Teacher's Tip: Don't worry if the teeth aren't perfect; small, jagged lines work best for a cartoon style.
Step 4: Shaping the Neck and Second Ear
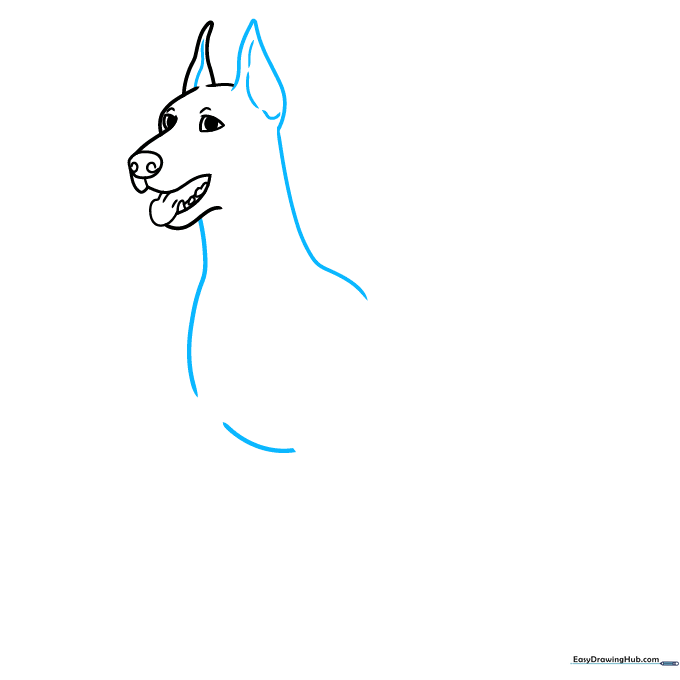
Complete the head by adding the second triangular ear. Extend long, flowing lines downward to create the neck and chest. Teacher's Tip: Use long, confident strokes for the neck to show the Doberman's strong, athletic build.
Step 5: Drawing the Front Leg
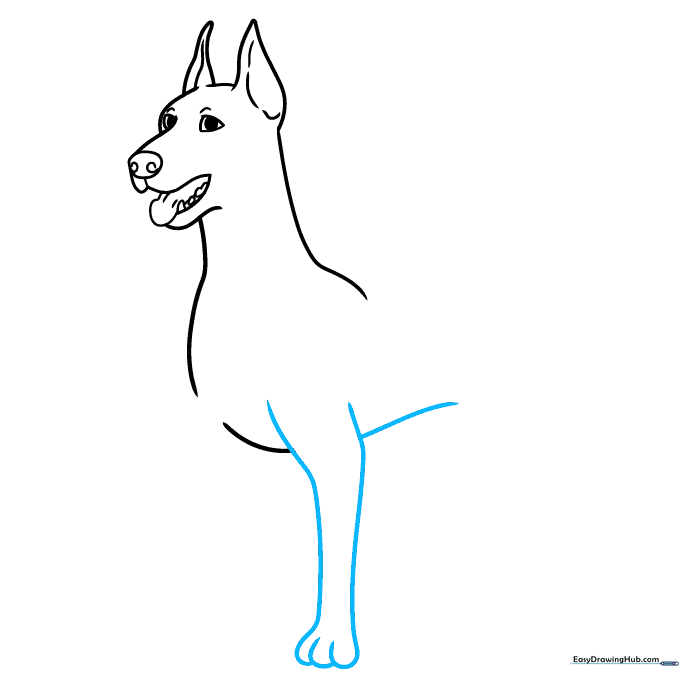
Draw the front leg using two parallel curved lines. Finish the paw with small, overlapping curves for the toes. Connect the leg to the body with a smooth line for the belly. Teacher's Tip: Keep the leg slightly tapered to show the dog's slim, agile frame.
Step 6: Adding the Second Foreleg and Back
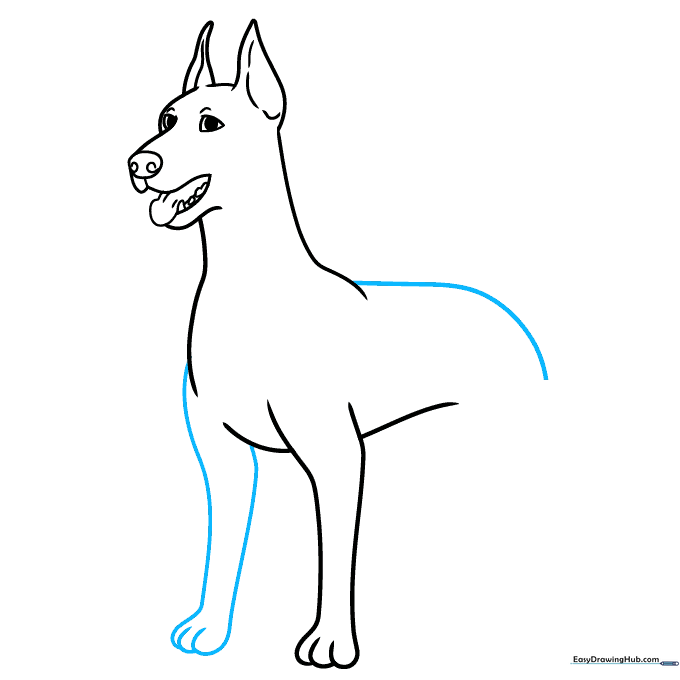
Draw the second front leg behind the first one to create depth. Then, draw a long, sweeping line from the shoulder to form the dog's back and hindquarters. Teacher's Tip: Imagine the dog is standing tall and proud; keep that back line nice and smooth.
Step 7: Sketching the Rear Leg
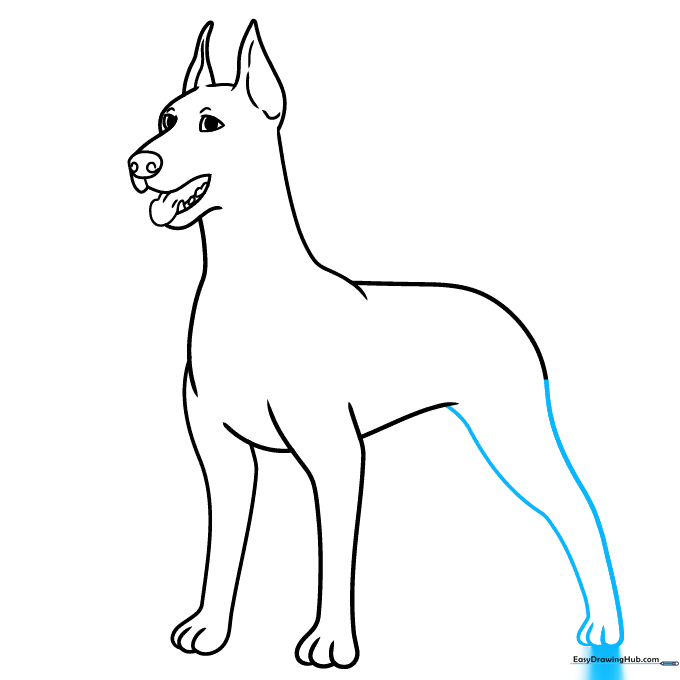
Draw the rear leg at a slight diagonal angle to show movement. Use the same technique of overlapping curves for the toes. Teacher's Tip: The rear leg should look a bit thicker at the top than the front legs to represent the dog's powerful muscles.
Step 8: Completing the Legs
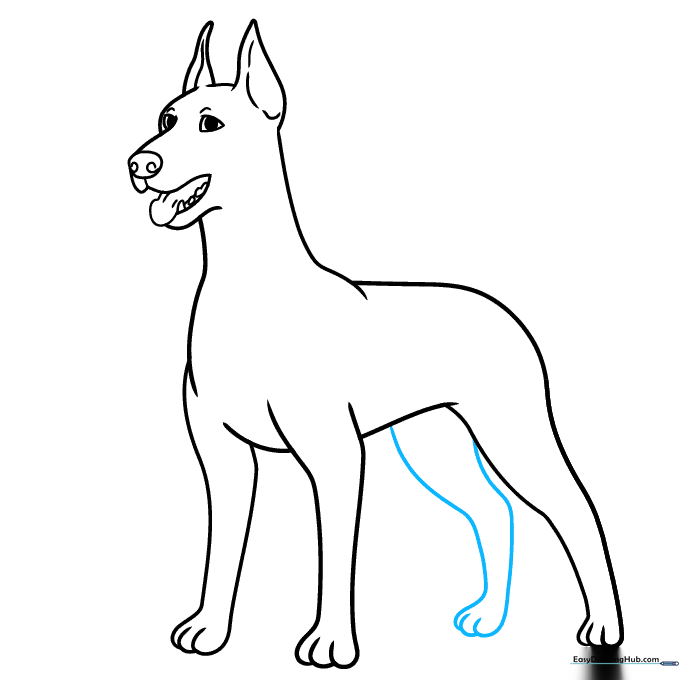
Draw the final rear leg to complete the stance. Ensure the paws align at the bottom so your dog looks like it is standing firmly on the ground. Teacher's Tip: Check your proportions—make sure all four legs look balanced.
Step 9: Adding Final Details
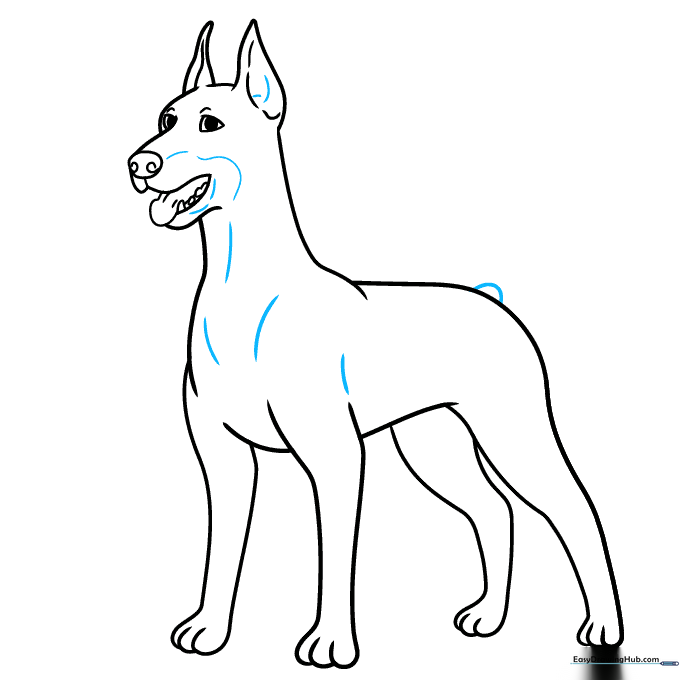
Add a small 'C' shaped tail and use short, light lines to add texture to the chest and ears. These small details bring your drawing to life. Teacher's Tip: Less is more—just a few small lines for fur texture are enough to make it look realistic.
Step 10: Bringing Your Doberman to Life with Color
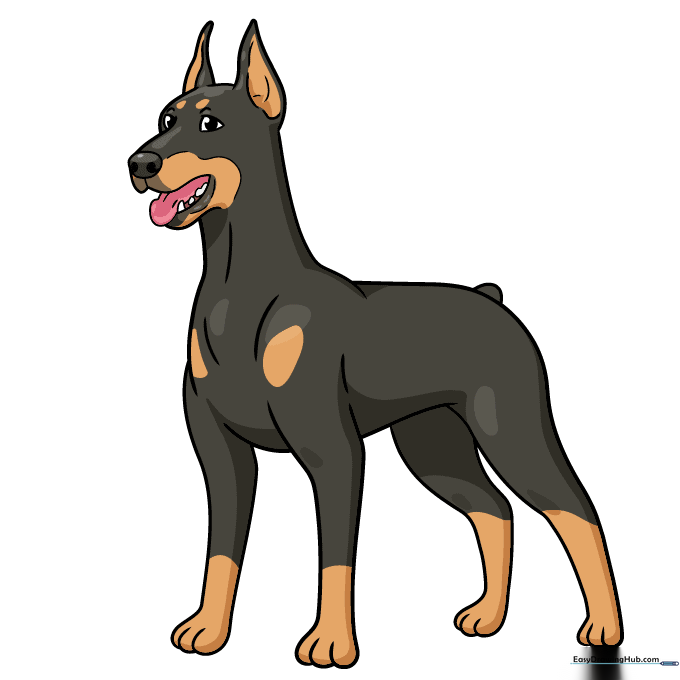
Time to color! Use black for the main body and tan or rust for the markings on the chest, face, and legs. Teacher's Tip: Use light pressure with your crayons or markers to create smooth, even color blocks.
More Tutorials


