How to Draw a Disco Ball: Easy 10-Step Guide for Kids
Ready to bring some sparkle to your sketchbook? This disco ball tutorial is perfect for artists ages 5 and up. You will need a pencil, eraser, and your favorite markers to create this shimmering party icon while practicing geometric shapes and symmetry.
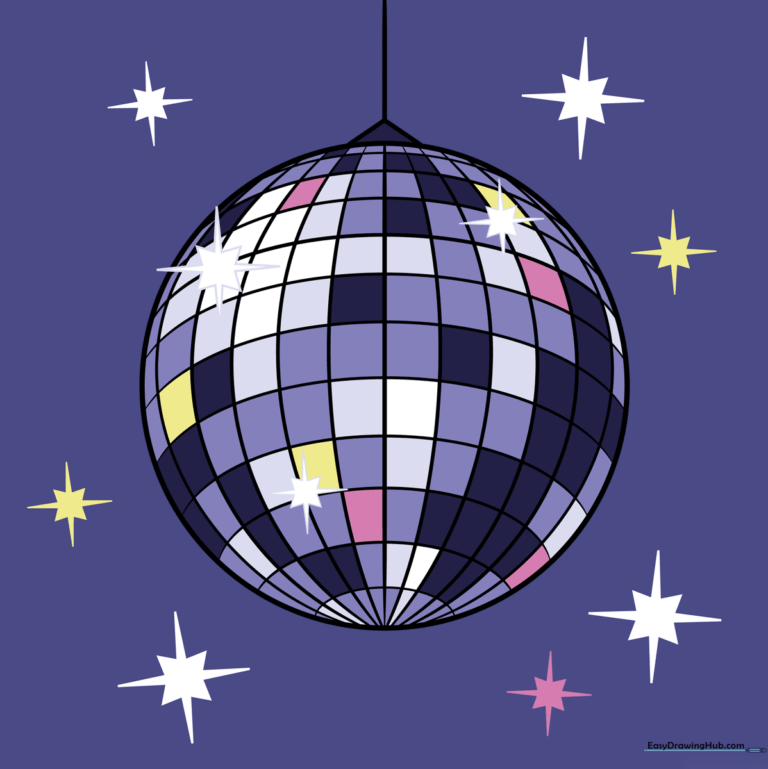
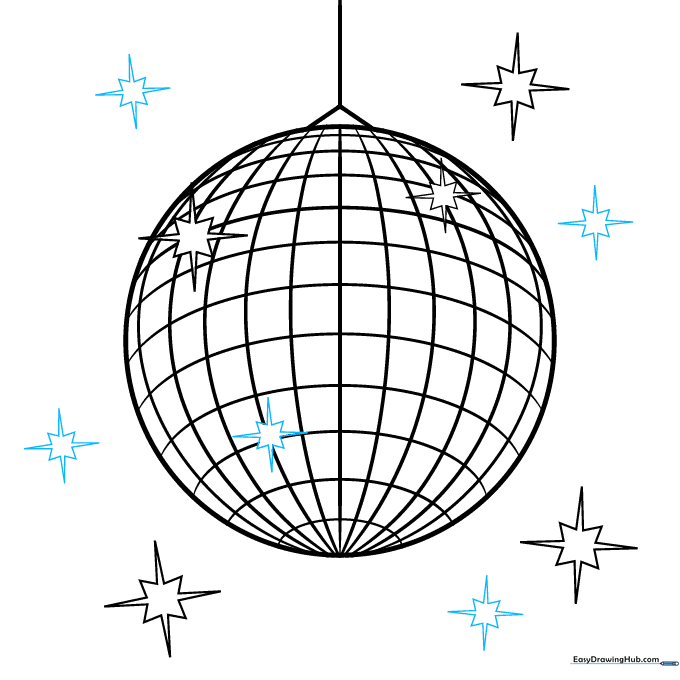
🎯 Final Result
Step-by-Step Instructions
Step 1: Sketching the Base
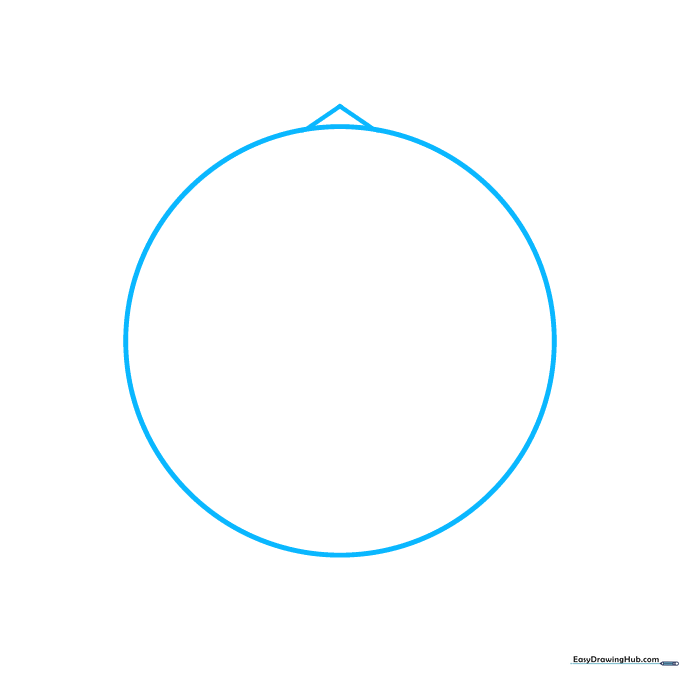
Draw a large, neat circle in the center of your paper, then add a small triangle on top for the hanging loop. Teacher's Tip: Use a light touch with your pencil so you can easily erase any stray lines later.
Step 2: Establishing the Center
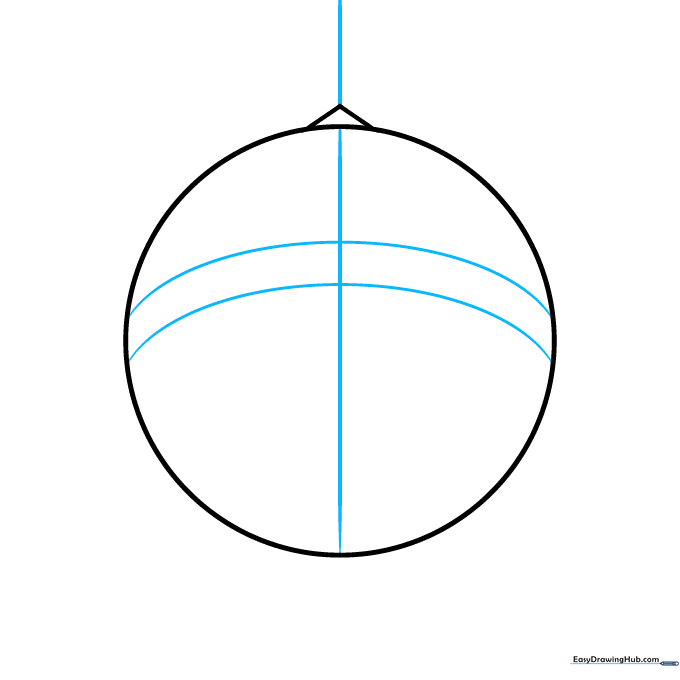
Draw a vertical line from the top triangle down through the center of the circle. Add two curved lines across the middle to create a horizontal stripe. Tip: Keep your curves gentle to help the ball look round.
Step 3: Creating Depth
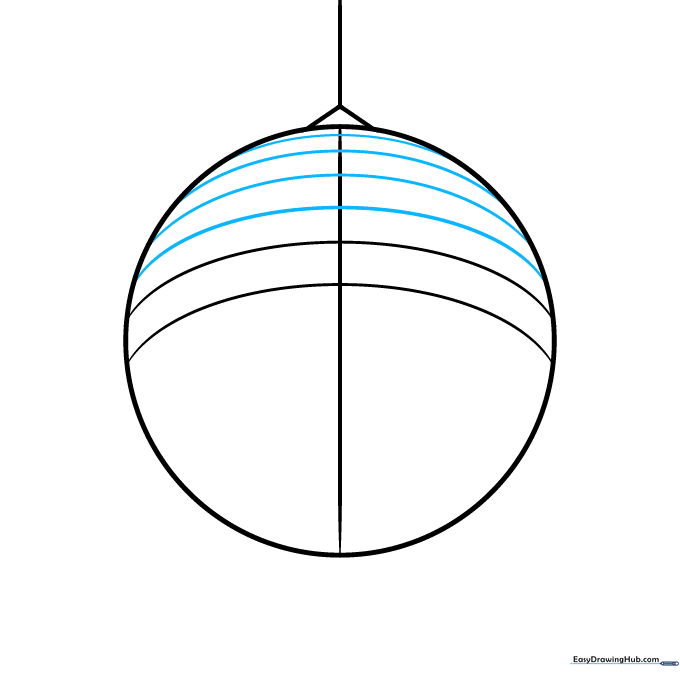
Add four more curved lines, spacing them closer together as you move toward the top. This perspective trick makes the ball look three-dimensional. Tip: Imagine the ball is a globe and follow the curve of the surface.
Step 4: Perspective Lines
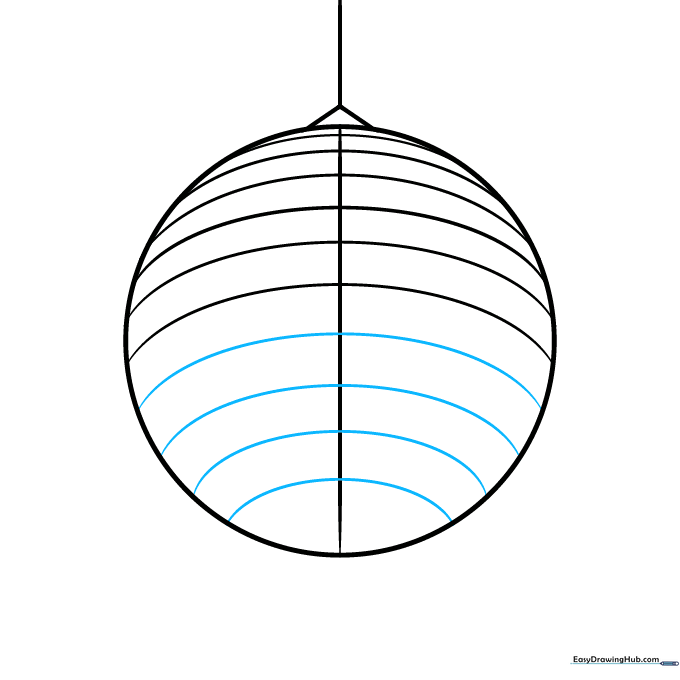
Draw four more curved lines on the bottom half, spacing them further apart. This helps show that we are looking at the ball from below. Tip: Don't worry if the lines aren't perfect; disco balls are all about movement!
Step 5: Crosshatching the Grid
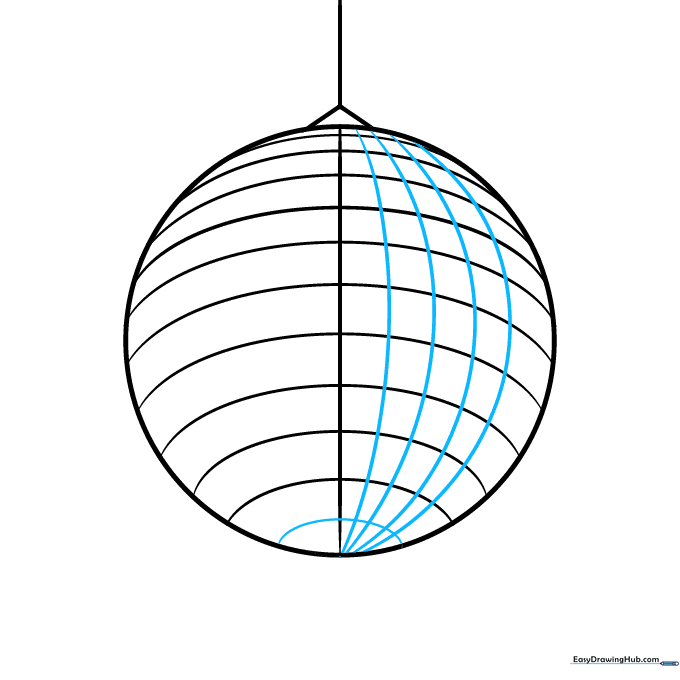
Add a curve at the bottom and sketch four vertical curved lines to create a crosshatch pattern. Connect them at the bottom to define the mirror tiles. Tip: Keep your hand steady to ensure the lines look like a grid.
Step 6: Completing the Pattern

Add a fifth vertical line on the right, then four more on the left. Repeat the crosshatch pattern in the opposite direction. Tip: Focus on keeping the 'tiles' roughly the same size for a professional look.
Step 7: Adding Sparkle
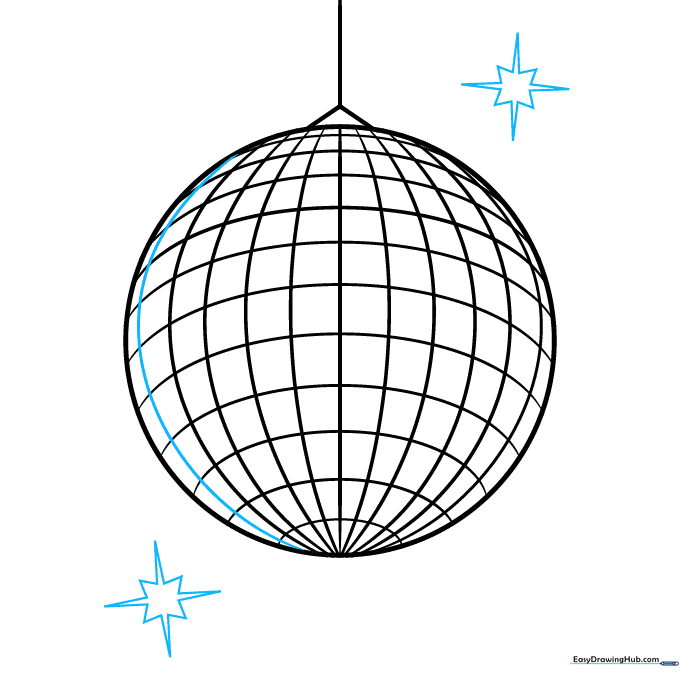
Add a final vertical line on the left. Now, draw two stars around the ball using diamond shapes with long, pointed tips. Tip: Draw the diamond first, then add the points to make the stars look sharp and bright.
Step 8: More Stars
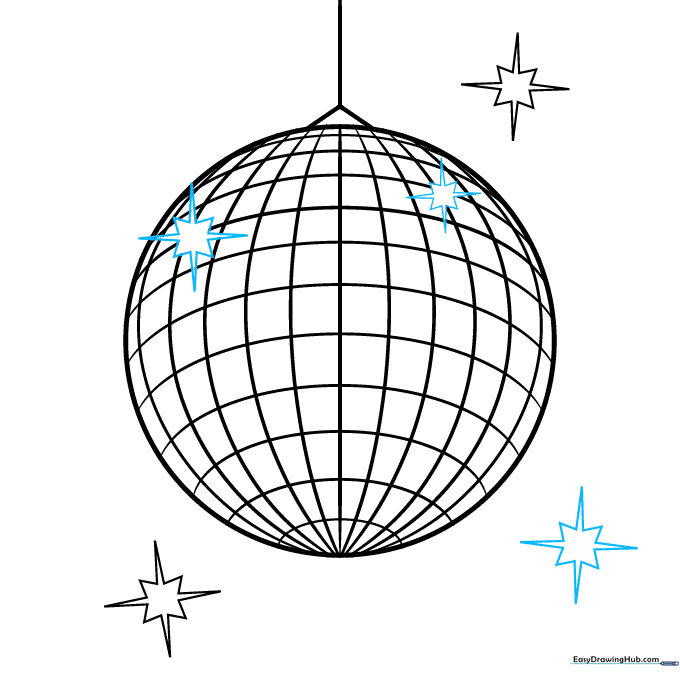
Draw another star in the background and two more directly on the ball. Vary the sizes to make it look more natural. Tip: A smaller star adds a nice sense of distance.
Step 9: Final Outlining
Add one more small star on the ball and four in the background. Use a black pen to outline the ball, but leave the stars unoutlined for now. Tip: Use a steady hand to make your lines pop.
Step 10: Adding Color

Bring your drawing to life with shades of pink, yellow, white, light purple, and dark violet. Outline the stars in purple and leave the centers white to make them glow. Tip: Use light colors for the ball to mimic reflective mirrors.
More Tutorials


