How to Draw a Dirt Bike: Easy 10-Step Guide for Kids
Ready to hit the tracks? This tutorial is perfect for young artists ages 6+ who want to draw a high-energy dirt bike. You will need a pencil, an eraser, and a piece of paper to get started. Follow along to master the mechanical shapes that bring this off-road machine to life.
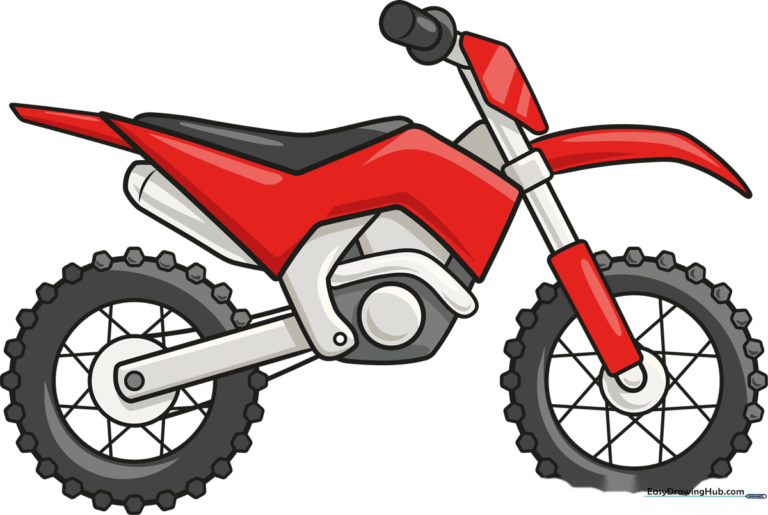
🎯 Final Result
Step-by-Step Instructions
Step 1: Sketching the Wheels

Draw two circles of equal size to form the base of your wheels. Teacher's Tip: Keep your pencil pressure light so you can easily adjust the placement if they aren't perfectly aligned.
Step 2: Defining the Front Wheel
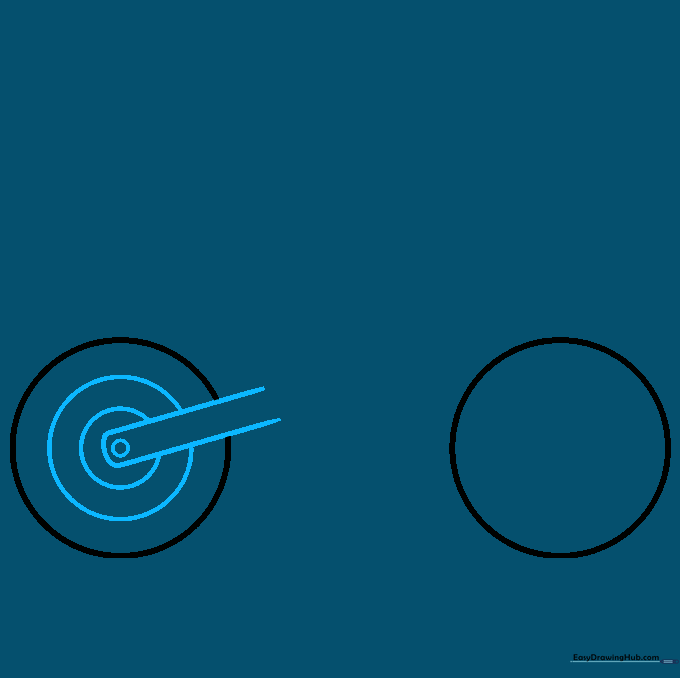
Draw parallel lines through the center of the front wheel and connect them to create the axle. Add smaller concentric circles inside to define the tire and rim. Tip: Use a circular object like a coin if you need help keeping your inner circles steady.
Step 3: Defining the Rear Wheel

Repeat the process for the rear wheel by adding parallel lines and concentric circles. Tip: Ensure the rear wheel matches the size of the front wheel to keep the bike looking balanced.
Step 4: Sketching the Engine

Draw a series of irregular shapes between the wheels to represent the engine block. Add a large circle in the center for the gear housing. Tip: Think of the engine as a collection of small boxes and circles clustered together.
Step 5: Building the Frame
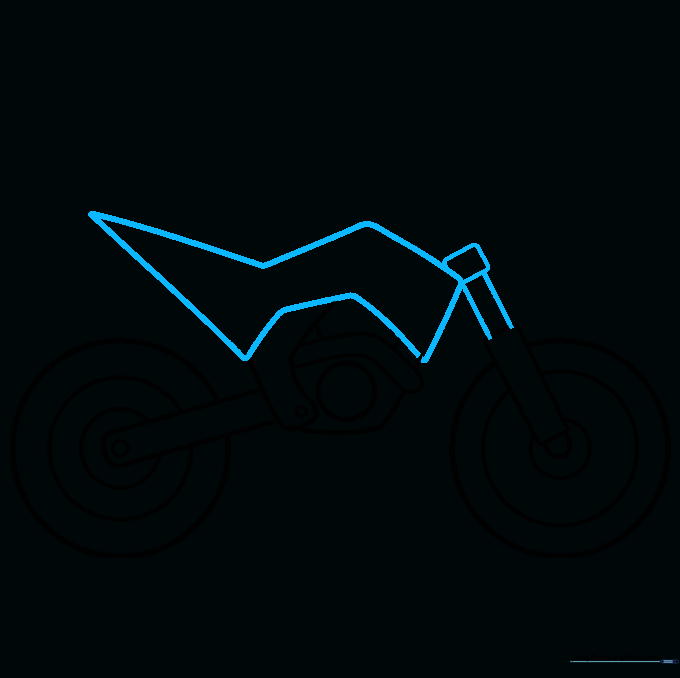
Draw a zigzag shape for the main body frame and extend two lines upward from the front wheel to create the fork. Add a small rectangle at the top of the fork. Tip: Keep your lines sharp and angular to give the bike a rugged, sporty look.
Step 6: Adding the Front Panel
Outline the pointed front panel using curved lines and add a rounded shape for the headlight area. Tip: Imagine the front panel as a shield protecting the rider.
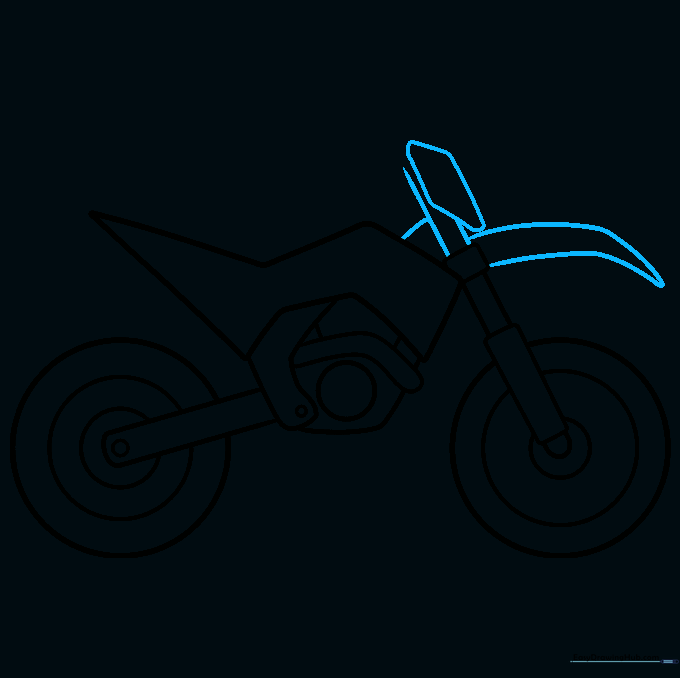
Step 7: Drawing the Handlebars
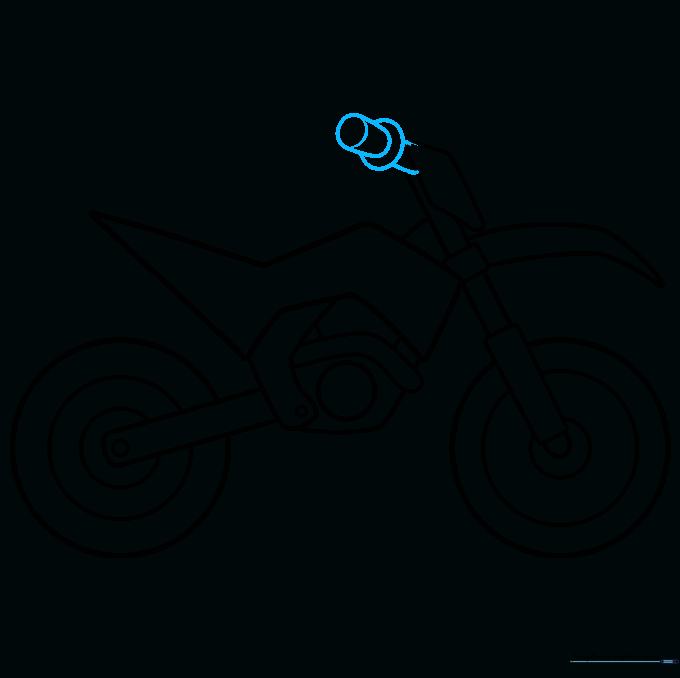
Extend lines from the fork to create the handlebars, finishing them with a cylinder shape for the grips. Tip: Make sure the handlebars look wide enough for a rider to hold comfortably.
Step 8: Completing the Body

Use smooth, curved lines to draw the seat and the exhaust pipe. Connect these to the main body. Tip: A slightly curved line for the seat makes the bike look more realistic and comfortable.
Step 9: Adding Tire Treads and Spokes
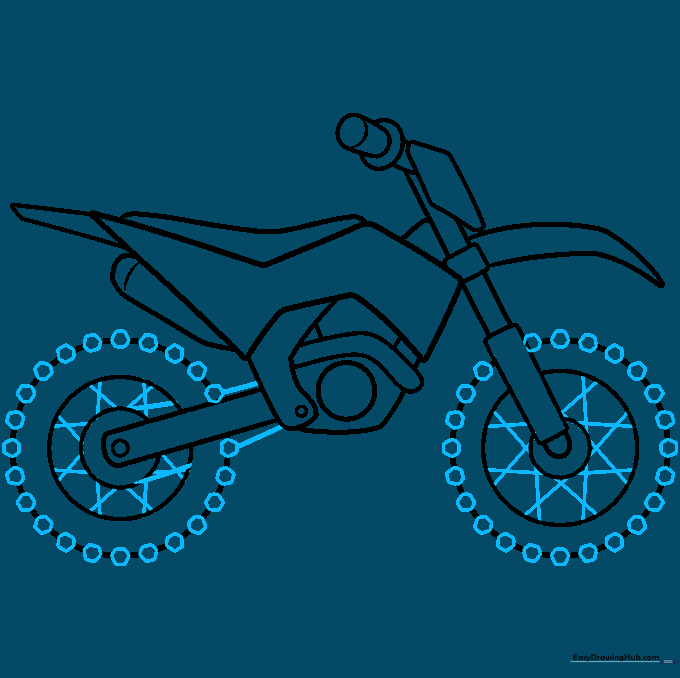
Add small hexagons around the tires for tread and straight lines for the wheel spokes. Tip: Take your time with the hexagons—they don't have to be perfect, just consistent around the tire edge.
Step 10: Final Touches and Color
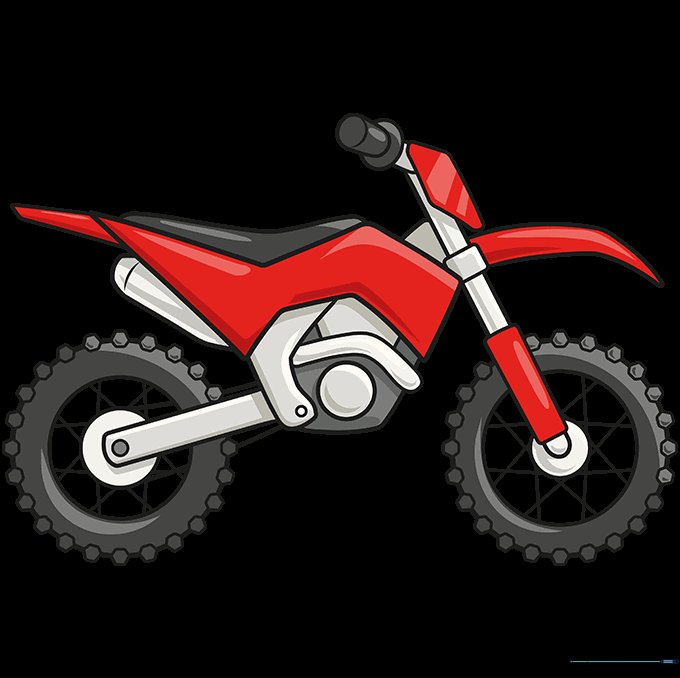
Erase any unnecessary guide lines and add your favorite colors! Tip: Use bright colors like orange or blue for the body panels to make your dirt bike pop.
More Tutorials


