How to Draw a Diamond Ring: Easy 10-Step Guide
Looking to add some sparkle to your sketchbook? This tutorial is perfect for young artists and beginners, requiring only a pencil, eraser, and paper. Follow these simple steps to master the geometry of a classic diamond ring and build your confidence in drawing intricate jewelry.
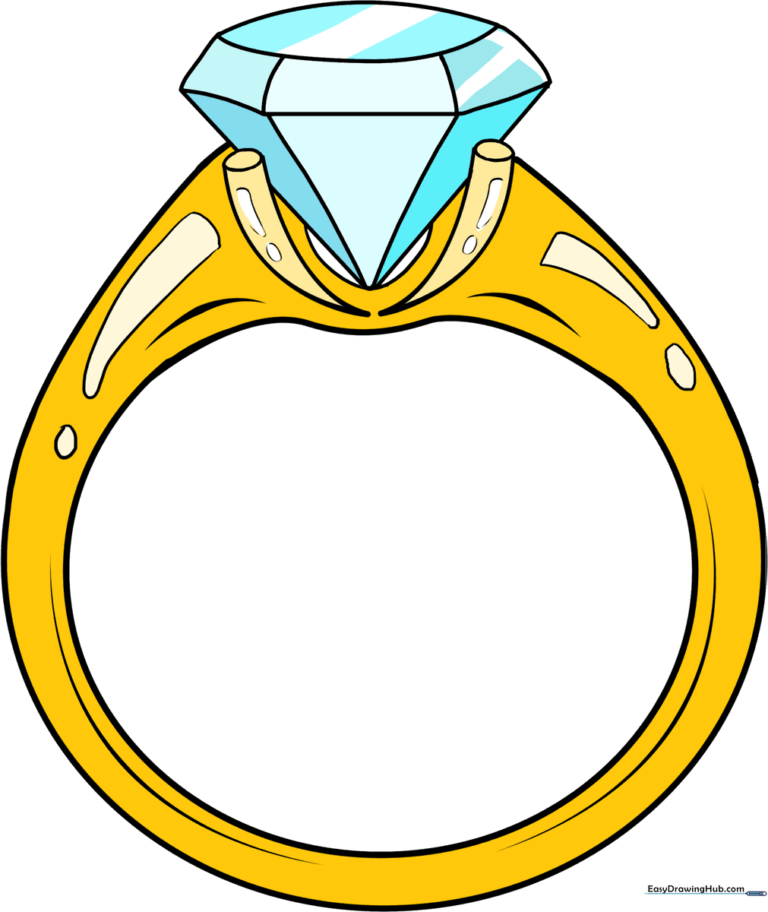
🎯 Final Result
Step-by-Step Instructions
Step 1: Sketching the Outer Band

Begin by drawing a large, neat circle. This forms the outer edge of your ring's band. Teacher's Tip: Keep your pencil pressure light so you can easily adjust the shape if it looks a bit wobbly.
Step 2: Defining the Band Thickness
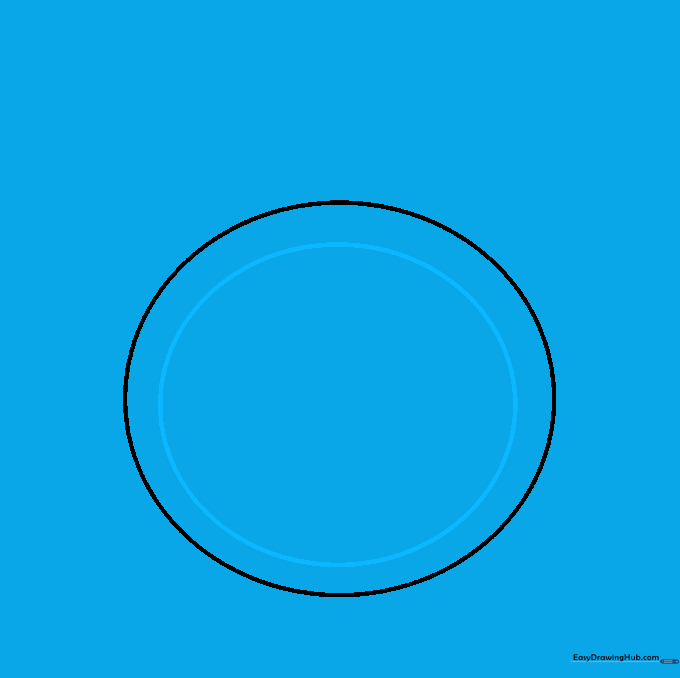
Draw a smaller circle inside the first one to create the inner edge of the band. Teacher's Tip: Try to keep the space between the two circles even all the way around for a professional look.
Step 3: Creating the Shoulders

Draw two slightly curved lines extending upward from the sides of the ring to form the shoulders. Teacher's Tip: Think of these as the 'arms' that reach up to hold the diamond securely.
Step 4: Adding the Bridge
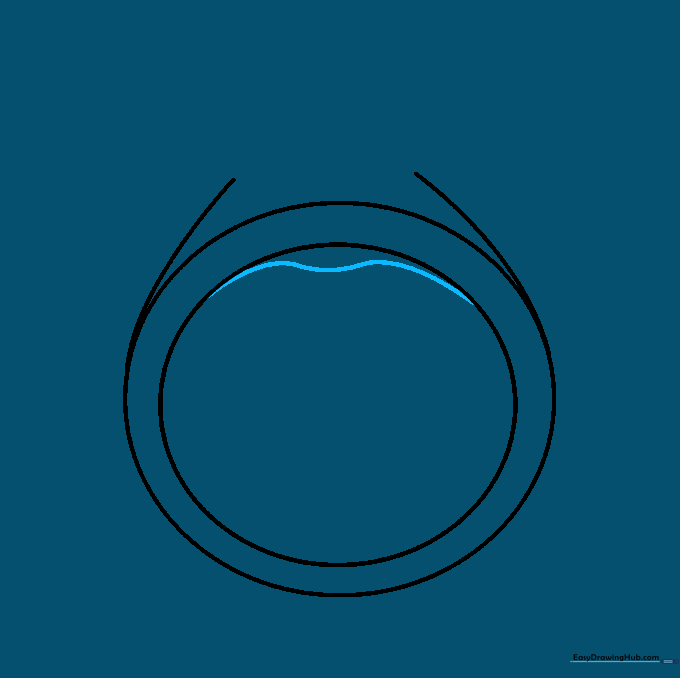
Draw a curved line across the inside top of the band to create the bridge. Teacher's Tip: This small detail adds depth and makes your drawing look three-dimensional.
Step 5: Cleaning Your Lines

Carefully erase the extra guide lines from the shoulders and bridge area. Teacher's Tip: Use a clean eraser and gentle strokes so you don't smudge your work.
Step 6: Drawing the Prongs

Draw small ovals and pointed 'U' shapes at the top to represent the prongs. Teacher's Tip: Prongs hold the stone in place, so make sure they look like they are gripping the center space.
Step 7: Sketching the Diamond
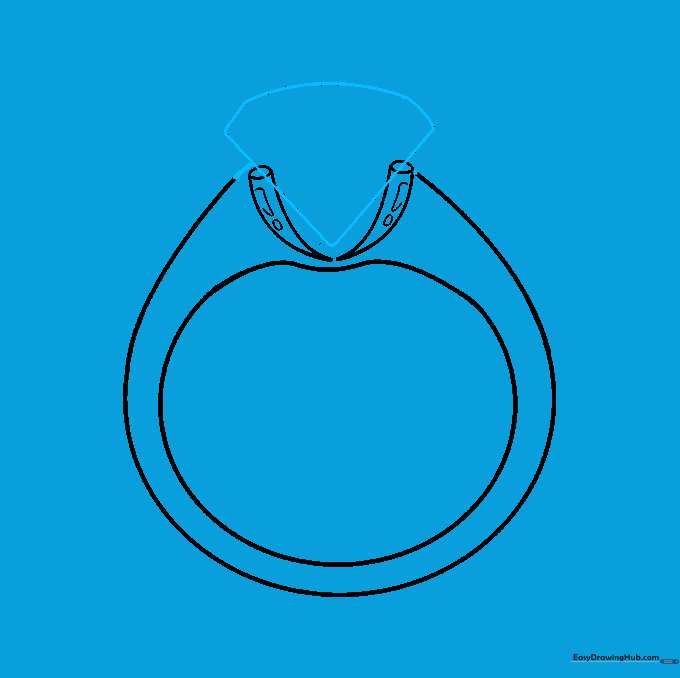
Draw the center stone by sketching diagonal lines that meet at a sharp point. Teacher's Tip: Keep your lines straight and crisp to mimic the facets of a real cut diamond.
Step 8: Adding Facet Details
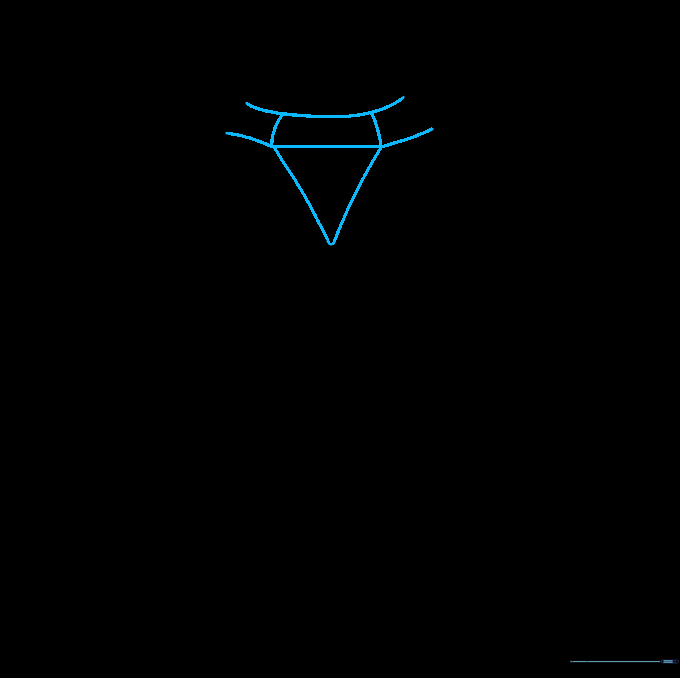
Erase overlapping lines on the prongs, then add an upside-down triangle inside the diamond to represent its facets. Teacher's Tip: These inner lines create the 'sparkle' effect when you color it later.
Step 9: Final Touches
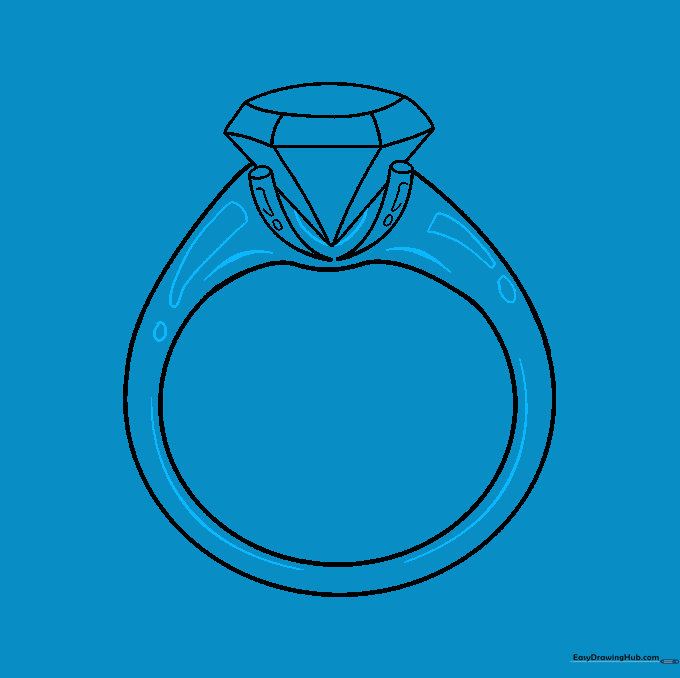
Add small triangular shapes to the shoulders and circles for the galleries. Teacher's Tip: These final details make your ring look like a piece of high-end jewelry.
Step 10: Bringing It to Life with Color
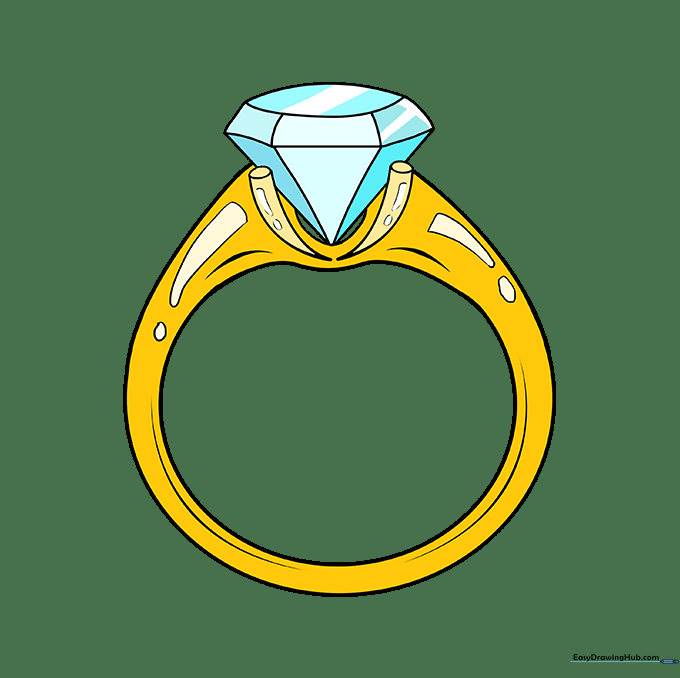
Color your ring! Use metallic yellows or greys for the band and light blues or whites for the diamond. Teacher's Tip: Leave small white spaces on the diamond to represent light reflecting off the facets.
More Tutorials


