How to Draw a Diamond: Easy 10-Step Guide for Kids
Ready to add some sparkle to your sketchbook? This tutorial is perfect for artists ages 5 and up, using only a pencil, eraser, and paper. Follow these simple steps to master geometric shapes and create a brilliant, faceted diamond design.
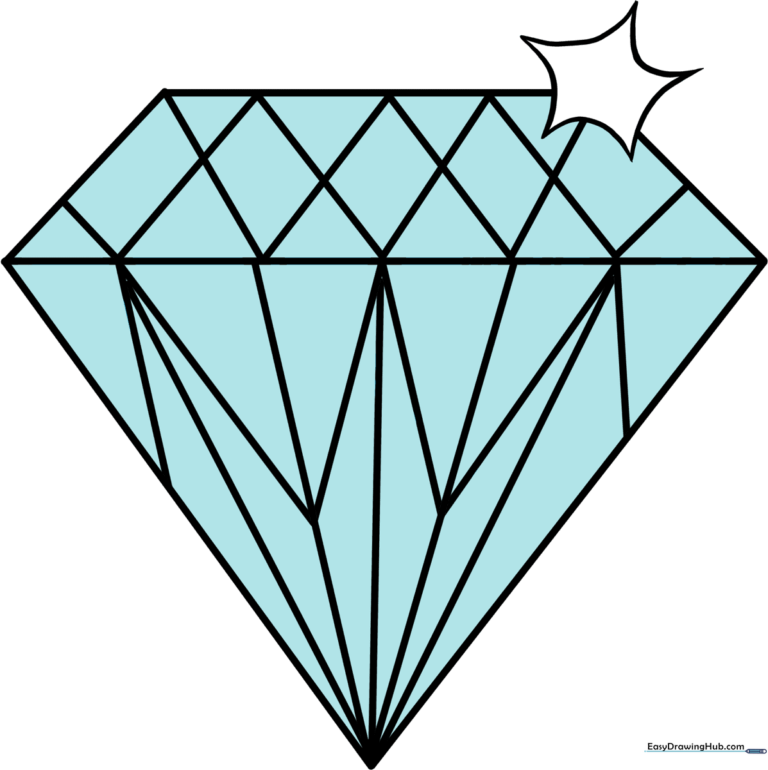
🎯 Final Result
Step-by-Step Instructions
Step 1: The Top Edge

Draw a straight, horizontal line to create the top of your diamond. Teacher's Tip: Use a ruler if you want it perfectly straight, but freehand is great for building steady hand control!
Step 2: The Girdle

Draw a second, slightly longer horizontal line parallel to the first. This represents the widest part of the diamond. Tip: Keep your lines light so you can easily adjust them if needed.
Step 3: Defining the Shape

Connect the ends of your horizontal lines to form a trapezoid at the top, then draw two diagonal lines meeting at a point at the bottom to create a triangle. You’ve just built the diamond’s silhouette!
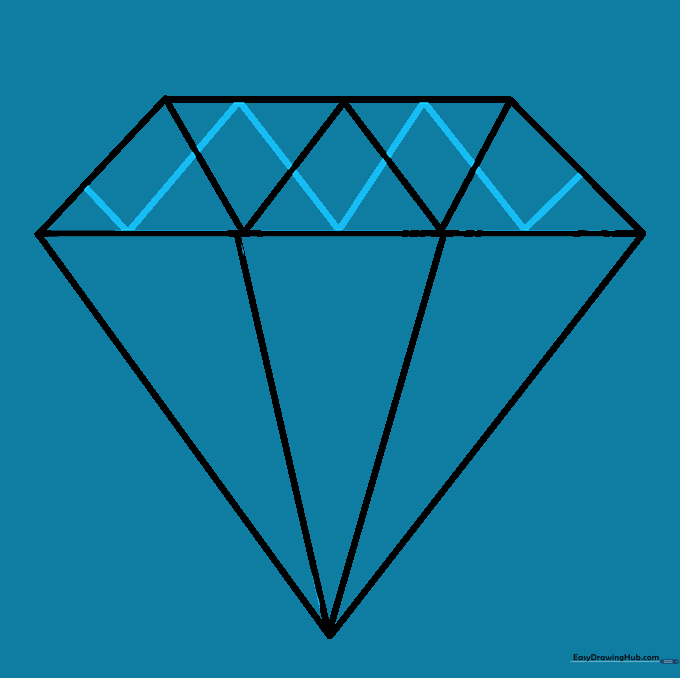
Step 4: Adding Top Facets

Draw small triangles within the top section using short, straight lines. These represent the facets that catch the light. Tip: Don't worry about them being perfectly symmetrical; diamonds have many unique angles.
Step 5: Lower Facets

Divide the bottom triangle into three smaller sections by drawing lines from the center point up to the horizontal line. This adds depth to your drawing.
Step 6: Refining the Top
Add a zigzag pattern across the top facets. This creates the illusion of a complex cut. Tip: Keep your pencil pressure consistent for clean, sharp lines.
Step 7: Lower Detail
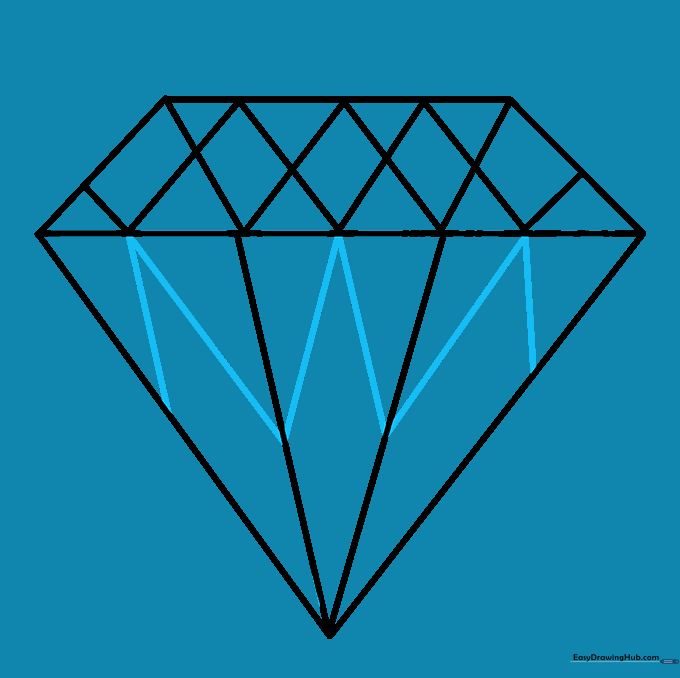
Divide the lower facets further by drawing lines that create smaller triangles and rhombuses. This makes the diamond look professional and multi-dimensional.
Step 8: Final Facet Lines

Add a final line in each lower facet, connecting the tips of your shapes. This adds the last bit of structural detail to your drawing.
Step 9: Adding Sparkle

Draw a small starburst shape near the top to represent a glint of light. Tip: Use your eraser to clean up any overlapping guide lines for a polished look.
Step 10: Bring It to Life with Color

Time to color! Use light blues for a classic look, or experiment with rainbow colors to show how diamonds reflect light. Remember: diamonds can be any color of the rainbow!
More Tutorials


