How to Draw a Demon Face: Easy Step-by-Step Guide
Ready to bring a mythical character to life? This tutorial is perfect for young artists ages 7+ looking to practice symmetrical character design. All you need is a pencil, an eraser, and a piece of paper to start building your own spooky masterpiece.
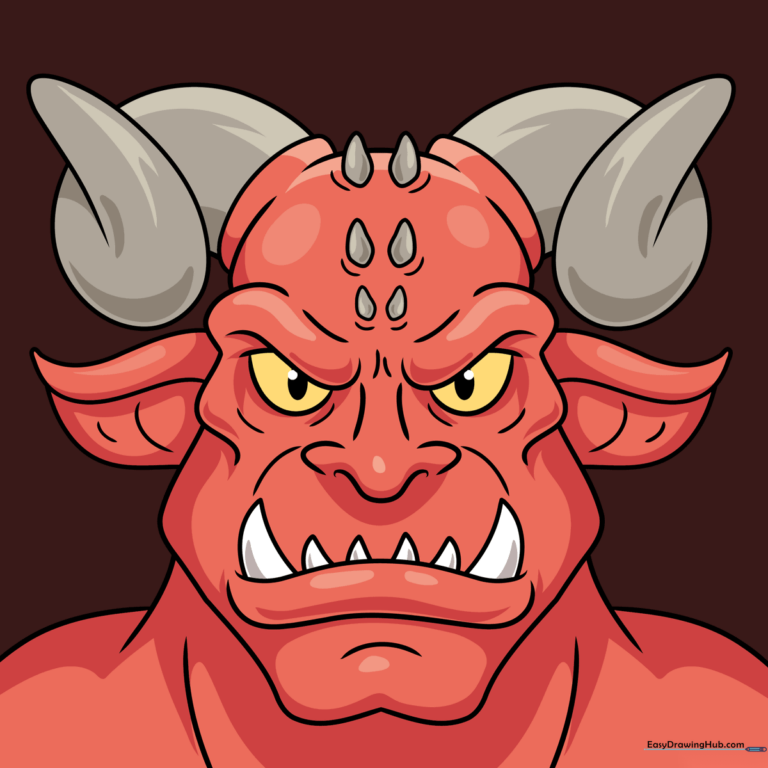
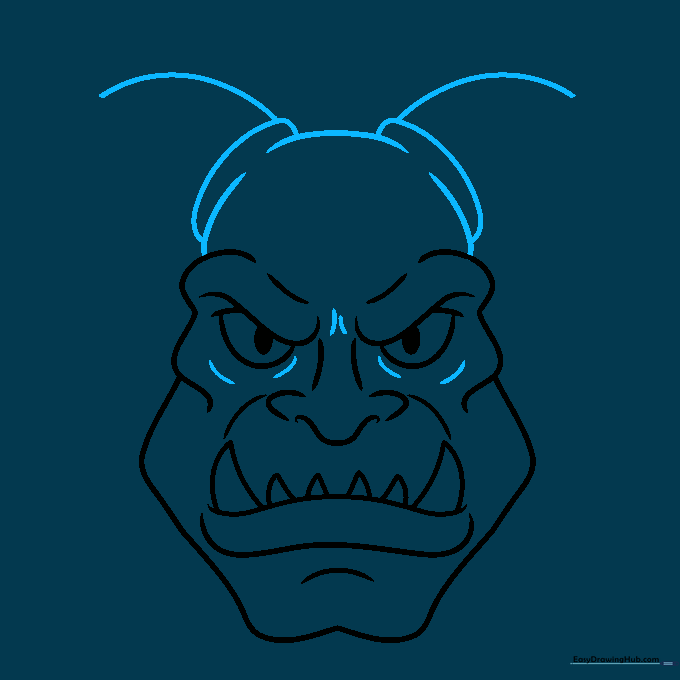
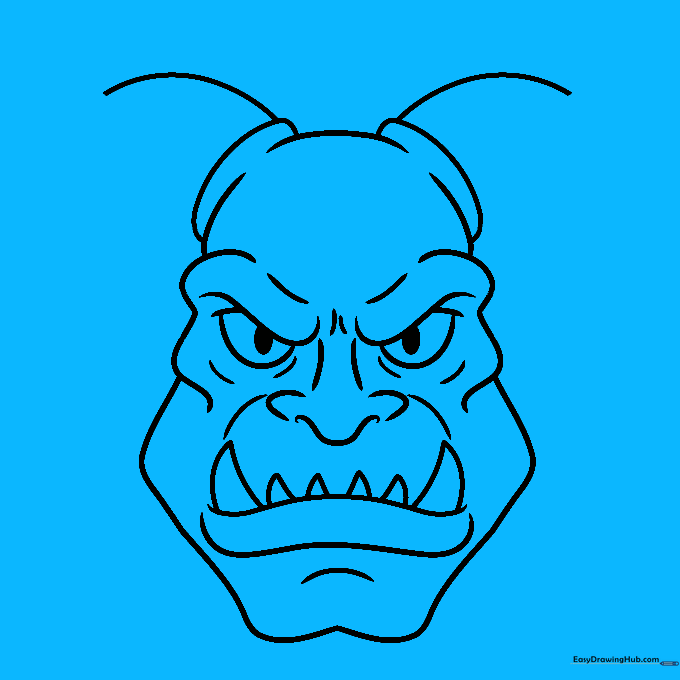
🎯 Final Result
Step-by-Step Instructions
Step 1: Establishing the Head Shape

Draw a lemon-shaped outline with a small hook on top to define the skull. Inside, sketch a light oval to serve as the eye socket. Tip: Keep your pencil pressure light so these guidelines can be easily removed later.
Step 2: Mirroring the Features
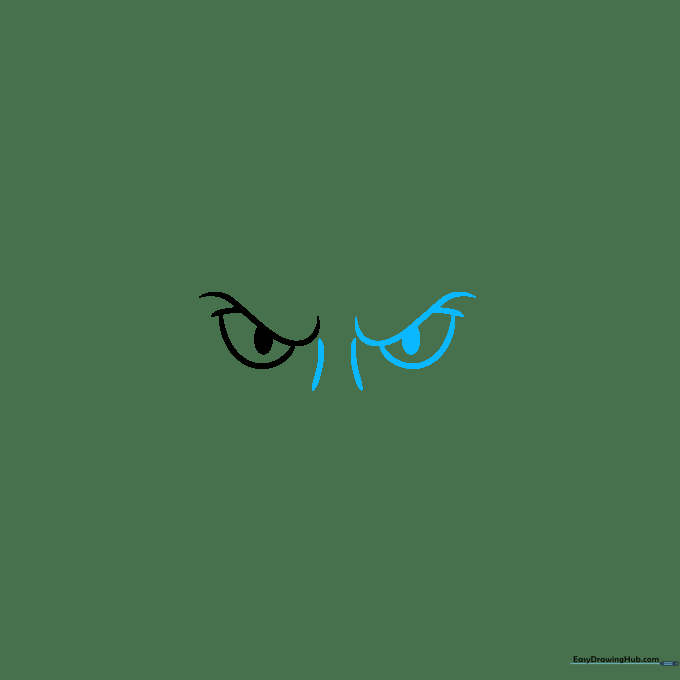
Repeat the eye shape on the opposite side to maintain symmetry. Connect the two eyes with two small horizontal lines. Tip: Use your fingers to measure the distance from the center to ensure both eyes are balanced.
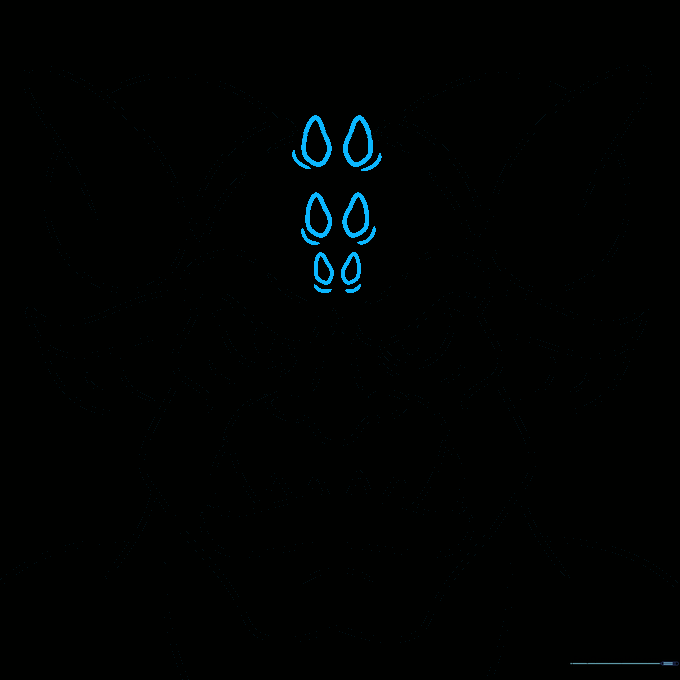
Step 3: Defining the Nose and Mouth

Sketch three hook shapes to form the bridge of the nose. Add a wavy line for the mouth and two sharp triangles for the fangs. Tip: Make the fangs slightly different sizes to give the character a more dynamic, 'cartoonish' look.
Step 4: Adding Depth to the Jaw
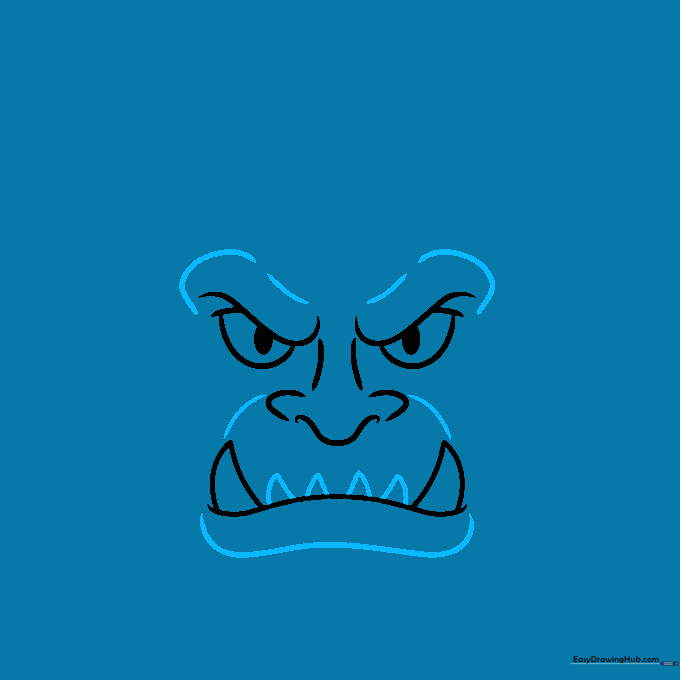
Draw a secondary wavy line beneath the mouth to define the lower jaw. Add more triangles for the bottom teeth and curved lines to suggest muscle structure. Tip: Use smooth, flowing curves to make the face look more expressive.
Step 5: Shaping the Head Outline
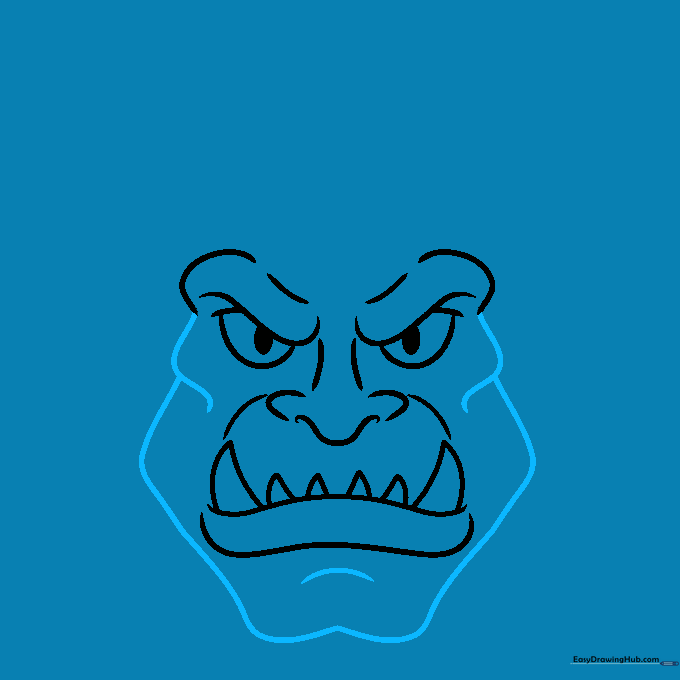
Outline the head using two small waves near the eyes, then connect two large rounded triangles with 'hill' shapes at the bottom. Tip: Don't worry if the lines aren't perfect; cartoon characters look great with slightly irregular features.
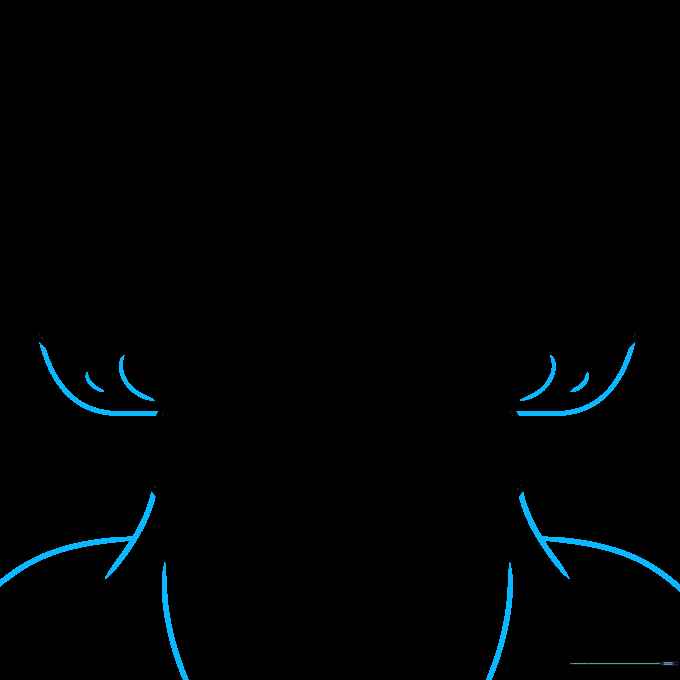
Step 6: Adding Cranial Details
Draw a dome on top of the head. Add two cylinders on the sides with horizontal curves to create depth. Sketch lines around the eyes to emphasize the brow. Tip: Focus on the 'c' curves to make the shapes look 3D.
Step 7: Drawing Horns and Ears
Sketch ovals on top of the head and curve them upward to form pointed horns. Use wavy lines to start the ears on the sides. Tip: Vary the length of the horns to give your demon a unique, asymmetrical flair.
Step 8: Refining Ears and Neck
Use curved lines to finish the ears. Add vertical and horizontal curves under the head to create the neck. Tip: Adding a neck helps ground the head and makes the character look more substantial.
Step 9: Final Horn Details
Add smaller rounded triangles near the main horns. Sketch a curved line under each horn to create a sense of volume. Tip: These small details add a professional, finished look to your character design.
Step 10: Adding Color and Contrast
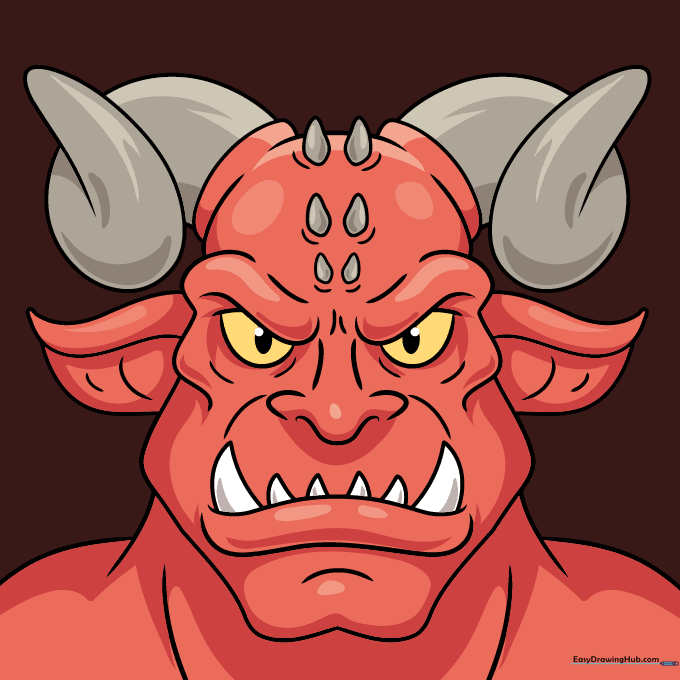
Outline your drawing with a black marker. Color the face in reddish-orange, using three shades to create highlights and shadows. Use yellow for the eyes and grey for the horns. Keep teeth white for a clean contrast. Tip: Use a light grey to shade the teeth for a more realistic, spooky effect.
More Tutorials


