How to Draw a Demon: Easy Step-by-Step Guide for Beginners
Looking for a fun, slightly spooky character to add to your sketchbook? This tutorial is perfect for artists ages 6+ who want to practice drawing fantasy creatures. You only need a pencil, an eraser, and some paper to bring this little demon to life.
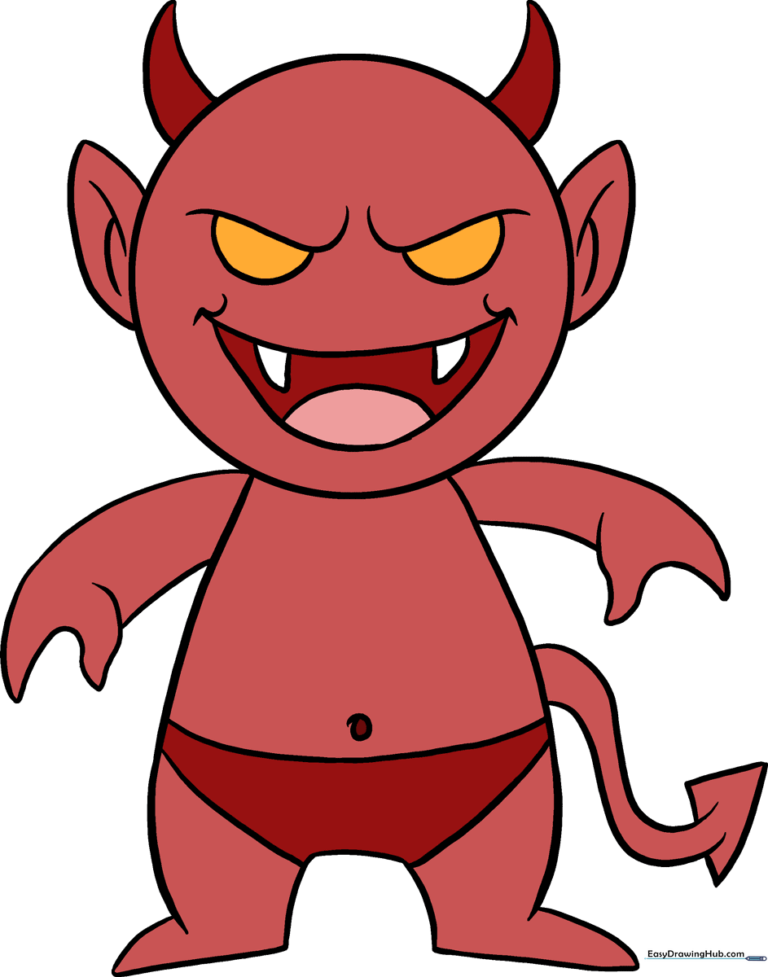
🎯 Final Result
Step-by-Step Instructions
Sketching the Head

Start by drawing a circle for the head. Teacher's Tip: Keep your pencil pressure light so you can easily erase any guidelines later if you decide to add accessories.
Outlining the Body
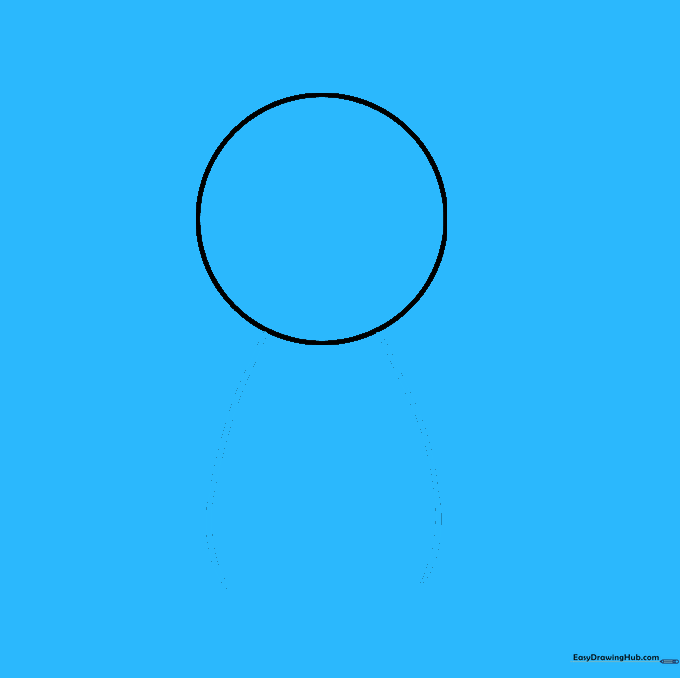
Draw two long, curved lines extending downward from the head to create the torso. Teacher's Tip: Make these lines slightly wider at the bottom to give your character a sturdy stance.
Defining the Legs and Feet

Enclose the bottom of the body with a curved line, adding two rounded points for the feet. Teacher's Tip: Think of these as little 'boot' shapes to help keep the character balanced.
Drawing the First Arm

Use curved lines to sketch the arm and hand. Create an upside-down 'U' shape for the hand. Teacher's Tip: Keep the hand small to maintain the character's cute, cartoonish proportions.
Adding the Second Arm

Repeat the process on the other side to draw the second arm. Teacher's Tip: Try to mirror the curve of the first arm so the character looks symmetrical and balanced.
Adding Clothing and Details

Draw a curved line across the waist for clothing and a small circle for the belly button. Teacher's Tip: Adding small details like a belly button gives your character more personality.
Sketching the Tail
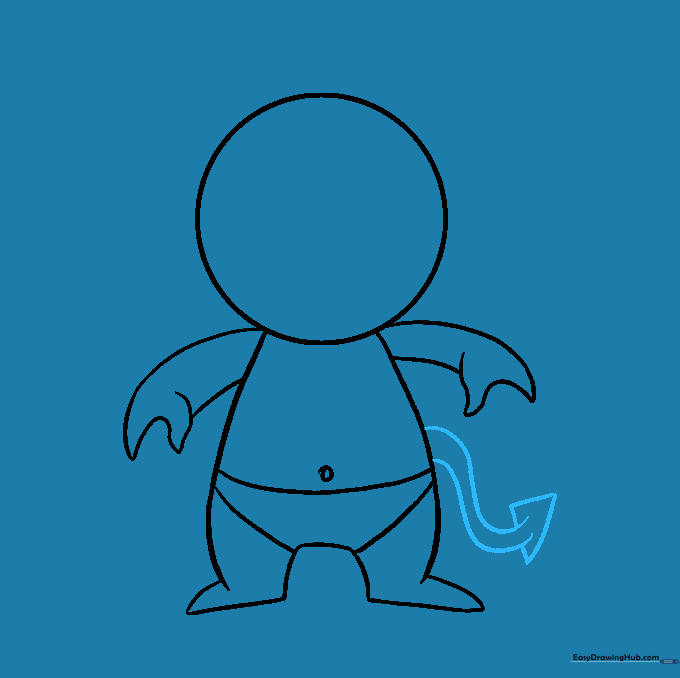
Draw two parallel 'S' shaped lines for the tail, finishing with a triangle tip. Teacher's Tip: Make the tail curve naturally to suggest movement.
Adding Ears and Horns
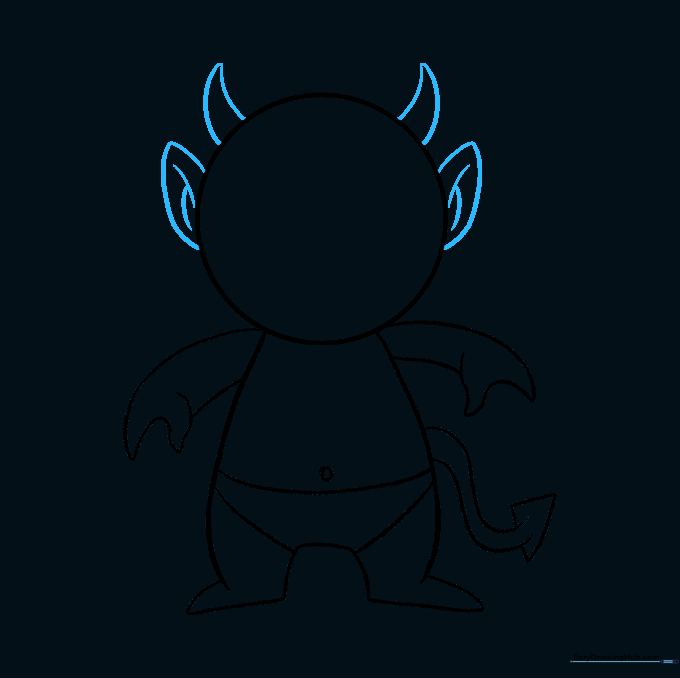
Draw pointed ears on the sides of the head and two slanted triangles for horns. Teacher's Tip: Keep the horns sharp to emphasize the 'demon' theme.
Drawing the Face
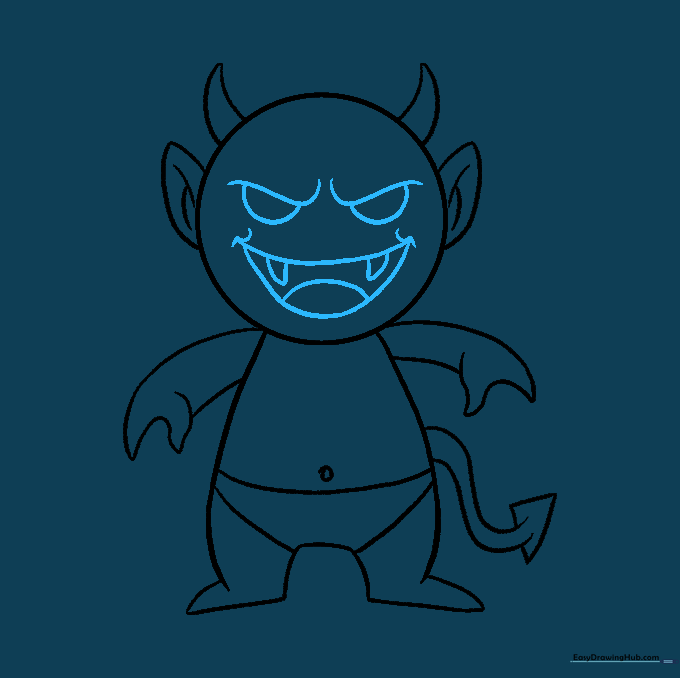
Draw a snarling mouth with sharp teeth and two half-circles for eyes under curved brows. Teacher's Tip: Use a 'squiggle' line in the corners of the mouth to create a more expressive, grumpy look.
Coloring Your Demon
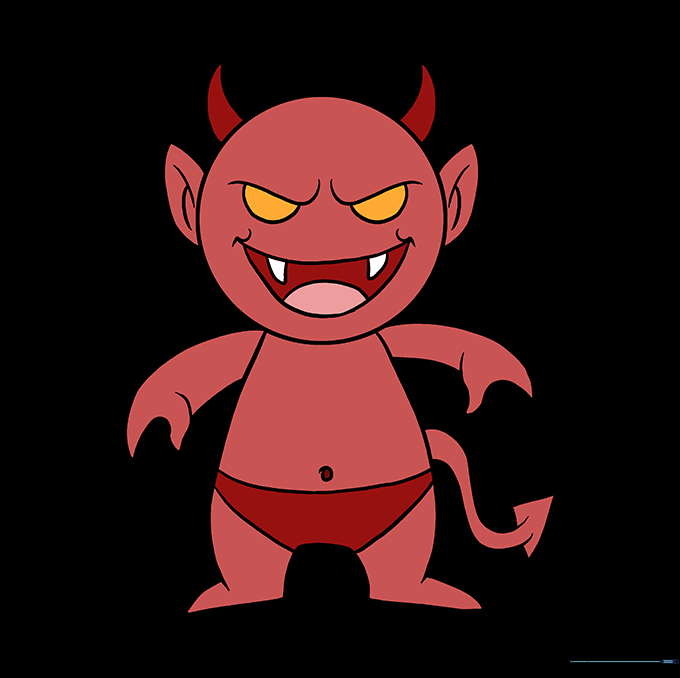
Bring your drawing to life with color! Traditionally, demons are red, but feel free to use purple or orange. Teacher's Tip: Use a darker shade of your main color to add shadows under the chin and arms for depth.
More Tutorials


