How to Draw a Deer Skull: Easy 10-Step Guide
Ready to capture the rustic beauty of nature? This tutorial is perfect for artists ages 8+ looking to practice symmetry and organic shapes. Grab a pencil, an eraser, and a piece of paper to follow along as we build this detailed deer skull from the ground up.
🎯 Final Result

Step-by-Step Instructions
Step 1: Sketching the Cranium

Start by drawing the main outline of the skull with a long, smooth curved line. Teacher's Tip: Keep your pencil pressure light so you can easily refine the shape of the eye sockets later.
Step 2: Defining the Mid-Skull
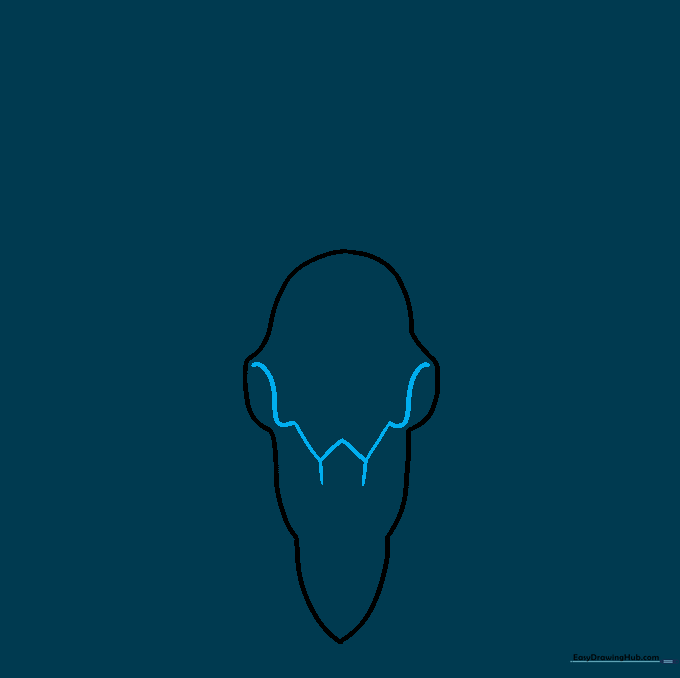
Draw a 'W' shaped line across the center. Add 'S' curves near the eye sockets to create depth. Teacher's Tip: Focus on keeping the 'W' centered to ensure your skull looks balanced.
Step 3: Adding the Nasal Cavity
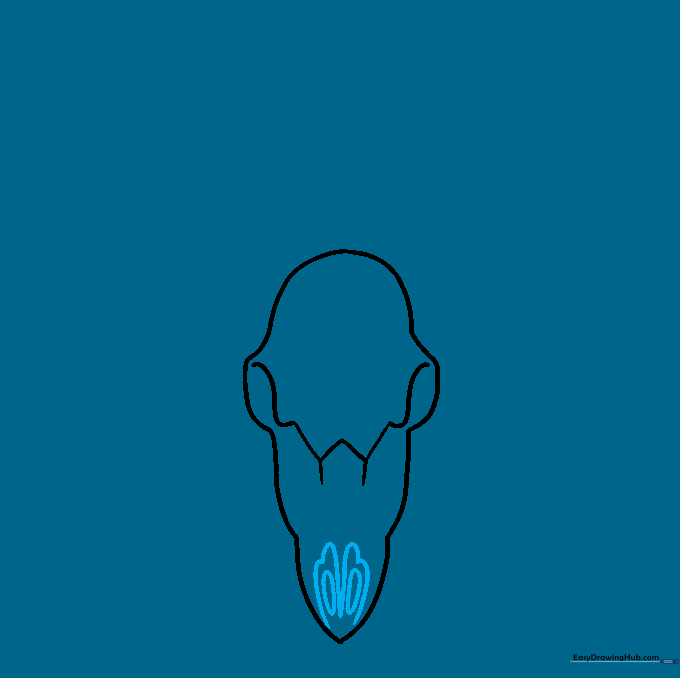
Use curved lines to form the elongated shapes at the base, then add narrow ovals inside for the nasal cavity. Teacher's Tip: Think of these as two small, hollow teardrops.
Step 4: Creating 3D Eye Sockets
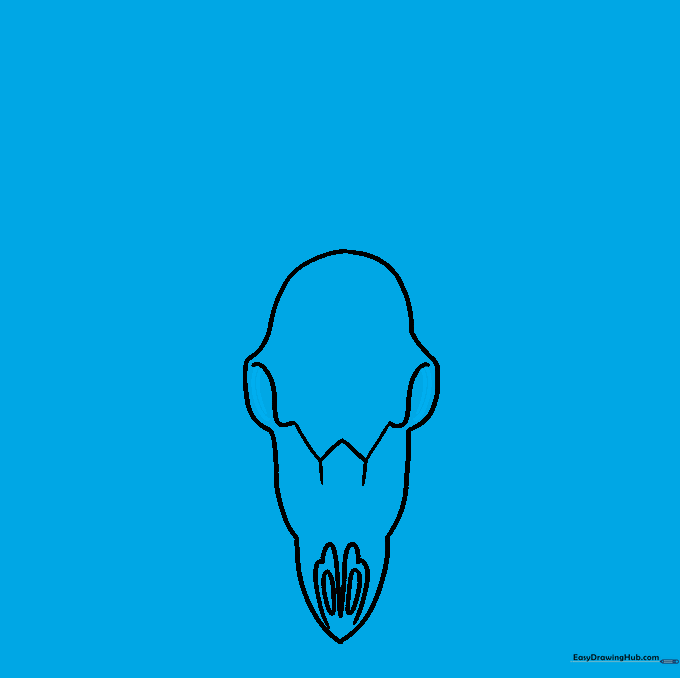
Add two parallel curved lines across the eye sockets to create a sense of volume. Teacher's Tip: These lines act like contour lines on a map, showing the curve of the bone.
Step 5: Adding Texture Details
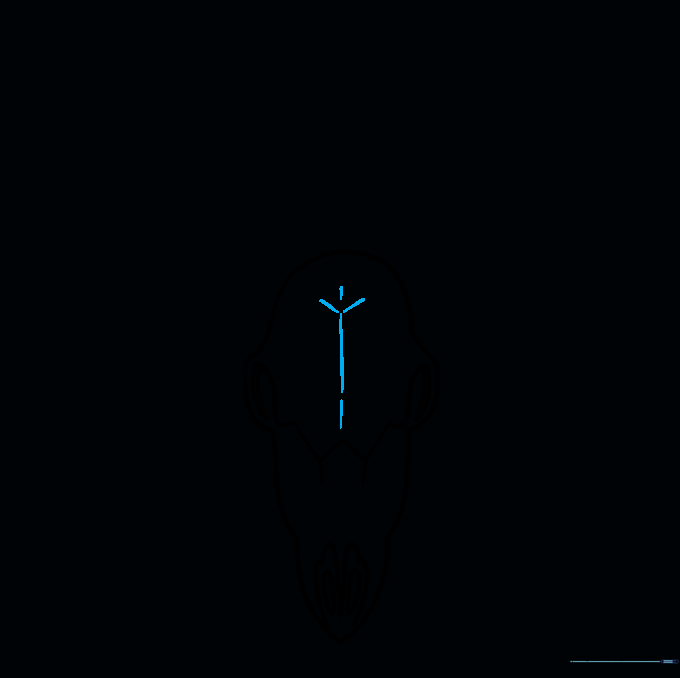
Draw a central line with a small starburst pattern at the top. Teacher's Tip: Keep these lines short and sharp to mimic the natural texture of bone sutures.
Step 6: Starting the Antler Base
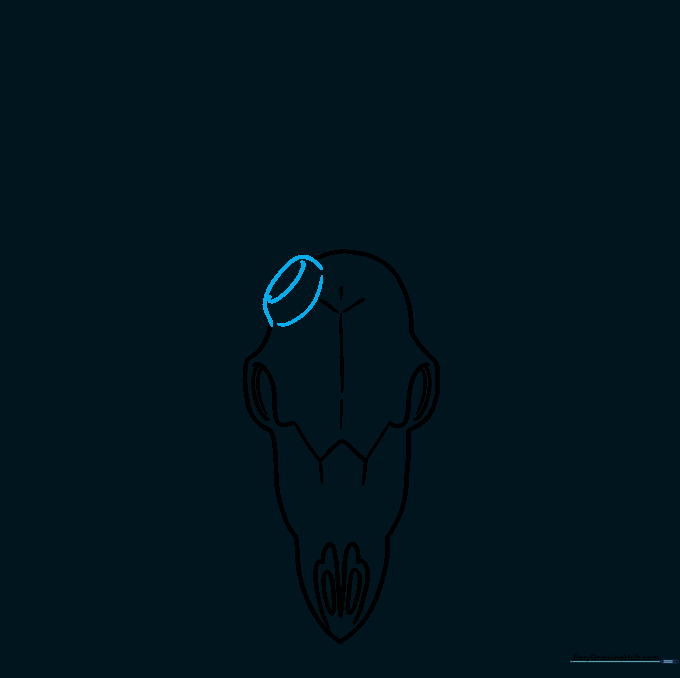
Draw a rounded, squat cylinder shape at the top of the skull to serve as the antler base. Teacher's Tip: Erase any overlapping lines inside the cylinder to keep the drawing clean.
Step 7: Mirroring the Base
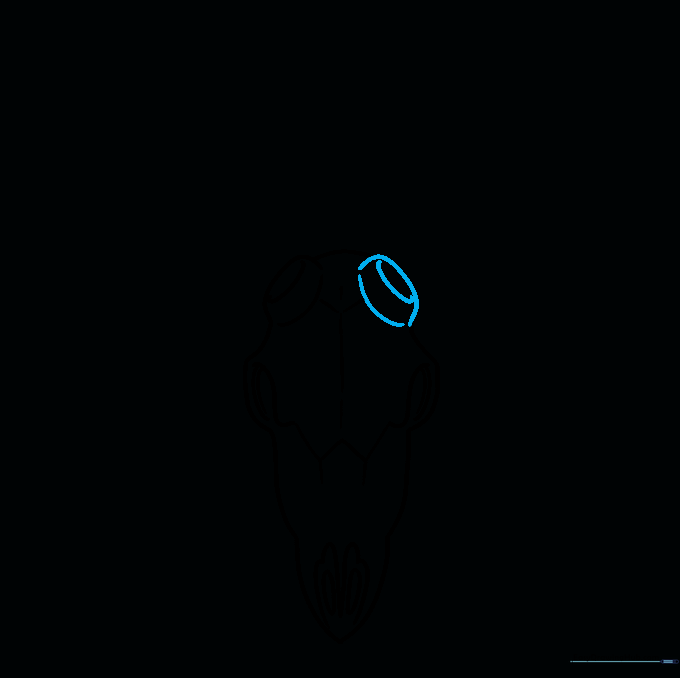
Repeat the process on the other side to create a matching cylindrical base. Teacher's Tip: Check that both bases are at the same height to maintain symmetry.
Step 8: Sketching the Antlers
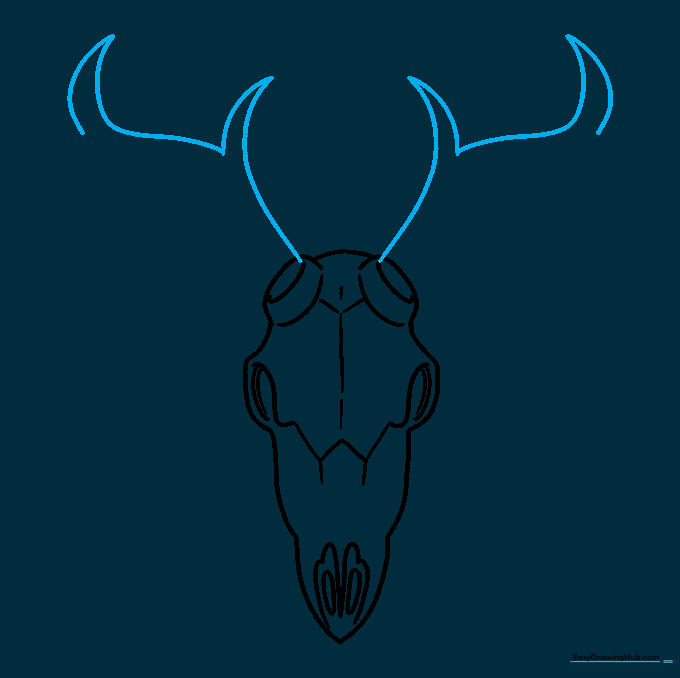
Extend long, curved lines from the bases to form the main antler branches. Teacher's Tip: Use loose, sweeping motions to give the antlers a natural, organic flow.
Step 9: Refining the Antlers
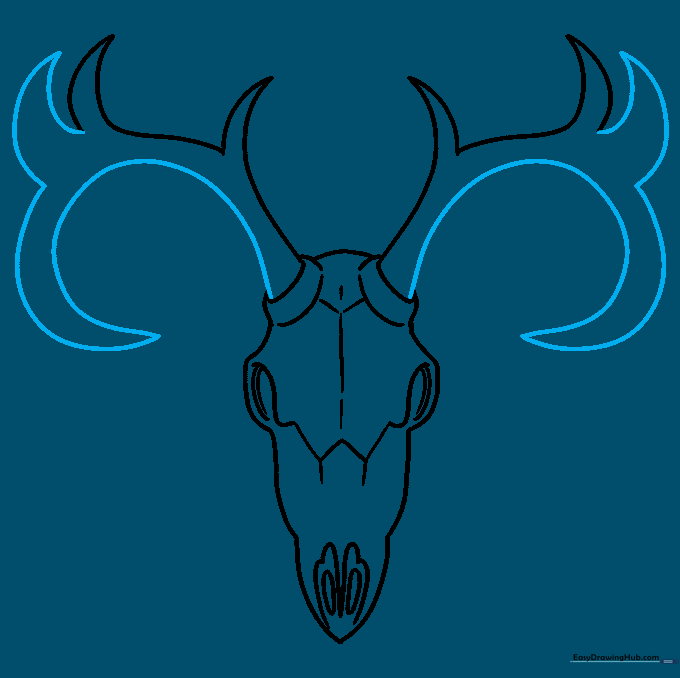
Add smaller points to the antlers and connect them back to the base with curved lines. Teacher's Tip: Don't worry about making them perfectly identical; nature is rarely perfectly symmetrical!
Step 10: Adding Color
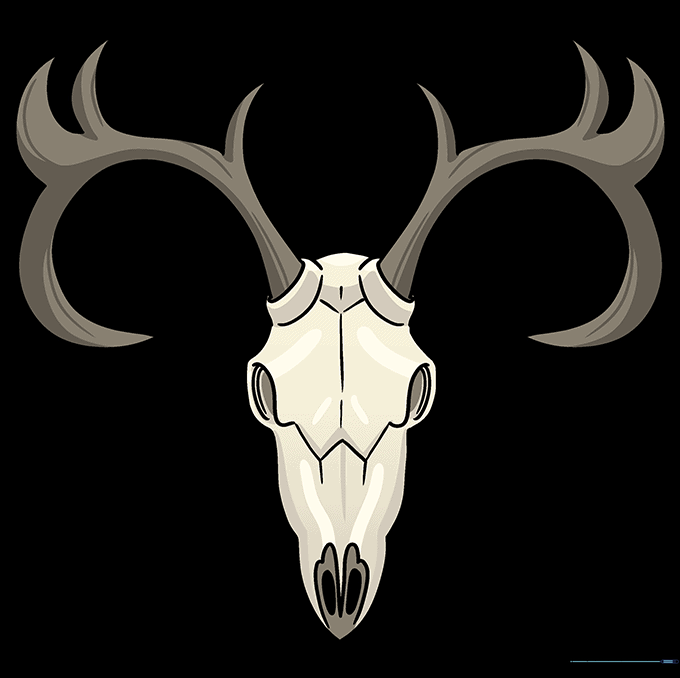
Bring your skull to life with color! Use soft creams or whites for the bone and earthy browns or greys for the antlers. Teacher's Tip: Use a light touch with your colored pencils to create a realistic, weathered bone texture.
More Tutorials


