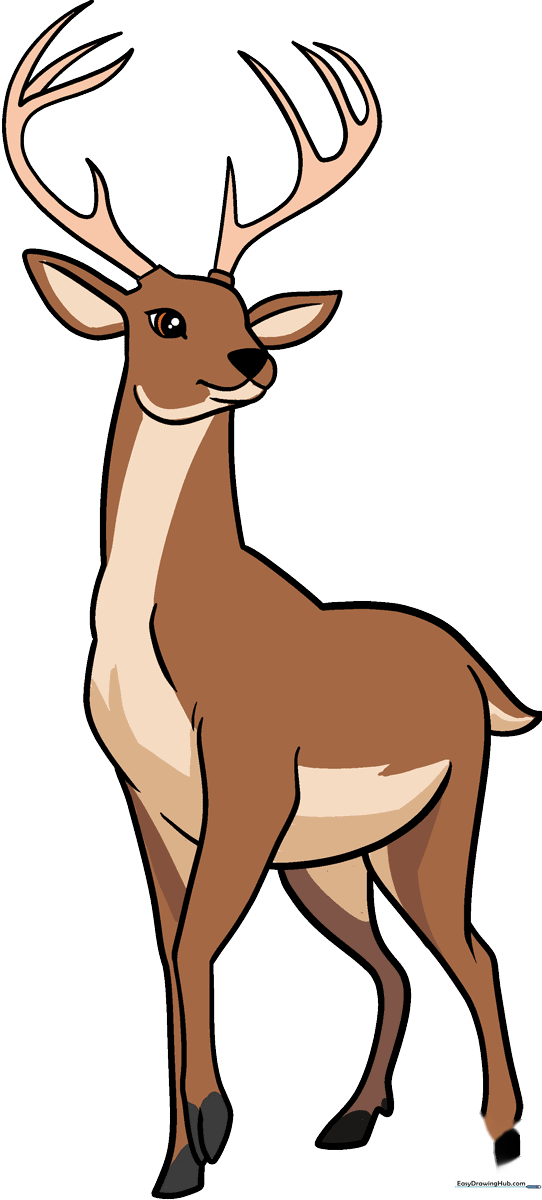
How to Draw a Deer: Easy 10-Step Guide for Beginners
Bring the forest to life with this simple deer drawing tutorial, perfect for artists ages 5 and up. All you need is a pencil, an eraser, and a piece of paper to get started. By following these clear, guided steps, you will master the proportions of a deer's head and body in no time.
🎯 Final Result
Step-by-Step Instructions
Step 1: Sketching the Face and Snout
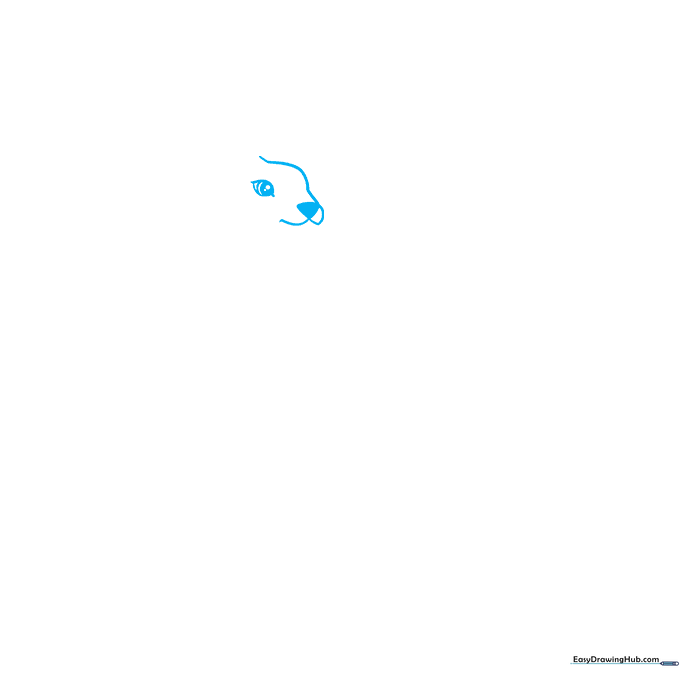
Start by sketching the deer's face. Draw an inverted, curved triangle for the nose, then add curved lines to form the snout and the top of the head. Tip: Keep the eye shape simple—two curved lines meeting at points—and draw the pupil as a small, dark circle inside.
Step 2: Adding Ears and Jawline
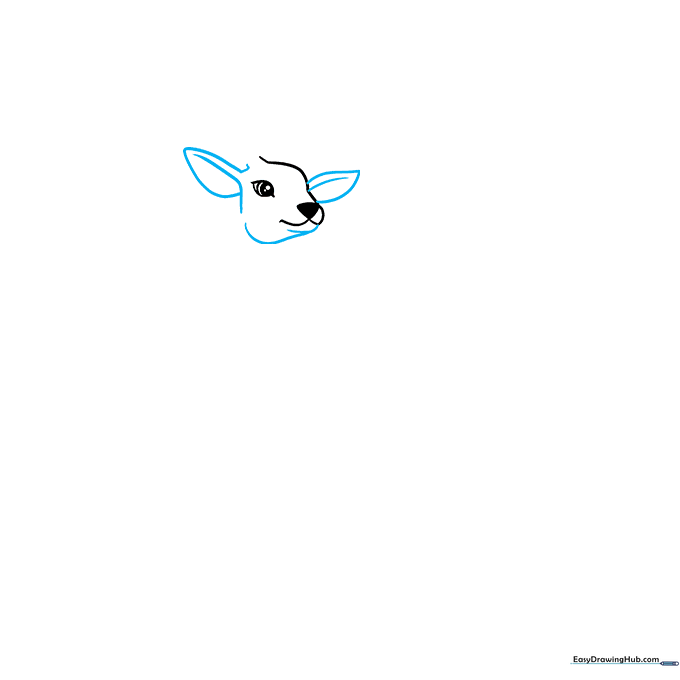
Draw the ears using two curved lines that meet at a soft point, adding a smaller line inside for depth. Then, use overlapping curved lines to define the jaw. Tip: Imagine the deer is listening closely—make the ears stand tall and alert!
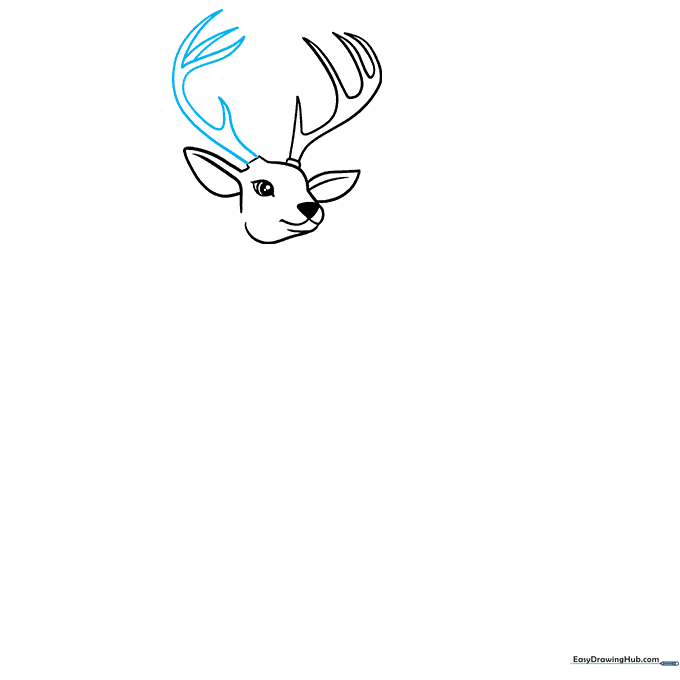
Step 3: Drawing the First Antler
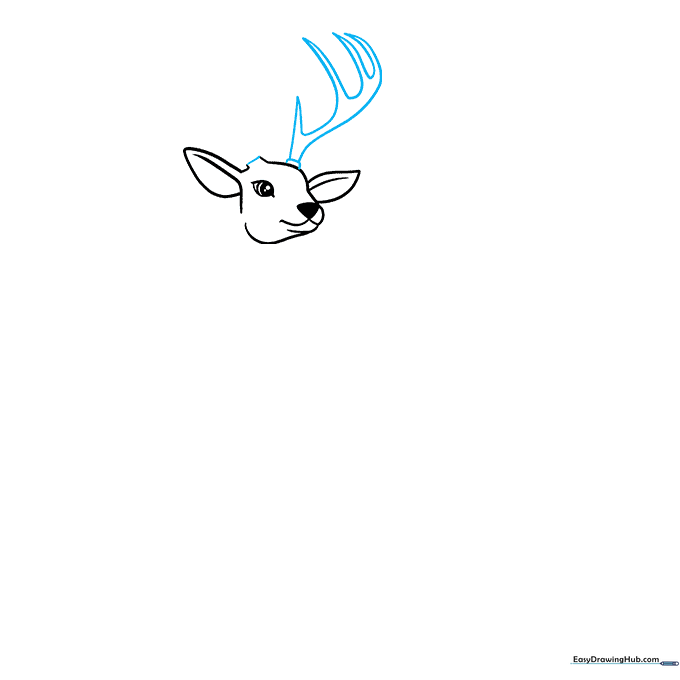
Sketch the irregular shapes for the antler bases on top of the head. Then, draw the first antler using branching curved lines that meet at sharp points. Tip: Don't worry about making it perfectly symmetrical; nature is full of unique shapes!
Step 4: Adding the Second Antler
Repeat the process for the second antler on the other side. Use similar curved, branching lines to keep the style consistent. Tip: Keep your pencil moving fluidly to create those natural-looking curves.
Step 5: Sketching the Neck and Chest

Extend long, graceful curved lines down from the head to form the neck. Add a short line to contour the chest. Tip: Think of the neck as a strong, smooth bridge connecting the head to the body.
Step 6: Drawing the First Leg
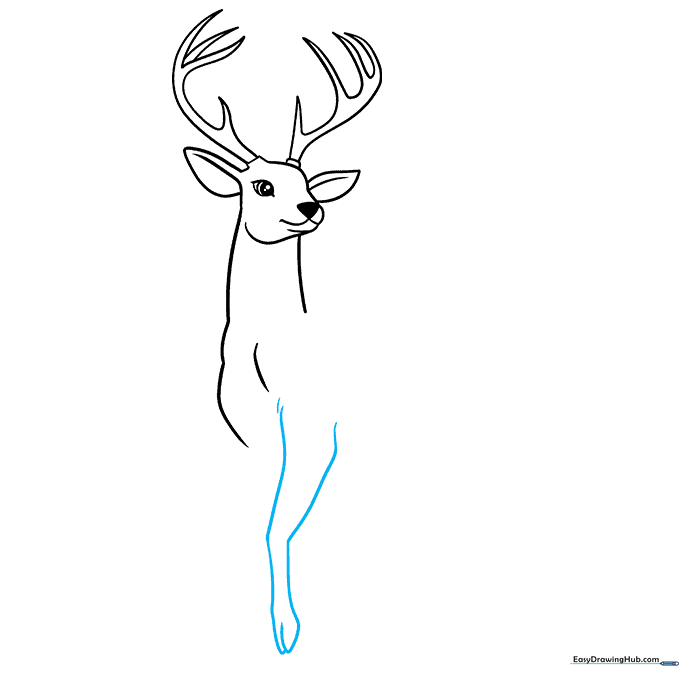
Use long, sweeping curved lines to sketch the front leg. Notice how the lines overlap at the bottom to form the cloven hoof. Tip: Keep the leg slightly tapered to give it a realistic, graceful look.
Step 7: Adding the Second Leg and Belly
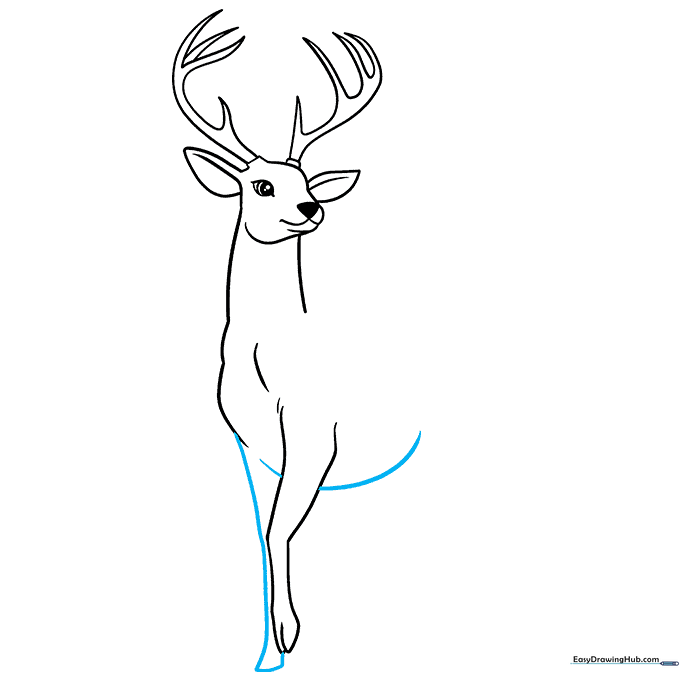
Draw the second foreleg and connect it to the chest with a curved line for the belly. Tip: Ensure the belly line is slightly rounded to give the deer a natural, healthy shape.
Step 8: Defining the Back and Tail
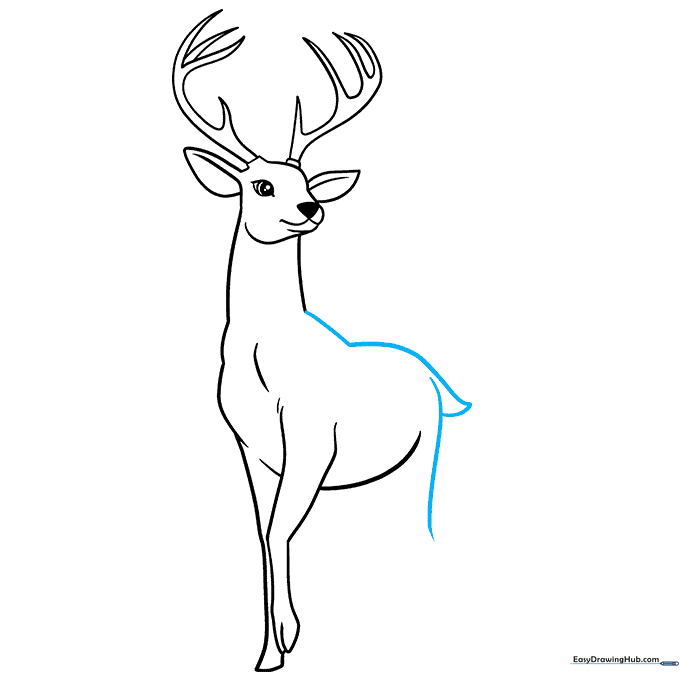
Extend the neck line to form the shoulder, back, and the top of the tail. Draw a vertical line for the rear leg and connect it to the tail. Tip: Keep the tail small and perky to match the deer's alert posture.
Step 9: Finishing the Legs

Use overlapping lines to complete the rear legs. Add the small bulge of the dewclaw behind the hoof. Tip: These small details at the joints make your drawing look much more professional!
Step 10: Bringing Your Deer to Life with Color
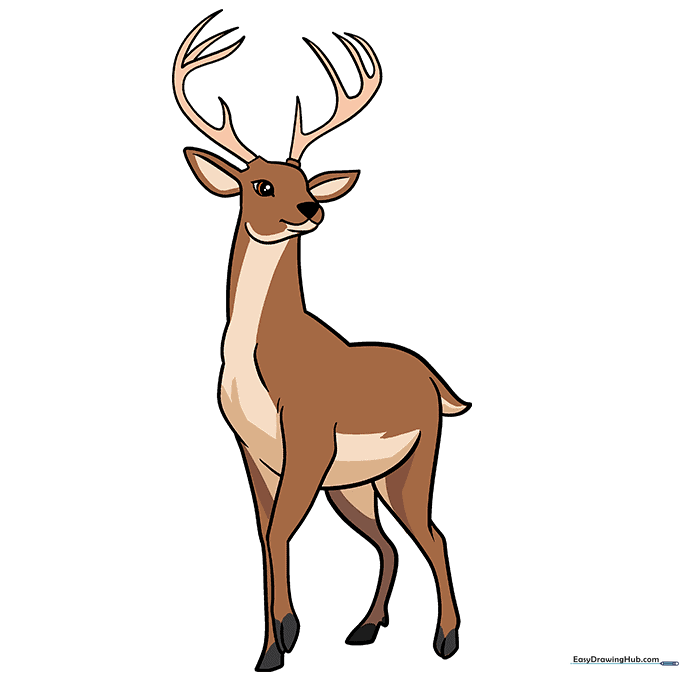
Your outline is complete! Use warm browns for the body and leave the belly and tail white. Tip: Use light pressure with your colored pencils to create soft shading, making your deer look soft and furry.
More Tutorials


