How to Draw a Decorated Indian Elephant: Easy 9-Step Guide
Bring a touch of culture and color to your sketchbook with this decorated Indian elephant tutorial. Designed for young artists and beginners, this activity uses simple shapes to build a complex-looking character. Grab your pencil and eraser, and let’s get started on this festive safari adventure!
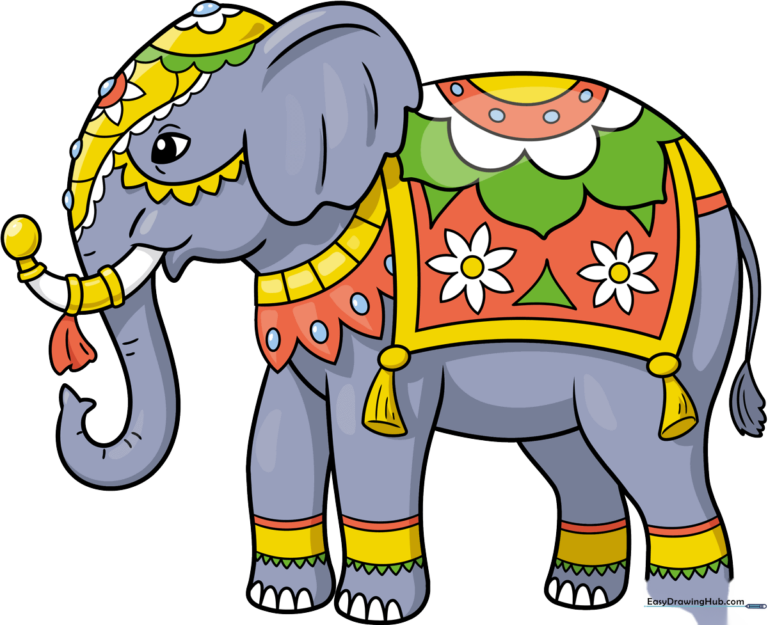
🎯 Final Result
Step-by-Step Instructions
Step 1: Sketching the Head and Trunk
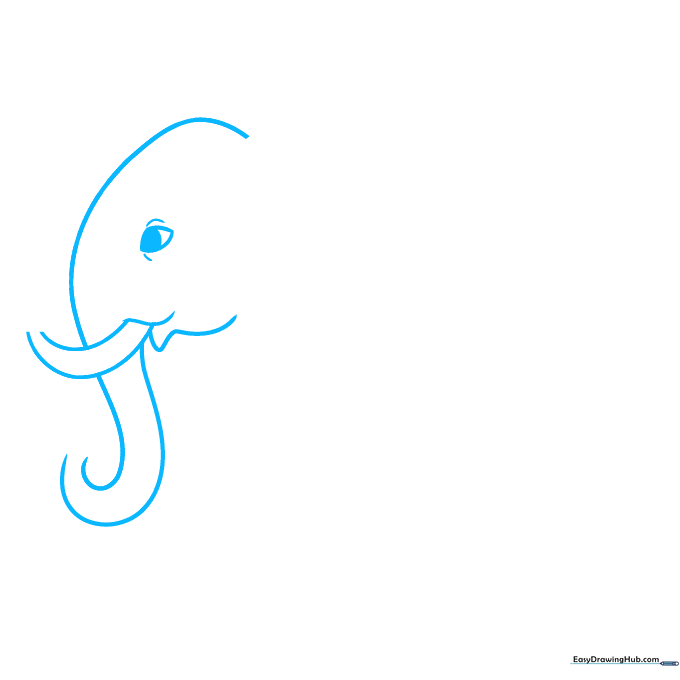
Start by drawing the elephant's head using long, graceful curved lines for the forehead and trunk. Add a small almond shape for the eye with a dark pupil. Teacher's Tip: Keep your pencil pressure light so you can easily erase any overlapping lines later.
Step 2: Adding the Ear and Tusk Details
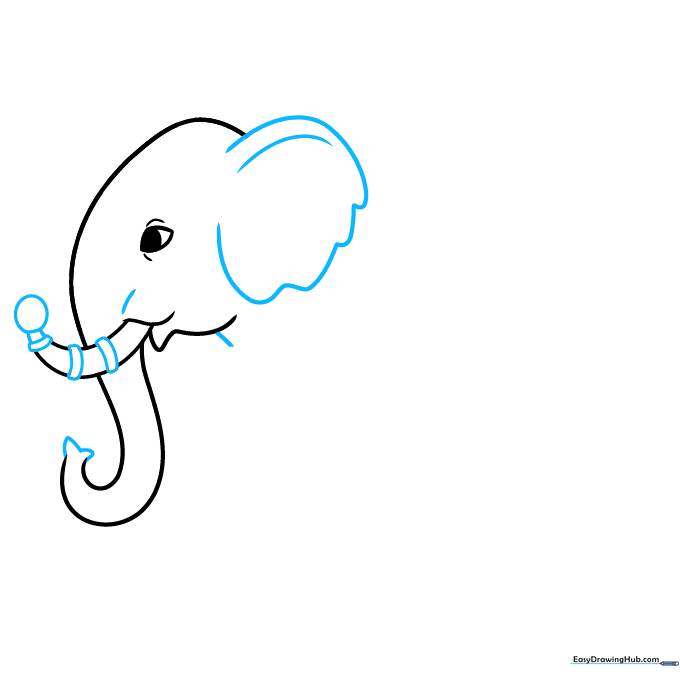
Draw a large, wavy line for the ear and add small contour lines for texture. Band the tusk with small rectangles to prepare for the decorative look. Teacher's Tip: Use a steady hand to create the tusk bands; they don't need to be perfect, just consistent!
Step 3: Forming the Body and Collar
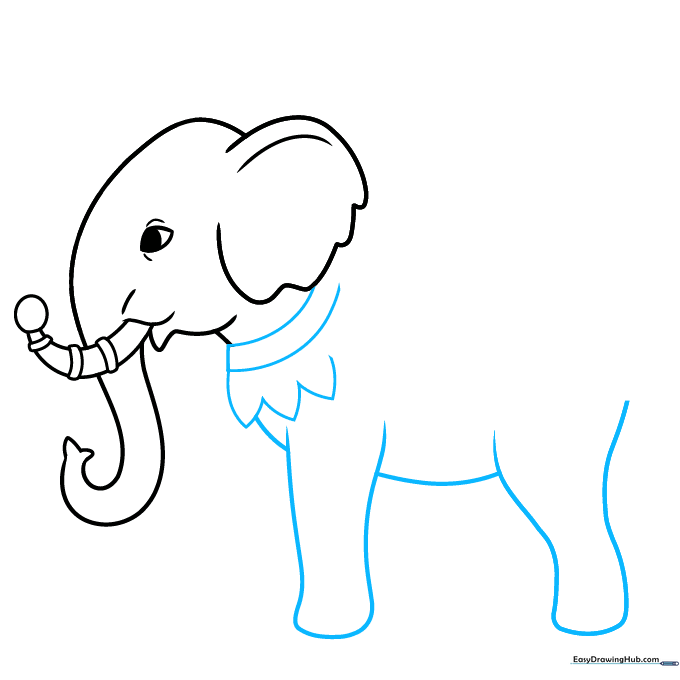
Use long, sweeping curves to outline the chest and belly. Add a decorative collar around the neck using a leaf-like fringe pattern. Teacher's Tip: Think of the collar as a necklace; keep the 'leaves' evenly spaced for a balanced look.
Step 4: Legs and Tail
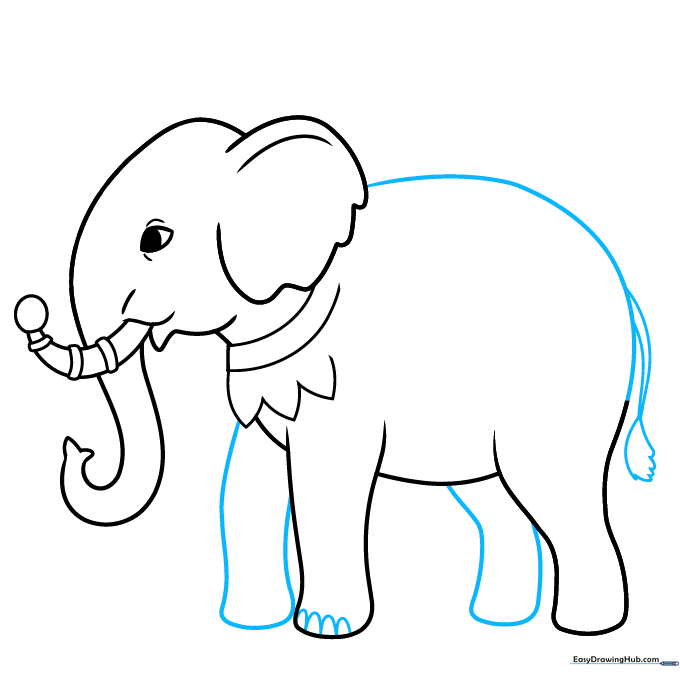
Draw the back and legs using sturdy, curved lines. Add a tail with a fluffy tuft of hair at the end and 'U' shaped toenails. Teacher's Tip: To make the legs look natural, ensure they are slightly wider at the top than the bottom.
Step 5: Designing the Headdress
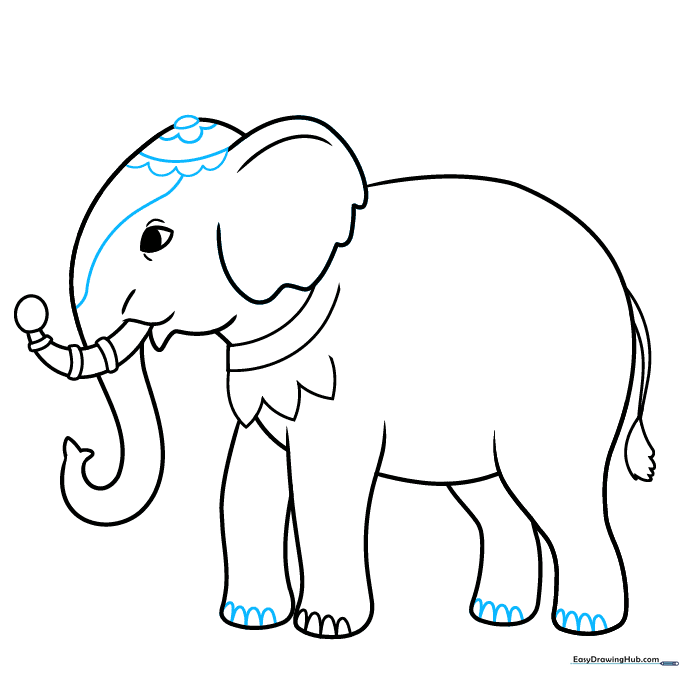
Draw a festive headdress on the elephant's head using scalloped edges and circular shapes. Connect it to the trunk with a smooth, curved line. Teacher's Tip: Imagine you are drawing a crown; keep the shapes symmetrical for a regal effect.
Step 6: Adding Ornate Patterns
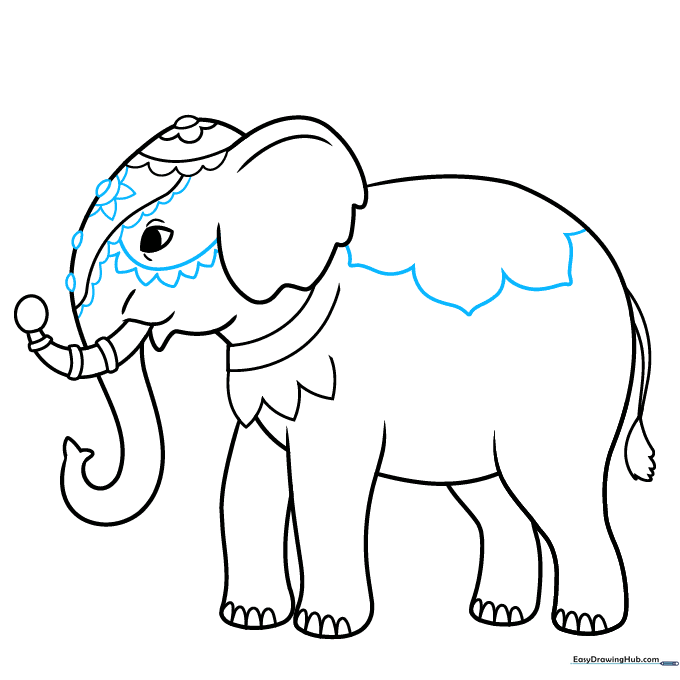
Add more details to the headdress and draw a large flower shape on the elephant's back. Teacher's Tip: Use simple geometric shapes like triangles and circles to create intricate-looking patterns easily.
Step 7: Adding Tassels

Complete the flower on the back and add hanging tassels using ovals and triangles. Teacher's Tip: Tassels look best when they hang at slightly different angles to show movement.
Step 8: Final Decorative Touches
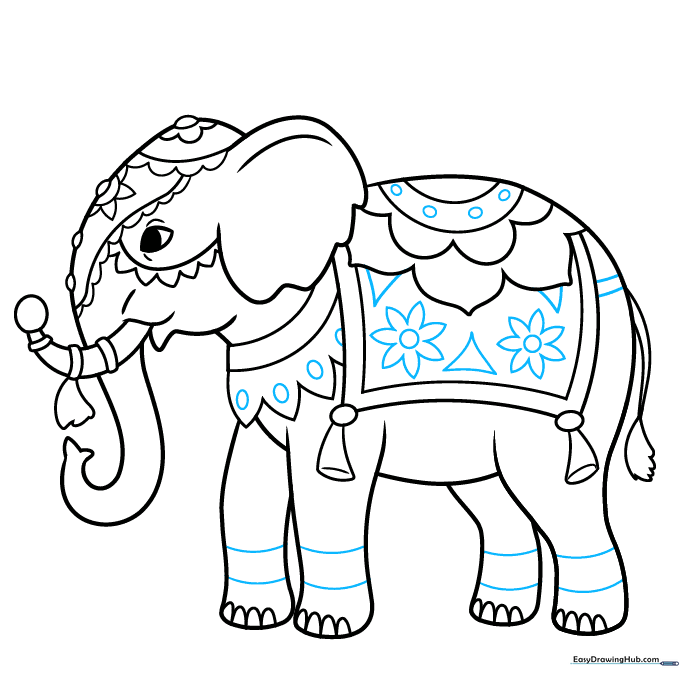
Fill in the carpet area with small flowers, ovals, and triangles. Band the legs to match the festive theme. Teacher's Tip: Don't worry about making every pattern identical; variety makes your drawing look more authentic!
Step 9: Refining the Outline
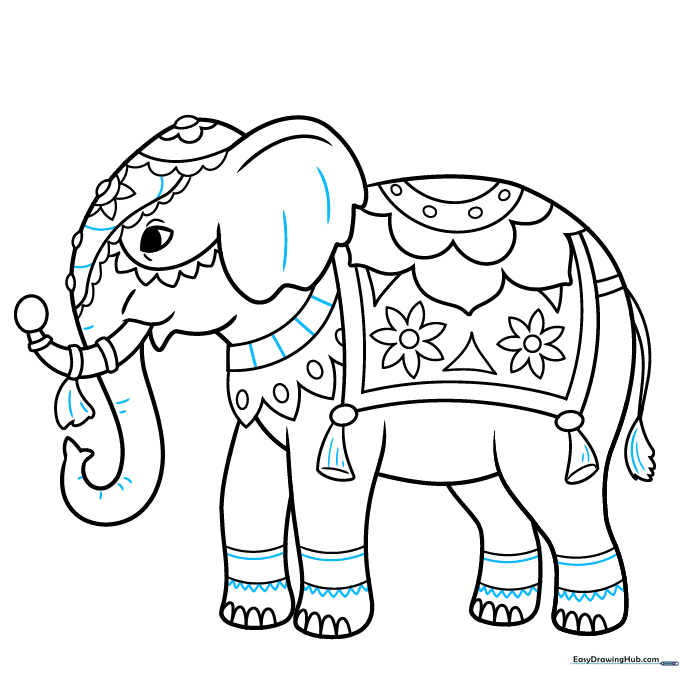
Go over your lines with a darker pencil or marker and add subtle skin contours. Teacher's Tip: Use short, light strokes to suggest the texture of elephant skin.
Step 10: Bringing it to Life with Color
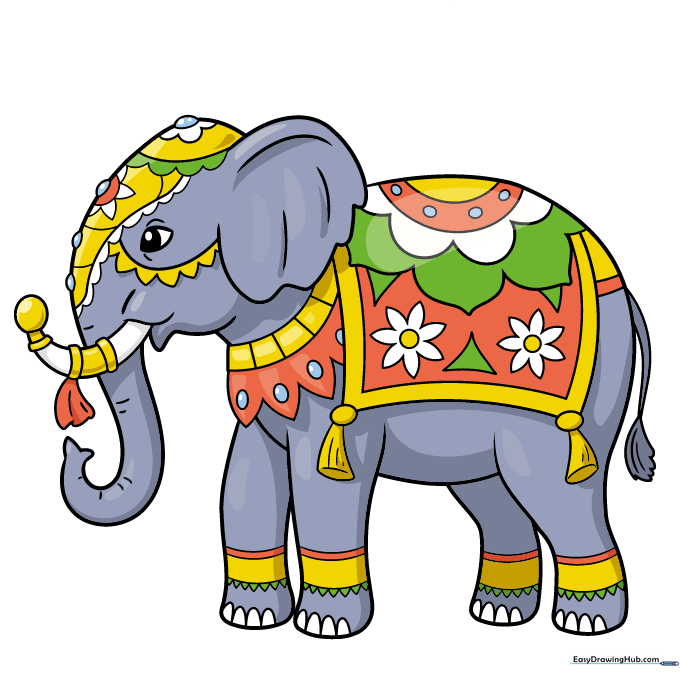
Now for the fun part! Use bright, vibrant colors to fill in the saddle, headdress, and skin. Teacher's Tip: Try using complementary colors (like orange and blue) to make your decorations really pop off the page.
More Tutorials


