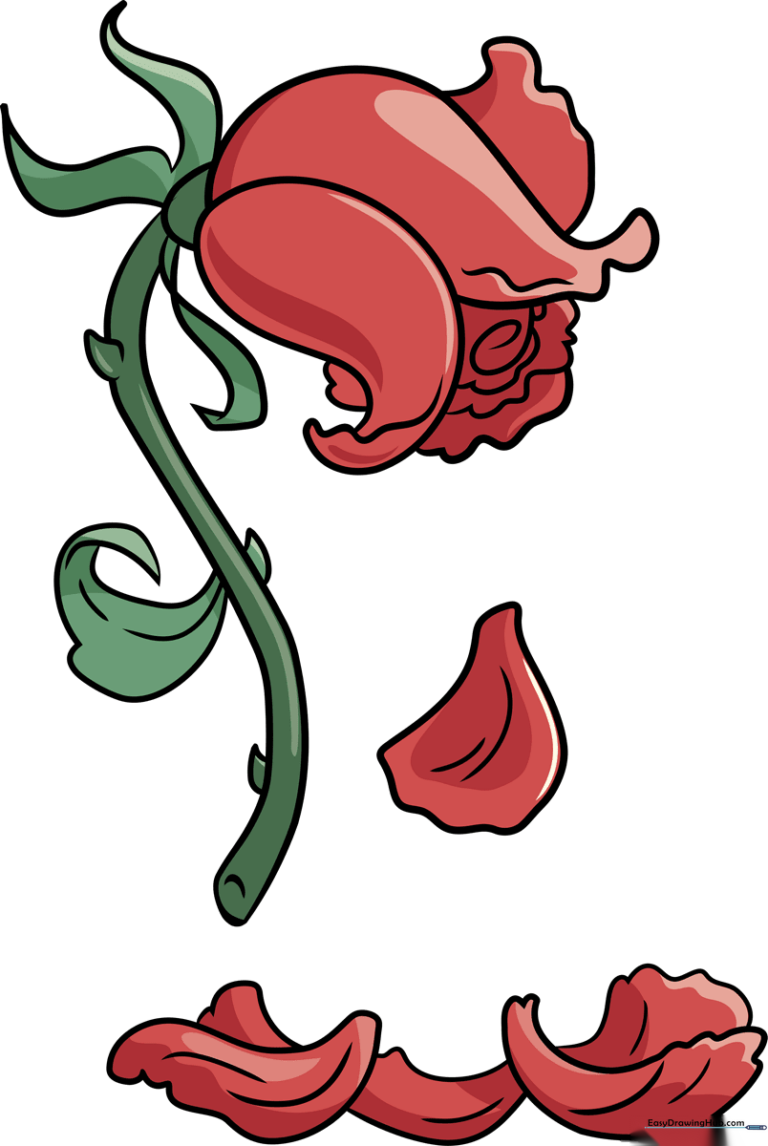
How to Draw a Dead Rose: Easy Step-by-Step Guide
Capture a moody, aesthetic vibe with this simple dead rose drawing tutorial. Designed for artists ages 7+, this project uses basic shapes to build a complex-looking flower. Grab a pencil, eraser, and paper to practice your line work and organic shading techniques.
🎯 Final Result
Step-by-Step Instructions
Sketching the First Petal

Start by drawing a small, inverted teardrop shape for the center petal. Leave a tiny gap at the point. Teacher's Tip: Keep your pencil strokes light so you can easily adjust the shape if it feels too stiff.
Adding Surrounding Petals

Draw two more petals wrapping around the center using long, sweeping curved lines. Add a wavy edge to the tips to suggest the petal is drying out. Tip: Think of these as loose, flowing ribbons rather than rigid circles.
Defining the Rose Center

Draw a small spiral in the middle to create depth. Add scalloped, wavy lines around it to represent the tightly packed inner petals. Tip: Use short, quick strokes to make the edges look textured and aged.
Drawing the Sepals

Create the sepals—the small leaves at the base—by drawing a 'U' shape and adding sharp, pointed triangles. Cross the lines slightly to mimic the twisted, dry look of a wilting flower.
Sketching the Stem and Thorns
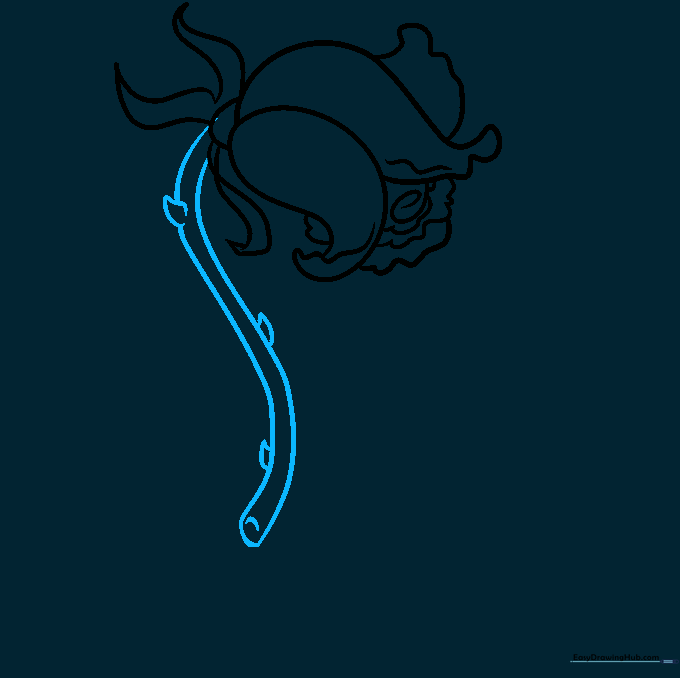
Extend two parallel curved lines downward for the stem. Add small, triangular thorns along the sides. Tip: Don't make the stem perfectly straight; a slight curve makes the drawing look more natural.
Adding a Leaf
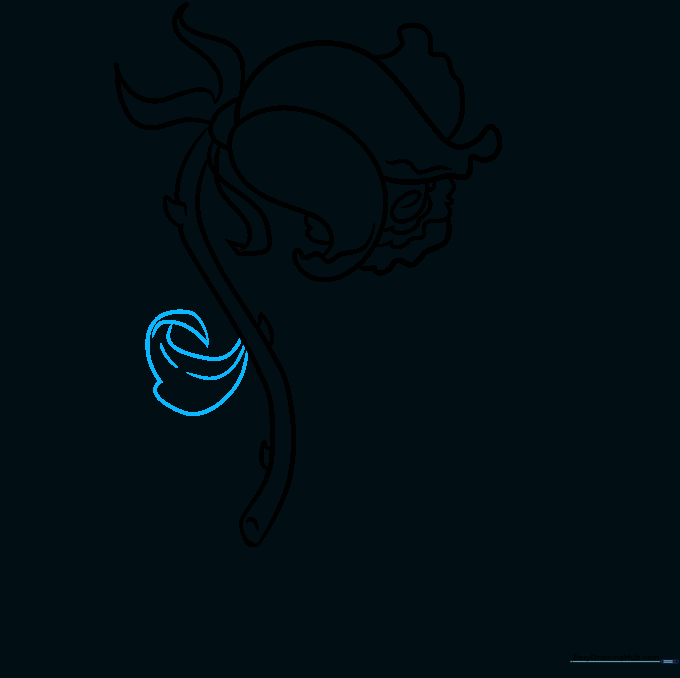
Outline a leaf on the stem using overlapping curved lines. Add a central vein line to give it structure. Tip: Keep the leaf slightly drooping to match the 'dead' theme of the rose.
Drawing a Falling Petal
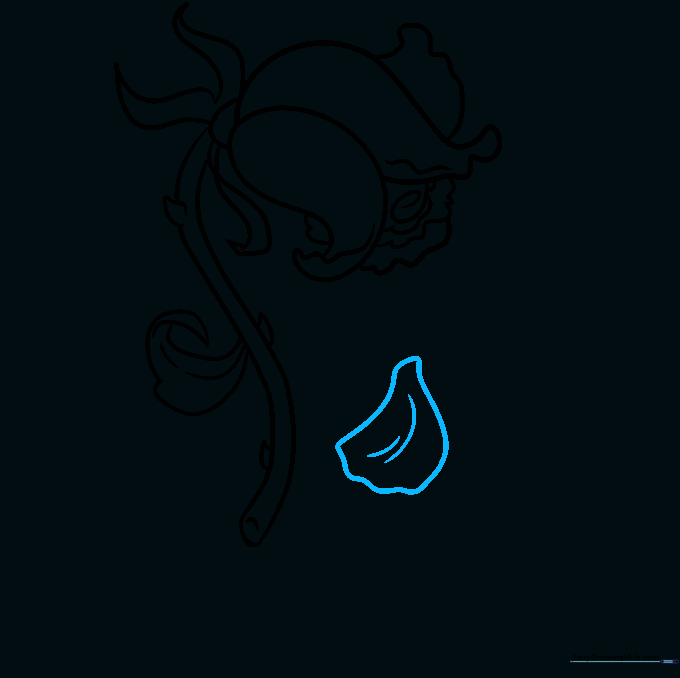
Draw a single petal floating near the stem. Use a gentle point on one end and a scalloped edge on the other. Add a few curved lines inside to show texture. Tip: This adds a sense of movement to your drawing.
Adding Fallen Petals
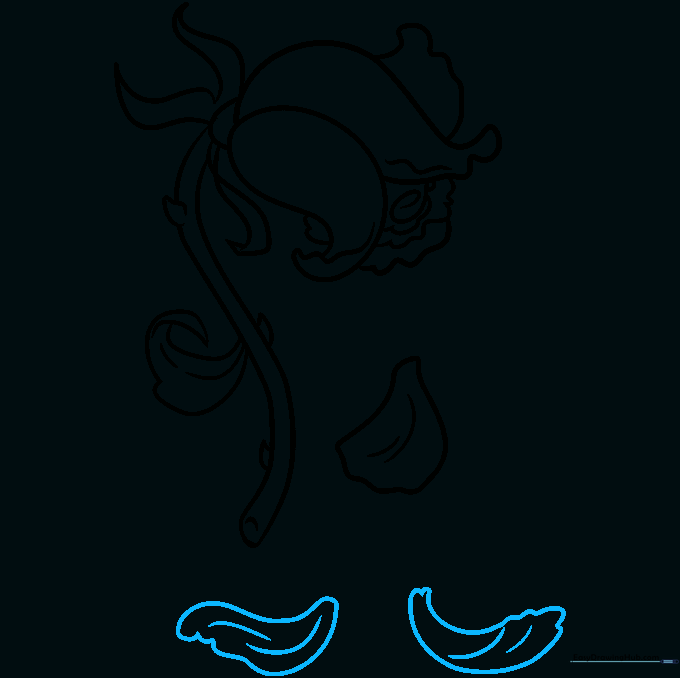
Draw a few more petals lying on the ground beneath the rose. Use varied, irregular shapes to make them look like they've landed naturally. Tip: Overlap them slightly to create a sense of depth.
Finalizing the Details
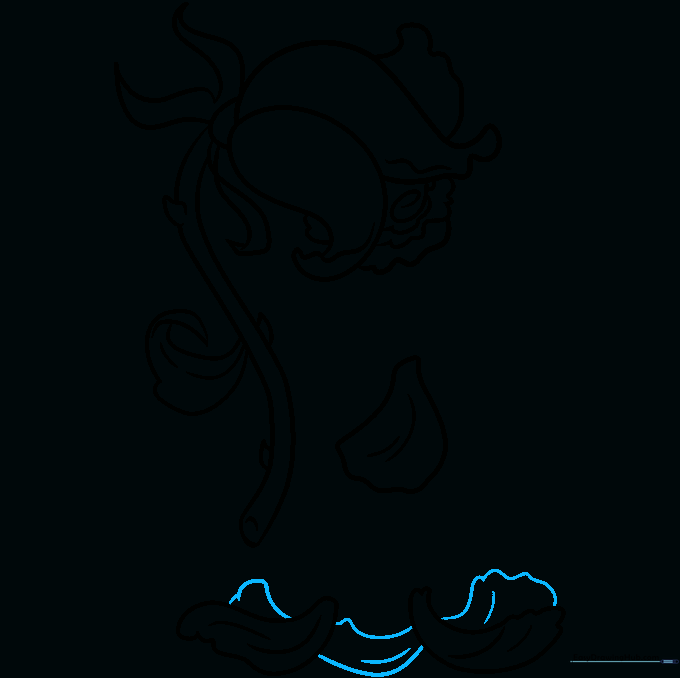
Add a few more petals on the ground to complete the scene. Use small curved lines to add texture to the surface of the petals. Tip: Ensure your lines are clean and dark for the final outline.
Coloring Your Drawing

Bring your rose to life with color! Try deep reds, purples, or even muted grays for a 'dead' aesthetic. Tip: Use a darker shade at the base of the petals to create a natural shadow effect.
More Tutorials


