How to Draw a Dahlia: Easy 9-Step Flower Tutorial
Capture the intricate beauty of a dahlia with this beginner-friendly drawing guide. Designed for ages 5 and up, this activity uses simple shapes to build a complex-looking flower, helping artists practice symmetry and layering. Grab your pencil and paper to get started.
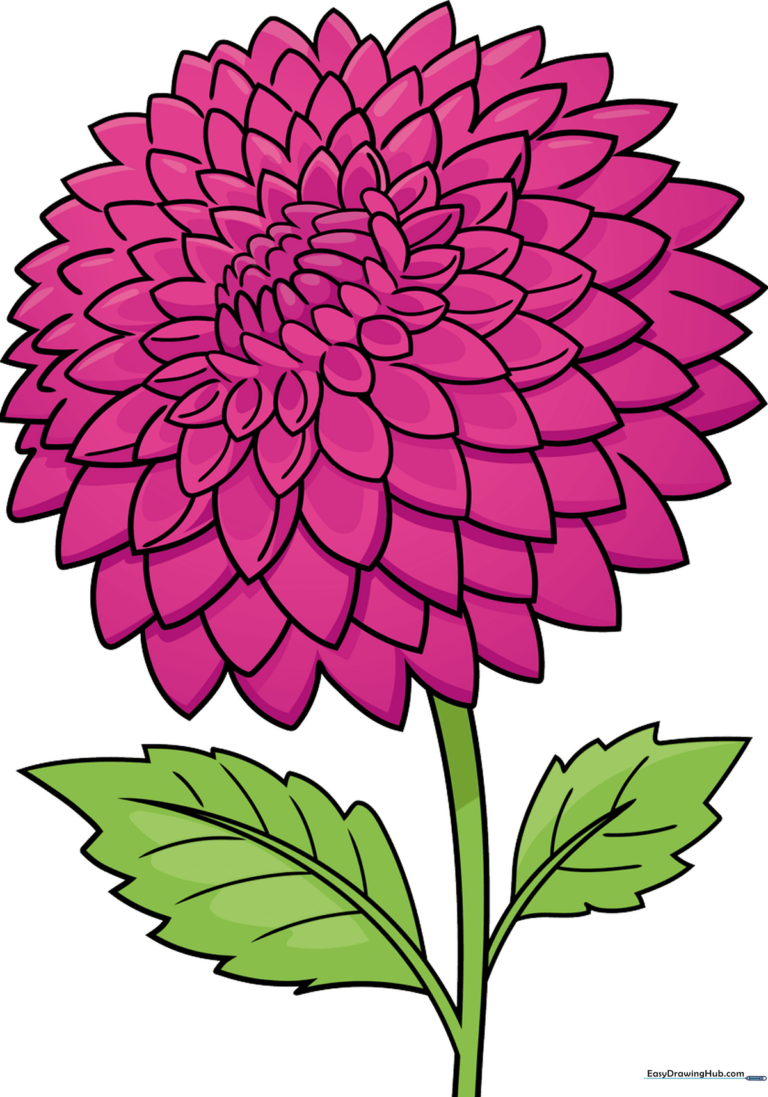
🎯 Final Result
Step-by-Step Instructions
Step 1: Sketching the Center
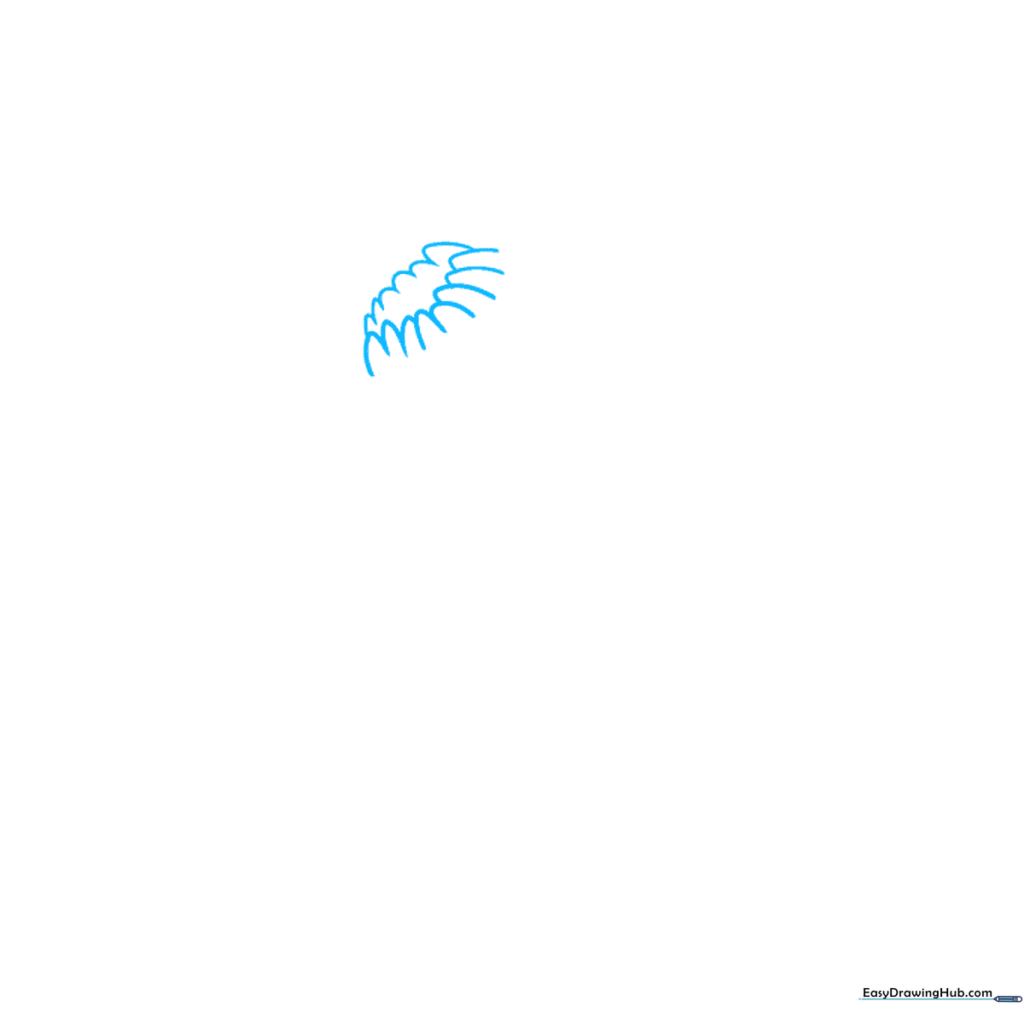
Start by drawing two rows of overlapping 'U' shaped lines to create the flower's center. Teacher's Tip: Keep your pencil pressure light here so you can easily adjust the shape if it looks a bit lopsided.
Step 2: Adding Inner Petals
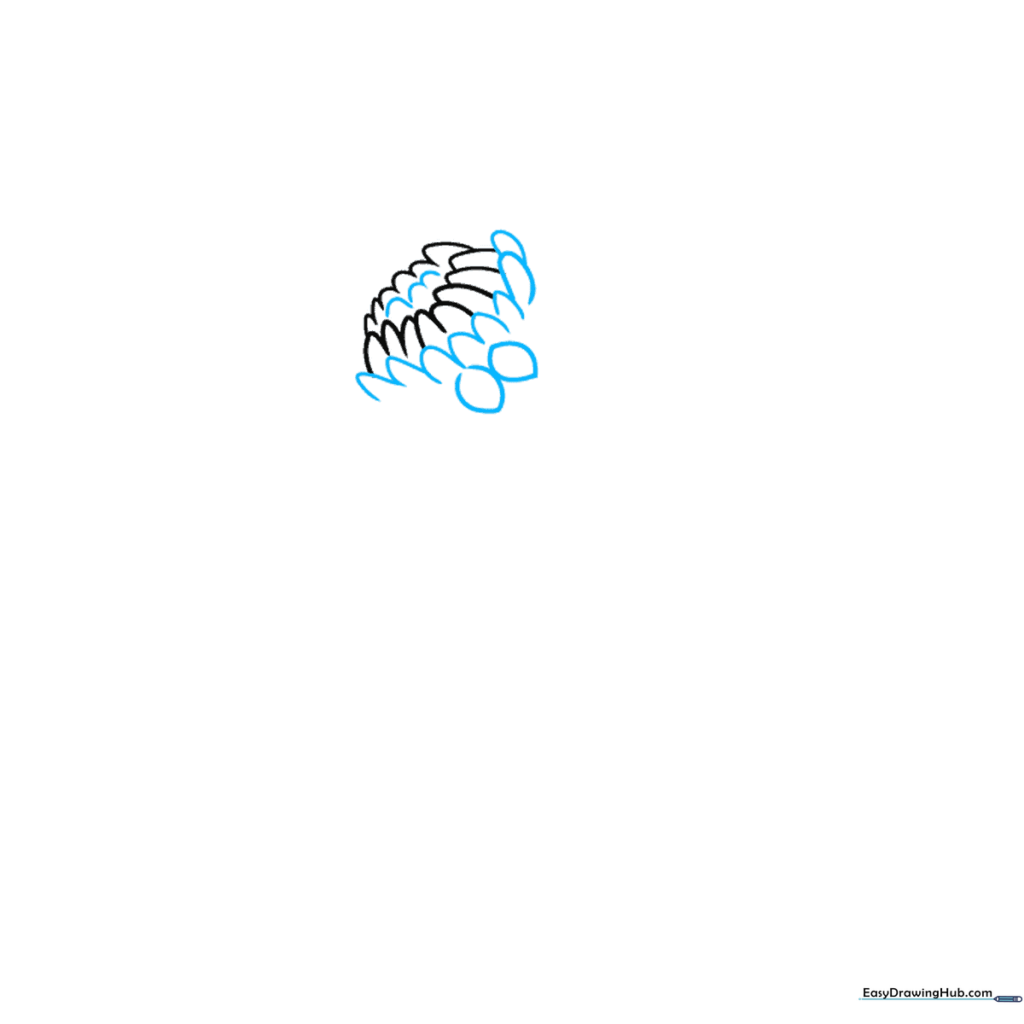
Add small 'U' shapes inside the center and around the edges. Then, begin adding teardrop-shaped petals pointing outward. Teacher's Tip: Vary the size of your teardrops to make the flower look more natural and less like a stamp.
Step 3: Filling the First Layer
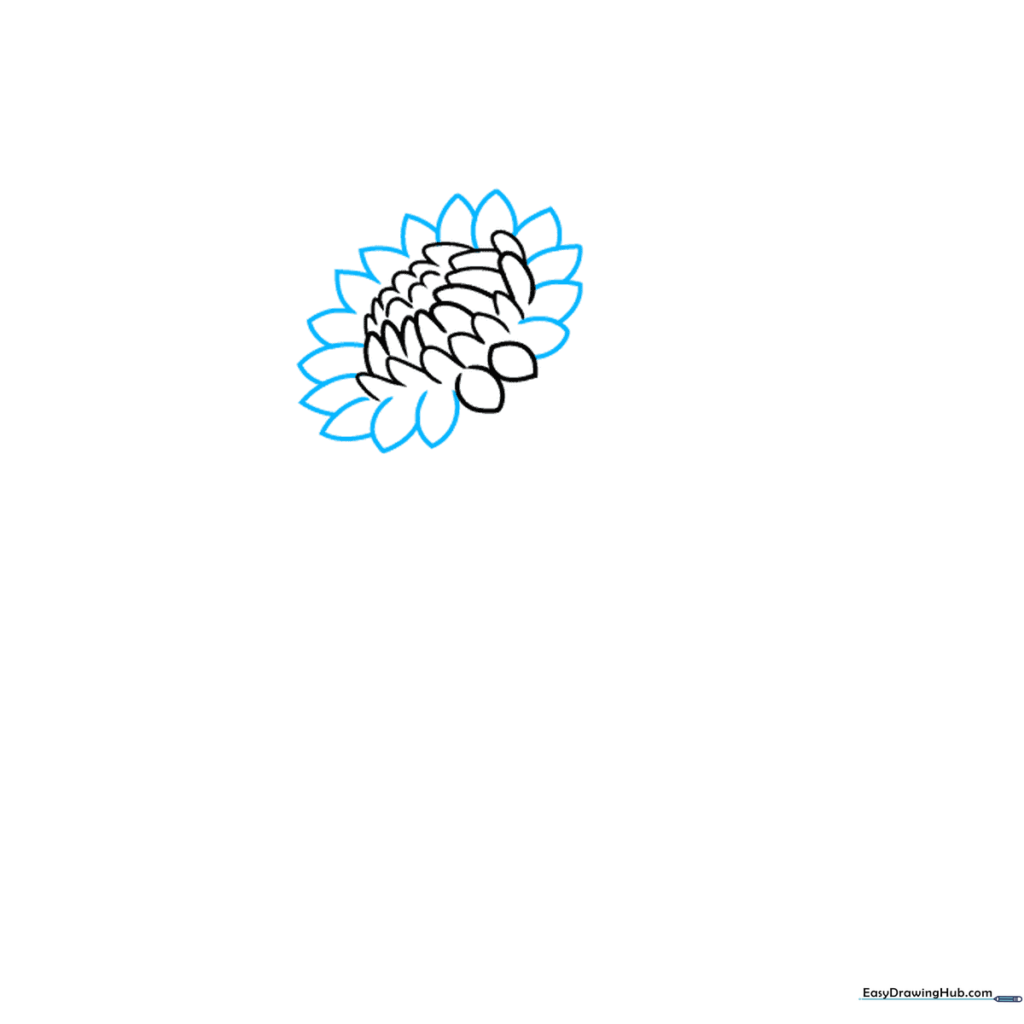
Continue adding overlapping, teardrop-shaped petals until they fully encircle the center. Teacher's Tip: Don't worry about perfect spacing; nature is rarely perfectly symmetrical!
Step 4: Creating Depth
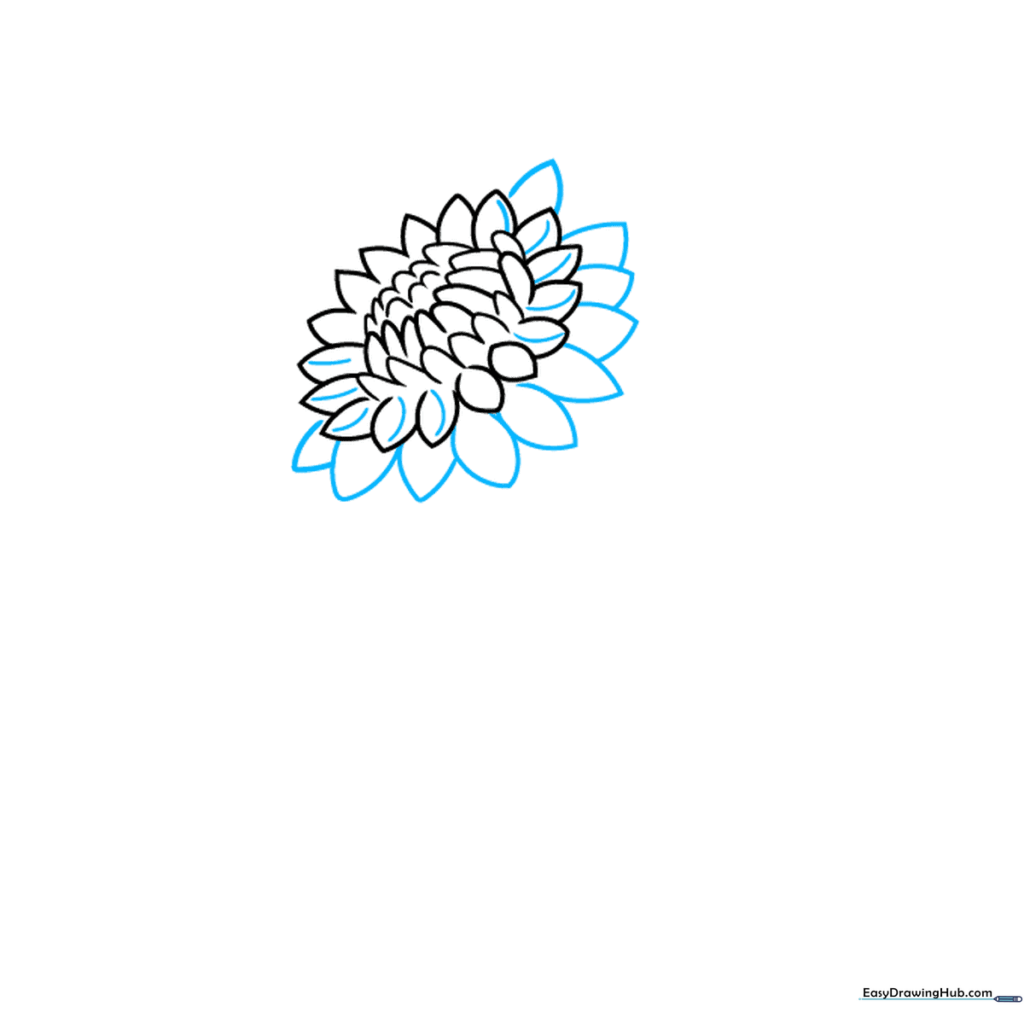
Add another layer of petals on the near side of the flower. Use a curved line to contour each petal. Teacher's Tip: Adding that little curved line inside the petal creates a 3D effect, making your drawing pop off the page.
Step 5: Expanding the Bloom
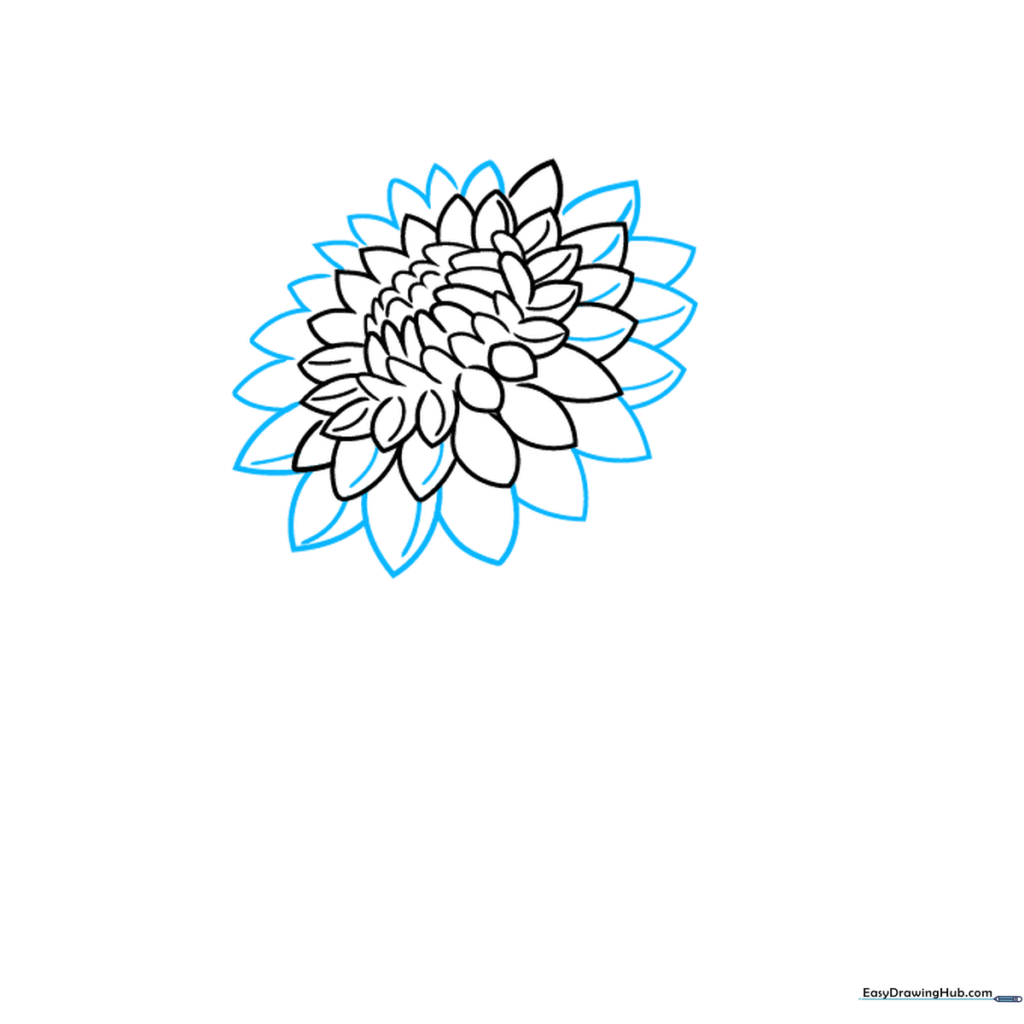
Draw another full layer of teardrop petals encircling the flower. Continue using curved lines to contour the petals from the previous rows. Teacher's Tip: Keep your hand loose to ensure your curved lines look fluid and organic.
Step 6: Scaling the Petals
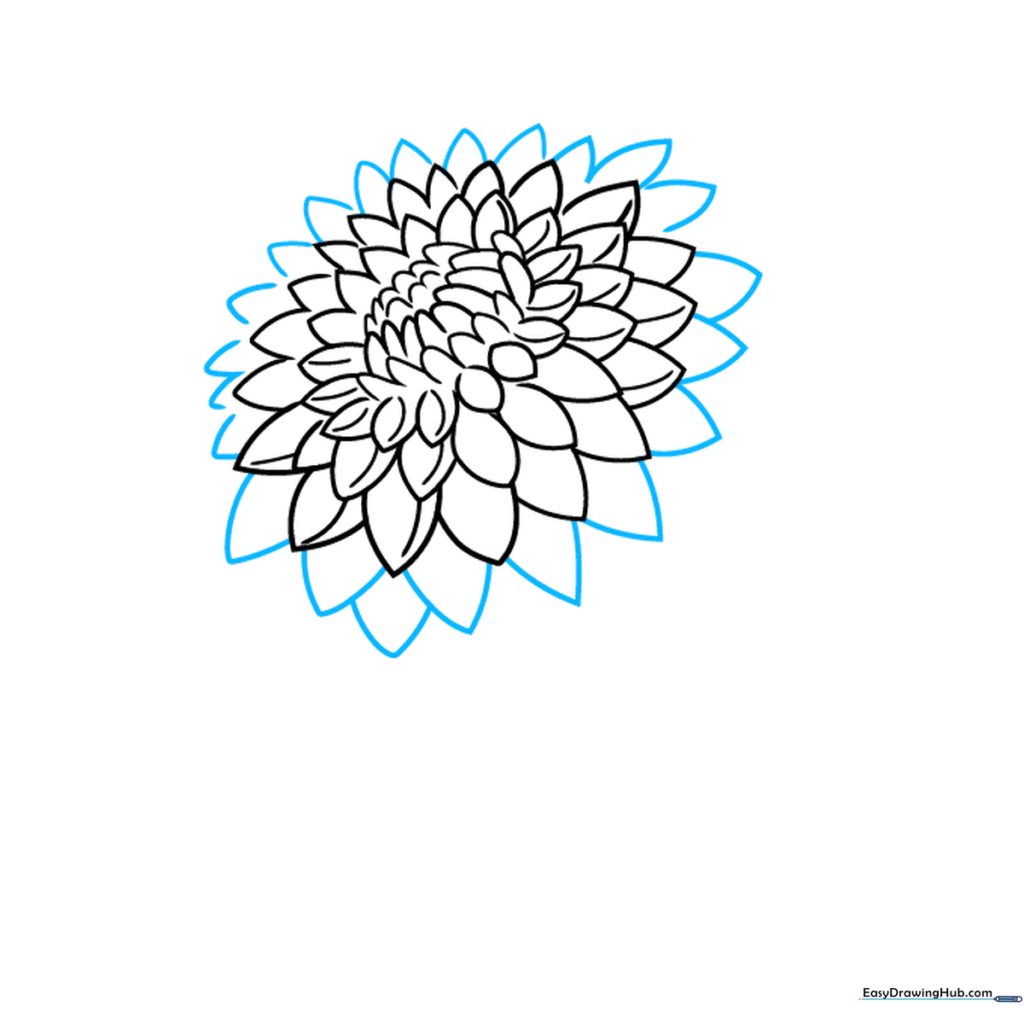
Add another layer of petals. Notice how they get larger as they move away from the center. Teacher's Tip: Larger petals on the outside help the flower look like it is opening up toward the sun.
Step 7: Final Petals and Stem
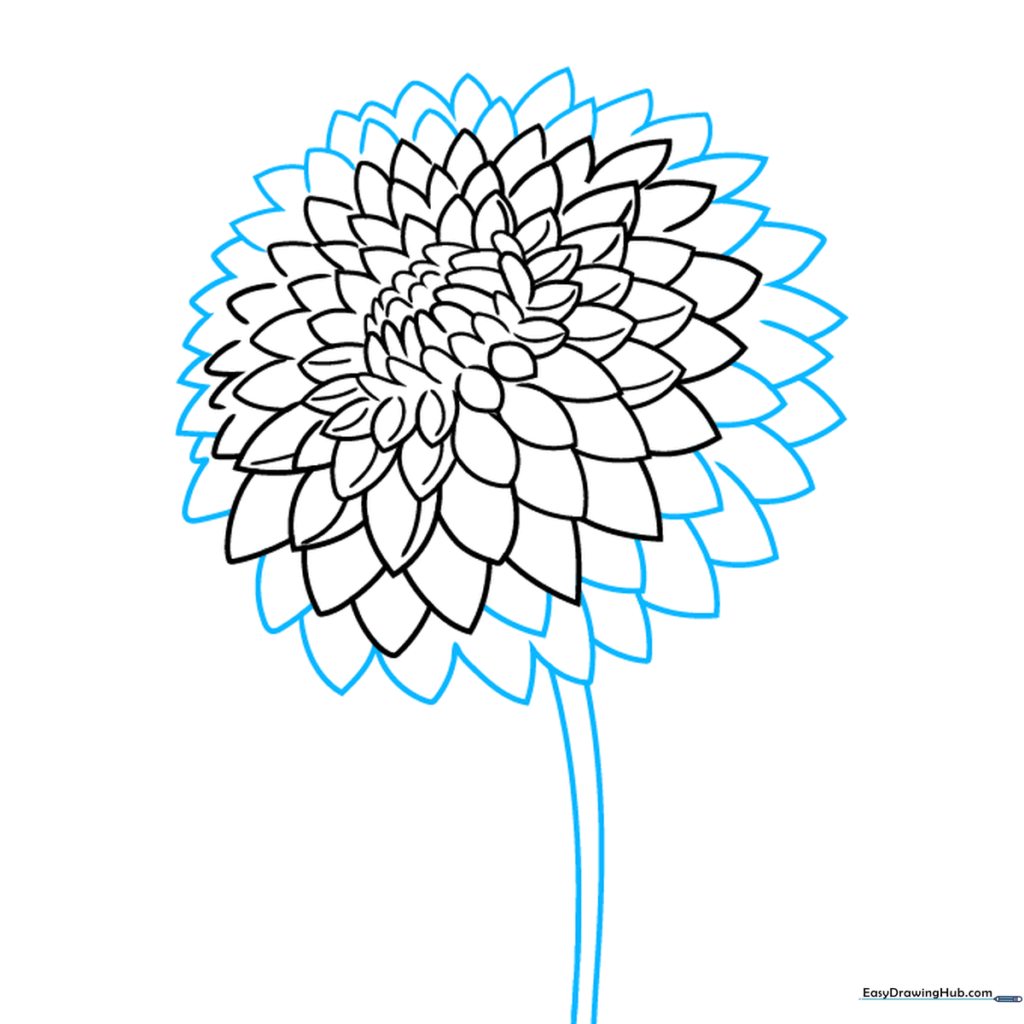
Add one final layer of petals to complete the round shape. Then, draw a stem using two parallel curved lines. Teacher's Tip: If you run out of room, just tuck a smaller petal into the gaps to keep the circle tight.
Step 8: Adding Leaves
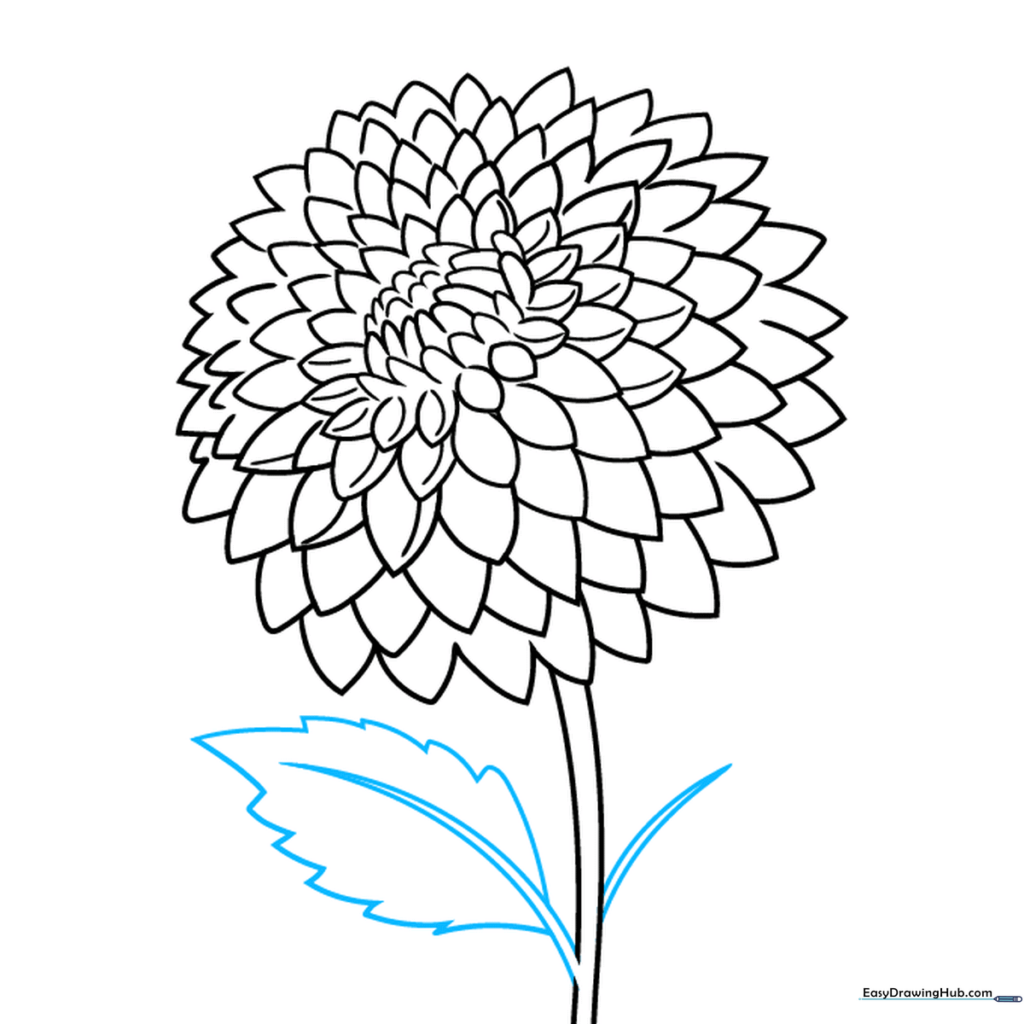
Draw leaves along the stem. Use two curved lines for the vein and jagged lines for the edges. Teacher's Tip: Jagged edges are great for practicing pencil control—try to keep them sharp and pointy!
Step 9: Final Details
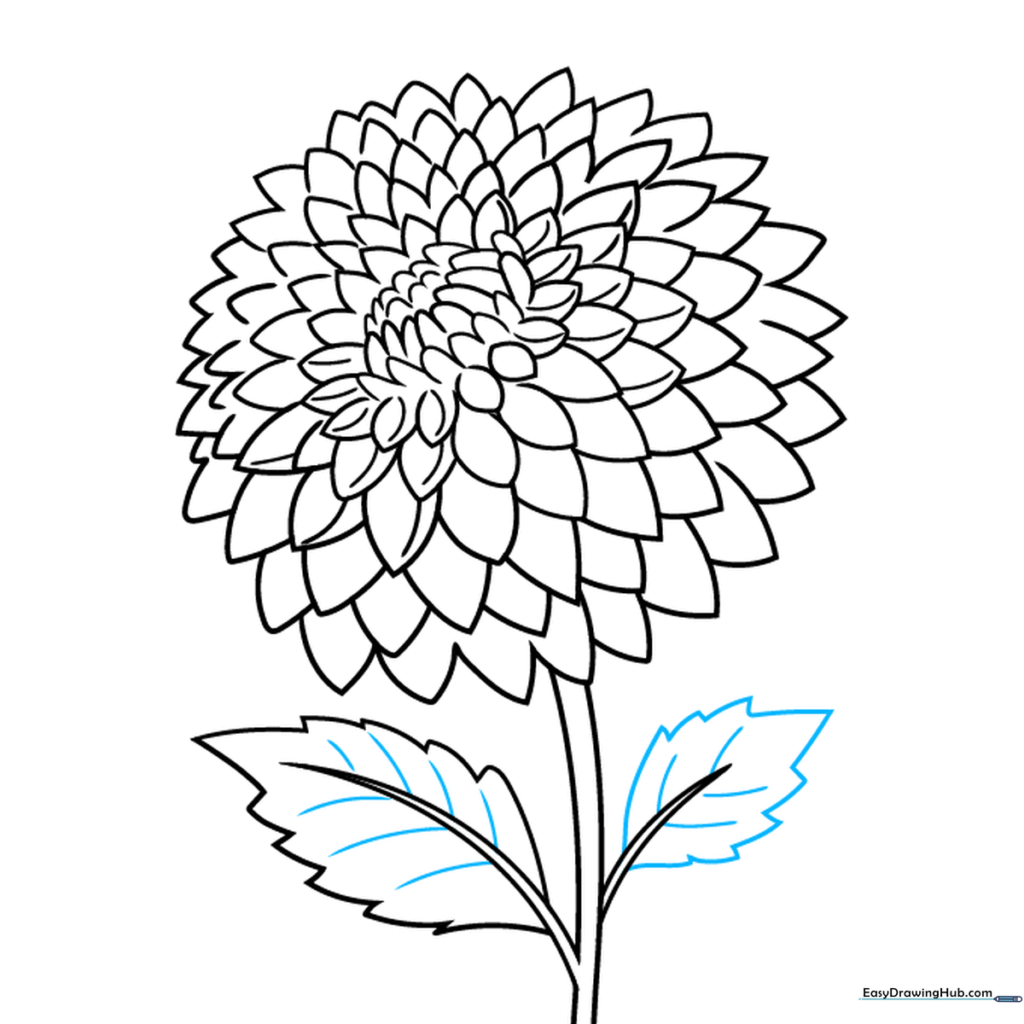
Finish the leaves by adding smaller veins extending from the center. Teacher's Tip: Use a lighter touch for these small veins so they don't overpower the main leaf shape.
Step 10: Color Your Dahlia
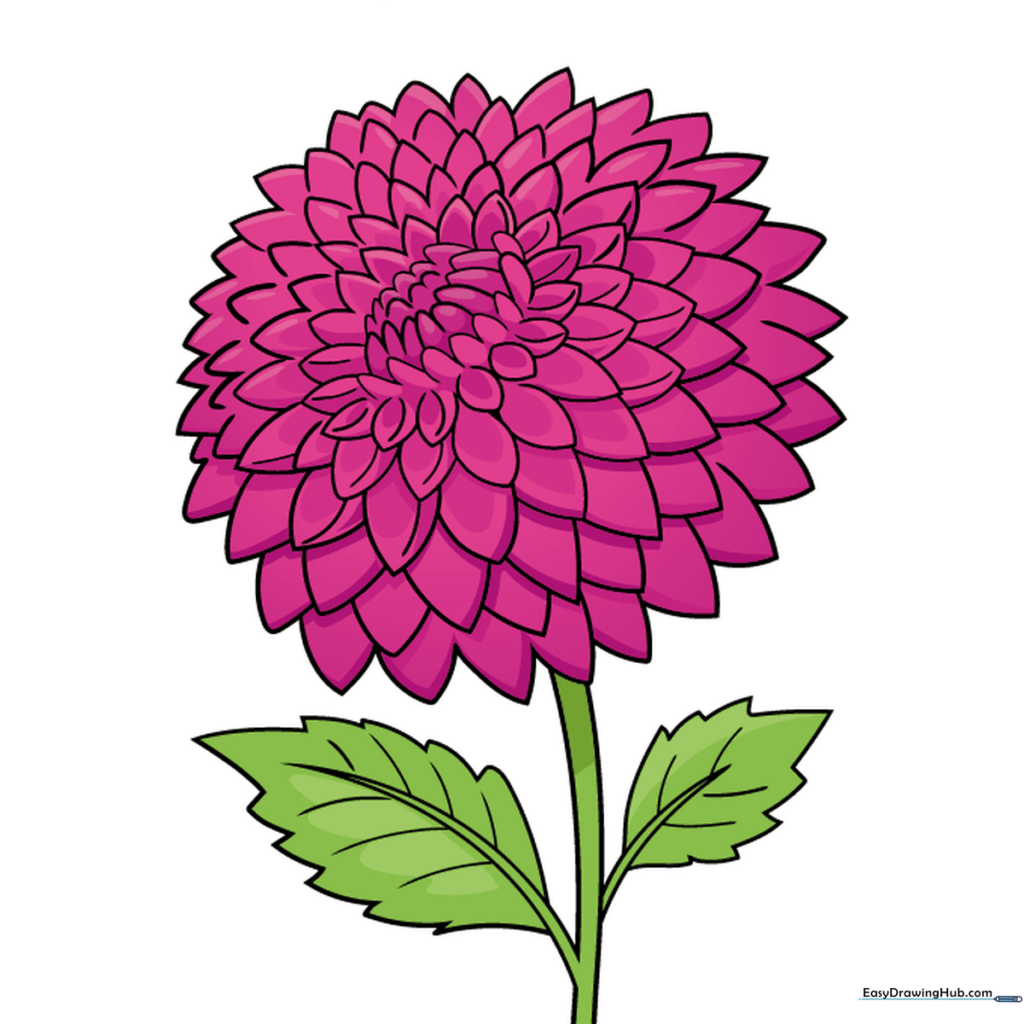
Bring your flower to life with color! Dahlias look stunning in pinks, reds, or oranges. Teacher's Tip: Try a gradient effect—use a darker shade near the center and blend into a lighter shade toward the petal tips for a professional look.
More Tutorials


