How to Draw a Dad’s Trophy: Easy Step-by-Step Guide
Looking for a meaningful, screen-free gift for Father's Day? This trophy drawing tutorial is perfect for ages 5 and up, requiring only a pencil, paper, and your favorite markers. Follow these simple steps to create a personalized 'World's Best Dad' award that builds confidence and artistic skill.
🎯 Final Result

Step-by-Step Instructions
Step 1: Sketching the Trophy Opening

Begin by drawing a flattened, horizontal oval. This will become the opening of the trophy's cup. Tip: Keep it centered on your page to leave room for the base later.
Step 2: Forming the Cup Body
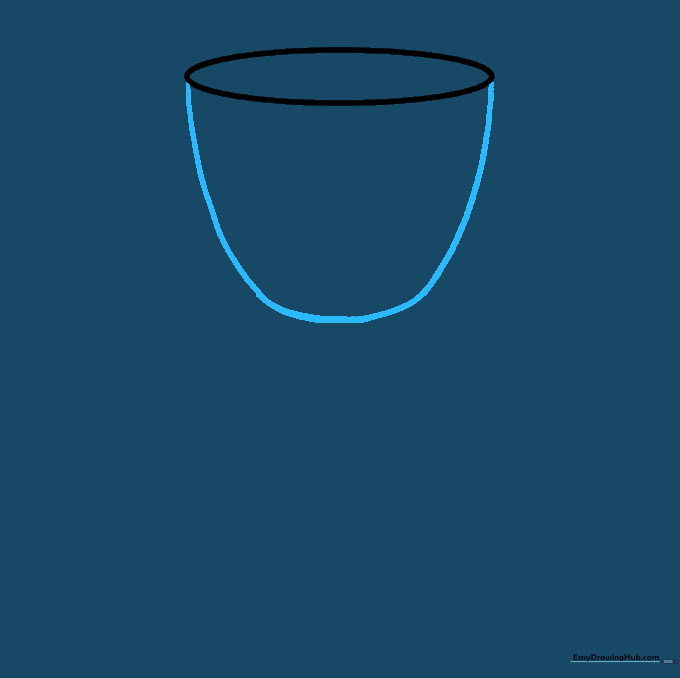
Draw a large, 'U' shaped line connecting the sides of the oval. This forms the main body of the cup. Tip: Try to make the curve symmetrical on both sides for a balanced look.
Step 3: Constructing the Stem
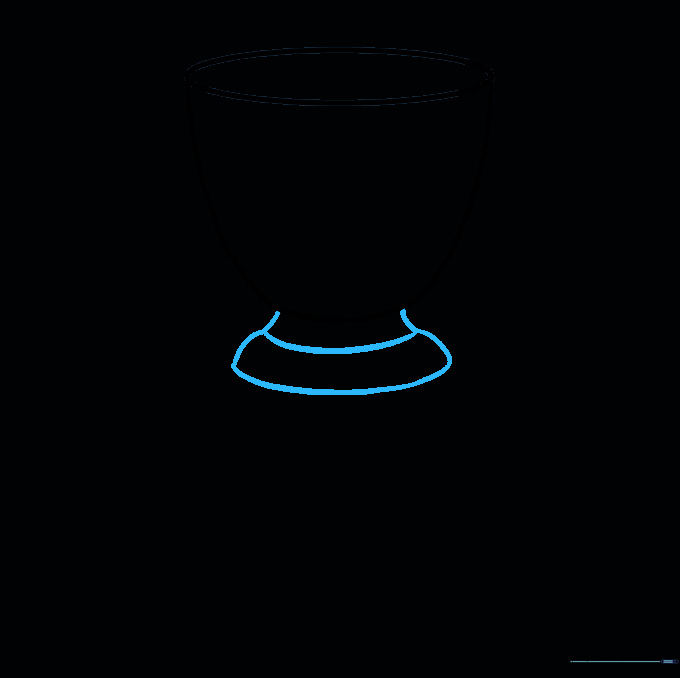
Extend two short, curved lines beneath the cup, and connect them with a longer curved line. Repeat this to create a tiered base. Tip: Think of this as stacking two small bowls upside down.
Step 4: Adding the Handles

On each side of the cup, draw an inverted teardrop shape. Add a smaller, narrow shape inside each to create the handle opening. Tip: Keep the handles the same size to ensure the trophy looks sturdy.
Step 5: Detailing the Rim

Draw a curved line parallel to the top of the cup, both on the inside and outside. This adds depth and makes the metal look thick. Tip: Use a steady hand for these parallel lines to keep the rim looking clean.
Step 6: Drawing the Base

Draw a trapezoid beneath the stem, followed by a large rectangle for the base. Add a narrow rectangle at the very bottom for the final platform. Tip: Use a ruler if you want the base to look extra sharp and professional.
Step 7: Adding the Star

Draw a five-pointed star on the front of the cup. Erase any overlapping guide lines inside the star. Tip: If drawing a star is tricky, draw a small 'A' shape and connect the points.
Step 8: Personalizing with a Number

Sketch a hollow number '1' inside the star. This makes it look like a true first-place trophy! Tip: Keep the lines of the number thick so they stand out when you color them.
Step 9: Adding the Plaque

Draw a smaller rectangle on the base and write 'WORLD'S BEST DAD' inside. Tip: Use a fine-tip marker for the lettering to keep it neat and readable.
Step 10: Coloring Your Masterpiece

Color your trophy! Use bright yellow or gold for the cup and a rich brown for the wooden base. Tip: Add a little white highlight on the side of the cup to make it look shiny and metallic.
More Tutorials


