How to Draw a Dachshund: Easy 10-Step Guide for Kids
Ready to draw a playful 'wiener dog'? This tutorial is perfect for young artists ages 5 and up. Grab a pencil, an eraser, and some paper to bring this long-bodied pup to life while practicing basic shapes and line control.
🎯 Final Result

Step-by-Step Instructions
Step 1: Sketching the Head and Eye

Start by sketching the dachshund's head using an 'S' shaped line for the brow and nose. Draw the eye with a curved line, adding eyelashes. Tip: Keep your pencil pressure light here so you can refine the shape later.
Step 2: Adding the Second Eye

Draw the second eye to match the first, using a circular shape and adding an eyelid above it. Tip: Try to keep the eyes symmetrical to give your puppy a friendly, alert expression.
Step 3: The Nose and Smile
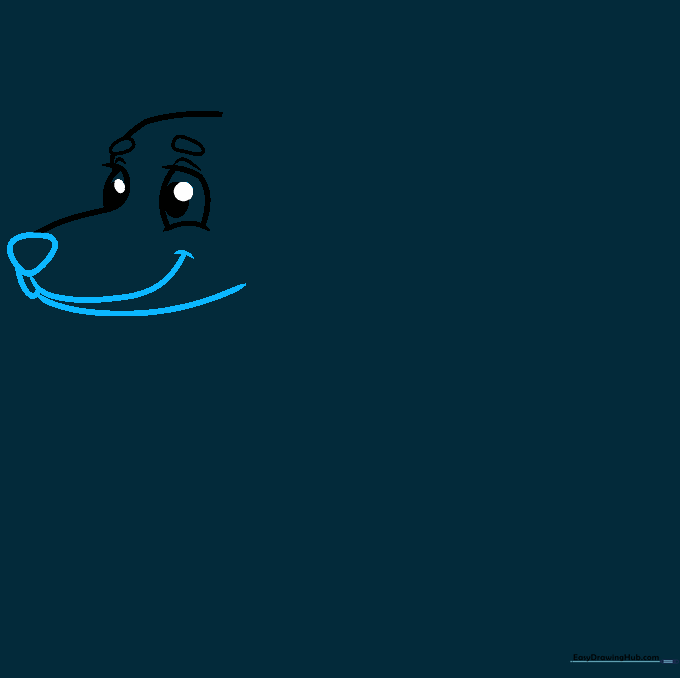
Draw an upside-down triangle with rounded corners for the nose. Add a curved line for the mouth. Tip: A small curved line at the corner of the mouth makes your dog look like it's smiling!
Step 4: Drawing the Floppy Ears
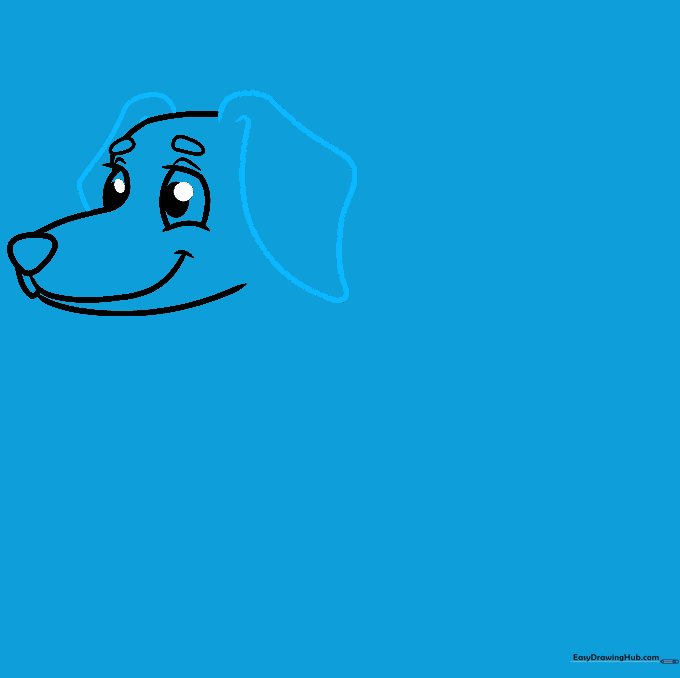
Use long, curved lines to create the signature floppy ears of the dachshund. Tip: Make the ears hang low to capture that classic, cute breed look.
Step 5: The Back and Tail
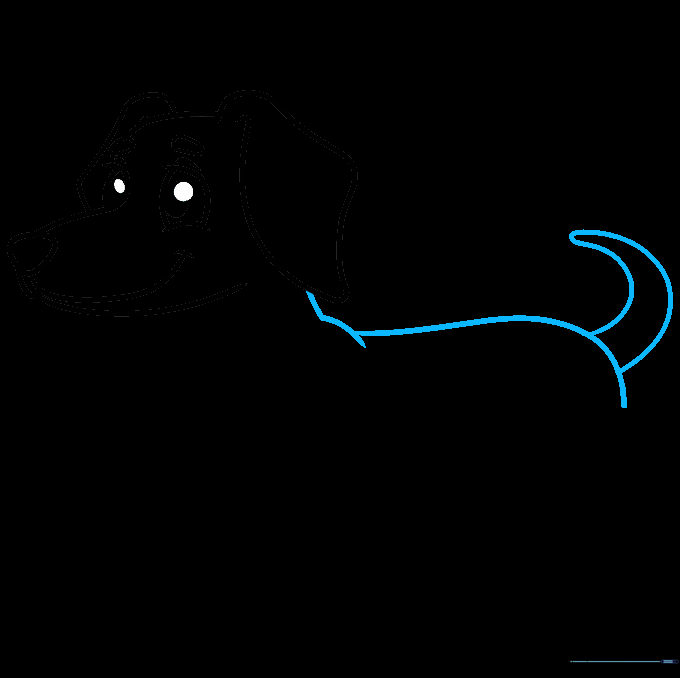
Sketch the long back and hips using smooth, overlapping curved lines. Add a pointy, wagging tail. Tip: Keep the back line long and slightly curved to emphasize the dachshund's unique shape.
Step 6: Neck and Front Leg
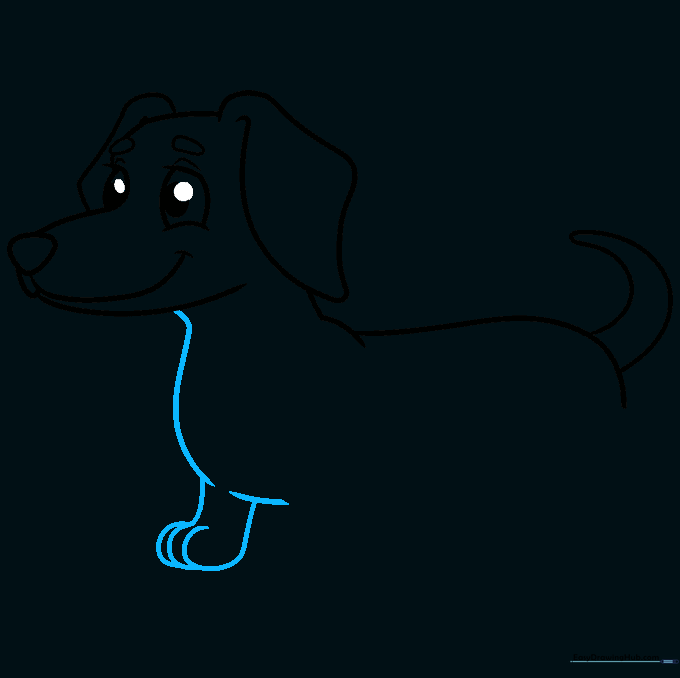
Draw the neck and chest, then sketch the front leg with small curves for the toes. Tip: Use short, quick strokes to define the paw pads.
Step 7: The Second Front Leg
Add the other front leg, making sure it overlaps slightly with the first. Extend the belly line. Tip: Pay attention to the ankle contour to make the leg look natural.
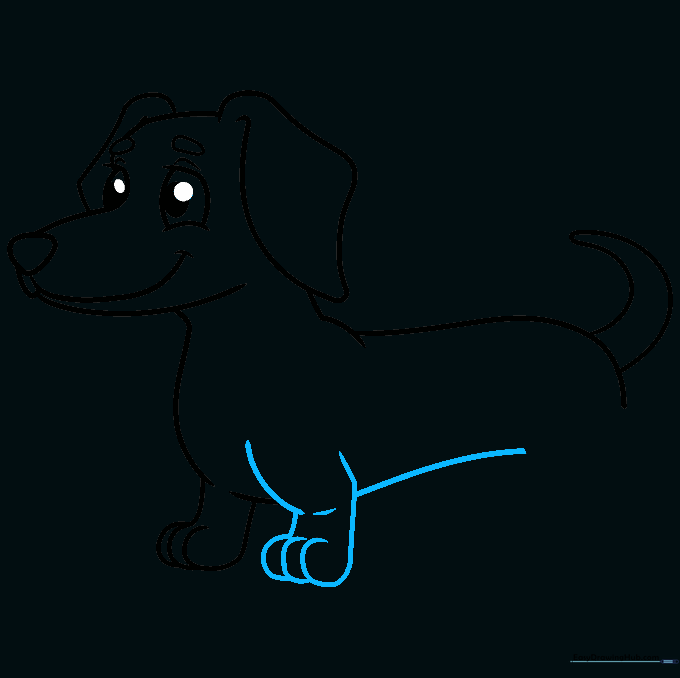
Step 8: Drawing the Rear Leg
Sketch the rear leg using overlapping curves. Tip: The rear leg should look a bit thicker than the front legs to show the dog's muscle structure.
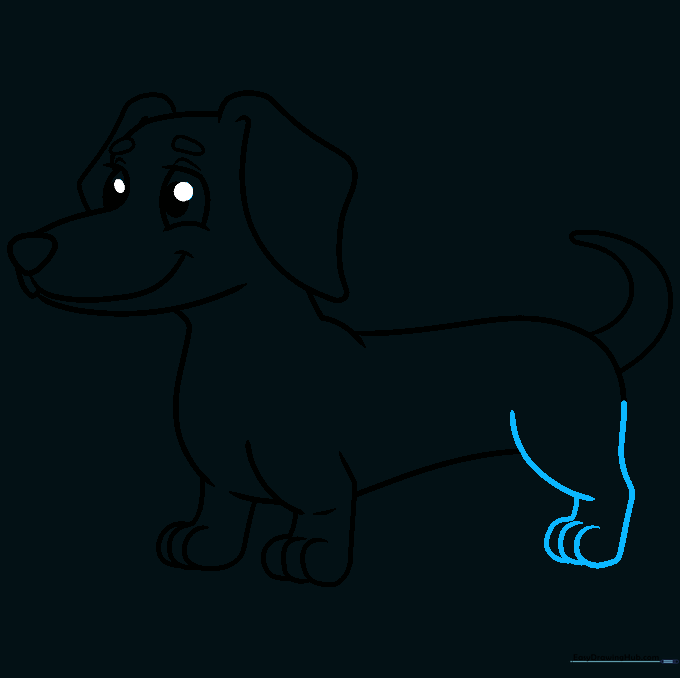
Step 9: Finalizing the Legs
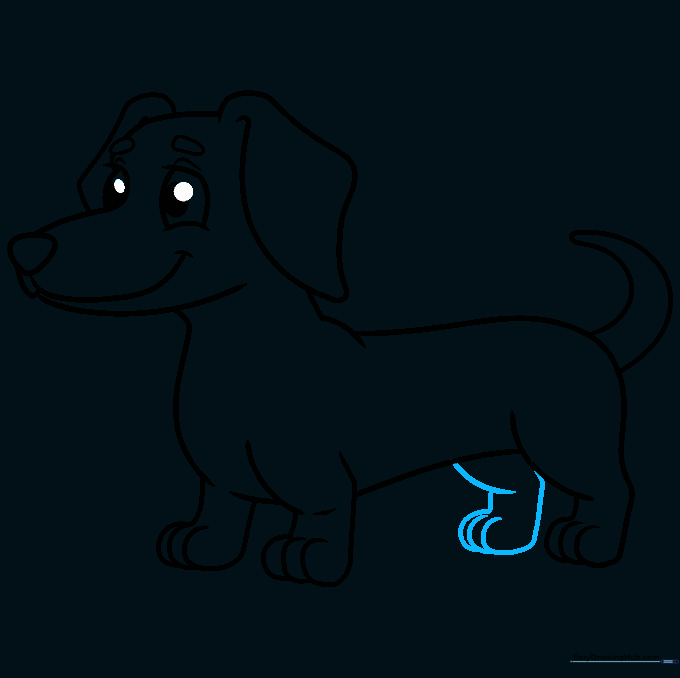
Complete the final leg to finish the body outline. Tip: Double-check your proportions—ensure the legs look balanced against the long body.
Step 10: Coloring Your Masterpiece
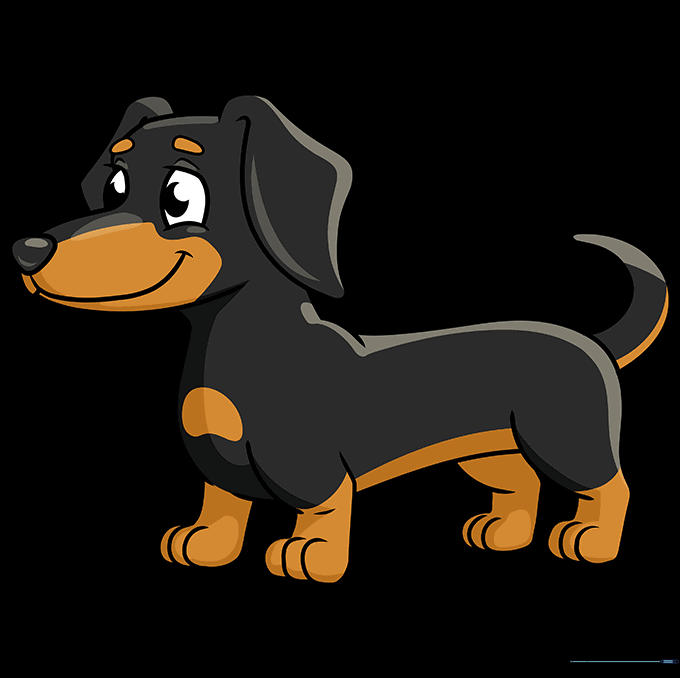
Time to color! Use reddish-brown or black with tan markings for a classic look. Tip: Use light pressure with your colored pencils to blend colors smoothly.
More Tutorials


