How to Draw a Cute Zombie Girl: Easy 10-Step Guide
Looking for a fun, spooky art project? This tutorial is perfect for young artists ages 7+ who want to practice character design. You will only need a pencil, an eraser, and your favorite markers to bring this friendly zombie to life.
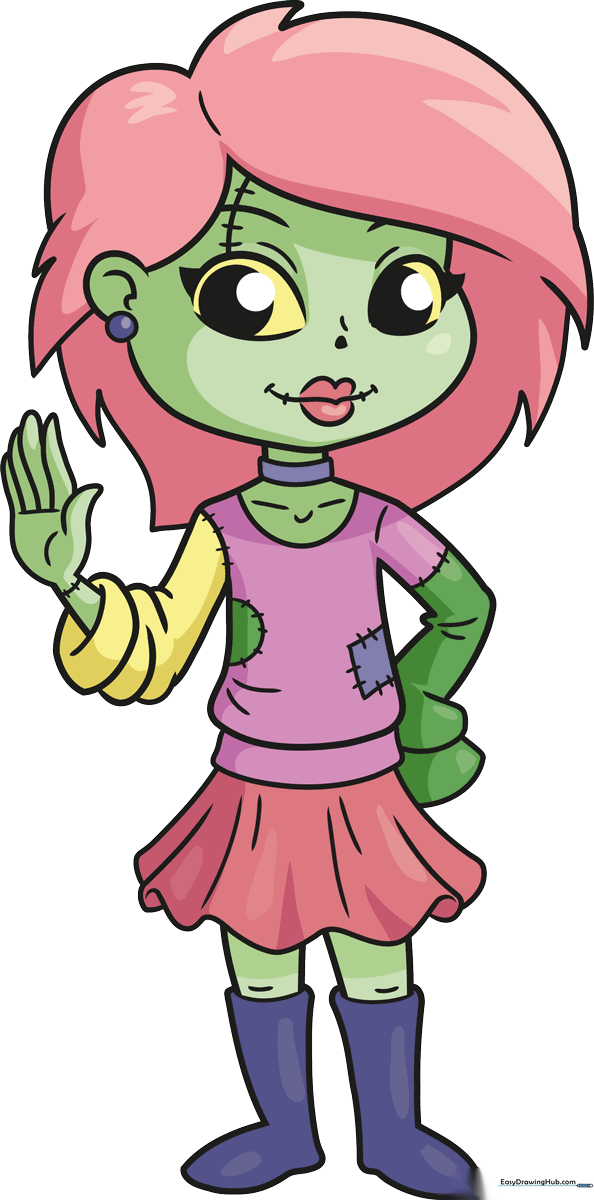
🎯 Final Result
Step-by-Step Instructions
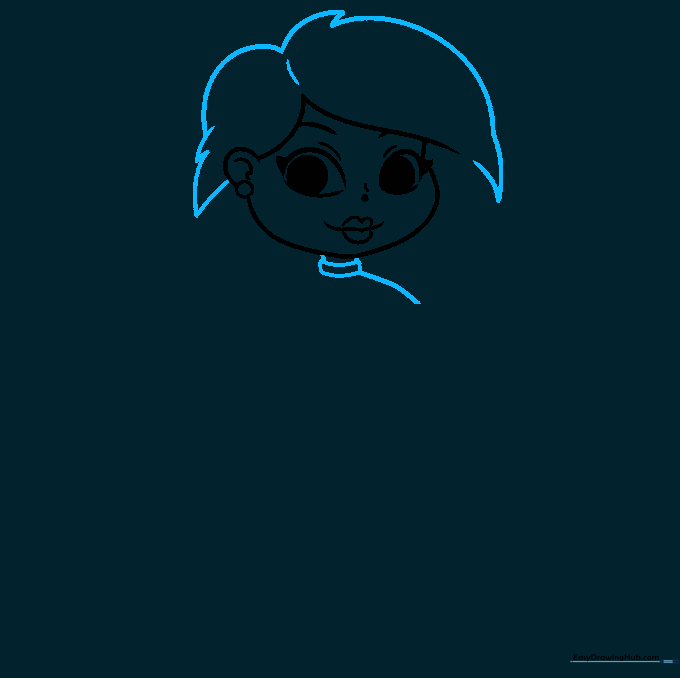
Step 1: Sketching the Eyes and Nose

Sketch two almond shapes for the eyes, adding small circles inside for pupils. Add tiny triangles for the nose. Teacher's Tip: Keep your pencil pressure light so you can easily adjust the symmetry before committing to dark lines.
Step 2: Defining the Face and Hair

Draw a curvy mouth with a dip in the center, then frame the face with a soft heart-shaped jawline. Add a small ear loop on the left and sketch the hairline with sharp, swooping strokes. Teacher's Tip: Use 'hilly' curves for the eyebrows to give her a curious, friendly expression.
Step 3: Adding Hair and Neck
Create two teardrop shapes with jagged edges for the hair. Draw two parallel lines for the neck, connecting them to the head. Teacher's Tip: Make the hair edges slightly uneven to give it that fun, 'undead' messy look.
Step 4: Sketching Shoulders and Hair Flow
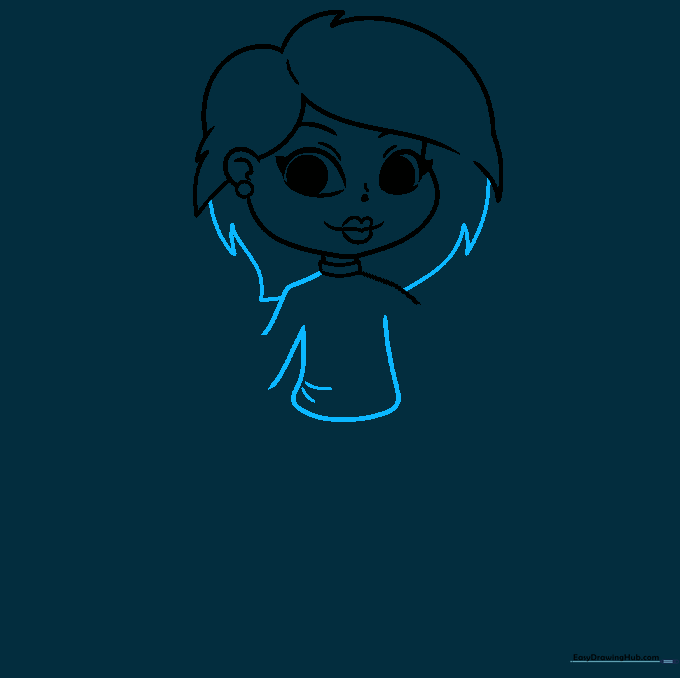
Draw two straight lines for the shoulders and an inverted V-shape for the neckline. Extend the hair with V-shaped swoops over the shoulders. Teacher's Tip: Ensure the hair lines flow naturally over the shoulders to create a sense of movement.
Step 5: Drawing the Sleeves
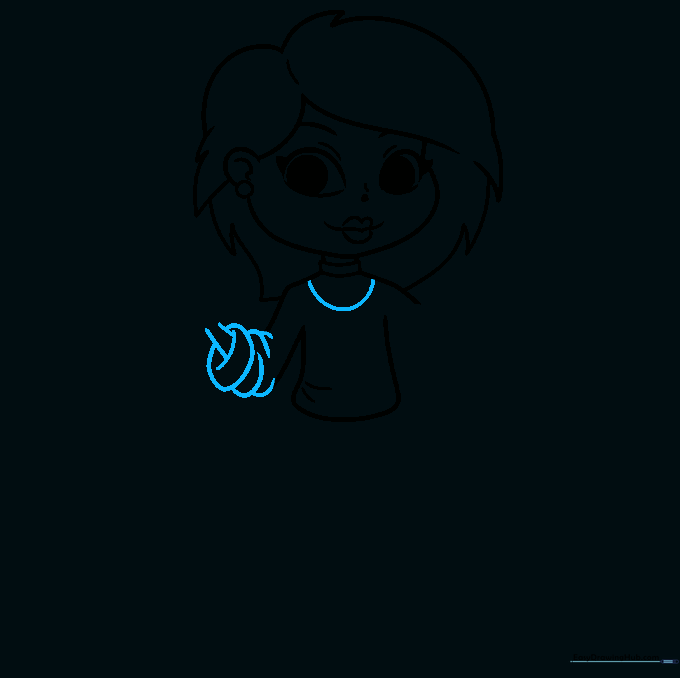
Add a collar scoop and draw chunky, noodle-like shapes for the sleeves. Make sure they overlap to show depth. Teacher's Tip: Don't worry about perfect circles; slightly wobbly lines make the sleeves look more like soft fabric.
Step 6: Adding Arms and Hands
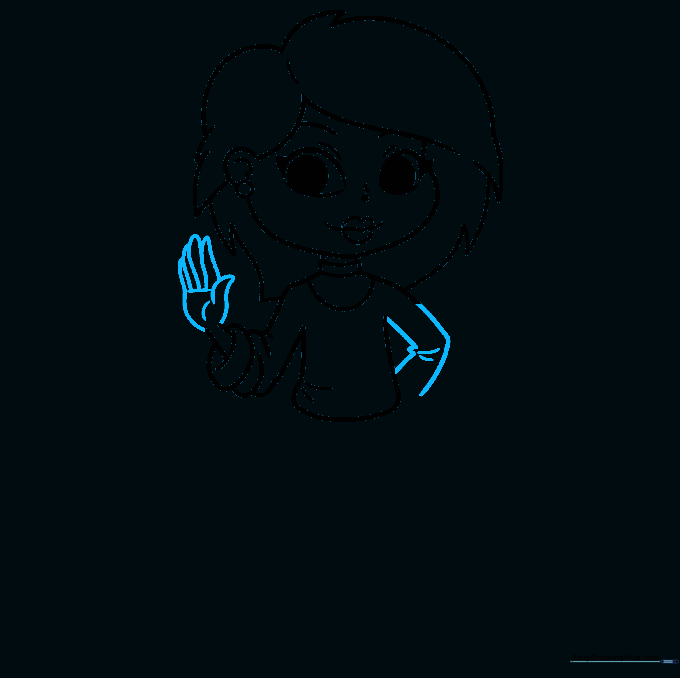
Draw arrow-like shapes for the right arm and a half-oval for the left palm. Add thin, spindly fingers. Teacher's Tip: Keep the fingers simple and long to emphasize the 'zombie' character style.
Step 7: Creating the Skirt
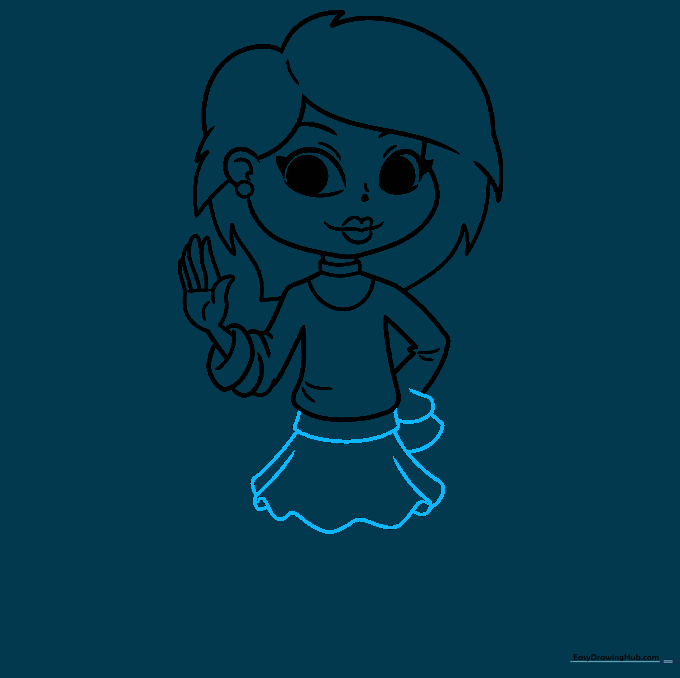
Connect the torso to the skirt using a wavy, shell-like line at the bottom. Add more chunky sleeve details on the right. Teacher's Tip: Use a wavy line for the hem to give the skirt a fun, ruffled appearance.
Step 8: Drawing Legs and Boots
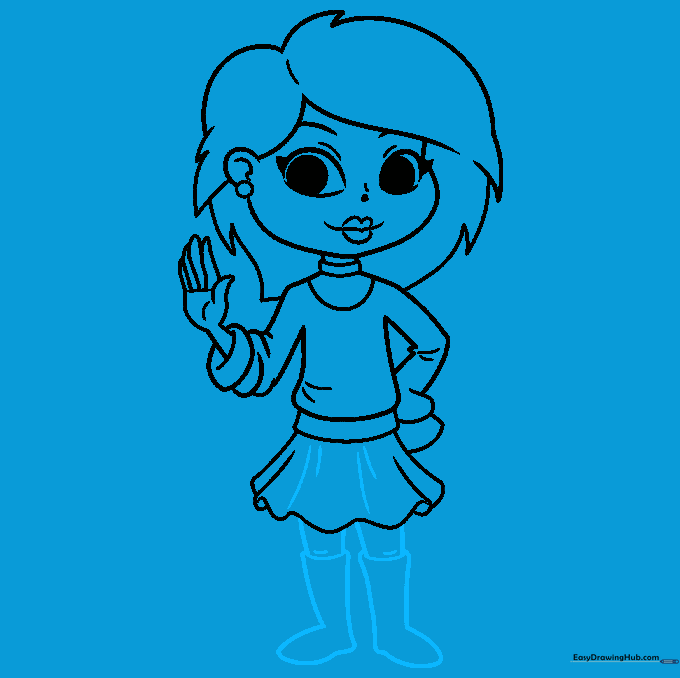
Draw two sets of parallel lines for the legs, connecting them with a curve at the bottom. Add almond shapes for the boots. Teacher's Tip: Ensure the boots are slightly wider than the legs to make them look like real shoes.
Step 9: Finalizing the Outline
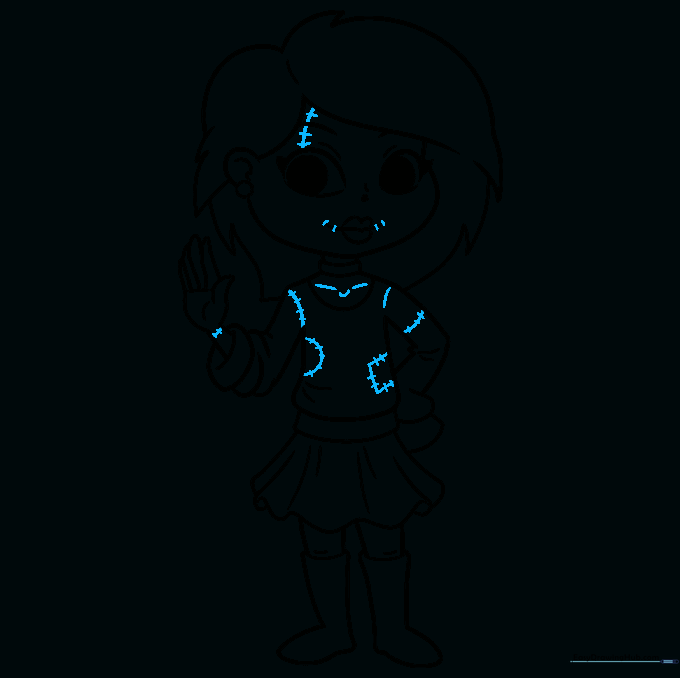
Add small dashed lines across the body to suggest texture or stitches. Go over your final lines with a black marker. Teacher's Tip: Use a steady hand when outlining to make your character pop off the page.
Step 10: Adding Color
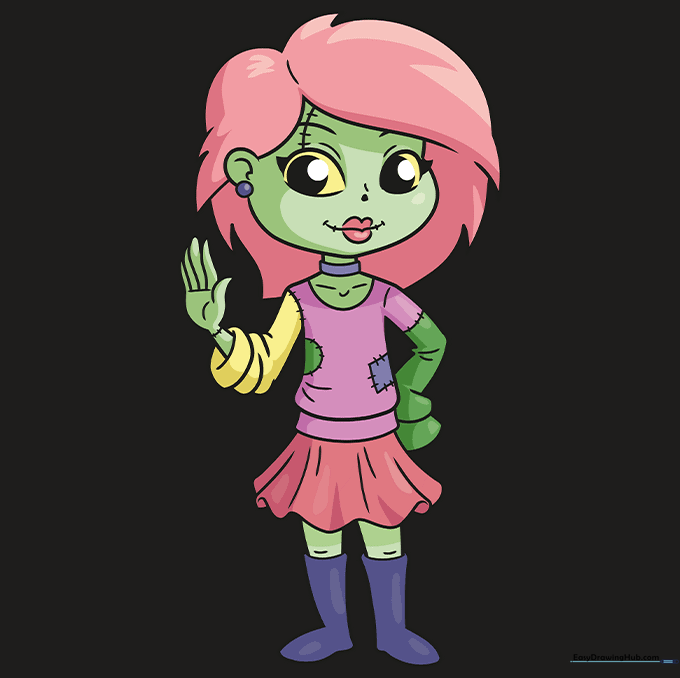
Bring your zombie to life! Use light green for the skin, pink for the hair and lips, and purplish-blue for the boots. Teacher's Tip: Use a darker green to shade the edges of the skin to give your character a 3D effect.
More Tutorials


