How to Draw a Cute Starfish: Easy 10-Step Guide
Bring the ocean to your sketchbook with this friendly starfish tutorial! Designed for young artists ages 5 and up, this activity requires only a pencil, eraser, and paper. Follow these simple steps to master basic shapes and create a cheerful sea creature character.
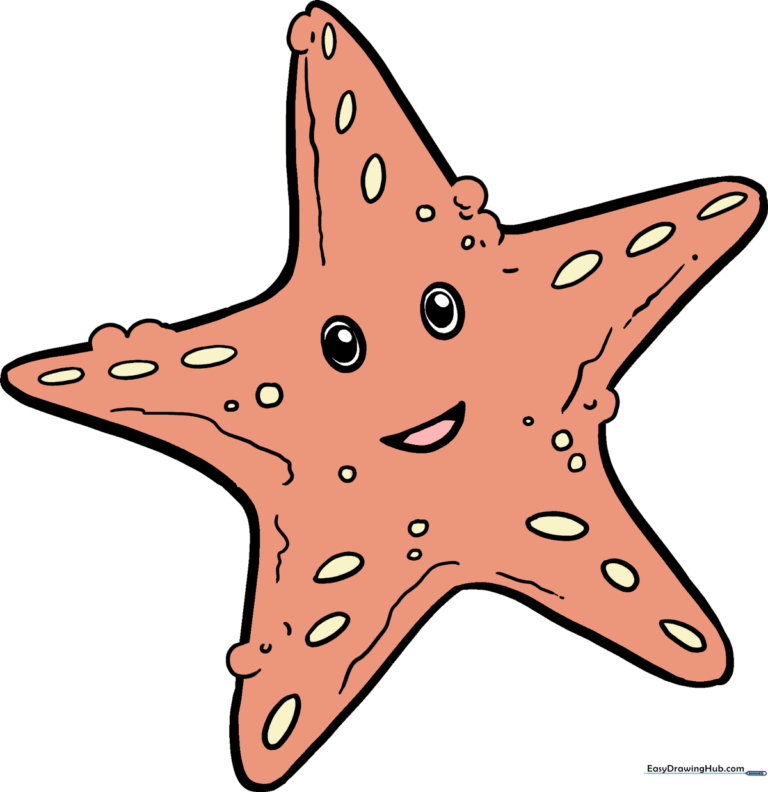
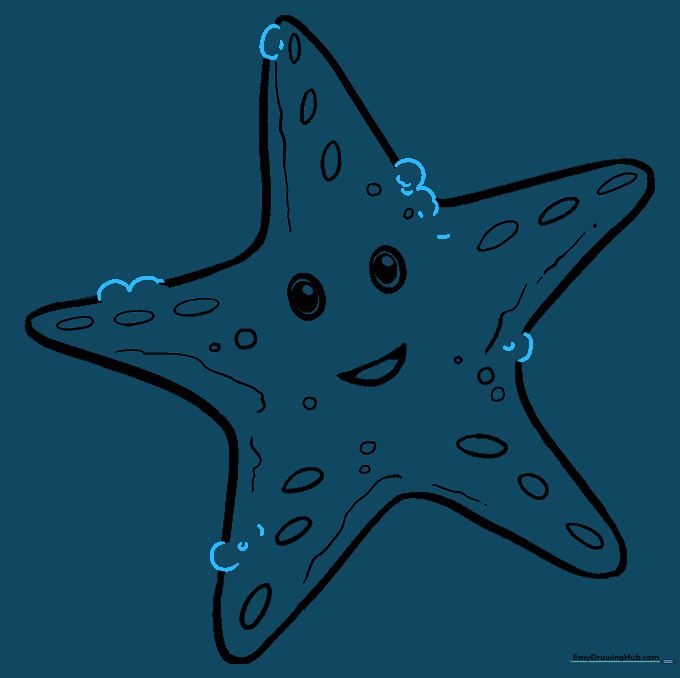
🎯 Final Result
Step-by-Step Instructions
Sketching the First Arm

Draw a curved, rounded 'V' shape to form the top arm. Teacher's Tip: Keep your pencil strokes light and loose; think of it like drawing a soft, rounded mountain peak.
Adding Side Arms

Extend two more rounded 'V' shapes from the base of your first arm. Teacher's Tip: Try to make these arms roughly the same size to keep your starfish symmetrical.
Closing the Body

Draw the final two arms to complete the classic five-pointed star shape. Teacher's Tip: If the arms look a bit uneven, use your eraser to gently adjust the curves before moving on.
Drawing Expressive Eyes

Draw two ovals in the center, adding smaller circles inside for pupils. Shade the space between the inner circles. Teacher's Tip: Placing the eyes closer together makes the starfish look extra cute and friendly!
Adding a Happy Smile
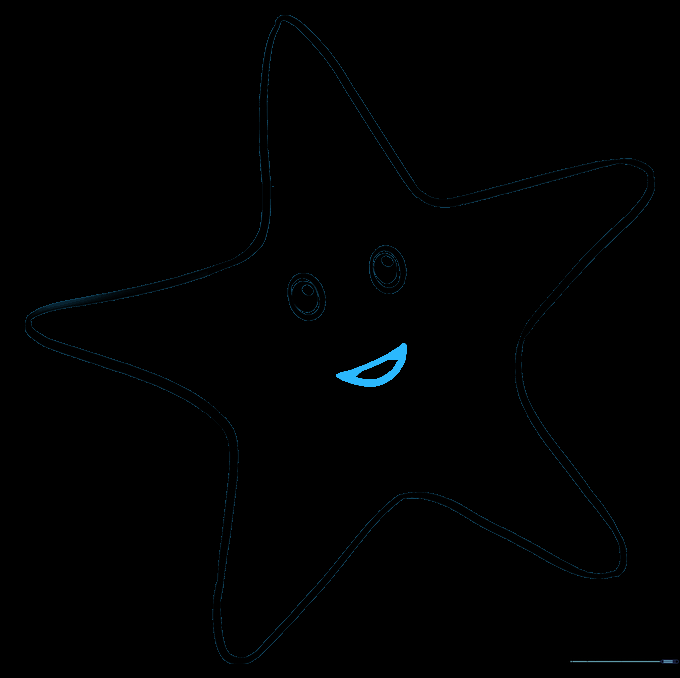
Sketch a curved mouth with a small tongue inside. Shade the area around the tongue. Teacher's Tip: A wide, curved line creates a genuine, happy expression.
Adding Tube Feet
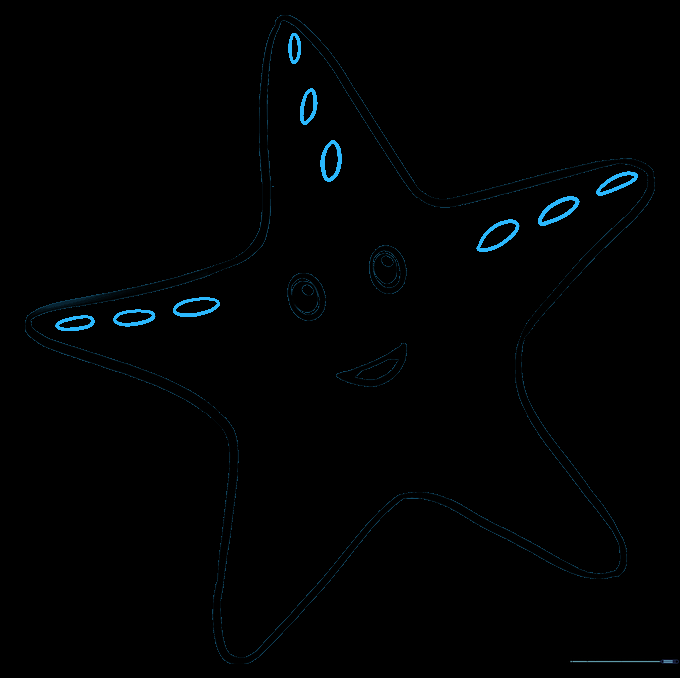
Draw a line of small ovals down the center of each arm. Teacher's Tip: These represent the starfish's tube feet; keep them consistent in size for a tidy look.
Completing the Feet
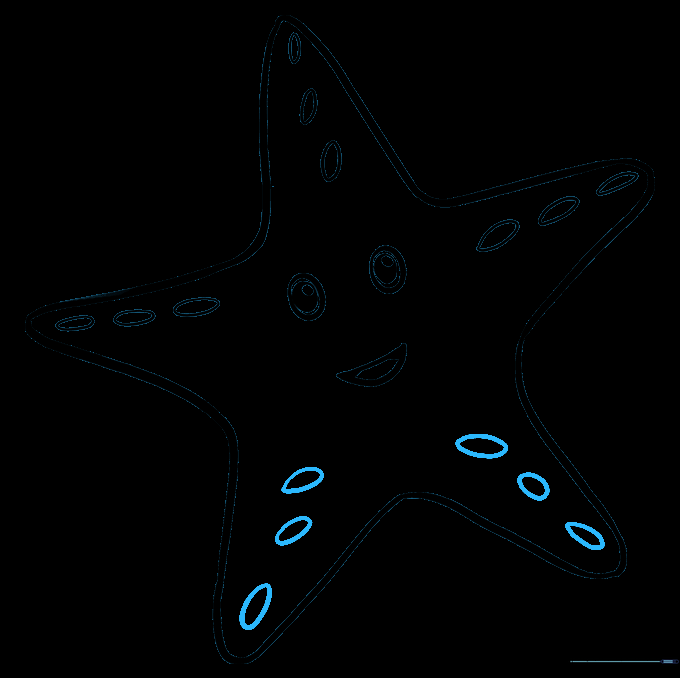
Continue adding rows of ovals to the remaining arms. Teacher's Tip: Take your time—drawing repetitive shapes is a great way to practice steady hand control.
Adding Texture Details
Add wavy lines and small circles across the body to give it texture. Teacher's Tip: Varying the size of the circles makes the starfish look more natural and interesting.
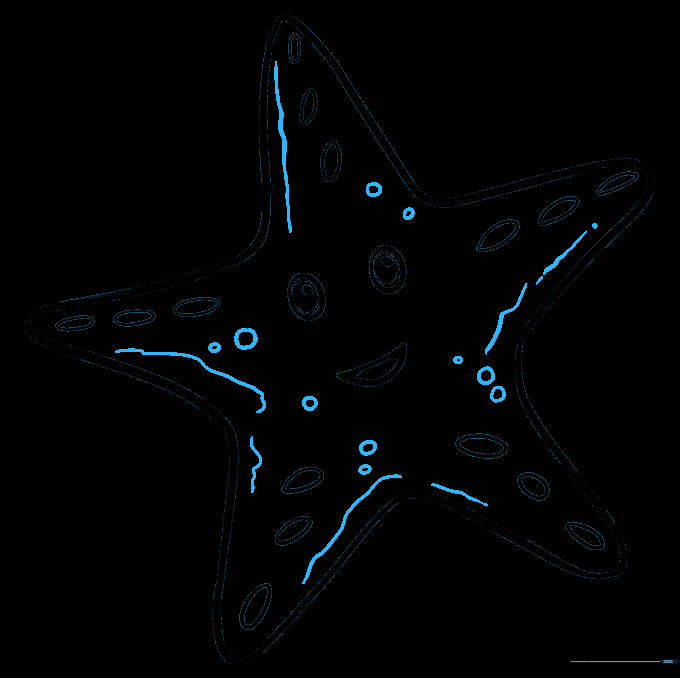
Finalizing the Outline
Add small 'U' shaped bumps along the edges for a realistic, bumpy texture. Erase any remaining guide lines. Teacher's Tip: Use a darker pencil or fine-liner to trace your final lines for a clean, professional finish.
Adding Color

Bring your starfish to life with color! Try bright oranges, deep purples, or sunny yellows. Teacher's Tip: Use light and dark shades of the same color to add depth and make your drawing pop.
More Tutorials


