How to Draw a Cute Snake: Easy 5-Step Guide for Kids
Ready to bring a friendly reptile to life? This tutorial is perfect for young artists ages 5 and up. All you need is a pencil, an eraser, and a piece of paper to practice these simple, confidence-building shapes.
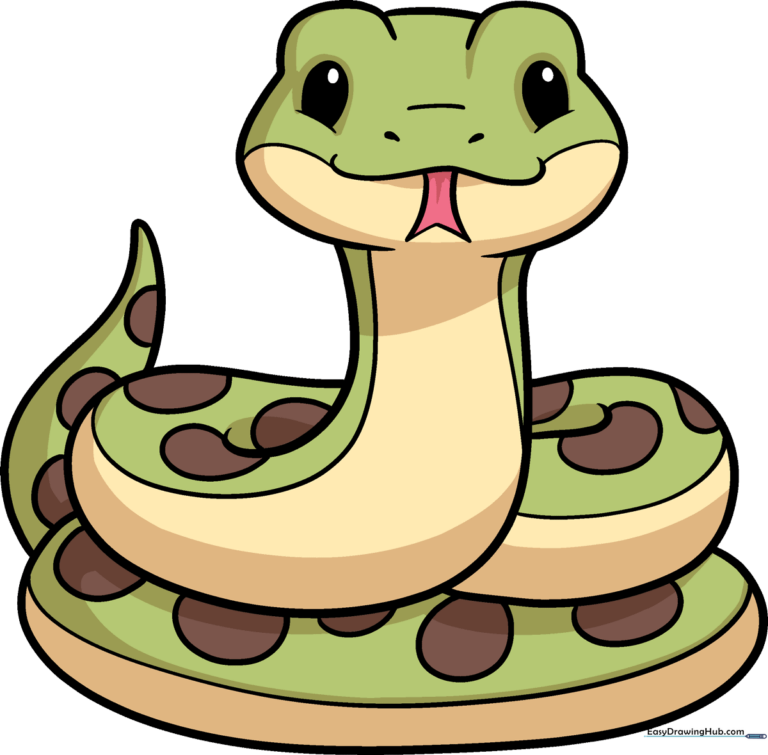
🎯 Final Result
Step-by-Step Instructions
Step 1: Sketching the Expressive Face
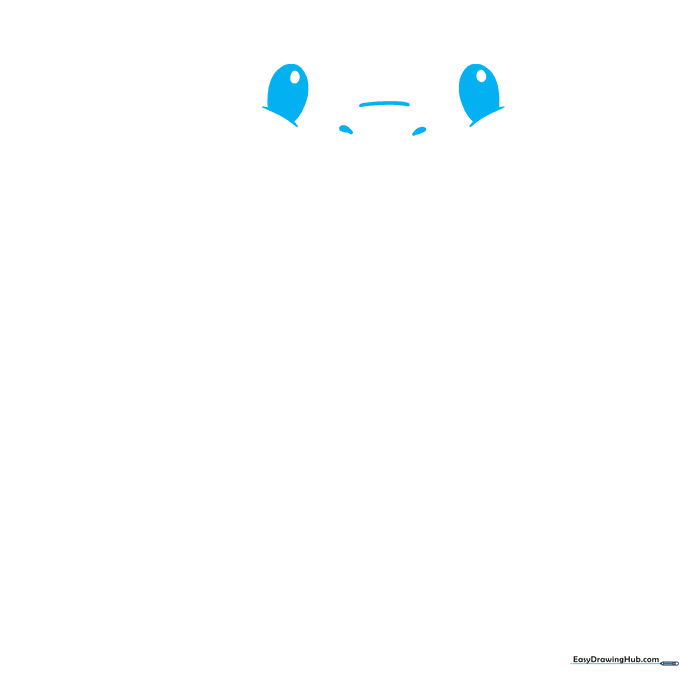
Start by drawing two curved lines for the cheeks, then add partial ovals on top for the eyes. Add a smaller circle inside each eye and shade them to give your snake personality. Tip: Keep your pencil pressure light here so you can easily adjust the shape of the snout later.
Step 2: Adding the Forked Tongue
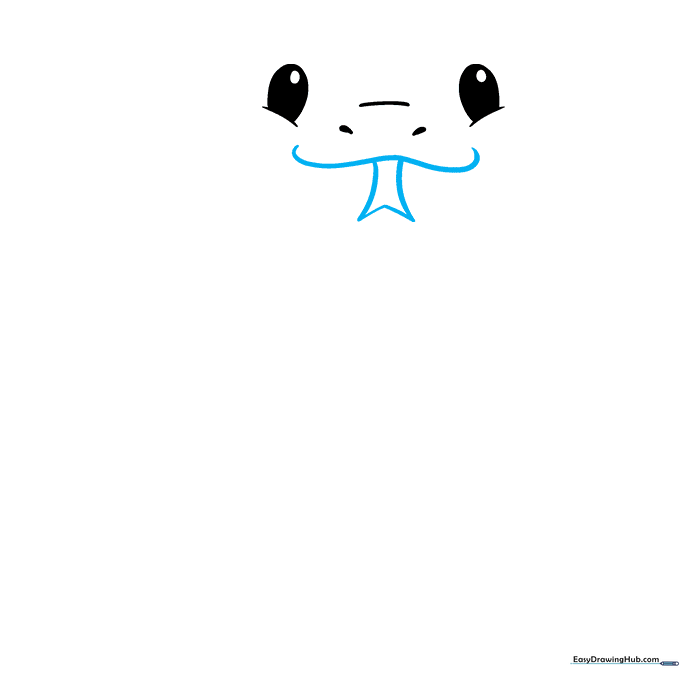
Draw a gentle curve for the mouth, then extend two lines downward, connecting them with a 'V' shape to create the tongue. Tip: Make the 'V' sharp to give the snake a playful, curious look.
Step 3: Defining the Head Shape
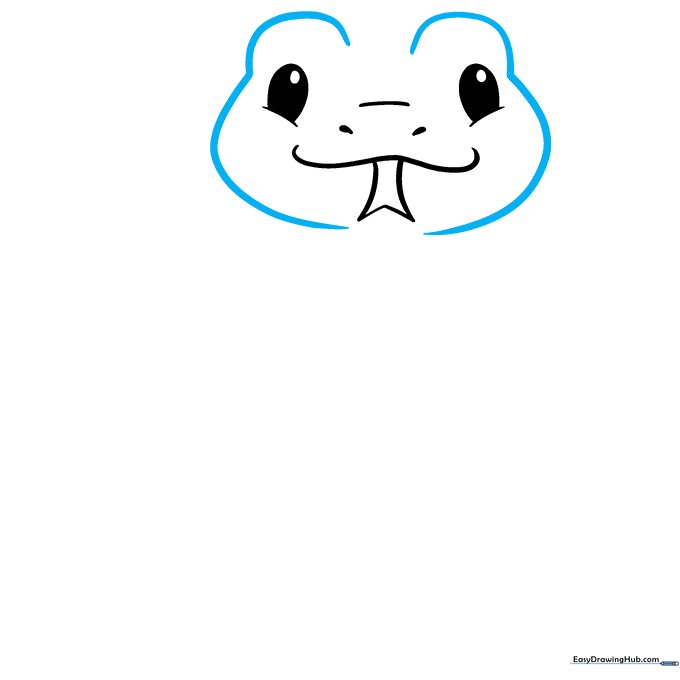
Add curved lines above the eyes to create ridges and continue them down to form the sides of the face. Tip: Think of these as 'eyebrows' that give your snake a friendly, inquisitive expression.
Step 4: Starting the Neck
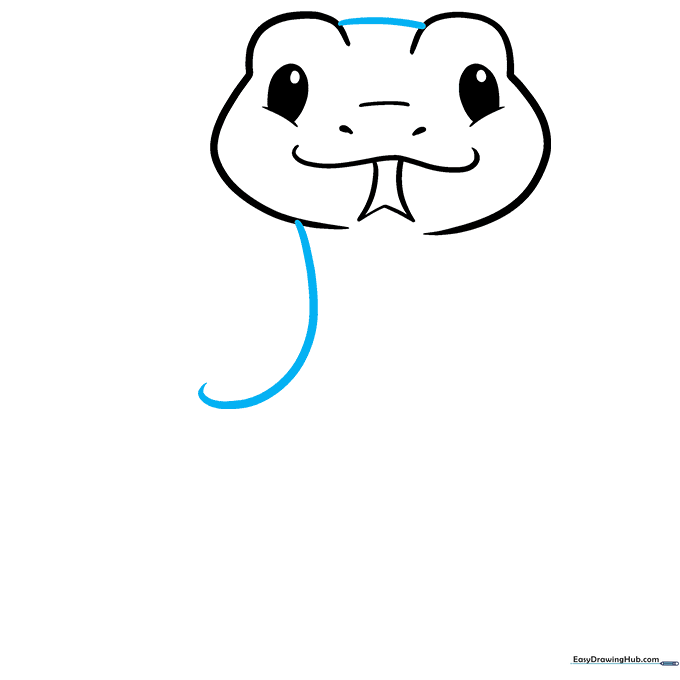
Connect the eye ridges with a smooth curve across the top of the head. Then, draw a line extending downward to begin the neck. Tip: Keep this line smooth to make the snake look flexible and natural.
Step 5: Forming the First Coil

Extend a long, sweeping line from the other side of the face and loop it back to connect to the neck. Tip: This creates the first 'S' curve of the body, which is the secret to making a snake look like it's slithering.
Step 6: Adding More Coils
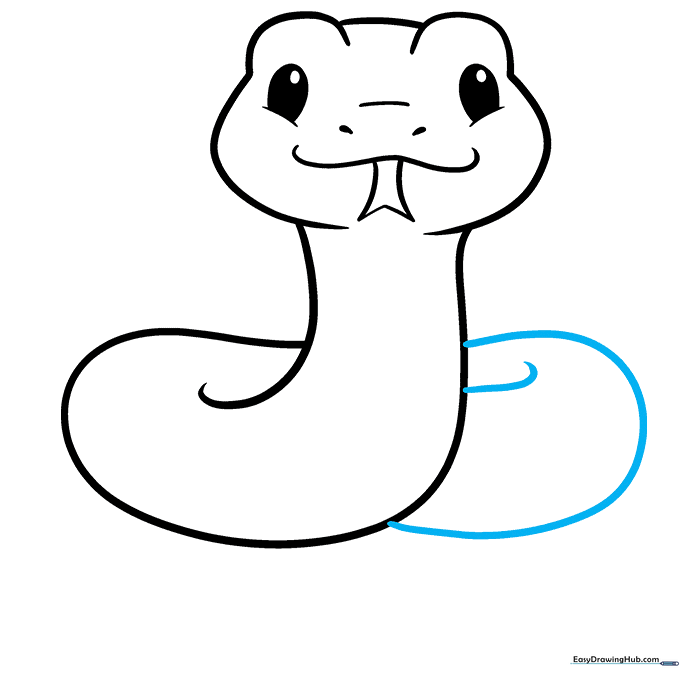
Draw another 'C' shaped curve on the opposite side of the neck to add volume. Add a small curved line at the top to show the body overlapping. Tip: Overlapping lines are a great way to show depth in a 2D drawing.
Step 7: Completing the Body Loop

Draw a large 'C' shaped line connecting the sides of the snake to form a final coil. Tip: Ensure the line is smooth so the snake looks like it is resting comfortably.
Step 8: Tail and Belly Details

Draw two curved lines meeting at a point for the upright tail. Add smaller curved lines along the cheeks and belly to show texture. Tip: These small lines act as 'contour lines' that help the snake look round rather than flat.
Step 9: Adding Scale Patterns
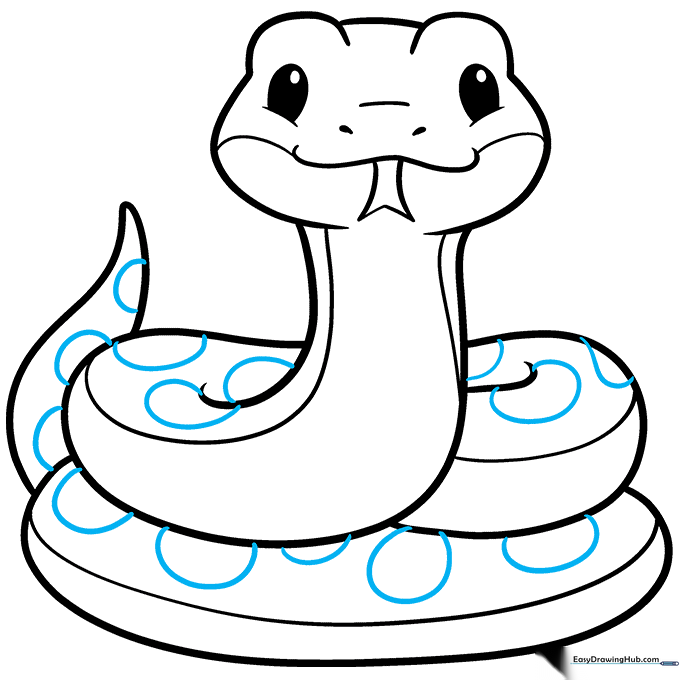
Draw partial circles along the back of your snake to create a scale pattern. Tip: Don't worry about making them perfect! Irregular shapes actually make the scales look more realistic.
Step 10: Bringing Your Snake to Life with Color

Your outline is complete! Now, choose your favorite colors. While browns and greens are classic, try bright yellows or oranges to make your cartoon snake pop. Tip: Use a darker shade of your main color to shade the underside of the coils for a 3D effect.
More Tutorials


