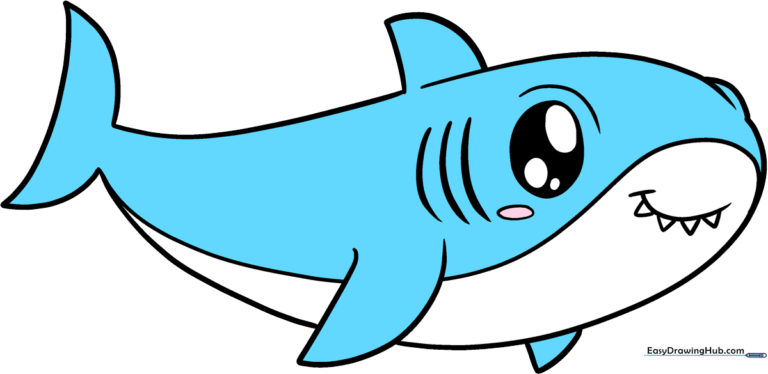
How to Draw a Cute Shark: Easy 10-Step Guide for Kids
Looking for a fun, screen-free activity? This tutorial is perfect for young artists ages 5 and up to practice basic shapes and line work. All you need is a pencil, an eraser, and some paper to bring this friendly ocean friend to life.
🎯 Final Result
Step-by-Step Instructions
Step 1: Sketching the Eye
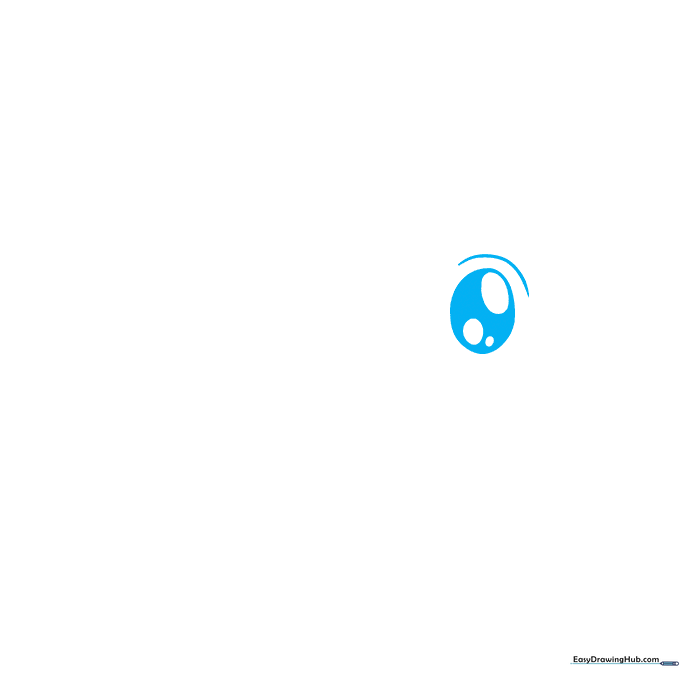
Draw a large oval with three smaller circles inside to create a shiny, expressive eye. Shade the large oval, leaving the smaller ones white for a 'glint' effect. Tip: Keep your pencil pressure light so you can adjust the placement if needed.
Step 2: Adding the Cheeks and Smile
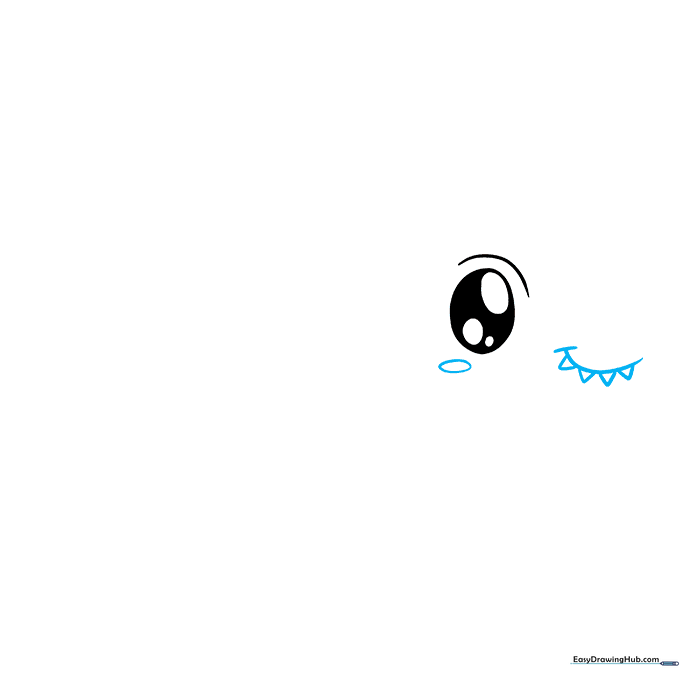
Draw a small oval under the eye for a rosy cheek. Add a curved line for a friendly smile, and tuck a few small triangles underneath to represent teeth. Tip: Keep the teeth small and rounded to maintain that 'cute' aesthetic.
Step 3: Defining the Face
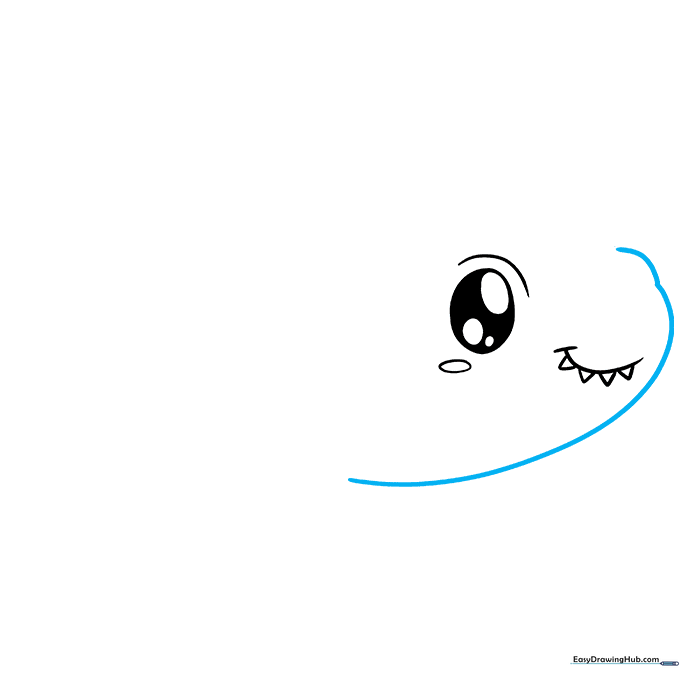
Use a long, smooth curved line to define the front of the shark's snout. Add a small bump above the eye to show the shape of the head. Tip: Use a continuous motion for the snout to keep the line looking fluid.
Step 4: Shaping the Head
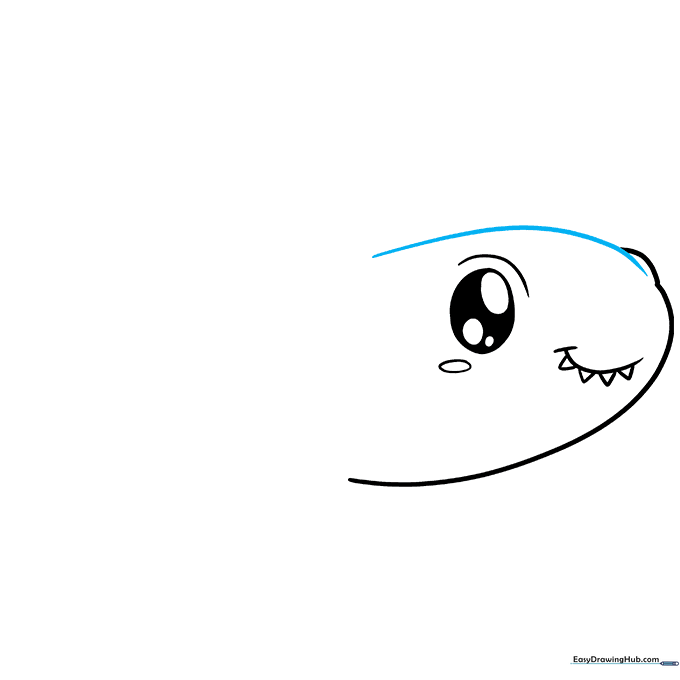
Draw a long, sweeping curve for the top of the head. Make sure it overlaps slightly with the far eye to create depth. Tip: Think of this like drawing a gentle hill.
Step 5: Fins and Gills
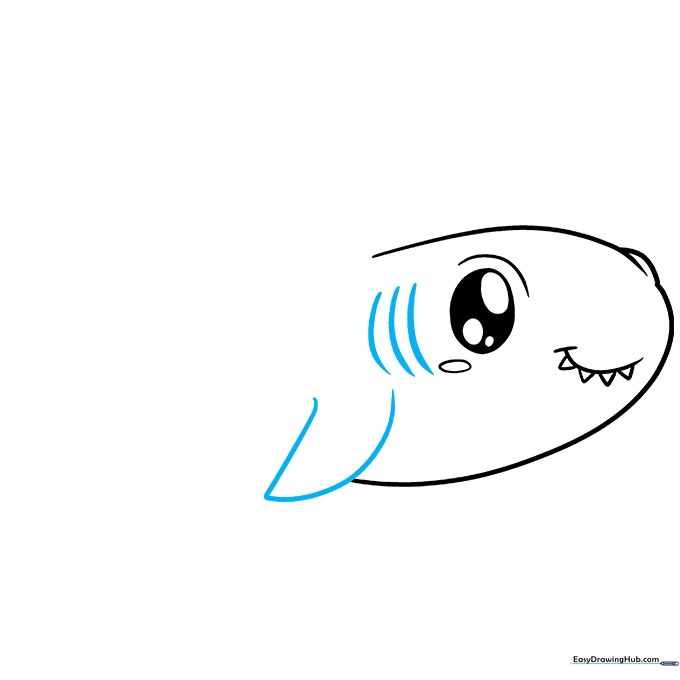
Create a triangular pectoral fin using two meeting curved lines. Add three small, parallel lines on the side for the gills. Tip: Keep the gill lines consistent in length to make them look neat.
Step 6: Adding Dorsal and Side Fins
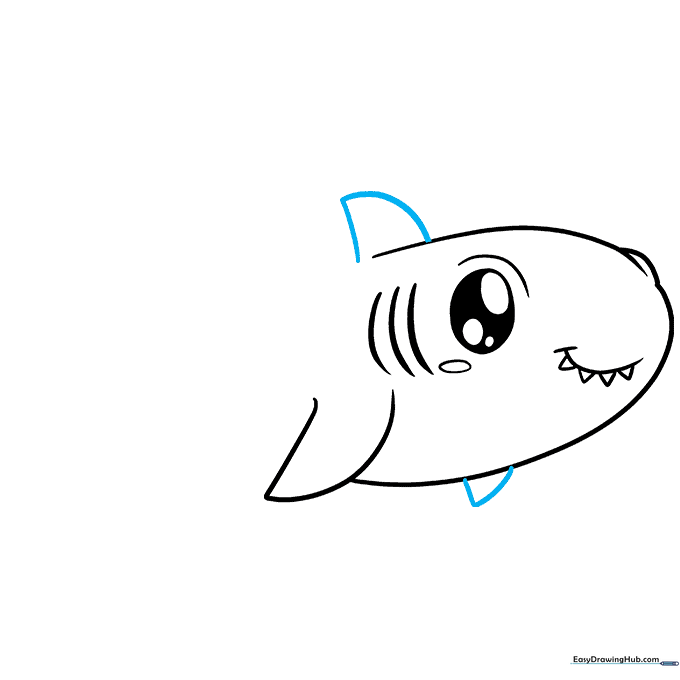
Draw the dorsal fin on top and the second pectoral fin on the side using pointed, curved shapes. Tip: Make the dorsal fin slightly taller than the pectoral fin to give the shark a realistic silhouette.
Step 7: The Tail Fin
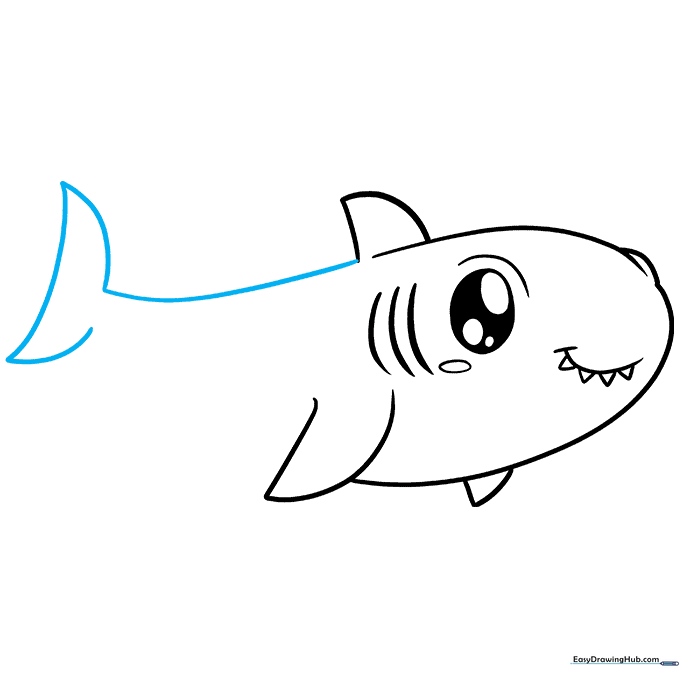
Extend a long curve from the dorsal fin to form the back, ending in a half-circle tail fin. Tip: Ensure the tail is symmetrical to keep the drawing balanced.
Step 8: Defining the Belly
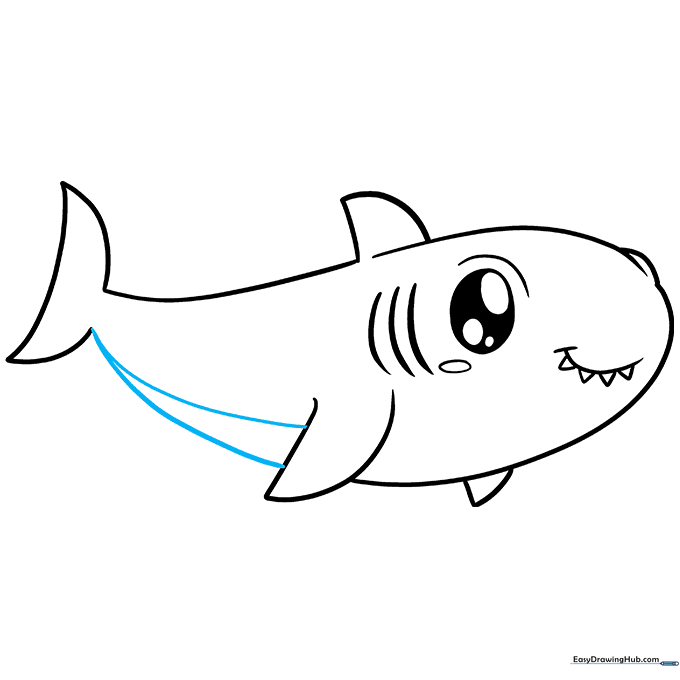
Connect the tail to the pectoral fin with a curved line to create the belly. Add a second line to show the underbelly detail. Tip: This line gives the shark a 3D, rounded appearance.
Step 9: Finalizing the Outline
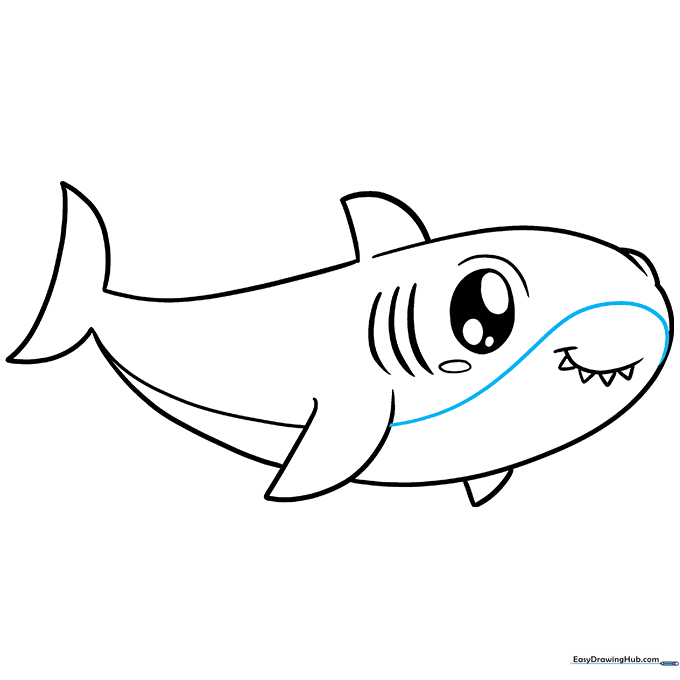
Complete the belly line by bringing it up toward the mouth. This connects all the parts of your shark. Tip: Go over your lines with a darker pencil or pen to make them pop before coloring.
Step 10: Adding Color
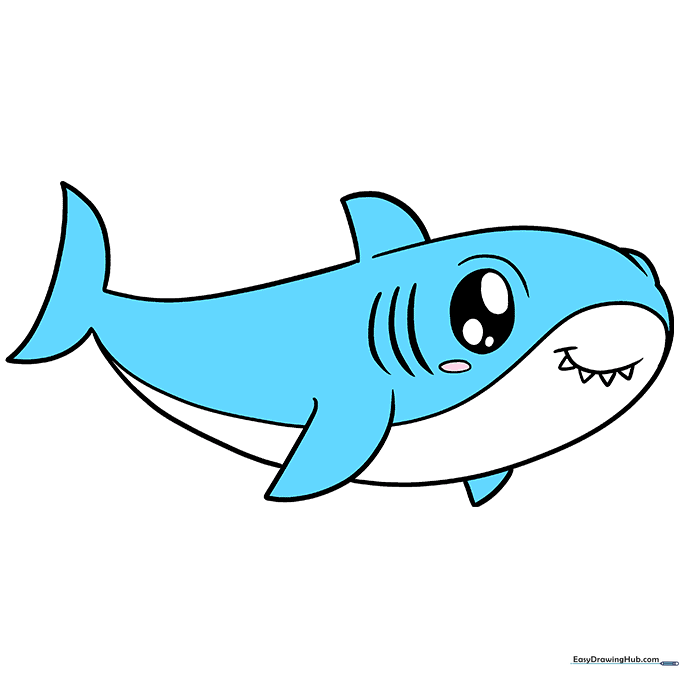
Time to color! Use blue for the back and a lighter shade for the belly. Tip: Use light, circular strokes with your colored pencils to get an even, smooth finish.
More Tutorials


