How to Draw a Cute Popsicle: Easy 10-Step Guide
This fun, screen-free art activity is perfect for young artists ages 5 and up. All you need is a pencil, an eraser, and your favorite markers or crayons to bring this sweet treat to life. Follow along to practice basic shapes and character design while creating a colorful masterpiece.
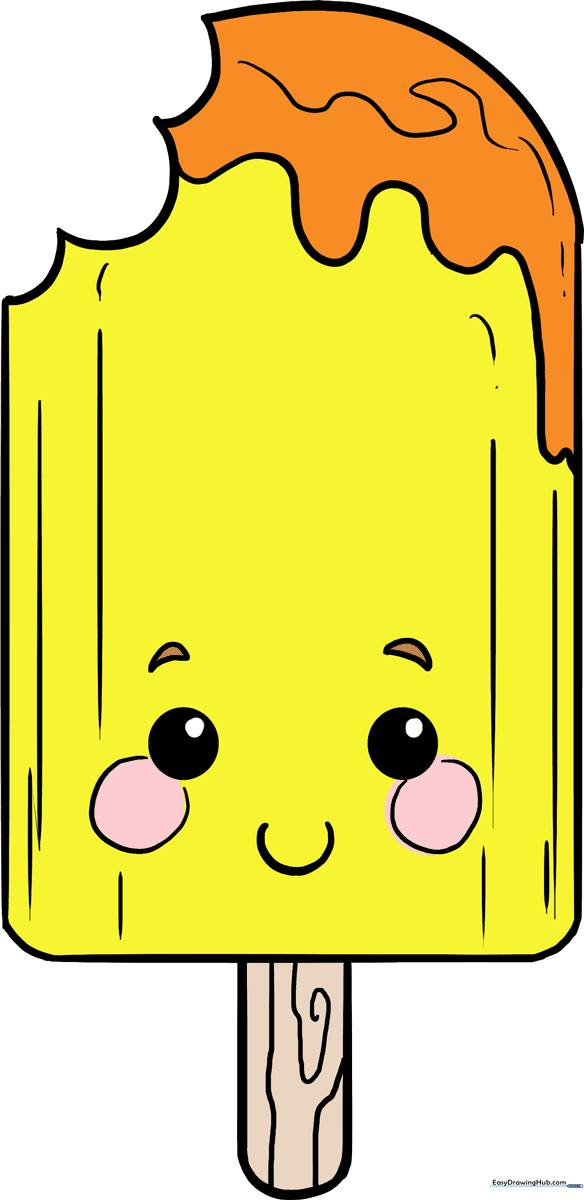
🎯 Final Result
Step-by-Step Instructions
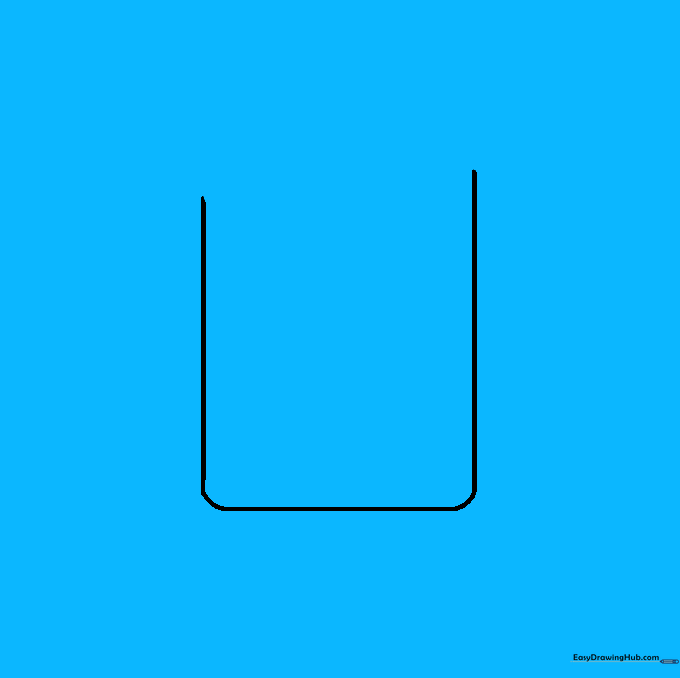
Step 1: Sketching the Main Body

Draw two vertical, parallel lines to create the main body of your popsicle. Teacher's Tip: Keep your pencil pressure light so you can easily adjust the width if needed.
Step 2: Rounding the Bottom

Connect the two vertical lines at the bottom with a smooth, curved line. Teacher's Tip: Rounding the corners makes the popsicle look more realistic and less like a stiff block.
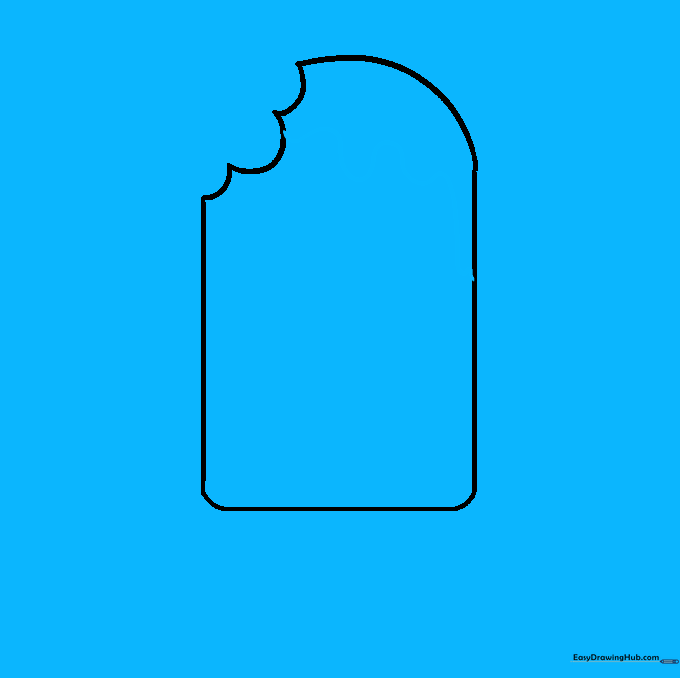
Step 3: Adding a Bite Mark
Draw a small quarter-circle curve at the top, then use 'U' shaped lines to connect it to the other side. Teacher's Tip: Vary the size of your 'U' shapes to make the bite look natural and uneven.
Step 4: Drawing Melting Drips
Add a wavy line extending from the bite mark down the side of the popsicle. Teacher's Tip: Think of this as liquid dripping down; keep your hand relaxed to get that fluid, wavy motion.
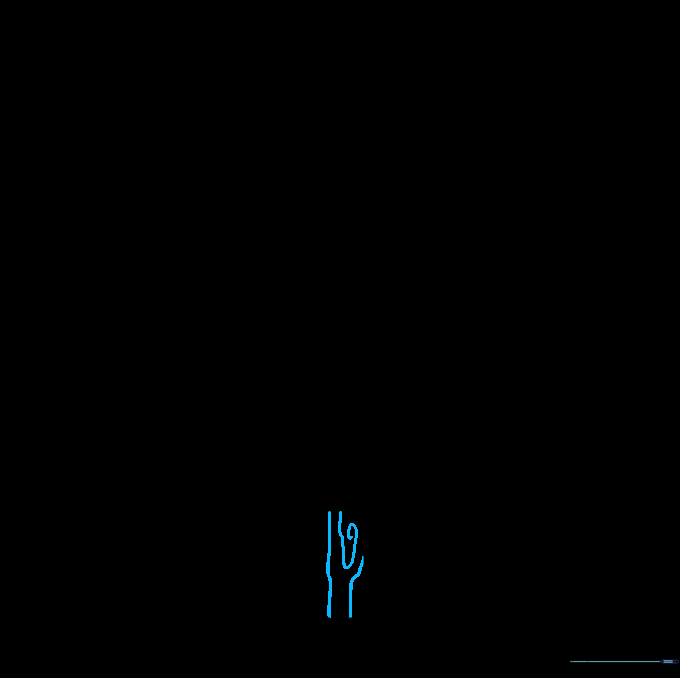
Step 5: Sketching the Stick
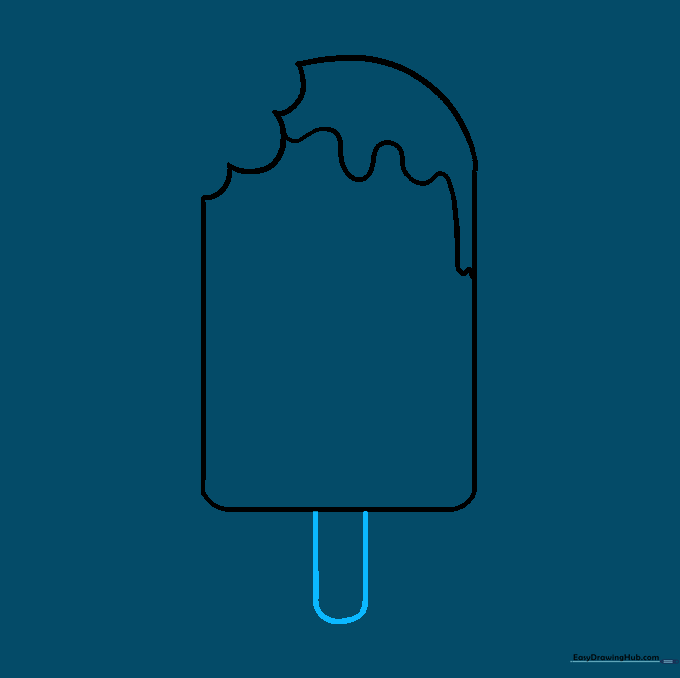
Draw two short, parallel lines extending from the bottom center, connected by a curve. Teacher's Tip: Make sure the stick is centered so your popsicle doesn't look like it's going to tip over!
Step 6: Adding Wood Texture
Add a few small curved and spiral lines onto the stick. Teacher's Tip: Don't overdo it! Just a few lines suggest the grain of the wood without making it look messy.
Step 7: Drawing the Face
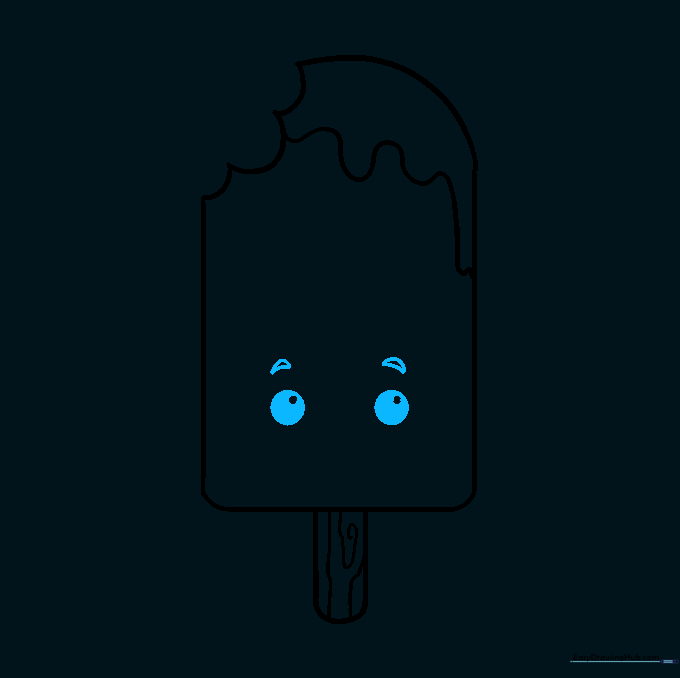
Add two circles for eyes with smaller circles inside for pupils, and two small angled lines for eyebrows. Teacher's Tip: Leave a tiny white dot inside the pupil to create a 'glint'—it makes the character look much more alive.
Step 8: Adding Cheeks and Smile

Draw two circles for rosy cheeks and a 'U' shape for a happy smile. Teacher's Tip: Place the cheeks slightly overlapping the eyes to give it that 'kawaii' or super-cute aesthetic.
Step 9: Final Details
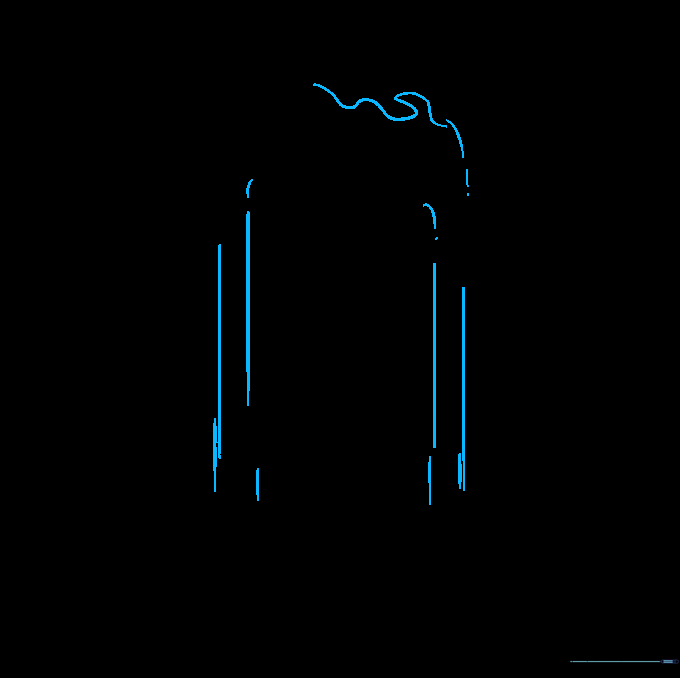
Add vertical lines to the sides and extra curves in the drips for depth. Teacher's Tip: These details act as 'shading' lines, helping your drawing look 3D rather than flat.
Step 10: Adding Color
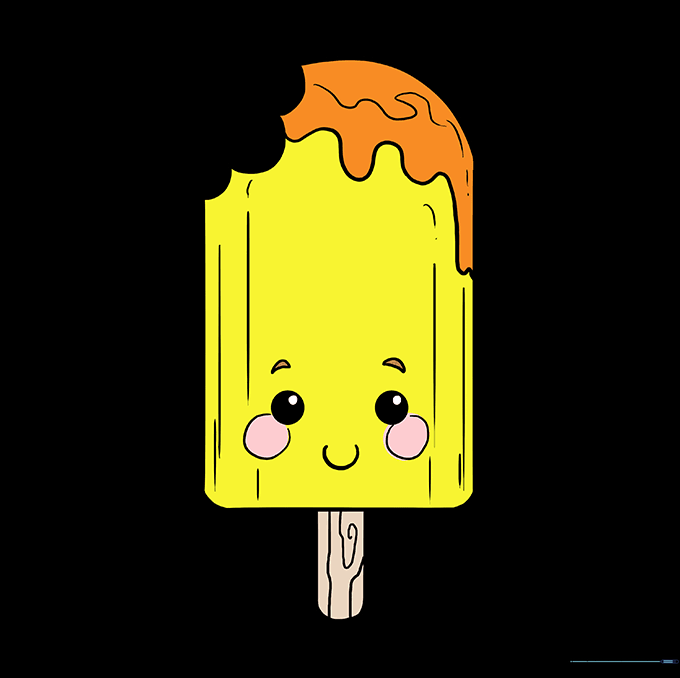
Bring your popsicle to life with bright colors! Think about your favorite flavor—is it cherry red, lime green, or blueberry blue? Teacher's Tip: Use a lighter shade for the center and a darker shade for the edges to create a simple highlight effect.
More Tutorials


