How to Draw a Cute Panda: Easy 10-Step Guide for Kids
This guide is perfect for budding artists ages 5 and up looking to master a charming, cartoon-style panda. All you need is a pencil, an eraser, and a piece of paper to get started. Follow these simple steps to build confidence and develop your fine motor skills while creating an adorable bear friend.
🎯 Final Result

Step-by-Step Instructions
Step 1: Sketching the Expressive Face

Start by drawing the panda's face using soft, curved lines for the cheeks and two partial ovals above them. Teacher's Tip: Keep your pencil pressure light so you can easily erase any stray marks later as you refine the shape.
Step 2: Adding the Happy Mouth
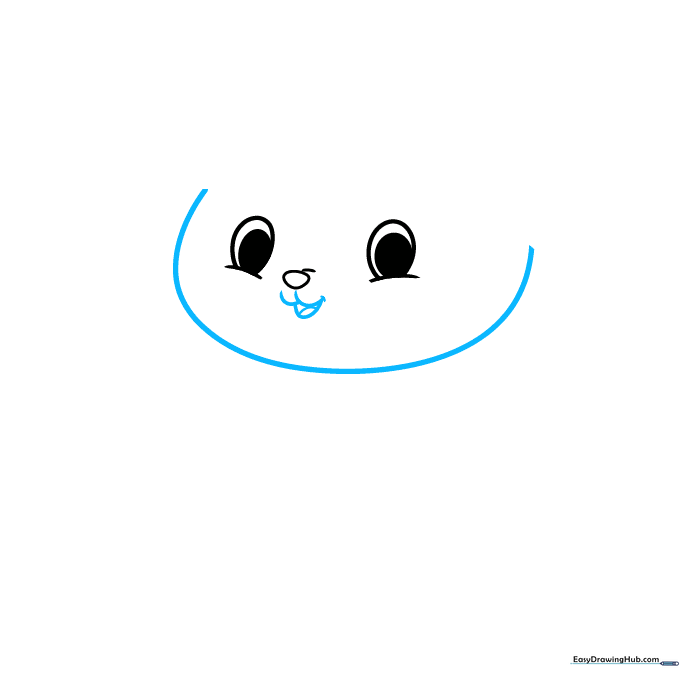
Draw a long, gentle curve for the chin. Below the nose, sketch a 'W' shape to form the mouth, then add a small tongue inside. Teacher's Tip: A slightly open mouth makes the character look friendly and full of personality!
Step 3: Creating Fluffy Texture
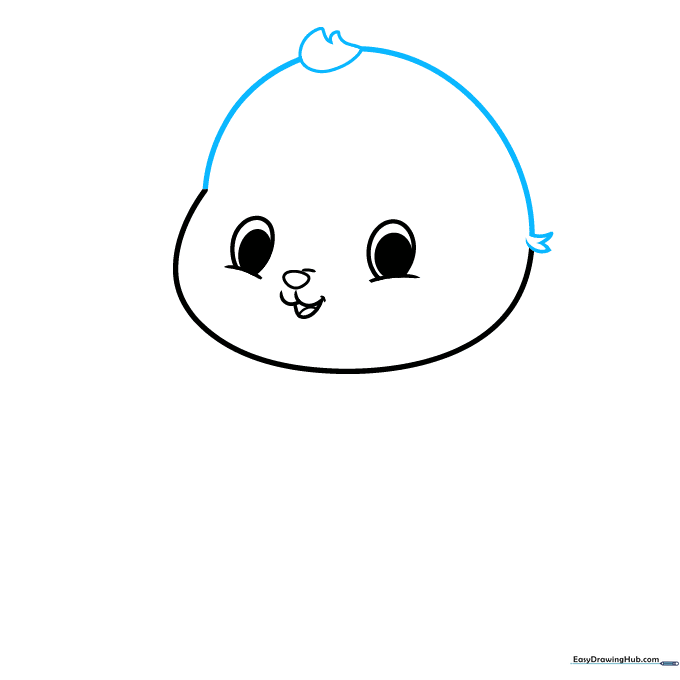
Use short, jagged lines on the sides and top of the head to represent soft fur. Teacher's Tip: Don't make the lines too perfect; slightly irregular fur tufts look much more natural and fluffy.
Step 4: Drawing the Ears
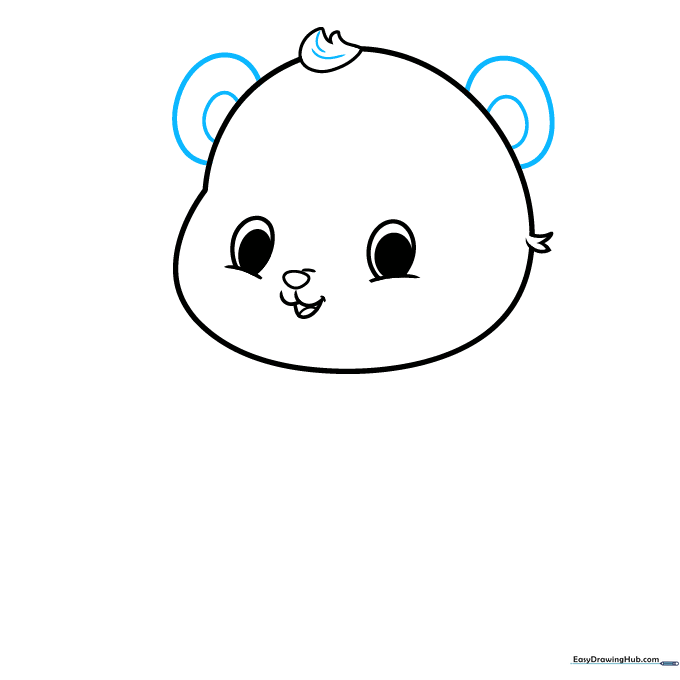
Add two 'C' shaped curves at the top of the head for the ears. Teacher's Tip: Try to keep the ears symmetrical so the panda looks balanced and cute.
Step 5: Sketching the Arms
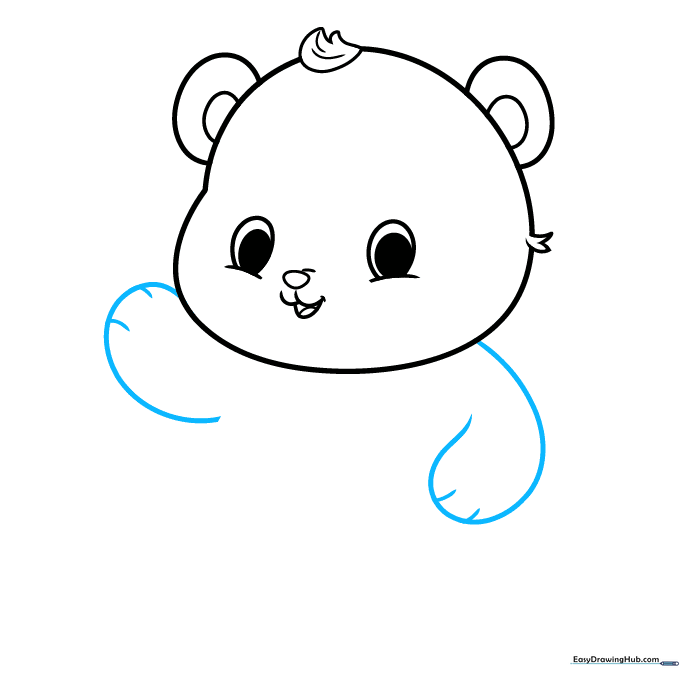
Draw two long, curved lines for the arms, doubling them back at the ends to create paws. Add small lines for fingers. Teacher's Tip: Think of these as 'mittens' to keep the drawing simple and clean.
Step 6: Forming the Body and Leg
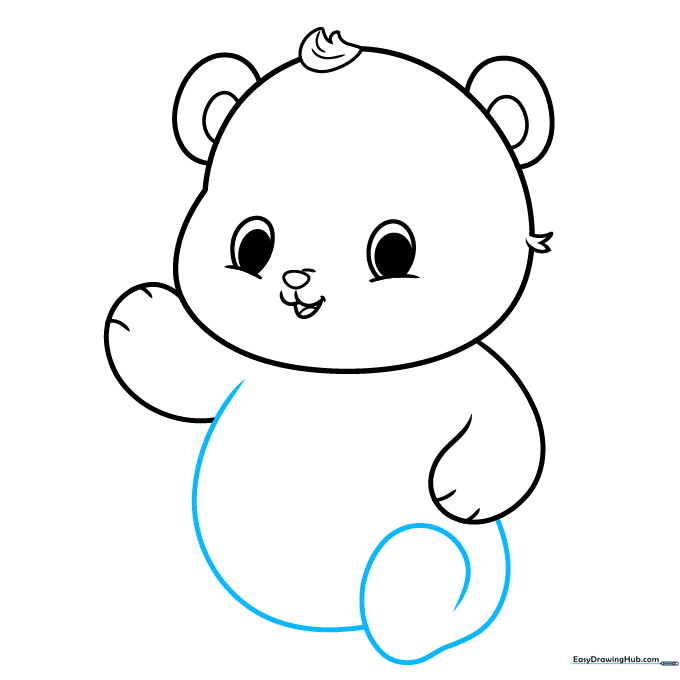
Use a spiral-like line to sketch the first leg and foot. Connect it to the arm with a long curve to form the belly. Teacher's Tip: A nice, round belly makes the panda look extra cuddly!
Step 7: Adding the Second Foot
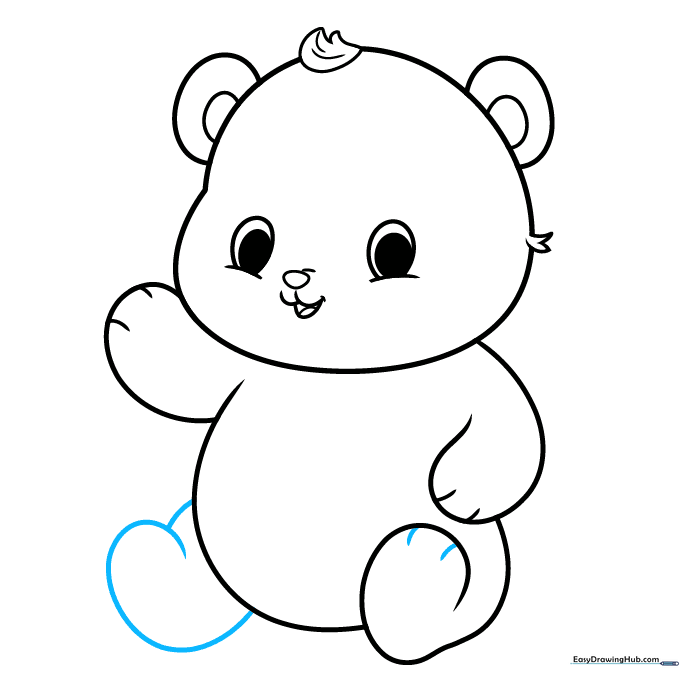
Draw the remaining foot using a curved line that doubles back. Add small lines to the toes for detail. Teacher's Tip: Ensure the feet look similar in size to maintain the cartoon style.
Step 8: Paw Pad Details
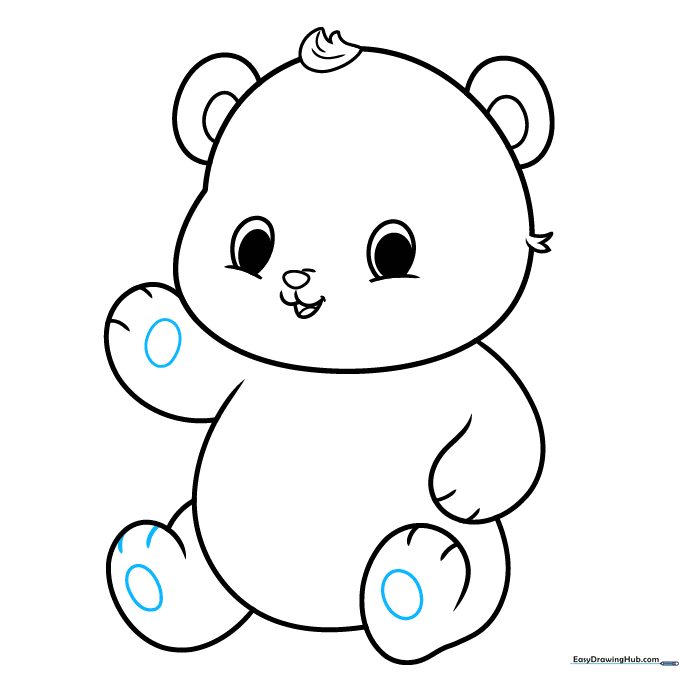
Draw small ovals on the soles of the feet and the palm of the paw. Teacher's Tip: These little details add a professional, finished look to your character.
Step 9: Final Facial Features
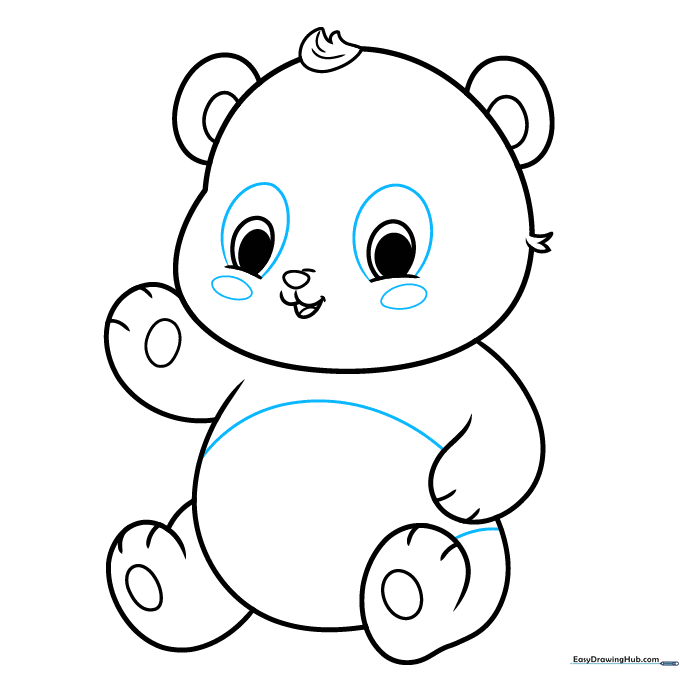
Add oval patches around the eyes and blush marks on the cheeks. Add lines across the chest and leg to define the fur patterns. Teacher's Tip: The blush marks are the secret to making your panda look extra sweet!
Step 10: Bringing Your Panda to Life
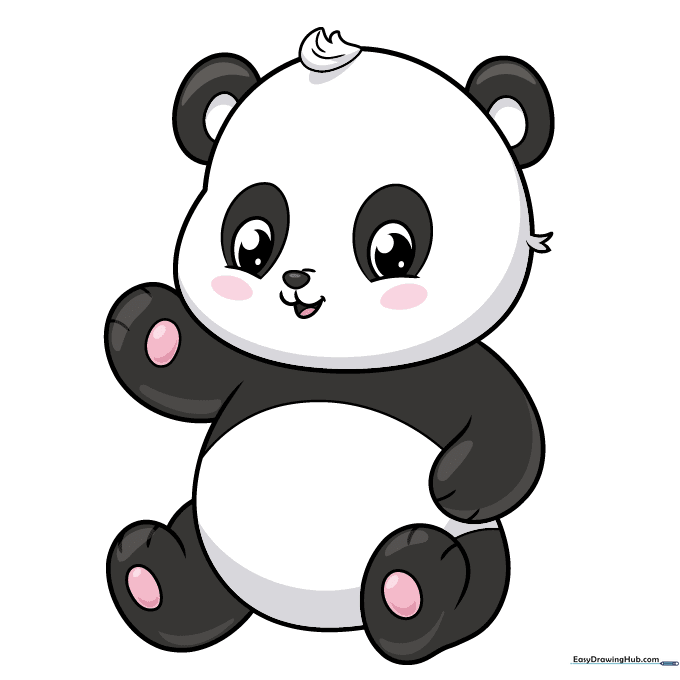
Your outline is complete! Use black and white to color your panda. Teacher's Tip: Use a soft grey for the white parts to give the fur some depth and dimension.
More Tutorials


