How to Draw a Cute Narwhal: Easy 10-Step Guide
Ready to create your own arctic friend? This tutorial is perfect for young artists ages 5 and up. All you need is a pencil, an eraser, and a piece of paper to bring this magical sea creature to life while practicing basic shape construction.
🎯 Final Result

Step-by-Step Instructions
Step 1: Sketching the Head

Draw a light circle to form the narwhal's head. Teacher's Tip: Keep your pencil strokes very faint so you can easily erase the overlapping lines later.
Step 2: Defining the Body

Extend two curved lines from the circle to create a tapered, triangular body shape. Teacher's Tip: Leave the end open for now; this will be where we attach the tail.
Step 3: Cleaning the Outline

Gently erase the guide line inside the body where it meets the head. Teacher's Tip: Use a soft eraser to keep your paper clean and prevent smudging.
Step 4: Adding the Tail

Use two smooth, curved lines to enclose the tail lobes. Teacher's Tip: Make the tail look like a wide 'V' shape to give it a playful, cartoon feel.
Step 5: Drawing Expressive Eyes

Draw two large circles for the eyes, adding two smaller ovals inside each for highlights. Teacher's Tip: Leaving the small ovals white when you color will make the eyes look shiny and 'alive'.
Step 6: Adding Personality

Draw small curved lines for eyebrows and a 'U' shaped curve for a happy mouth. Teacher's Tip: Keep the mouth small and centered to maintain the 'cute' aesthetic.
Step 7: Sketching the Flippers

Add two curved, triangle-shaped flippers to the sides of the body. Teacher's Tip: Make sure the tips are rounded so they look soft and friendly.
Step 8: The Iconic Tusk

Draw a long, narrow triangle on the head for the tusk, adding small curved lines for texture. Teacher's Tip: These curves create the illusion of a spiral, which is a key feature of a narwhal.
Step 9: Adding Final Details
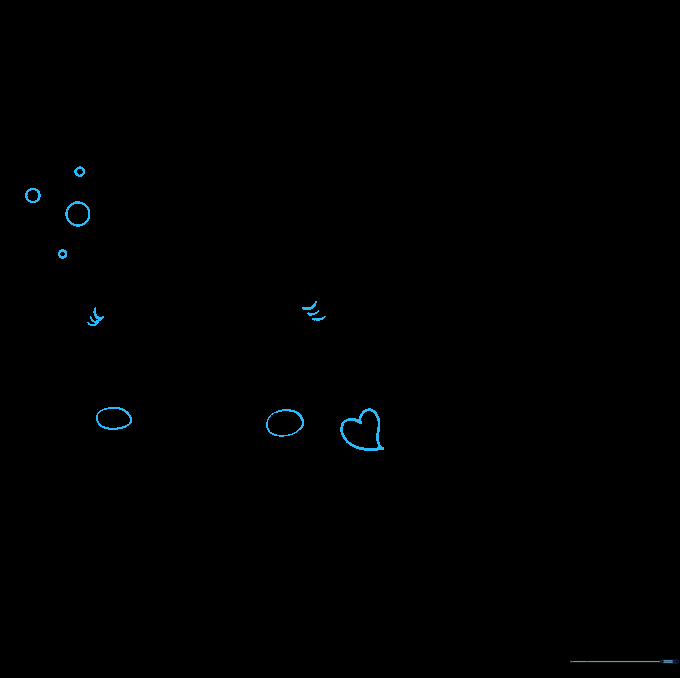
Add bubbles, blushing cheeks, a heart on the flipper, and eyelashes. Teacher's Tip: These small details are what make your drawing look professional and extra sweet!
Step 10: Bring It to Life with Color

Color your narwhal! Use light blues or greys for the body and add spots for realism. Teacher's Tip: Try using watercolor pencils for a soft, ocean-like effect.
More Tutorials


