How to Draw a Cute German Shepherd: Easy 10-Step Guide
Looking for a fun, screen-free activity? This step-by-step guide is perfect for budding artists ages 5 and up to draw their own adorable German Shepherd puppy. All you need is a pencil, an eraser, and some paper to bring this loyal pup to life. Follow along to develop your sketching confidence and create a charming cartoon character.
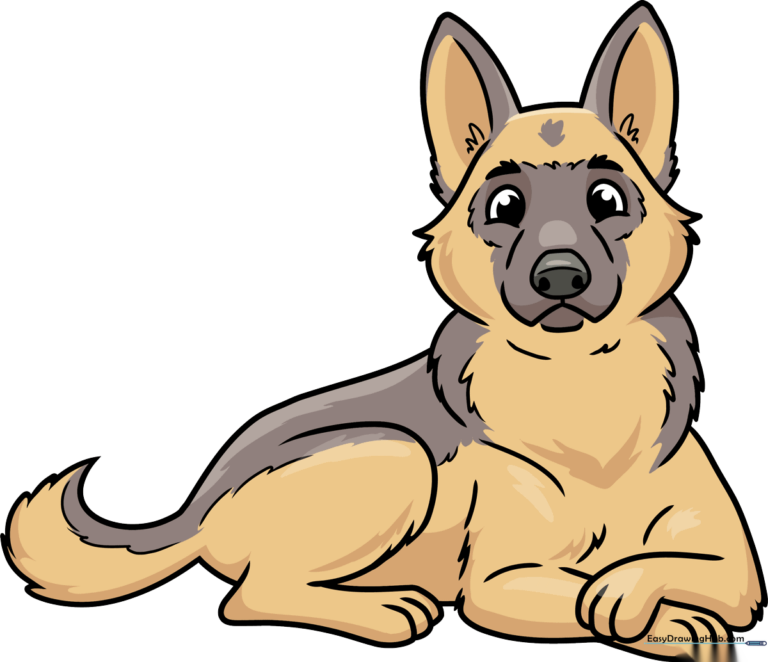
🎯 Final Result
Step-by-Step Instructions
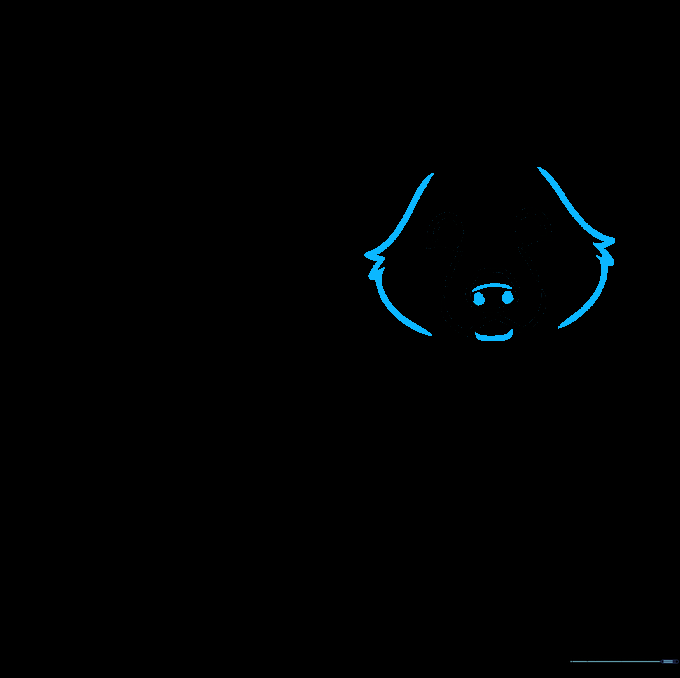
Step 1: Sketching the Face and Snout

Start by drawing two curved lines for the eyes, adding small circles inside for pupils. Sketch a rounded shape for the nose and a snout around it. Teacher's Tip: Keep the eyes close together to make the puppy look extra cute and youthful!
Step 2: Defining the Head Shape
Draw the sides of the head using short, jagged lines to represent tufts of fur. Add a curved line for the lower jaw and two small circles on the nose for nostrils. Tip: Use quick, flicking motions with your pencil to make the fur look soft and realistic.
Step 3: Adding the Iconic Ears
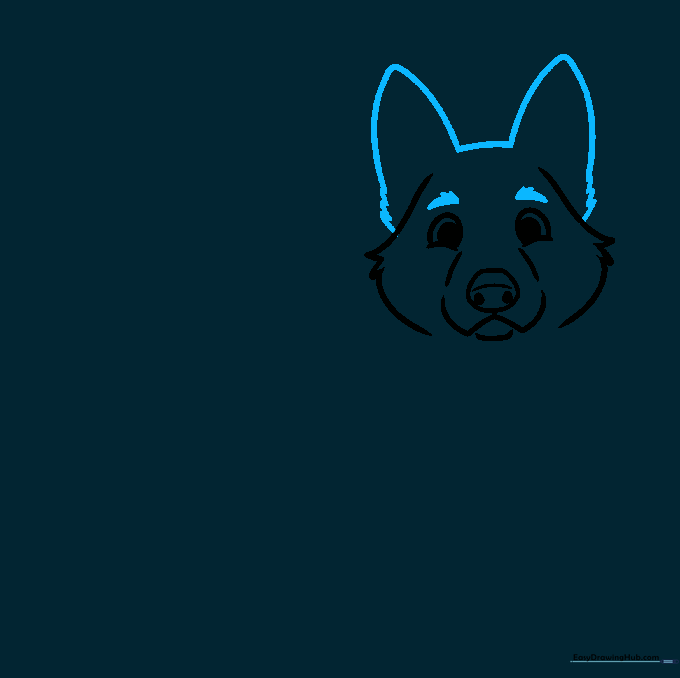
Sketch two large, triangular ears using long curved lines. Add jagged fur details at the base where they connect to the head. Draw thick, arched eyebrows above the eyes. Tip: German Shepherds are known for their large ears—don't be afraid to make them nice and tall!
Step 4: Detailing Ears and Chest
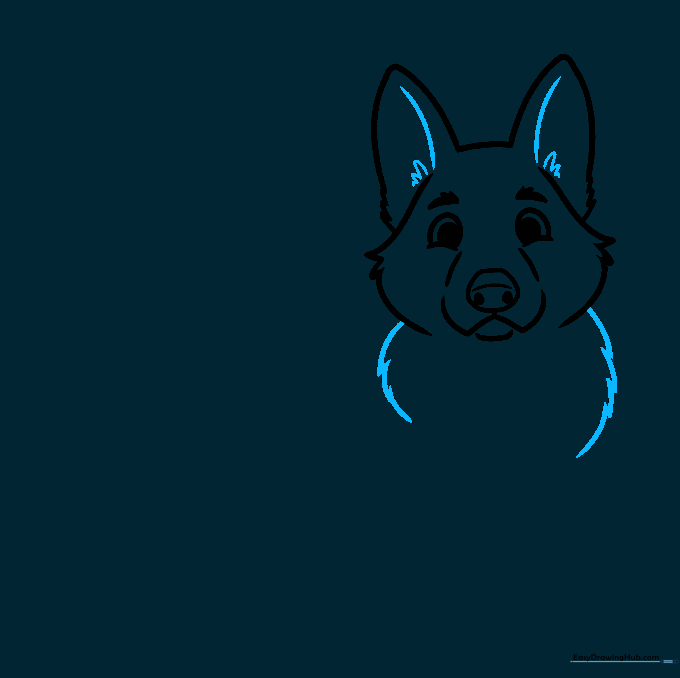
Add inner ear contours using 'U' shaped lines. Then, draw the chest using long, jagged strokes to suggest thick fur. Tip: Vary the length of your jagged lines to make the fur look natural rather than perfectly symmetrical.
Step 5: Front Leg and Toy
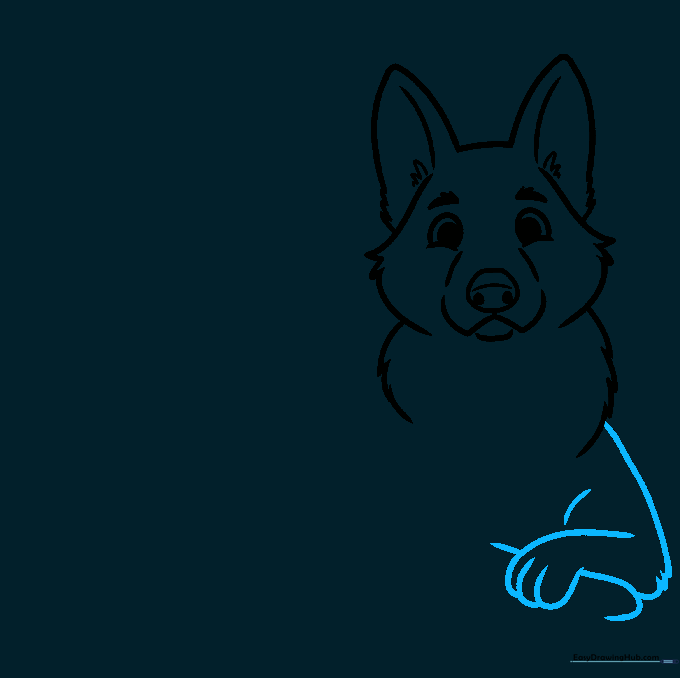
Draw the front leg with curved lines, adding small overlapping lines for the toes. Extend a curved line from the paw to start the shape of a chew toy. Tip: Ensure the paw looks sturdy; puppies have big paws!
Step 6: Completing the Front Legs
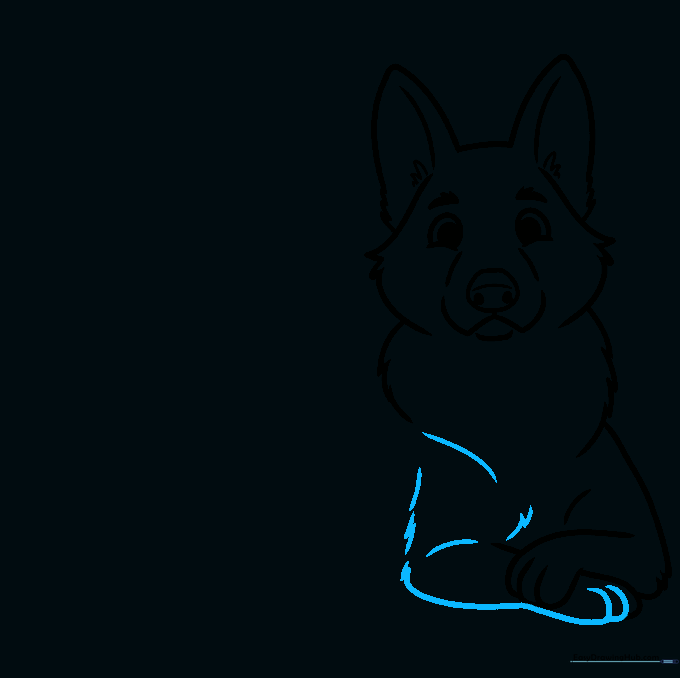
Draw the second front leg using similar overlapping curved lines to show depth. Continue the jagged chest line to connect the legs. Tip: Keep the lines overlapping to create the illusion that one leg is slightly behind the other.
Step 7: Adding the Back Leg
Sketch the rear leg with curved lines, adding a bit of fur texture at the elbow. Draw a short line between the front and back legs to define the belly. Tip: The belly line should be slightly curved to show the puppy's round tummy.
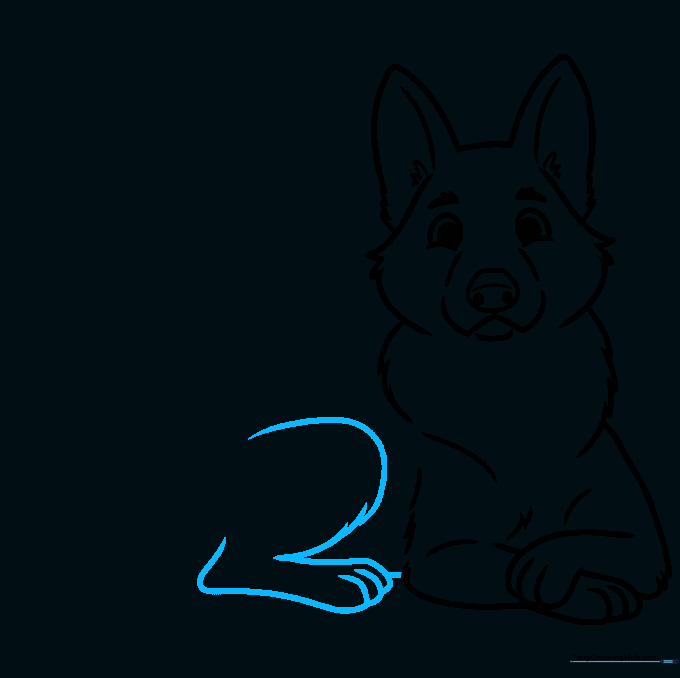
Step 8: The Back and Tail
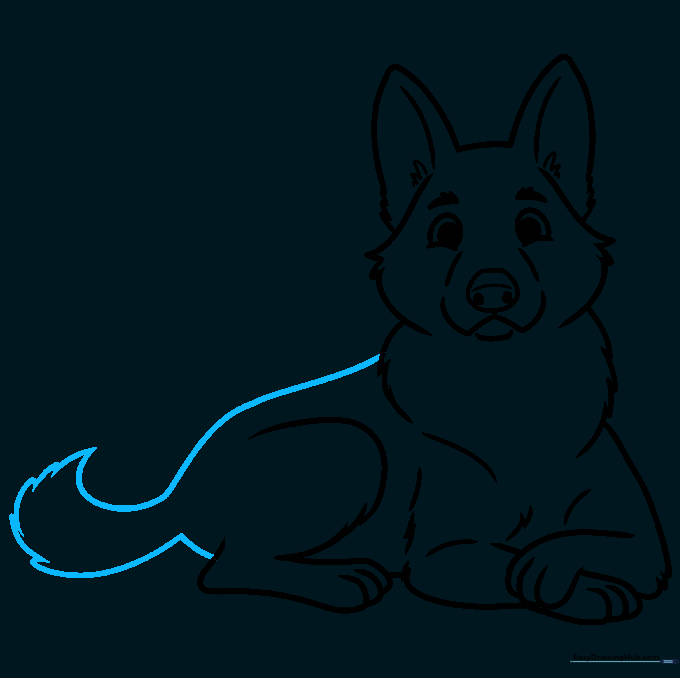
Draw a long, smooth line from the shoulder to form the back, leading into a bushy tail. Use jagged lines for the underside of the tail. Tip: A bushy tail makes the puppy look happy and excited!
Step 9: Final Fur Textures
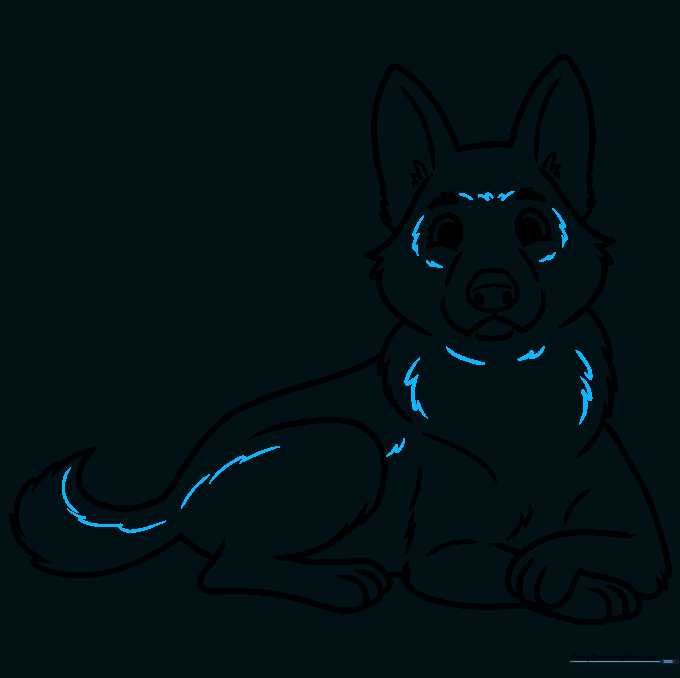
Add small, scattered lines around the eyes, chest, and legs to enhance the furry texture. This adds depth to your drawing. Tip: Less is more—don't overdo the lines, or the drawing might look cluttered.
Step 10: Coloring Your Puppy
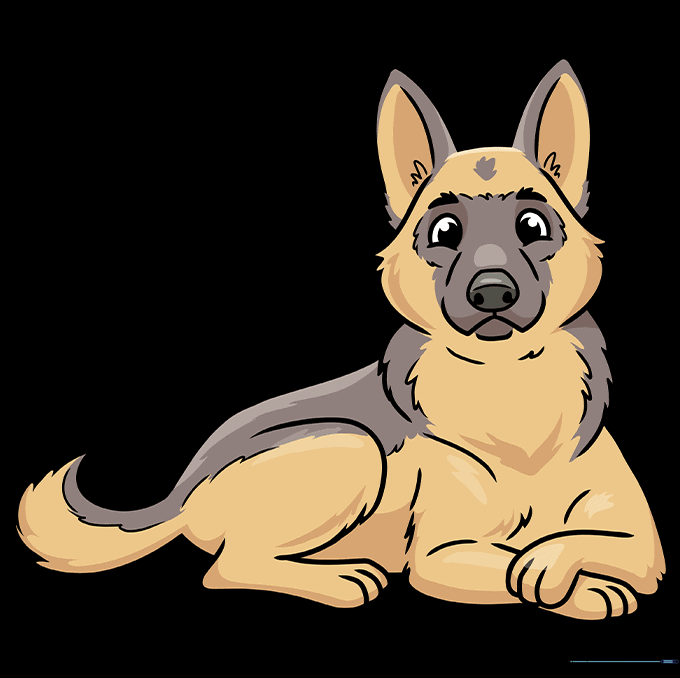
Time to color! Use black and tan for a classic German Shepherd look, or get creative with your favorite colors. Tip: Try using light brown for the main body and darker brown or black for the ears and back to create a realistic color gradient.
More Tutorials


