How to Draw a Cute Fox: Easy 10-Step Guide for Kids
Looking for a fun, screen-free activity? This tutorial is perfect for young artists ages 5 and up. You will only need a pencil, an eraser, and some paper to bring this friendly fox to life while practicing basic geometric shapes and symmetry.
🎯 Final Result

Step-by-Step Instructions
Step 1: Sketching the Eye and Nose

Start by drawing the eye using four small, connected curved lines to form a soft oval. Shade in a dark pupil, then add a small circle for the nose. Teacher's Tip: Keep your pencil pressure light here so you can easily adjust the placement if the snout looks a bit lopsided.
Step 2: Adding the Second Eye and Mouth
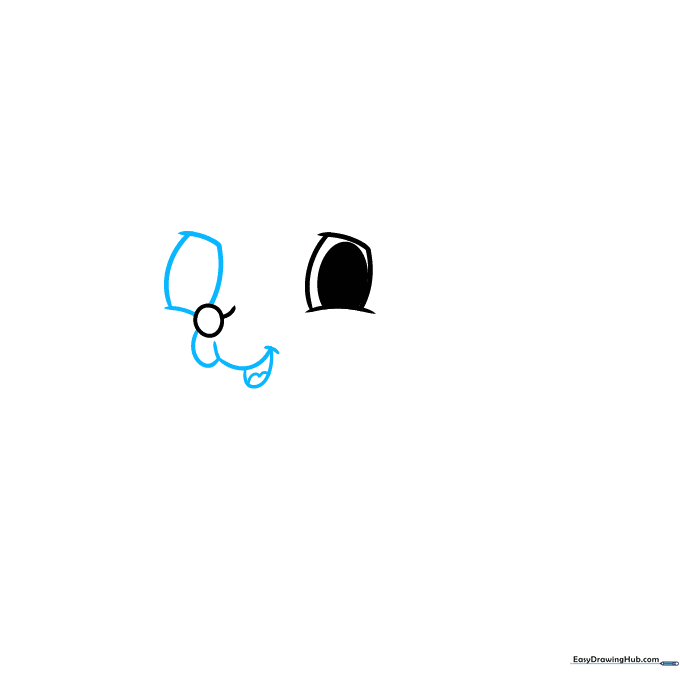
Mirror the first eye on the other side of the nose. Below the nose, draw a 'W' shape, then add a small curved line for the open mouth and tongue. Teacher's Tip: Using a 'W' helps children visualize the curve of the muzzle without needing complex anatomy.
Step 3: Defining the Face Shape

Add the second pupil and draw a soft, rounded line for the chin. Use small, zig-zagging curved lines on the cheeks to represent fluffy fur. Teacher's Tip: Remind students that fur isn't a straight line; those little 'bumps' make the fox look soft and cuddly.
Step 4: Drawing the First Ear
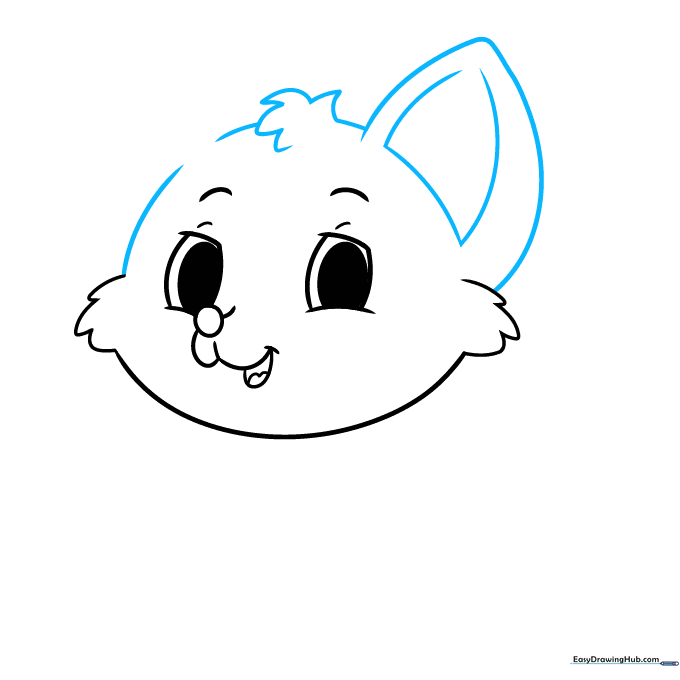
Draw a large triangle for the ear, adding a smaller triangle inside for depth. Connect this to the top of the head with a curved line. Teacher's Tip: Make the ear slightly rounded rather than sharp to keep the 'cute' aesthetic.
Step 5: Adding the Second Ear

Repeat the process for the second ear, adding jagged lines inside to suggest tufts of fur. Teacher's Tip: Symmetry is great, but don't worry if they aren't perfect—nature is rarely perfectly symmetrical!
Step 6: Sketching the Chest and Leg
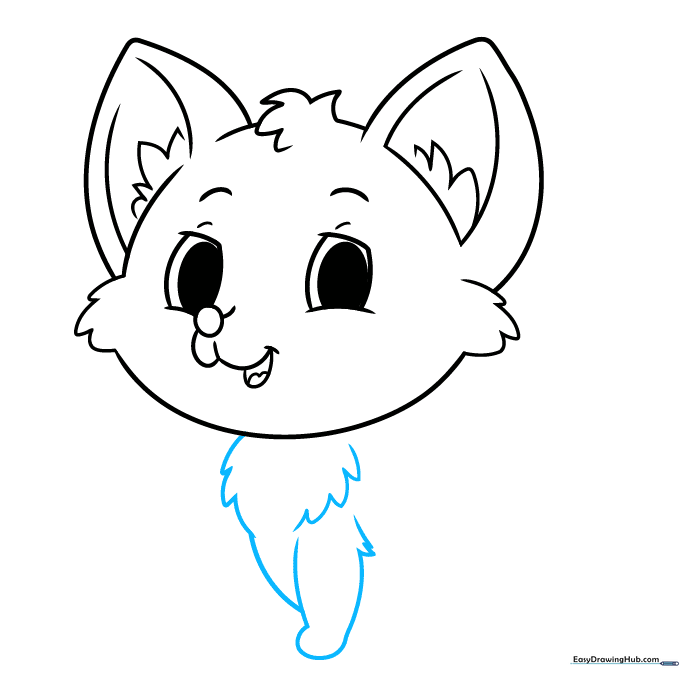
Use a series of connected, wavy lines to create a fluffy chest and the first front leg. Teacher's Tip: The 'fluff' lines should look like a series of connected 'U' shapes to give the appearance of soft fur.
Step 7: Adding Legs and Back
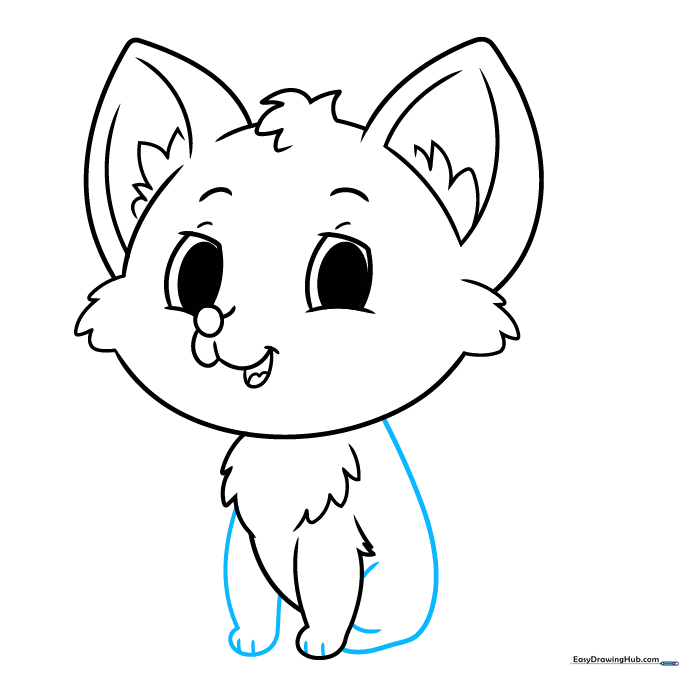
Draw the second front leg and use a long, sweeping curved line for the back. Add a small curve for the rear leg. Teacher's Tip: Keep the back line smooth to show the fox is sitting comfortably.
Step 8: Drawing the Fluffy Tail
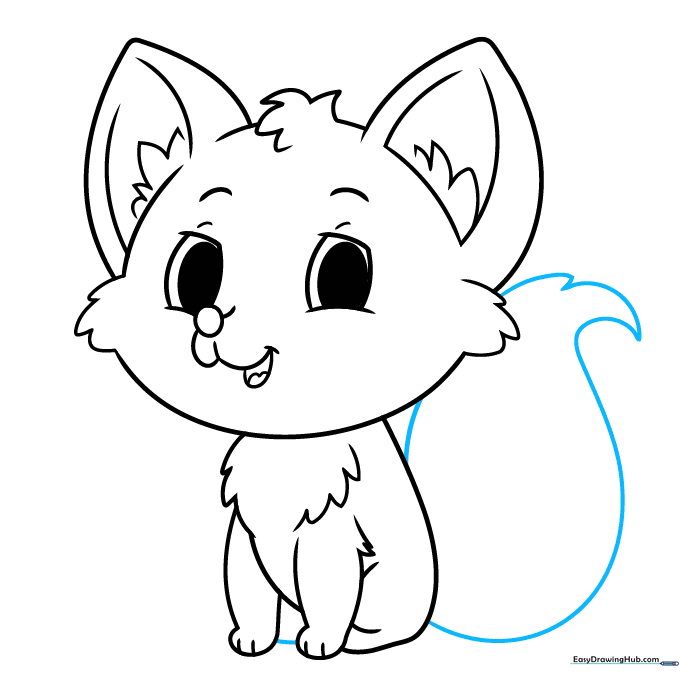
Sketch a large, bushy tail using long, sweeping lines that meet in jagged points at the tip. Teacher's Tip: A fox's tail is its most iconic feature—make it big and expressive!
Step 9: Adding Final Markings
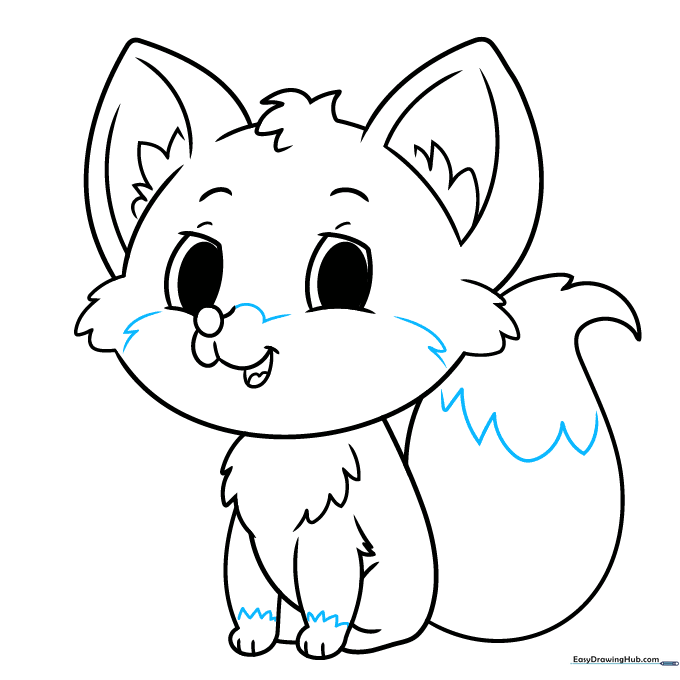
Add curved lines to define the color patches on the face, paws, and the tip of the tail. Teacher's Tip: These lines act as a 'map' for where you will color later, so keep them clean.
Step 10: Coloring Your Fox

Time to bring your fox to life! Use reddish-orange for the body, white for the chest and tail tip, and dark brown for the paws. Teacher's Tip: If you're using markers, color in the direction of the fur to make the drawing look more realistic.
More Tutorials


