How to Draw a Cute Dolphin: Easy 9-Step Guide for Kids
Looking for a fun, screen-free activity? This step-by-step guide is perfect for children ages 5+ to practice their fine motor skills. All you need is a pencil, an eraser, and some paper to bring this playful dolphin to life.
🎯 Final Result

Step-by-Step Instructions
Step 1: Sketching the First Eye
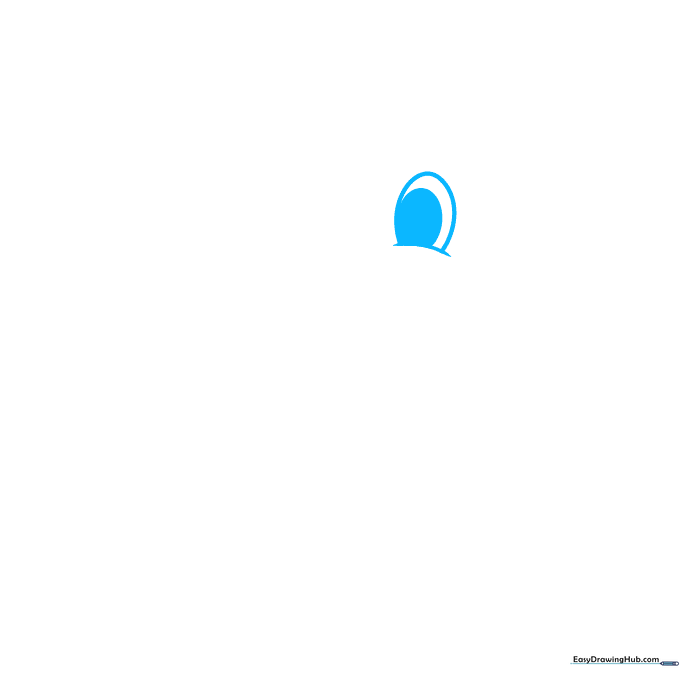
Start by drawing a soft, curved line for the upper eyelid, then close it with a partial oval. Add a smaller, shaded oval inside for the pupil. Teacher's Tip: Keep your pencil pressure light so you can easily adjust the shape if needed.
Step 2: Adding the Second Eye

Repeat the process to draw the second eye next to the first one. Teacher's Tip: Try to keep the eyes the same size to give your dolphin a balanced, friendly expression.
Step 3: Defining the Face

Use smooth, curved lines to contour the eyebrows and the bridge of the snout. Teacher's Tip: Use short, confident strokes to make the dolphin look cheerful.
Step 4: Drawing the Open Mouth
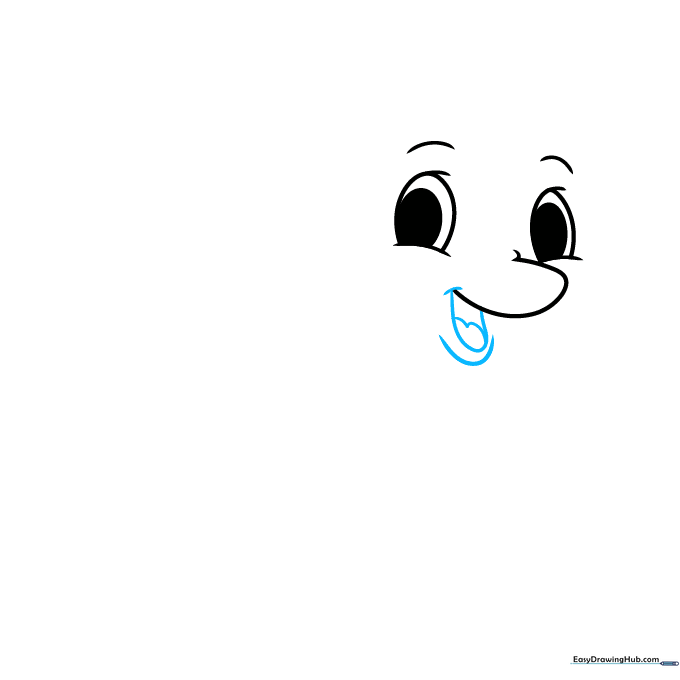
Draw a series of curved lines to create an open, happy mouth, including the jawline and tongue. Teacher's Tip: A slightly curved line for the mouth makes the character look like it's smiling.
Step 5: Sketching the Body
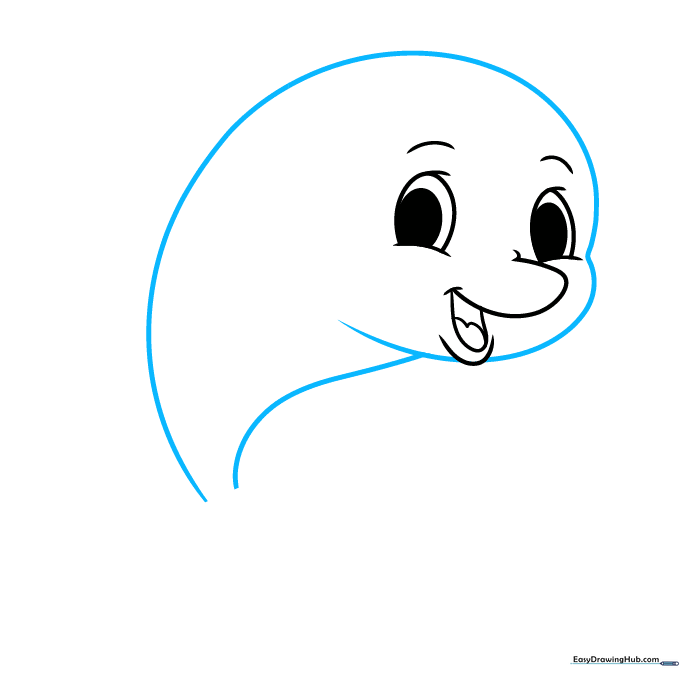
Use a long, sweeping curved line to form the head, back, and tail. Add a matching curve for the belly. Teacher's Tip: Think of the body shape like a long, smooth bean.
Step 6: Adding Flippers

Draw the flippers using 'V' shaped curved lines. Start the tail fin by extending a line from the body and doubling it back. Teacher's Tip: Keep the flippers rounded to maintain the 'cute' aesthetic.
Step 7: Completing the Fins
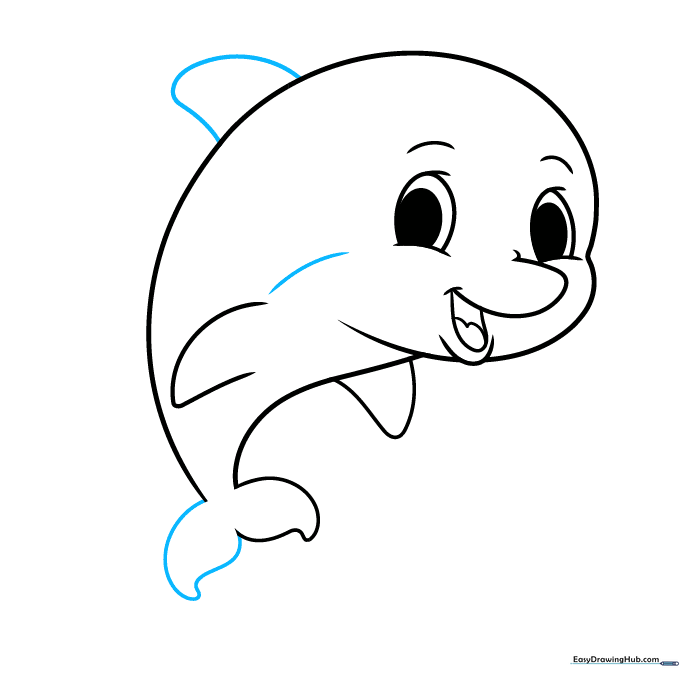
Finish the tail fin and add the dorsal fin on the back. Draw a curved line near the belly to show the color change. Teacher's Tip: Dolphins have a lighter underbelly, so this line helps guide your coloring later.
Step 8: Adding Water Splashes
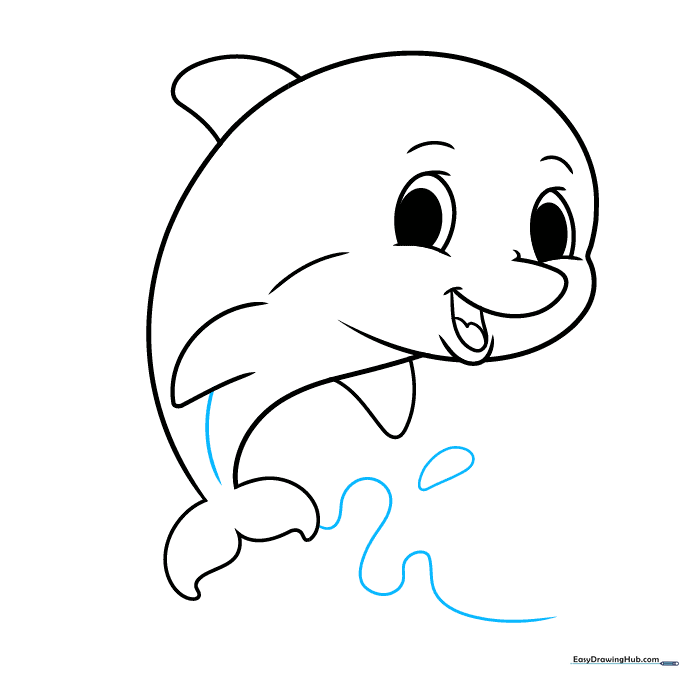
Draw a long, wavy line near the tail to represent splashing water, and add a small teardrop shape for a droplet. Teacher's Tip: Vary the size of your splashes to make the drawing look more dynamic.
Step 9: Final Touches
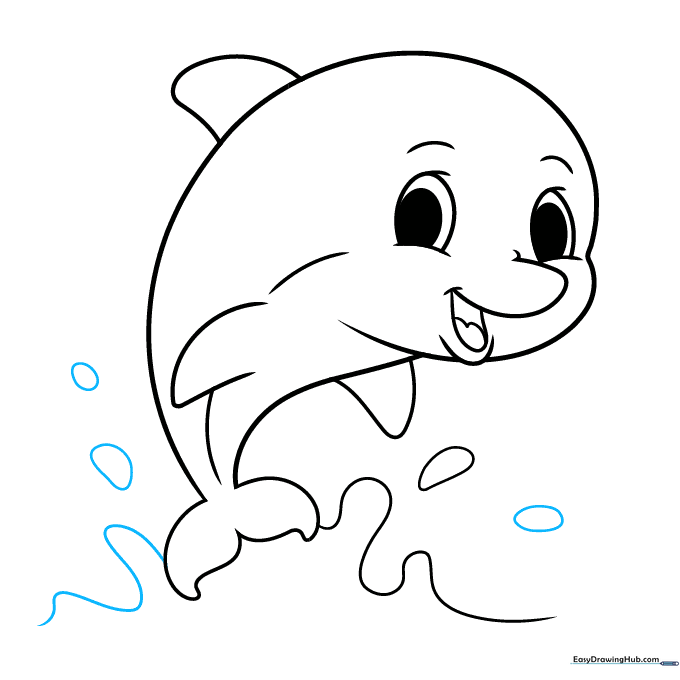
Extend the wavy lines on the other side and add more round splashes. Teacher's Tip: Erase any overlapping guide lines to make your drawing look clean and professional.
Step 10: Bringing it to Life with Color

Time to color! Use shades of grey for the back and a lighter tone for the belly to give it a realistic touch. Teacher's Tip: Use light blue for the water splashes to make the grey dolphin pop.
More Tutorials


