How to Draw a Cute Dog: Easy 10-Step Guide for Kids
Looking for a fun, screen-free activity? This guide is perfect for budding artists ages 5 and up. All you need is a pencil, an eraser, and a piece of paper to bring this adorable pup to life while building essential fine motor skills.
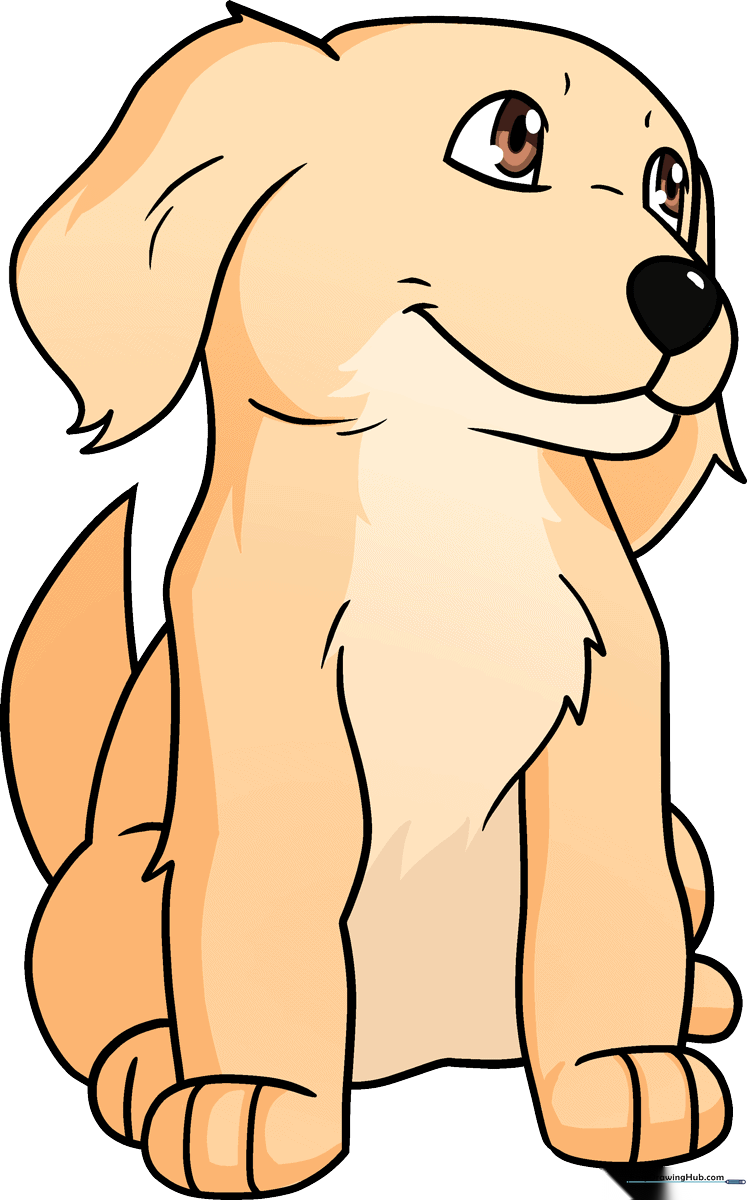
🎯 Final Result
Step-by-Step Instructions
Step 1: Sketching the Muzzle
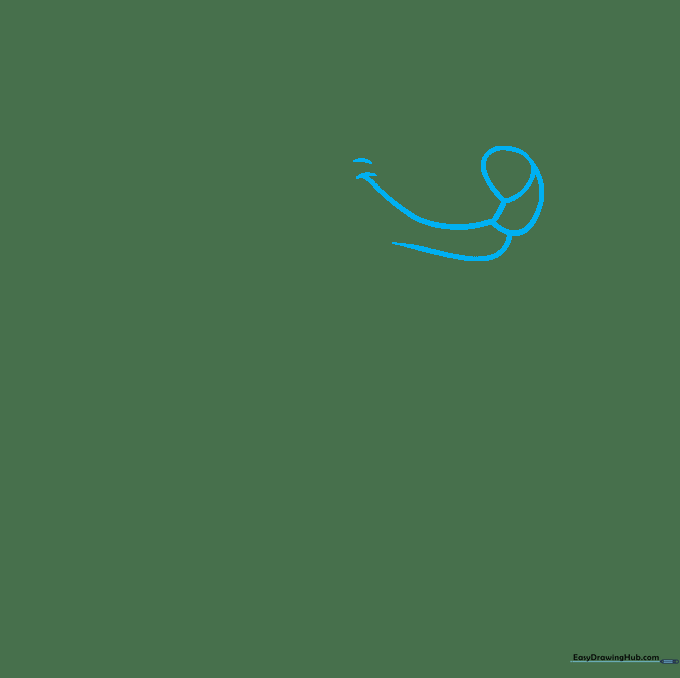
Start by drawing a small, rounded triangle for the nose. Below it, draw a wide 'W' shape to form the mouth. Teacher's Tip: Keep your pencil lines light so you can easily erase any mistakes as you refine the shape.
Step 2: Adding the Eyes
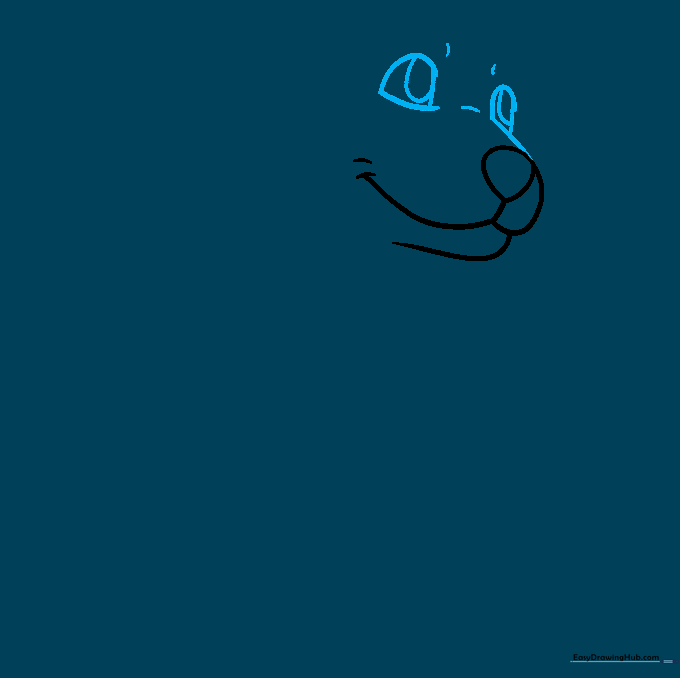
Draw two curved, triangular shapes above the muzzle for the eyes. Connect the inner eye to the nose with a soft, curved line. Teacher's Tip: Symmetry is tricky! If the eyes don't look even, don't worry—puppies have lots of personality.
Step 3: Defining the Head

Draw a long, smooth curved line starting from the top of the snout, arching over the eyes to create the crown of the head. Teacher's Tip: Use a continuous, fluid motion to keep the line looking natural.
Step 4: Sketching the Fluffy Ear
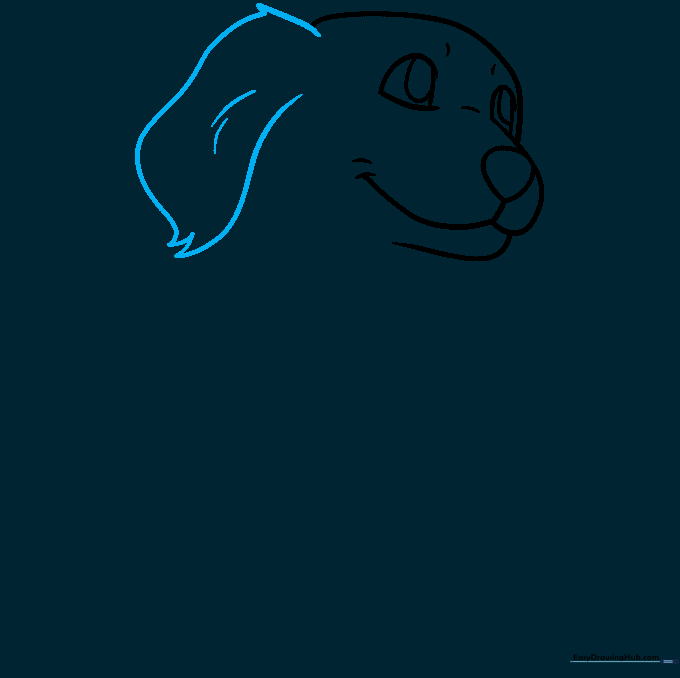
Create a floppy ear using a series of short, jagged lines that meet at points to suggest fur. Teacher's Tip: Vary the length of your strokes to make the ear look soft and textured.
Step 5: Neck and Second Ear
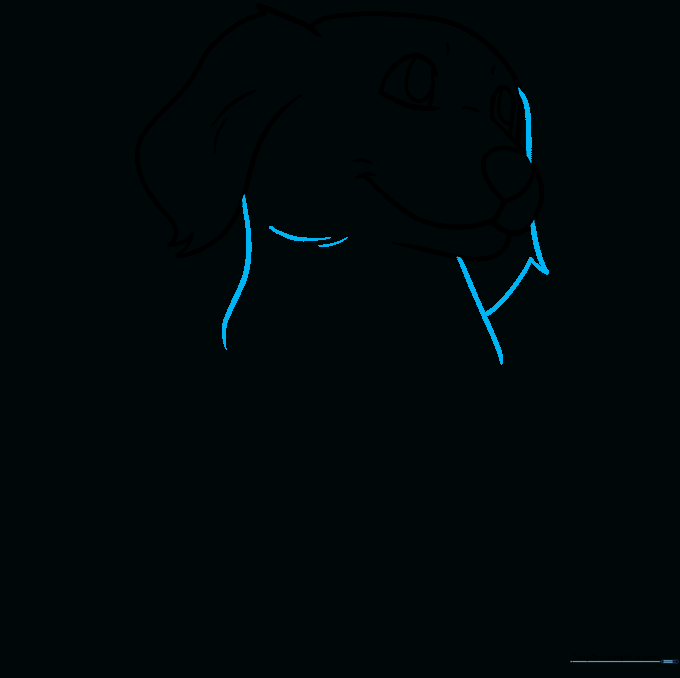
Extend curved lines from the head to form the neck and shoulders. Add the second ear on the opposite side using the same jagged-line technique. Teacher's Tip: Think of the neck as a bridge connecting the head to the body.
Step 6: The Furry Chest and Front Leg
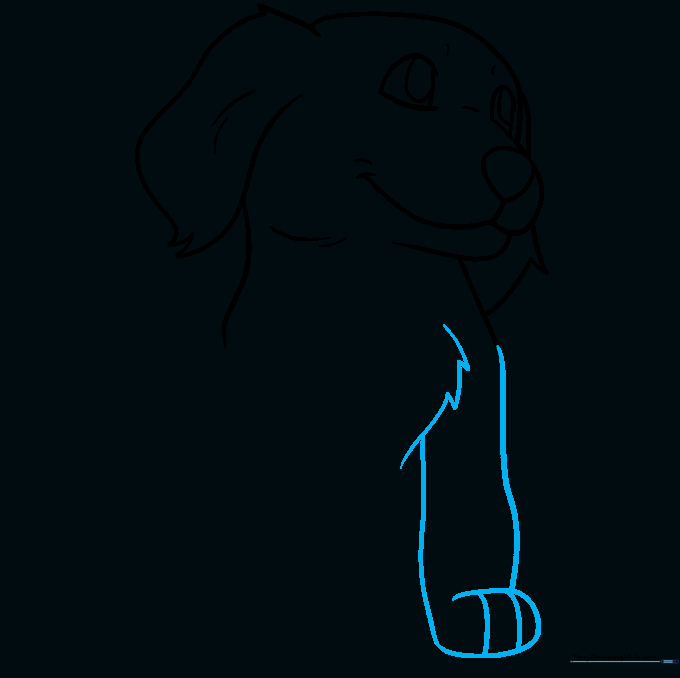
Draw the chest using zig-zag lines to show fluff. Extend a curved line down to form the front leg, doubling it back to create the paw. Teacher's Tip: Add small curved lines at the bottom of the paw to define the toes.
Step 7: Adding the Remaining Legs
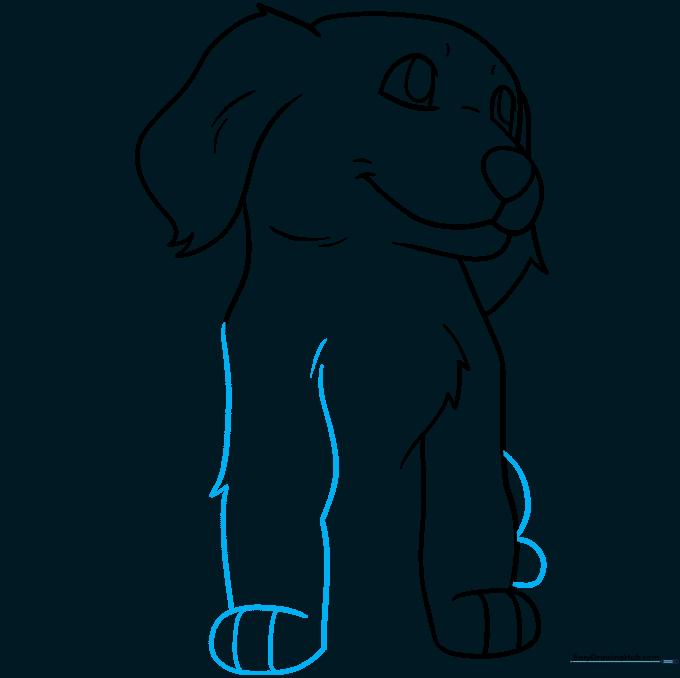
Draw the second front leg and the bent rear leg. Teacher's Tip: Since the puppy is sitting, the rear leg should look slightly tucked. Use overlapping lines to show depth.
Step 8: Refining the Paws
Outline the final leg and paw. Add small, curved contour lines to the toes and the bend of the leg to give the drawing a 3D feel. Teacher's Tip: Less is more—keep your contour lines subtle.
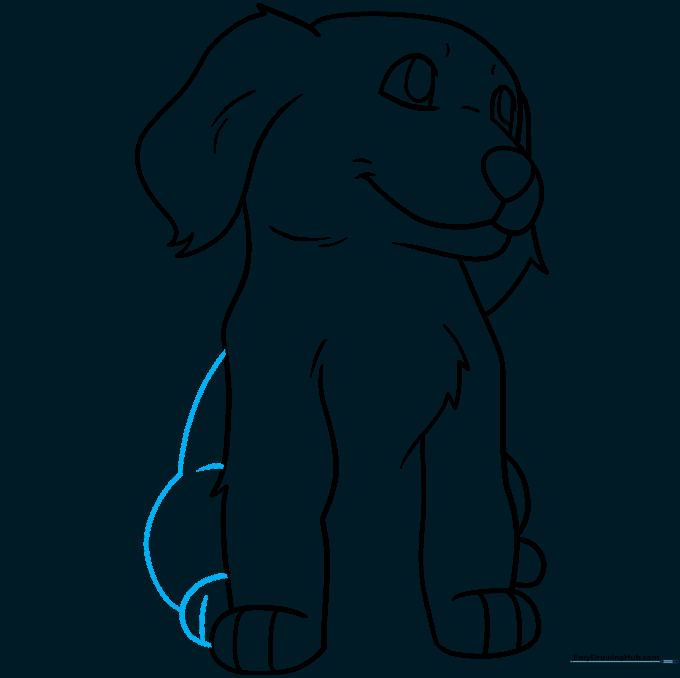
Step 9: The Tail and Belly
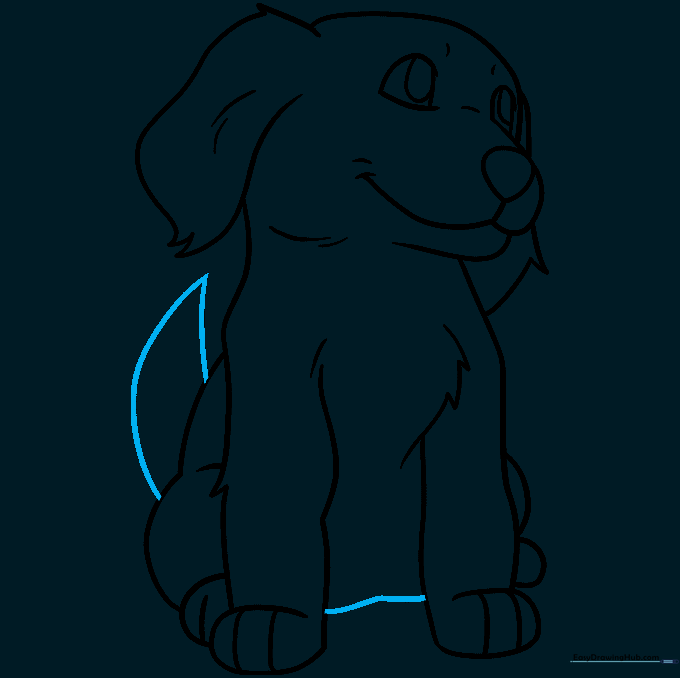
Finish the outline by drawing a curved, pointed tail and a soft line for the belly. Teacher's Tip: A wagging tail adds so much character to your drawing!
Step 10: Bringing Your Dog to Life with Color

Time to color! Use warm, golden tones to give your pup a classic retriever look. Teacher's Tip: Use light pressure with your colored pencils to create soft gradients, making the fur look realistic.
More Tutorials


