How to Draw a Cute Deer: Easy 10-Step Guide for Kids
Bring a forest friend to life with this simple, step-by-step tutorial designed for young artists ages 5 and up. You will only need a pencil, an eraser, and your favorite coloring supplies to complete this adorable fawn. Follow along to build confidence in your drawing skills while creating a charming woodland character.
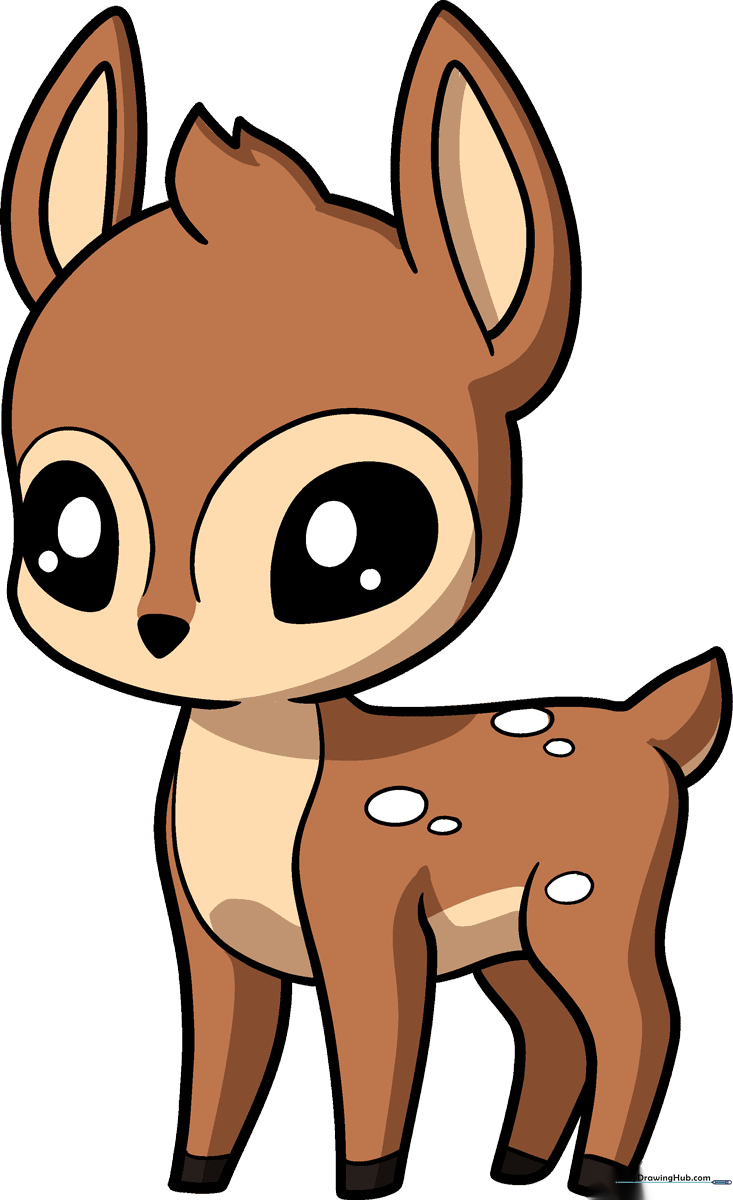
🎯 Final Result
Step-by-Step Instructions
Step 1: Sketching the Expressive Eyes
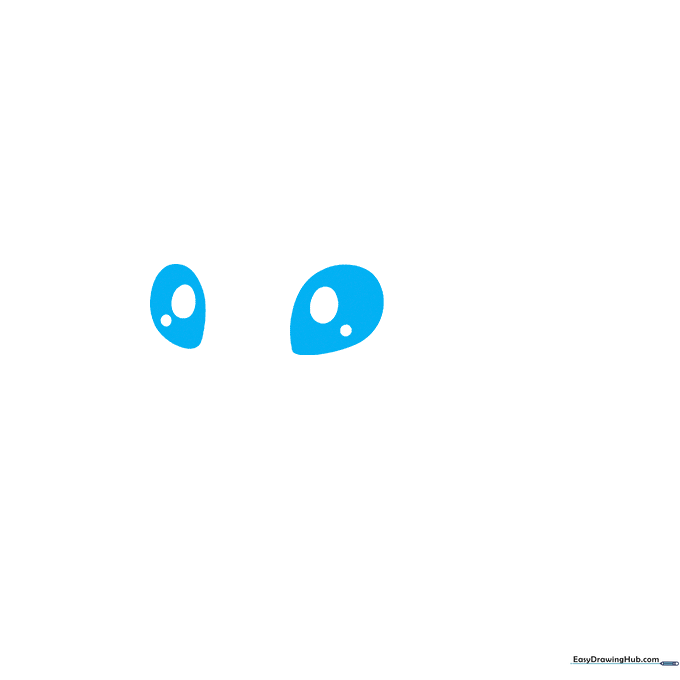
Start by drawing two large, teardrop-shaped eyes. Add two small ovals inside each for the pupils and shade them in. Teacher's Tip: Keep the eyes large to give your deer that extra 'cute' factor!
Step 2: Defining the Face and Nose
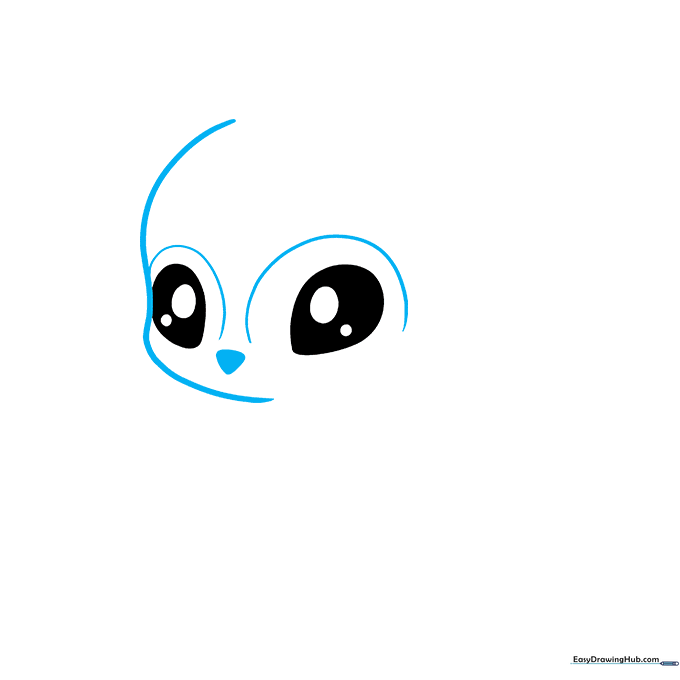
Draw a thick, curved line for the side of the face and a soft semicircle above each eye. Place a small, inverted triangle between the eyes for the nose. Tip: A tiny nose makes the face look much younger and sweeter.
Step 3: Adding Ears and Fur
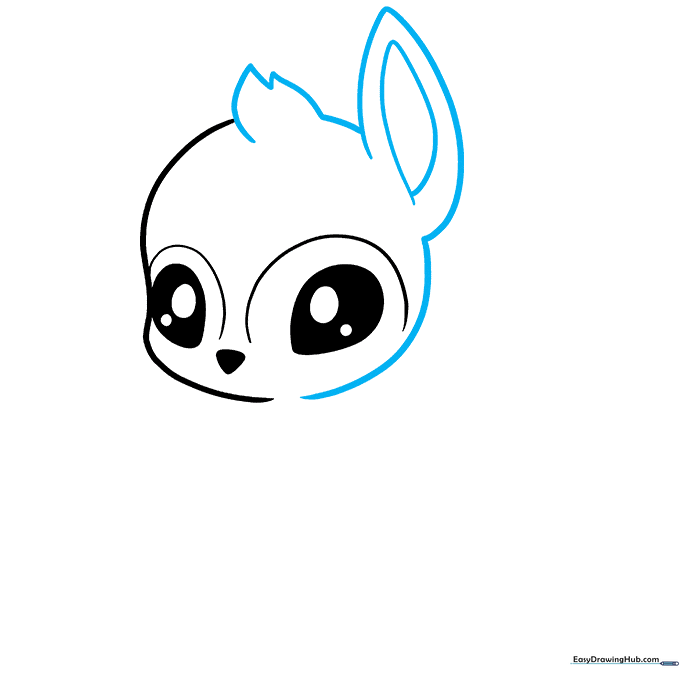
Draw a small tuft of fur at the top of the head using short, zigzag lines. Add a large, curved ear shape with a teardrop contour inside. Tip: Use light, quick strokes for the fur to make it look soft and fluffy.
Step 4: The Second Ear and Front Leg
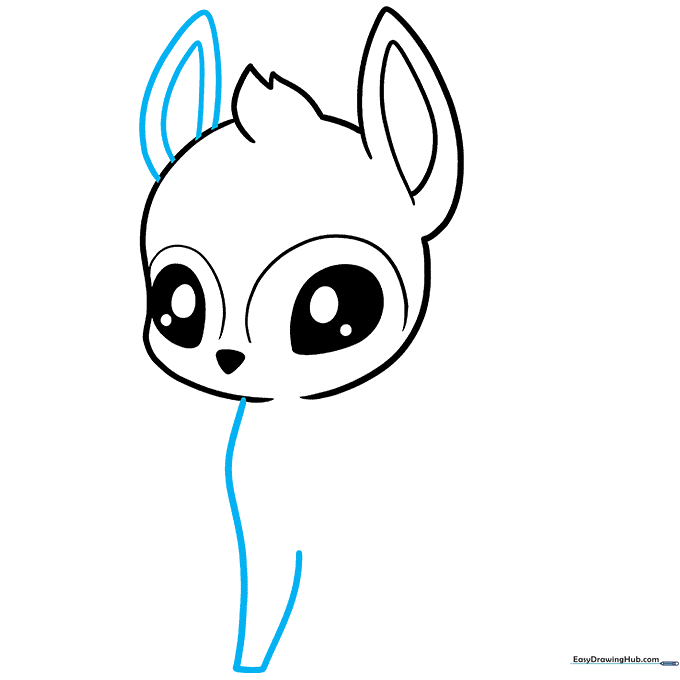
Draw the second ear to match the first. Then, extend a long, graceful curve downward to begin the front leg. Tip: Keep the leg line smooth to give the deer a gentle, elegant posture.
Step 5: Completing the Front Legs
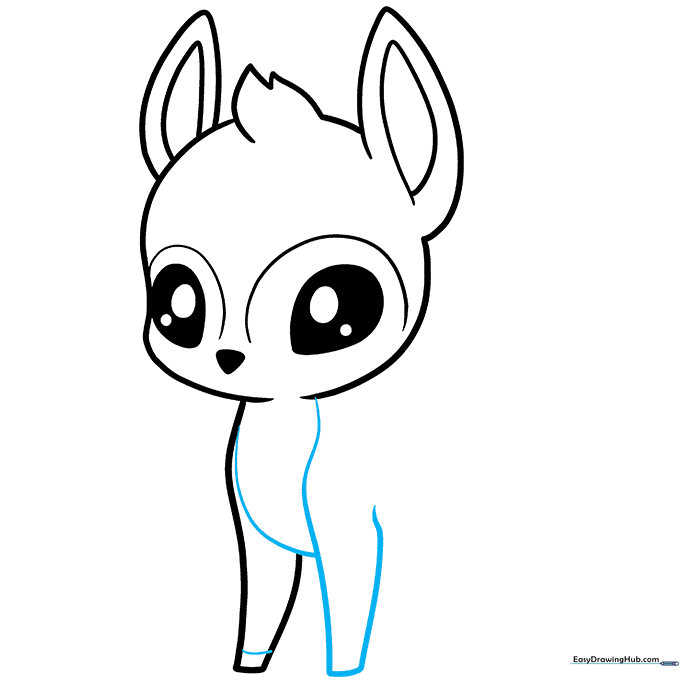
Draw the second front leg and the chest area. Connect the legs with a short horizontal line and add curved bands at the bottom for the hooves. Tip: Hooves are just simple 'U' shapes at the end of the legs.
Step 6: Drawing the Belly and Rear Leg
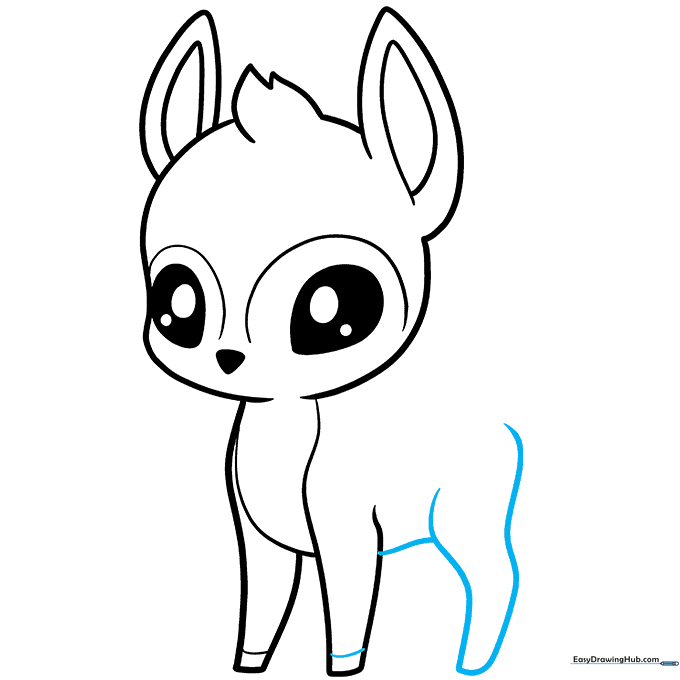
Draw a curved line for the belly and add the first rear leg. Remember to add the hoof band at the bottom. Tip: Make the belly line slightly rounded to show the deer is standing comfortably.
Step 7: The Back and Tail
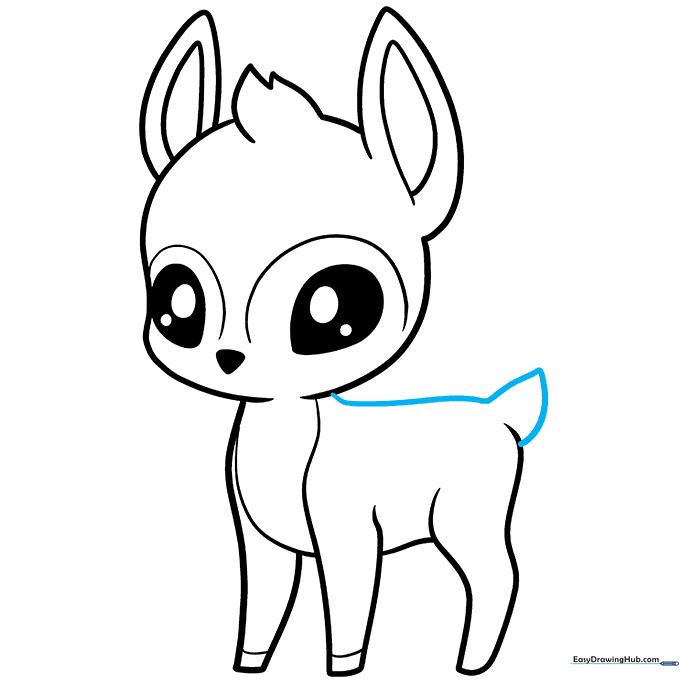
Draw a long, smooth curve from the neck down to the tail to finish the back of your deer. Tip: A small, perky tail adds to the character's playful look.
Step 8: Final Leg Details
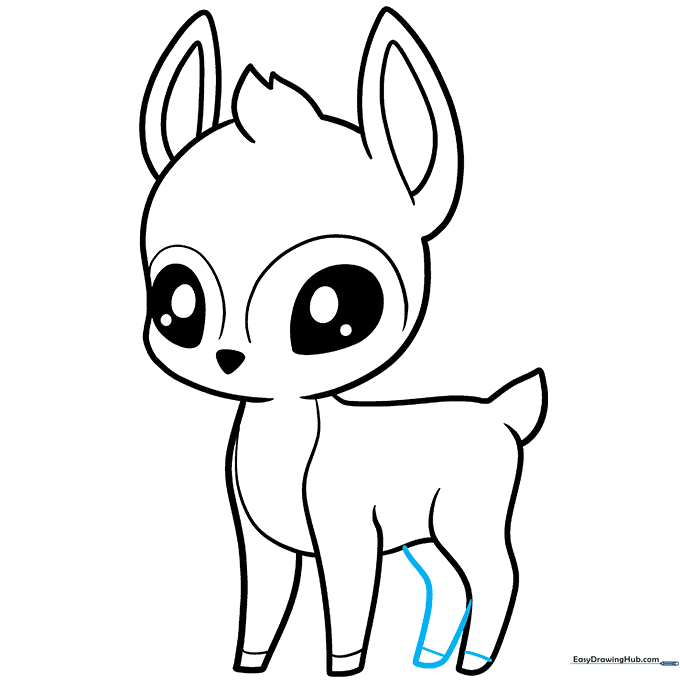
Add the final rear leg to complete the body. Ensure the hoof band matches the others. Tip: Check that all four legs look balanced before moving on to the final details.
Step 9: Adding Fawn Spots
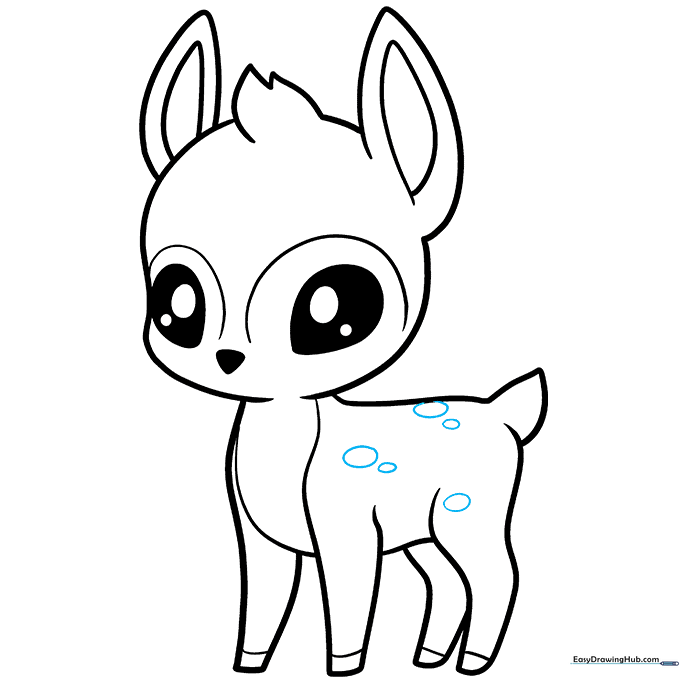
Draw a few small, irregular ovals on the deer's back to create spots. Tip: Vary the size of the spots to make them look more natural.
Step 10: Bringing Your Deer to Life with Color
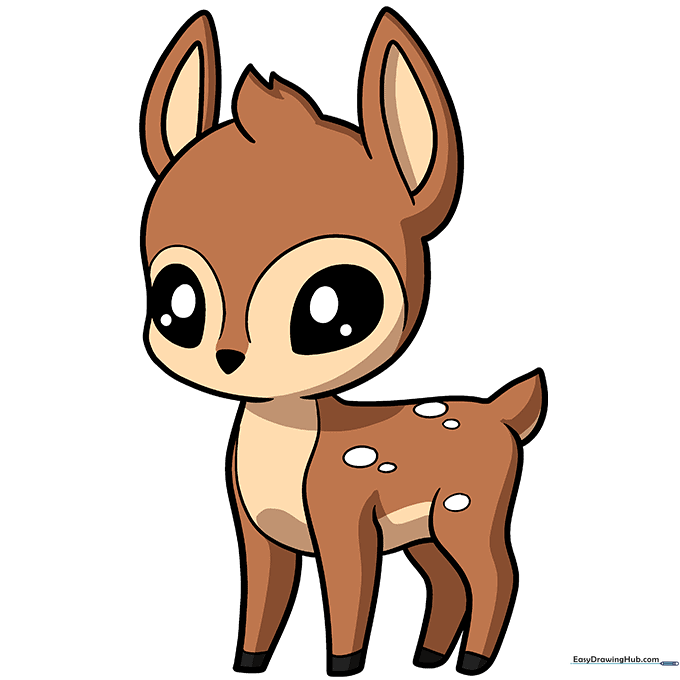
Time to color! Use warm browns and tans for the fur, and keep the spots white or light cream. Tip: Use a darker brown for the hooves to create contrast.
More Tutorials


