How to Draw a Cute Christmas Cat: Easy 10-Step Guide
Bring some holiday cheer to your sketchbook with this adorable Christmas cat! Designed for artists ages 5 and up, this project uses basic shapes to build confidence. All you need is a pencil, an eraser, and your favorite markers or crayons to create a festive feline friend.
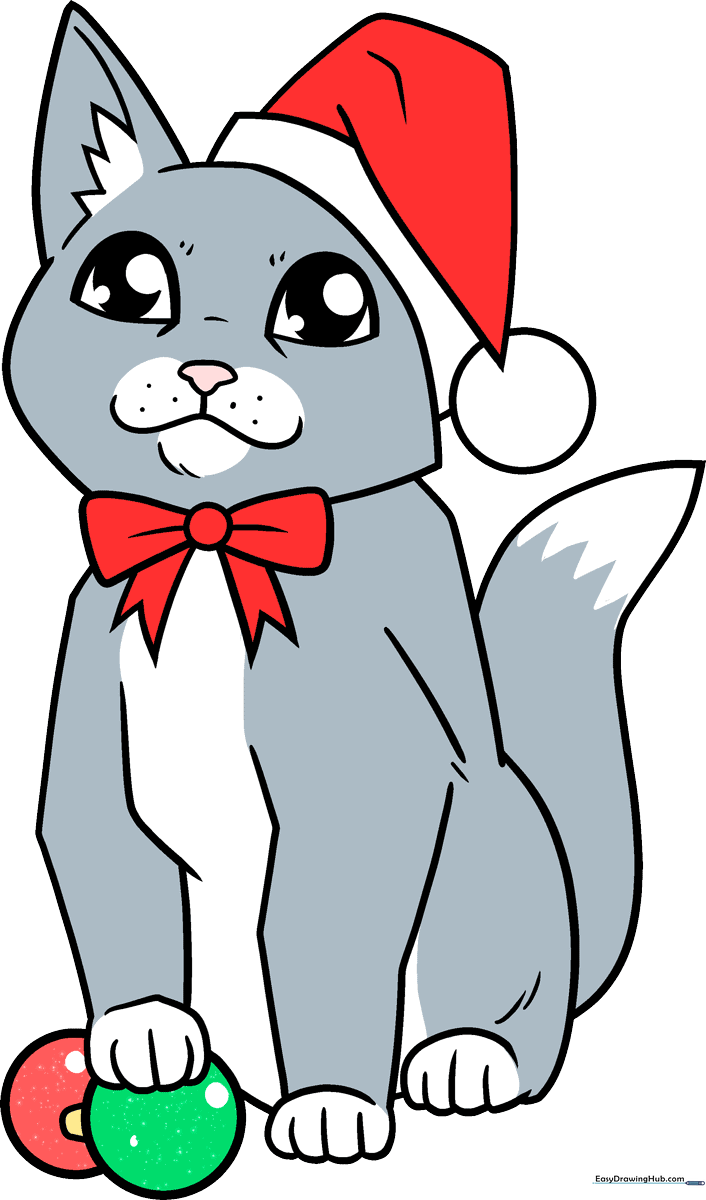
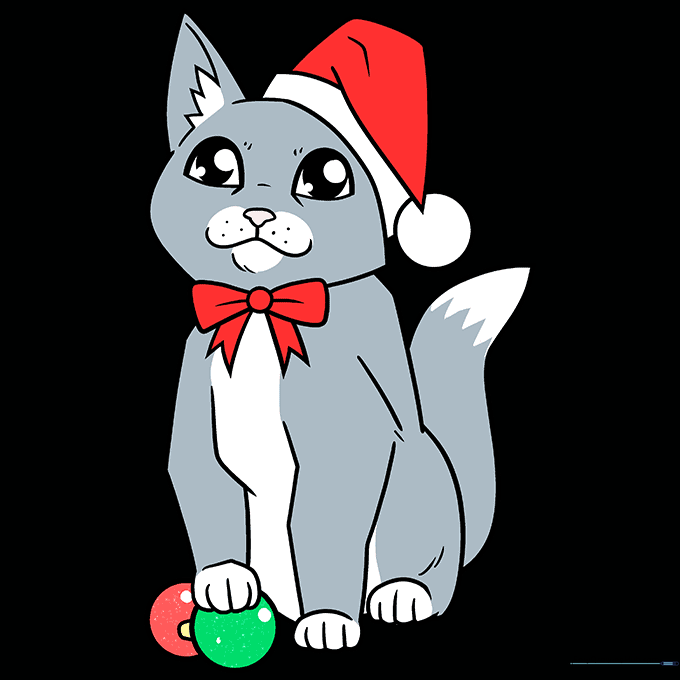
🎯 Final Result
Step-by-Step Instructions
Step 1: Sketching the Expressive Eyes

Draw two curved half-circles for the eyes, adding a tiny line at the corners to give them a friendly look. Place three small circles inside each for the pupils. Teacher's Tip: Keep your pencil pressure light here so you can easily adjust the symmetry if needed.
Step 2: Shaping the Head and Face
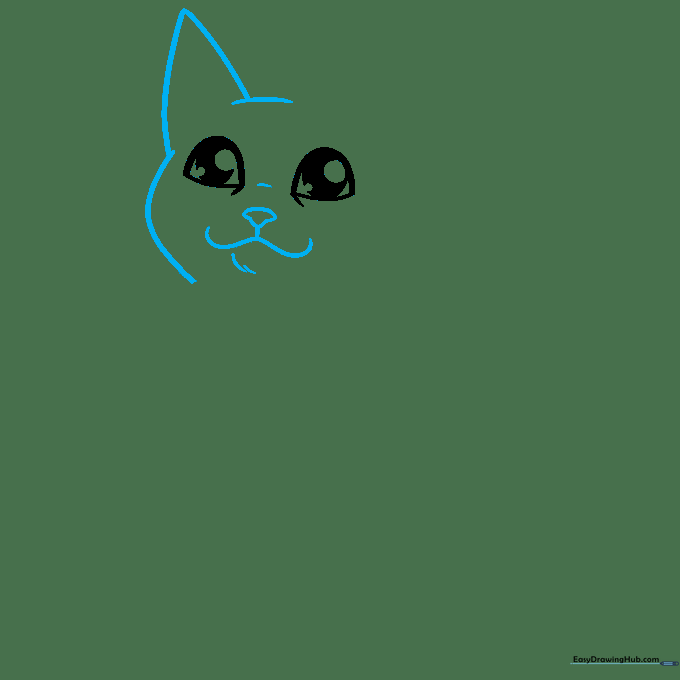
Use soft, overlapping curves to outline the top of the head and the pointed ear. Add a small mushroom-shaped nose and a gentle mouth curve below. Teacher's Tip: A cat's face is mostly round, so don't worry about making the lines perfectly straight—a little wobble adds character!
Step 3: Adding Texture and Whiskers
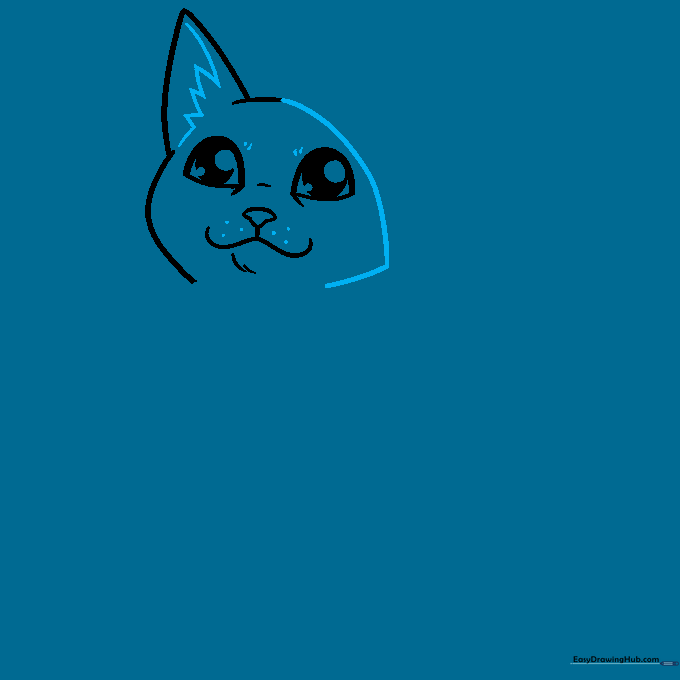
Add a zigzag line inside the ear for depth and draw small dots near the nose for whisker spots. Use a slanting line to mark where the hat will sit. Teacher's Tip: Use short, quick strokes for the whiskers to make them look sharp and perky.
Step 4: Sketching the Santa Hat
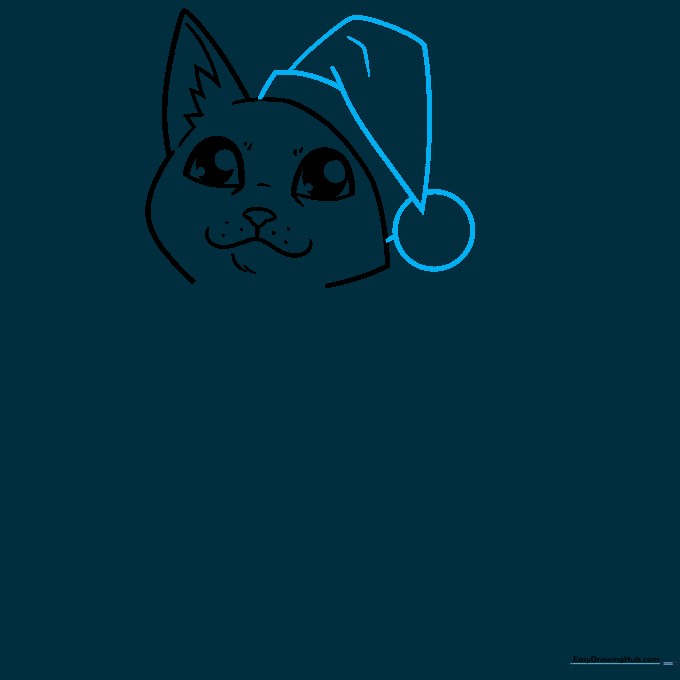
Draw the brim of the Santa hat, followed by the bent triangular top and a fluffy pompom circle at the end. Teacher's Tip: Make the pompom slightly fuzzy by using tiny, rounded strokes instead of a perfect circle.
Step 5: Drawing the Festive Bow Tie
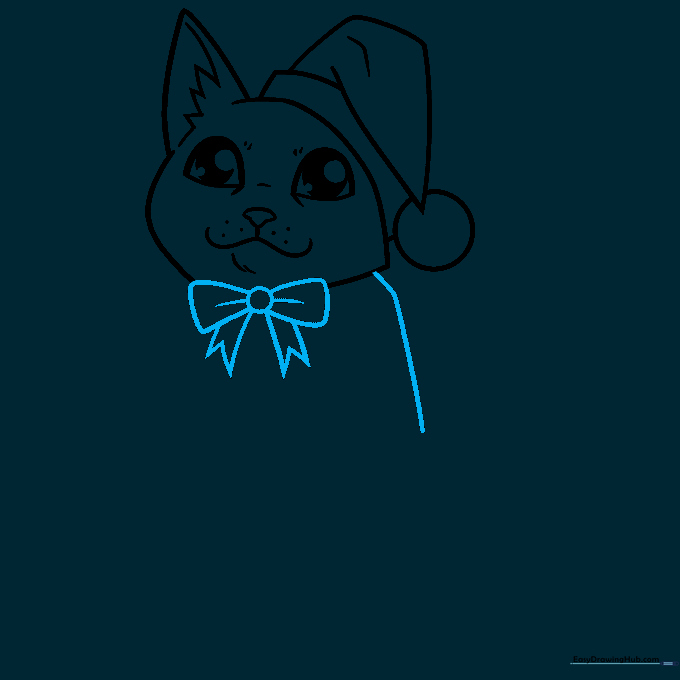
Draw a bow tie at the neck using a central circle and two rounded triangles. Add 'V' shapes for the ribbon ends. Teacher's Tip: Draw the bow slightly off-center to give your cat a playful, candid look.
Step 6: Creating the First Paw
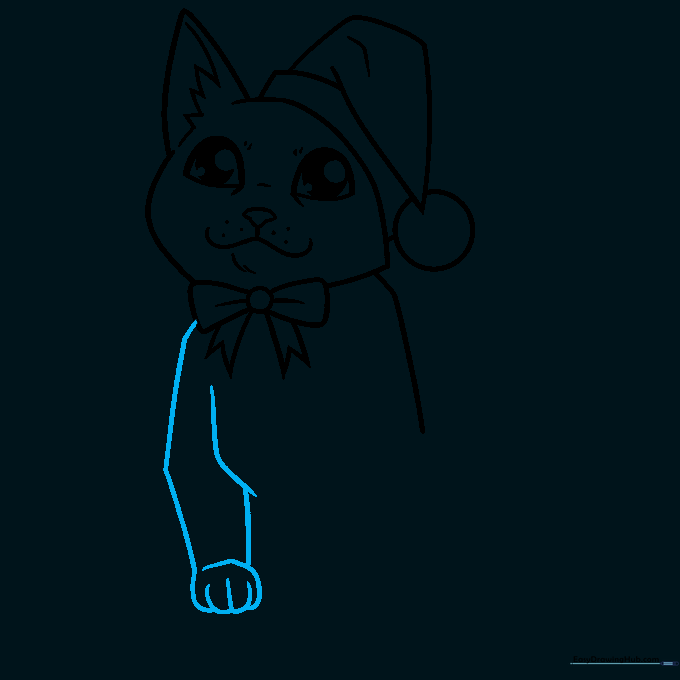
Sketch the front leg and paw using overlapping curves. Don't forget the tiny toe lines! Teacher's Tip: Focus on the 'bend' of the elbow to make the cat look like it's sitting naturally.
Step 7: Adding the Second Foreleg
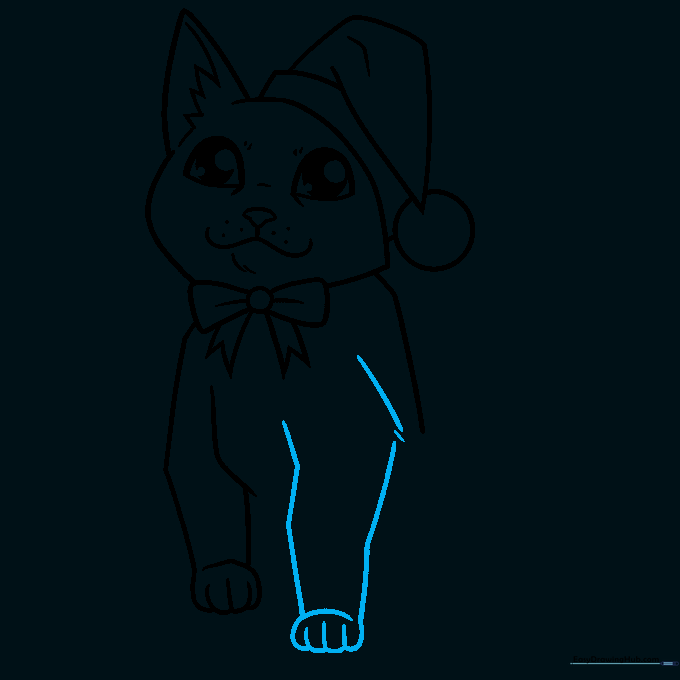
Repeat the process to draw the second foreleg, ensuring it aligns with the first. Teacher's Tip: Keep the legs close together to make the cat look cozy and compact.
Step 8: Rear Leg and Ornament
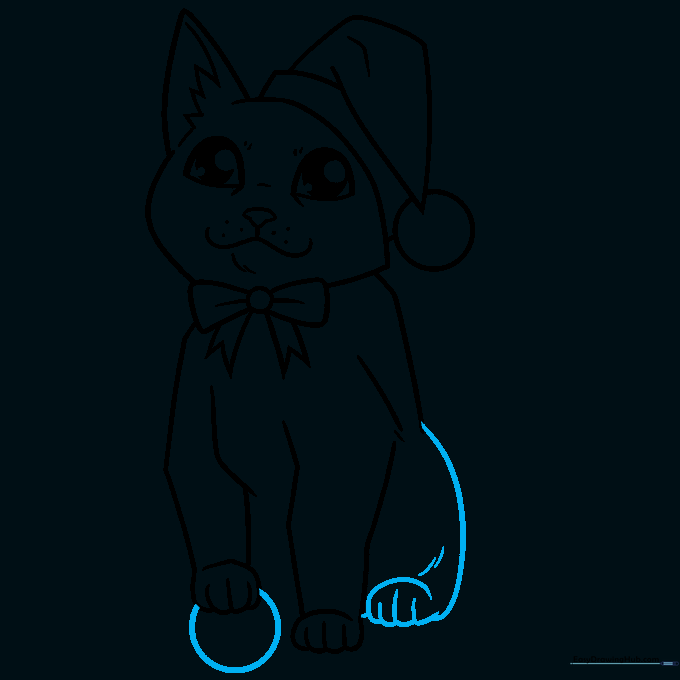
Draw the rear leg with a curved line and add a partial circle near the paw for a Christmas ornament. Teacher's Tip: Use a circular object like a coin to trace the ornament if you want a perfect shape.
Step 9: Final Touches and Tail
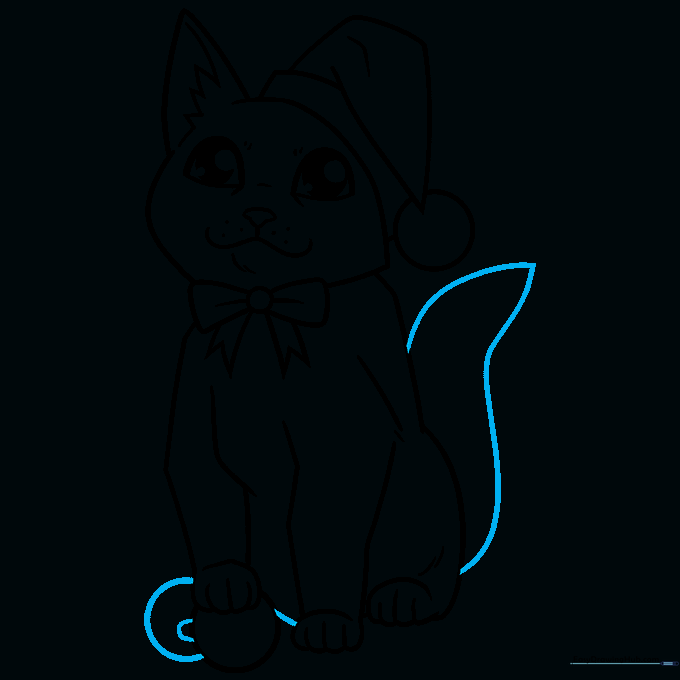
Finish the ornament with a small hanger and draw a long, curved tail extending from the back. Teacher's Tip: Make the tail thick at the base and taper it to a point for a realistic cat silhouette.
Step 10: Bring Your Cat to Life with Color
Time to color! Use classic holiday reds and greens for the hat and ornaments, and choose your favorite cat colors for the fur. Teacher's Tip: Use a white gel pen to add a tiny 'sparkle' to the ornaments for a professional finish.
More Tutorials


