How to Draw a Cute Cartoon Cheetah: Easy 10-Step Guide
Ready to bring a speedy safari friend to life? This tutorial is perfect for young artists ages 5 and up who want to practice their character design skills. Grab a pencil, an eraser, and a piece of paper to follow along as we build this cheetah from simple shapes into a finished masterpiece.
🎯 Final Result

Step-by-Step Instructions
Step 1: Sketching the Expressive Eyes
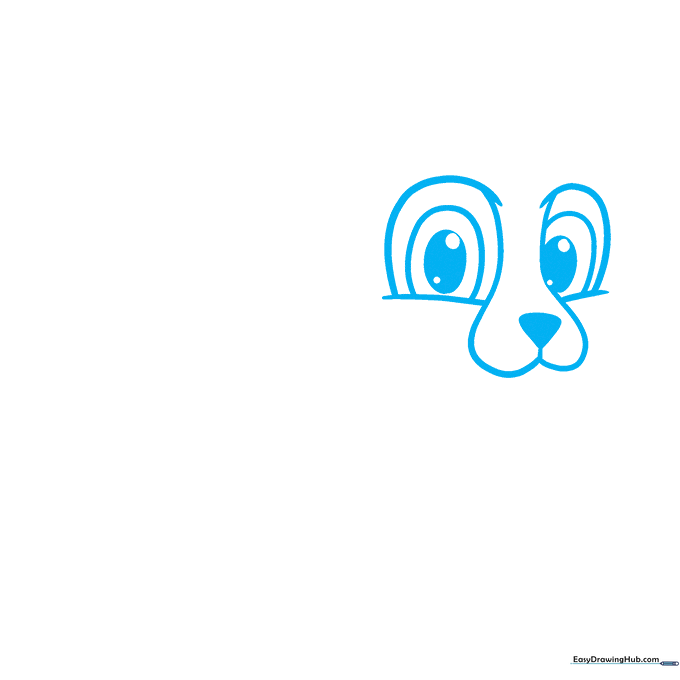
Draw two half-oval shapes for the eyes. Inside, add smaller ovals and shade them to create pupils. Connect them with a soft, heart-shaped muzzle and a tiny inverted triangle for the nose. Tip: Keep your pencil lines light so you can easily adjust the symmetry of the eyes.
Step 2: Defining the Furry Cheeks
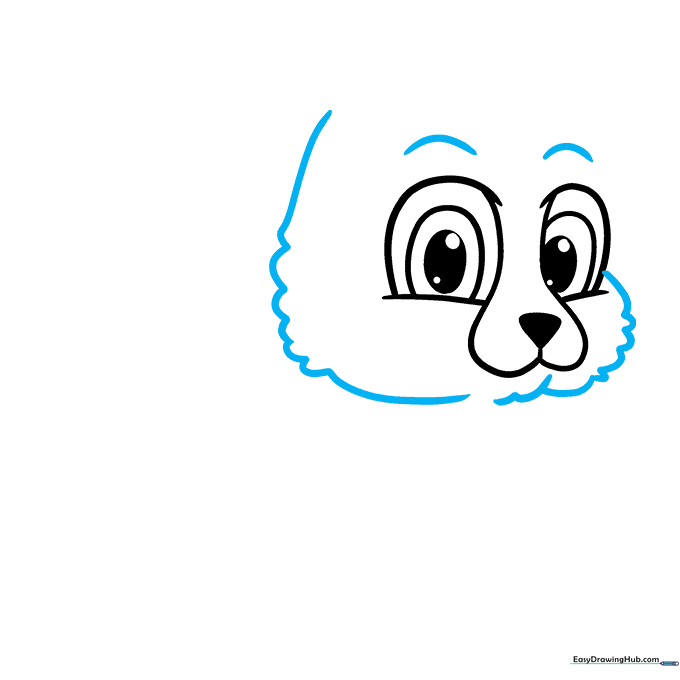
Add a curved eyebrow above each eye to give your cheetah personality. Use short, connected zig-zag lines to outline the cheeks and chin, creating a soft, furry texture. Tip: Use quick, flicking motions with your pencil to make the fur look natural and fluffy.
Step 3: Shaping the Head and Ears
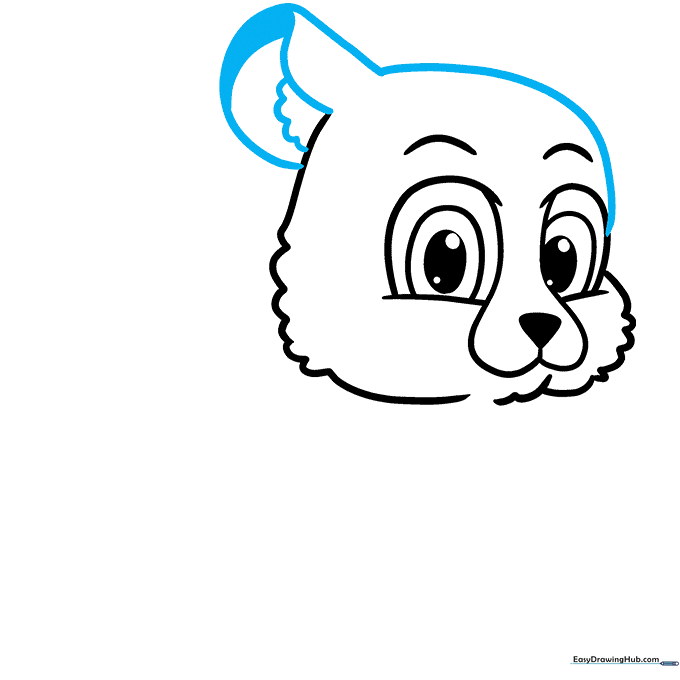
Draw a long, smooth curve to form the top of the head and the first ear. Add a teardrop shape inside the ear for depth and a small tuft of fur. Tip: Imagine the ear is like a small petal; keep the lines rounded to maintain the 'cute' aesthetic.
Step 4: Adding the Second Ear and Chest
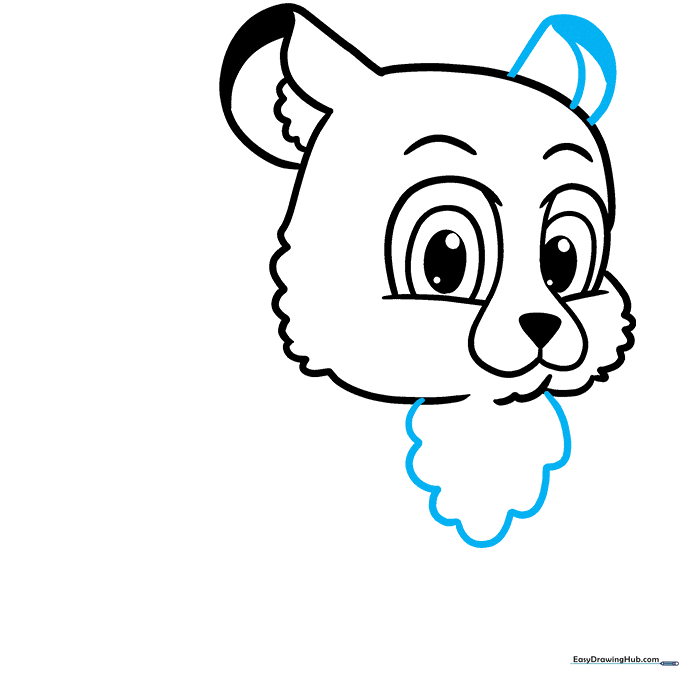
Mirror the first ear on the other side of the head. Below the chin, draw a soft, wavy line to define the white patch on the cheetah's chest. Tip: The wavy line helps break up the solid color and adds a realistic touch to the cartoon style.
Step 5: Sketching the Front Legs
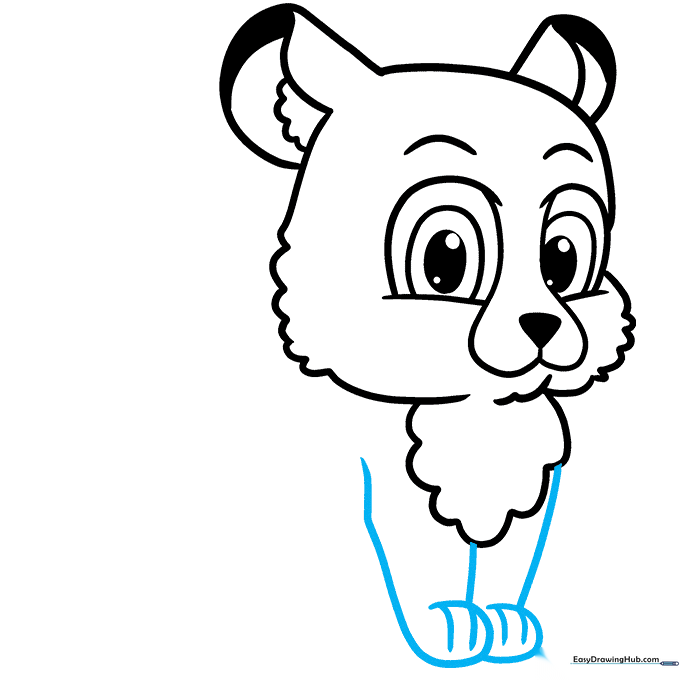
Use curved lines that double back at the ends to create the front legs and paws. Add small, short lines at the bottom of the paws to suggest toes. Tip: Keep the legs slightly rounded to make the cheetah look like a playful cub.
Step 6: Drawing the Back and Hind Leg
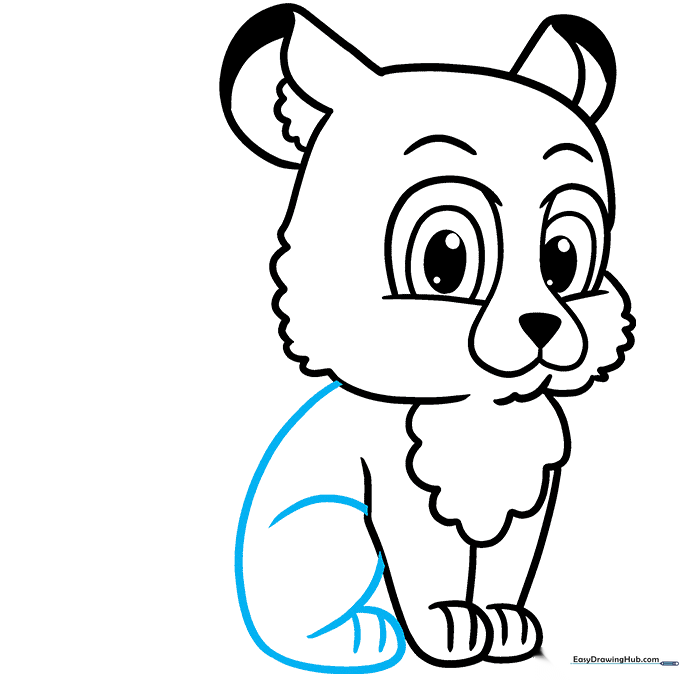
Draw a smooth, arched line for the back, connecting it to the hind leg and foot. Add detail lines to the paw to match the front ones. Tip: Ensure the back curves gently to give the cheetah a natural, sitting posture.
Step 7: Adding the Long Tail
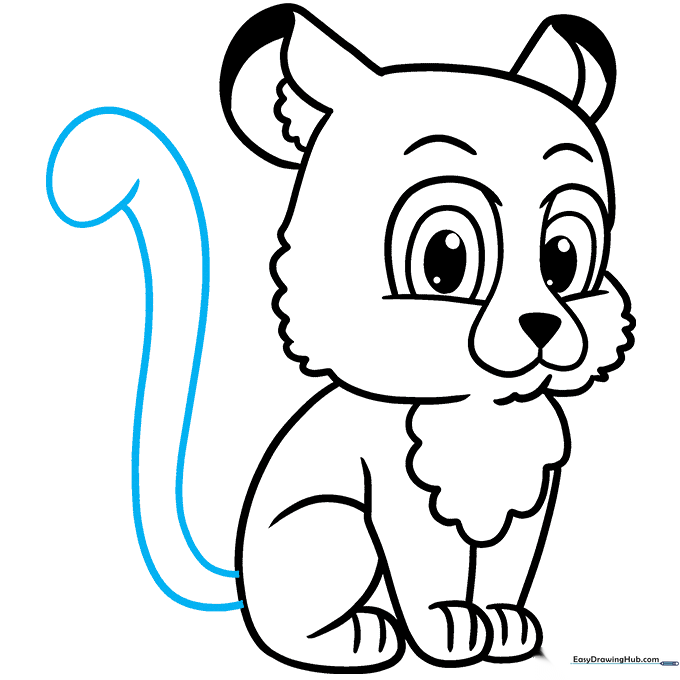
Extend two long, parallel curved lines from the body to create a sweeping tail. Let one line overlap the other at the tip for a clean finish. Tip: A long, curved tail adds movement to your drawing—don't be afraid to make it nice and long!
Step 8: Adding Texture and Facial Spots
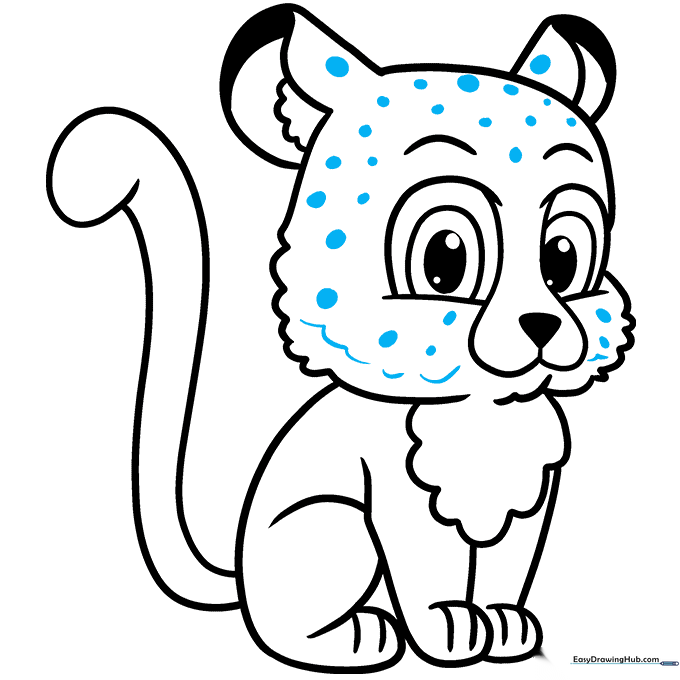
Use small, irregular shapes to add spots to the face and ears. Add a few extra curved lines around the face to emphasize the fur. Tip: Vary the size of your spots—some big, some small—to make the pattern look authentic.
Step 9: Completing the Body Spots

Fill in the body with more spots and add wavy stripes near the tip of the tail. Tip: Don't worry about making the spots perfect circles; cheetah spots are naturally irregular, which makes your drawing look more professional.
Step 10: Bringing Your Cheetah to Life with Color
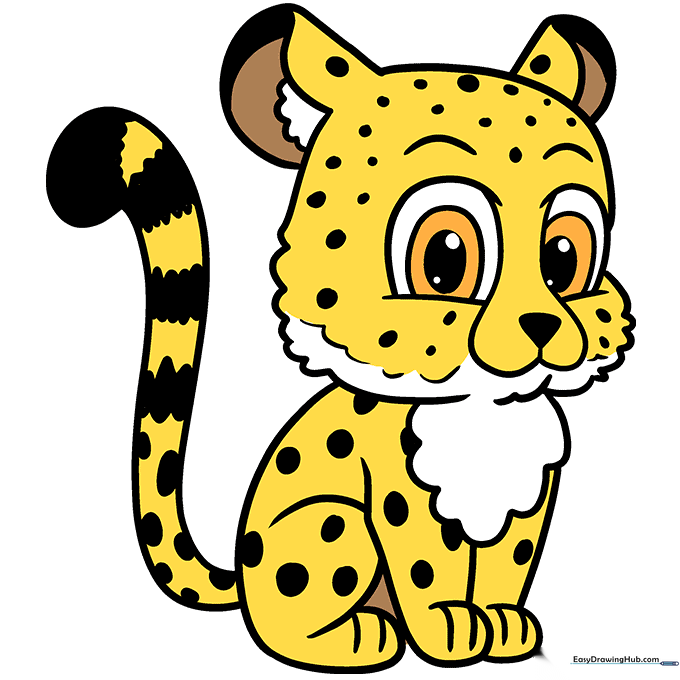
Your outline is complete! Use a warm sandy yellow for the fur and dark brown or black for the spots. Tip: Use a light touch with your coloring pencils to blend the colors smoothly, and leave the chest area white for contrast.
More Tutorials


