How to Draw a Cucumber: Easy 9-Step Art Guide
Ready to bring some garden-fresh art to your sketchbook? This tutorial is perfect for young artists ages 5+ to practice basic shapes and layering. All you need is a pencil, an eraser, and your favorite green markers to create a crisp, crunchy cucumber masterpiece.
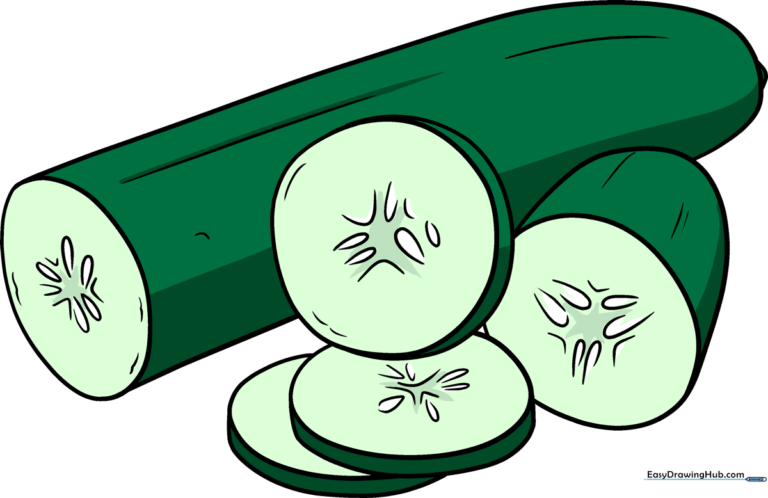
🎯 Final Result
Step-by-Step Instructions
Step 1: Sketching the First Slice

Start by drawing a small circle, then add a curved line on one side to create a crescent shape. Teacher's Tip: Keep your lines light and sketchy so you can easily adjust the shape if it looks a bit lopsided.
Step 2: Adding Seed Details
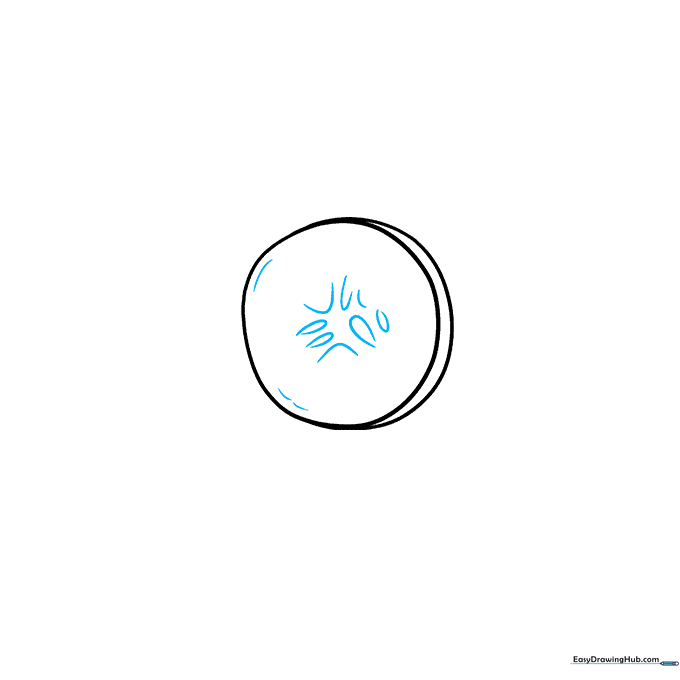
Draw small teardrop shapes and 'U' lines inside the slice to represent the seeds. Add short, wavy lines around the edge for texture. Tip: Don't worry about making the seeds perfect; nature is rarely symmetrical!
Step 3: Creating Depth
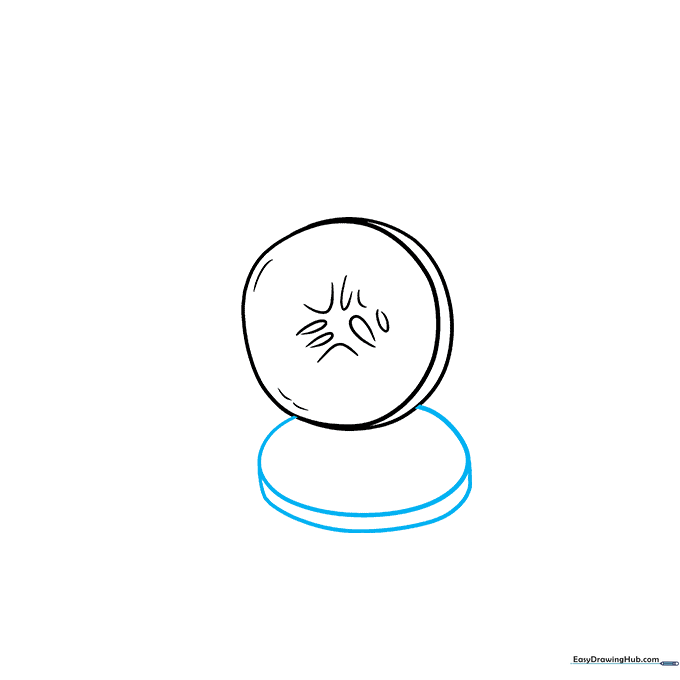
Draw a second slice overlapping the first. Enclose an oval shape and add a curved line to give it a 3D, cylindrical look. Tip: Imagine the cucumber is a tube; the curved lines help show its roundness.
Step 4: Building the Stack
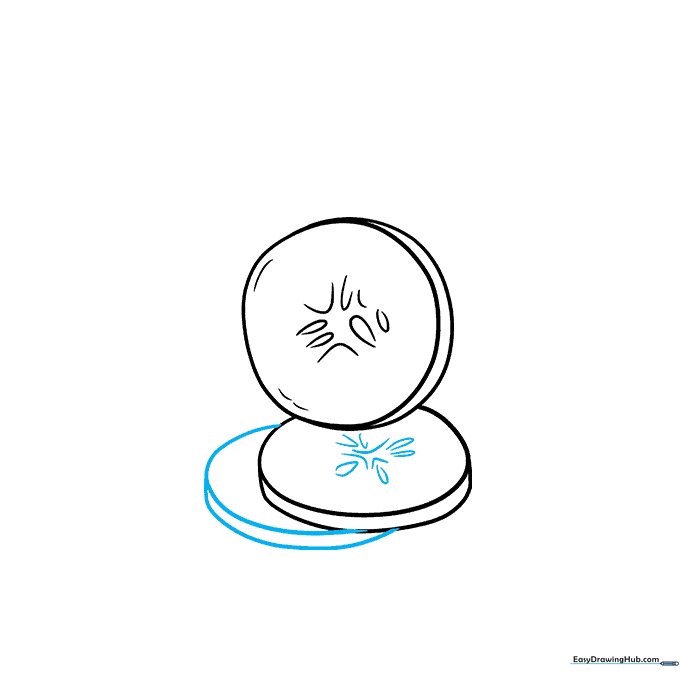
Add seeds to your second slice, then draw a third slice using a partial oval. Connect it with a curved line to the previous slice. Tip: Use your eraser to clean up any overlapping lines that shouldn't be visible.
Step 5: Adding the Background Slice
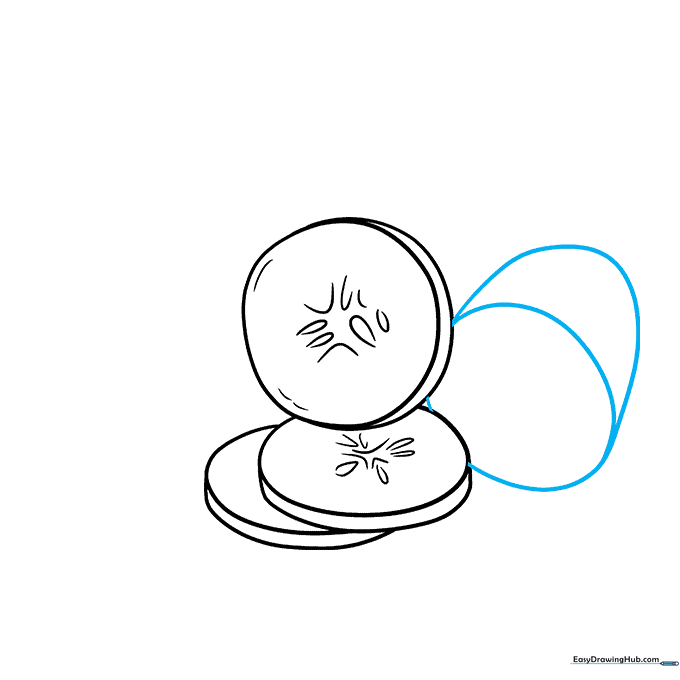
Draw a fourth slice partially hidden behind the others. Use a curved line to outline the body of the fruit. Tip: Think of this as the 'back' of the cucumber, so keep it slightly smaller to show distance.
Step 6: Refining Textures
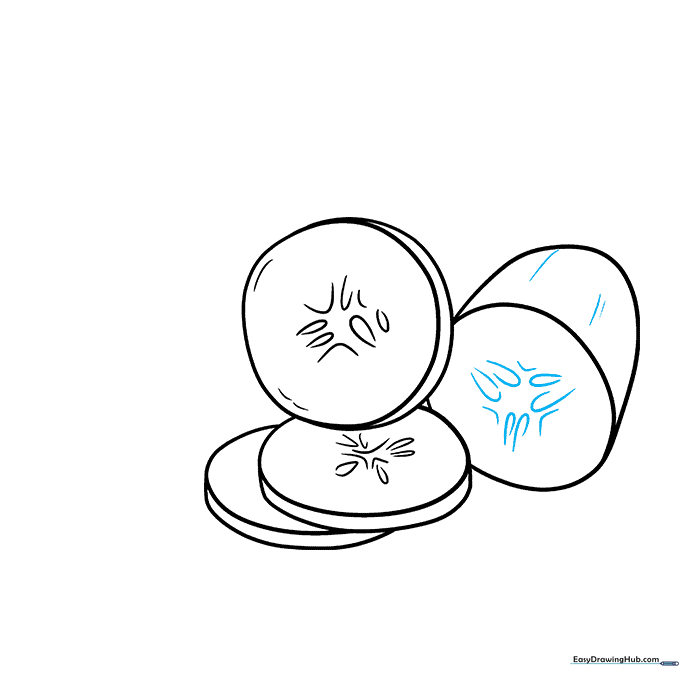
Add more seeds and 'V' shaped lines to the cut ends. Add small, wavy lines along the skin to show texture. Tip: Vary the length of your lines to make the cucumber look more organic and realistic.
Step 7: Outlining the Whole Cucumber
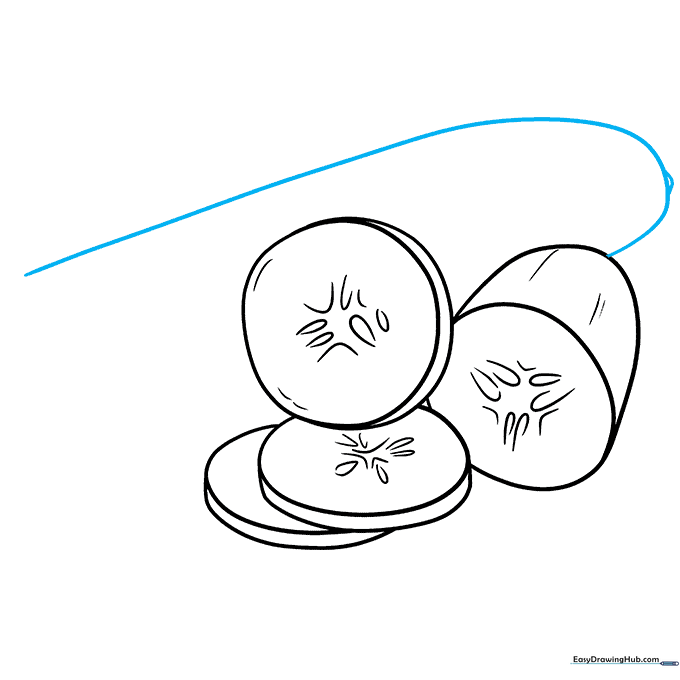
Draw a long, sweeping curved line to form the body of the cucumber. Add a small circle at the end for the stem attachment. Tip: Use a smooth, continuous motion for the long line to keep it looking clean.
Step 8: Finalizing the Shape
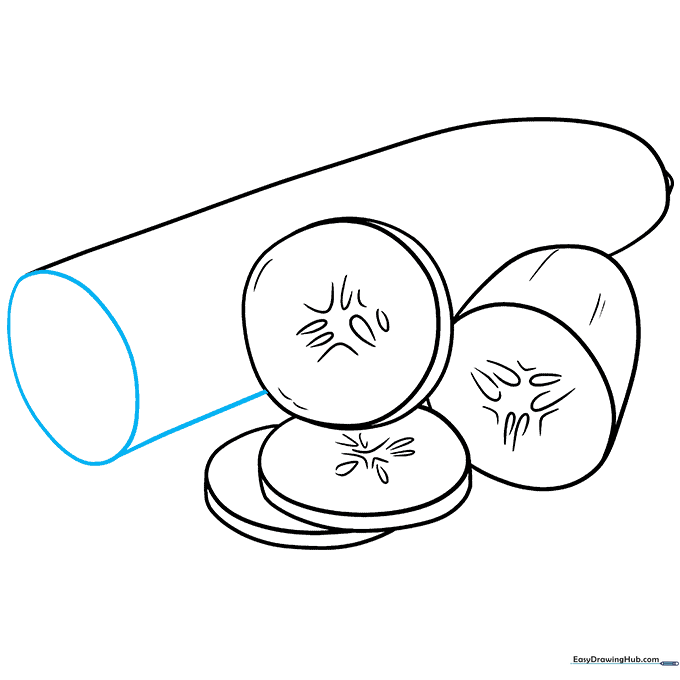
Add an oval at the end to show the cut surface, and finish the outline with a straight line. Tip: Ensure your lines meet up neatly at the corners to create a solid, enclosed shape.
Step 9: Final Details
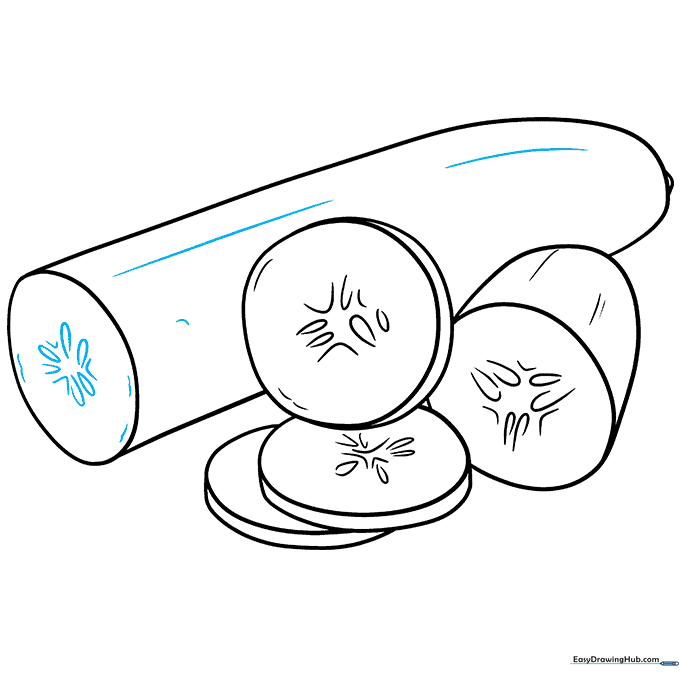
Add final seed details and skin texture lines. Your outline is now ready for color! Tip: Before coloring, go over your main lines with a darker pencil or pen to make them pop.
Step 10: Adding Color
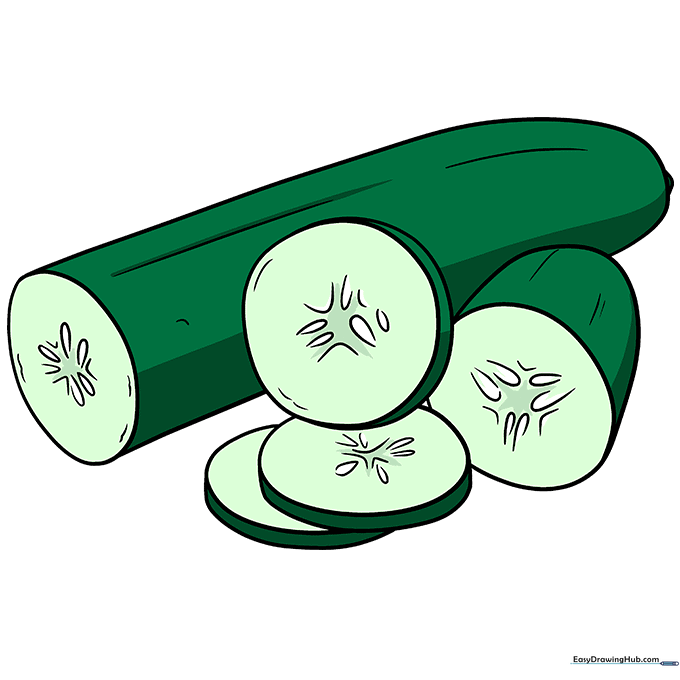
Use a dark green for the skin and a light, pale green for the flesh. Tip: Use a circular motion when coloring to keep the texture smooth and even.
More Tutorials


