How to Draw a Crystal Heart: Easy 10-Step Guide
Ready to add some sparkle to your sketchbook? This tutorial is perfect for artists ages 6 and up who want to practice geometric shapes and symmetry. Grab a pencil, an eraser, and a ruler, and follow along to create a stunning, faceted crystal heart that looks like a real gemstone.
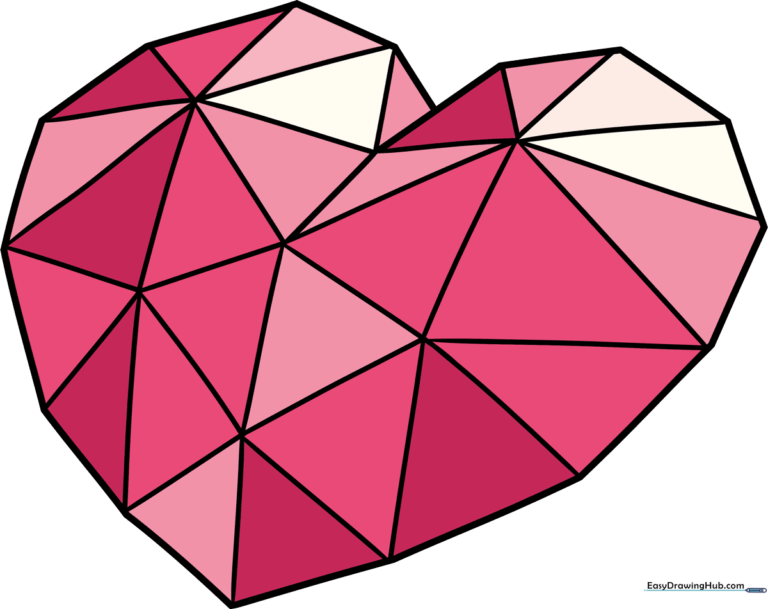
🎯 Final Result
Step-by-Step Instructions
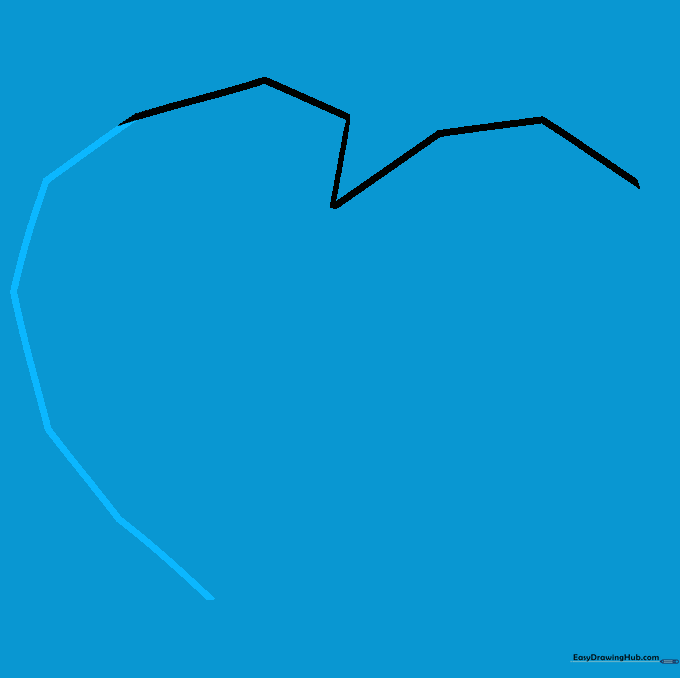
Step 1: Sketching the Top Lobes

Begin the crystal heart by drawing the two top lobes. Instead of fluid curves, use short, straight lines to create the arched shape. Teacher's Tip: Keep your pencil pressure light so you can easily adjust the symmetry if one side looks a bit wider than the other.
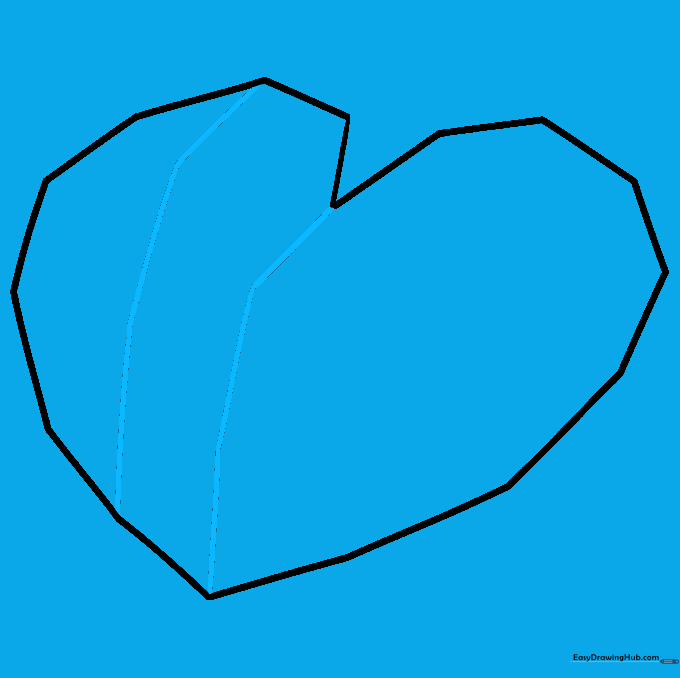
Step 2: Defining the Left Side
Draw the left side of the heart using a series of connected straight lines. Tip: Imagine you are drawing the edge of a cut diamond; sharp angles are key to making it look like real crystal.
Step 3: Defining the Right Side

Mirror the left side by drawing the right side of the heart with straight lines. Tip: Try to match the length of the lines on the left side to keep your heart perfectly balanced.
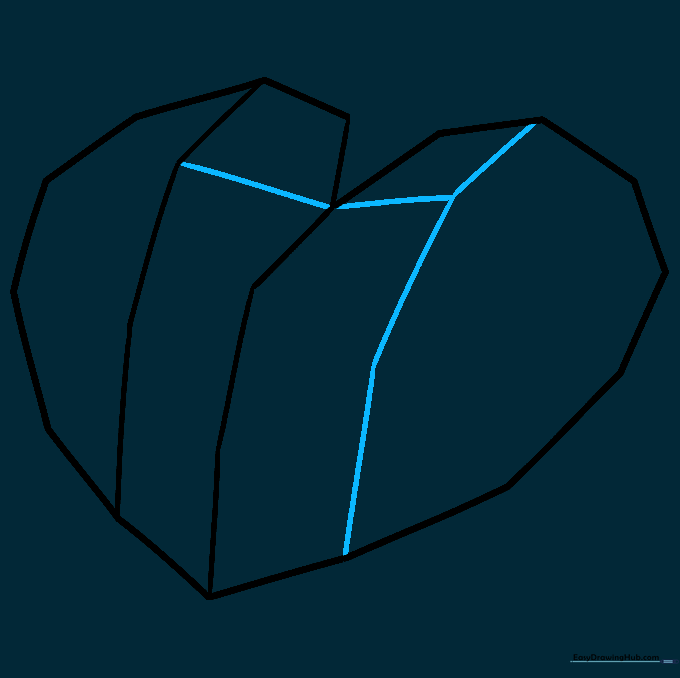
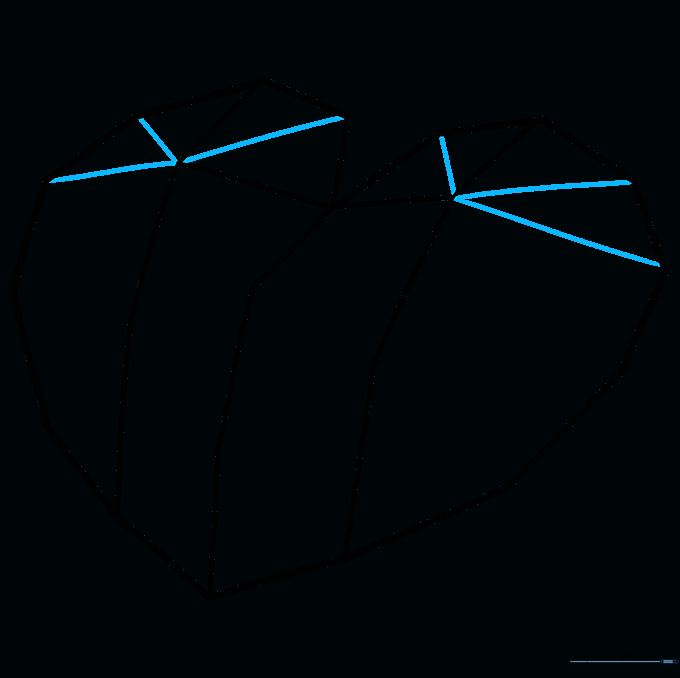
Step 4: Adding Internal Facets
Now, let's add the facets. Draw short, connected lines from the center indentation down to the bottom point. Then, add lines from the top lobes toward the sides. Tip: Use a ruler if you want your lines to look extra sharp and professional!
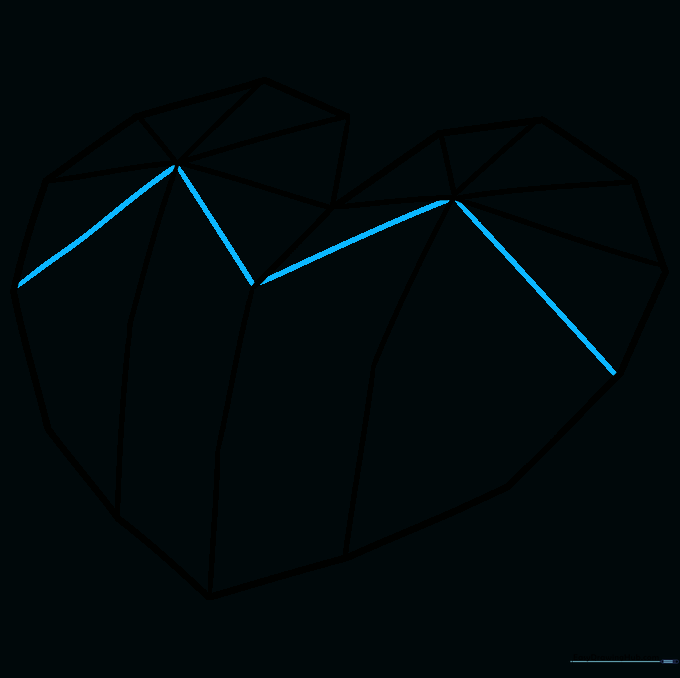
Step 5: Detailing the Lobes
Add more straight lines across the other lobe. Connect these to the center indentation to create a web-like pattern. Tip: Think of this as creating a 'spiderweb' of light reflections inside the stone.
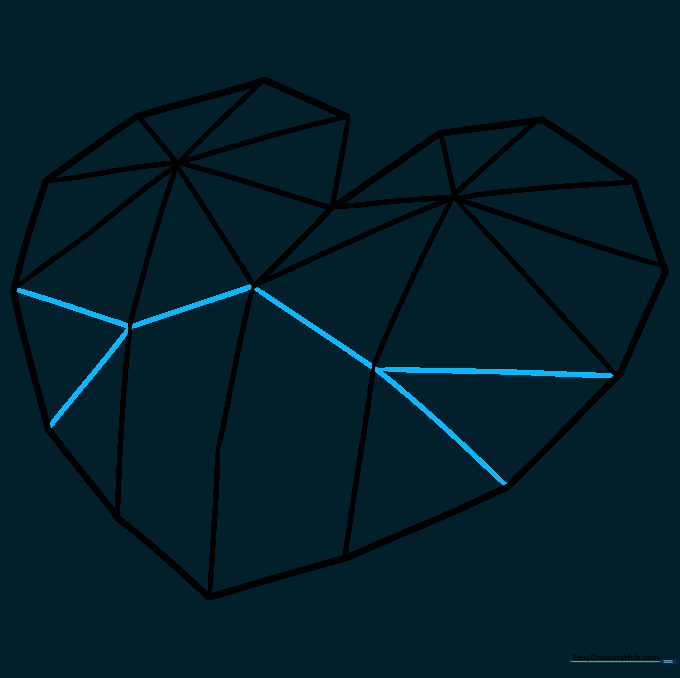
Step 6: Creating Depth
Draw lines from the center junctions out to the outer edges of the lobes. This creates the illusion of a 3D surface. Tip: Keep your lines straight—if they curve, the crystal will look like it's melting!
Step 7: Ray Pattern Details
Continue adding lines in a ray pattern from the center of each lobe. This adds complexity to the facets. Tip: Don't worry if the lines aren't perfectly spaced; crystals in nature have unique, irregular cuts.
Step 8: Refining the Facets
Add more lines between the central and interior lines to fill in the gaps. This makes the crystal look dense and sparkly. Tip: Use a sharp pencil tip for these smaller details to keep the drawing clean.
Step 9: Final Touches
Draw an 'X' shape near the bottom point and a short line between the top lobes to give the heart a 3D 'culet' or center point. Tip: This final step is what makes the drawing pop off the page!
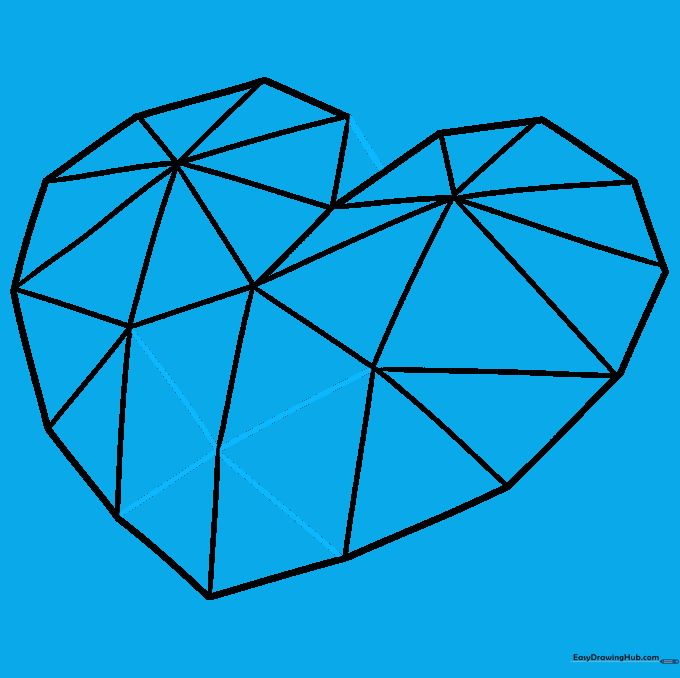
Step 10: Bringing it to Life with Color

Time to color! Use different shades of the same color—a light shade for the highlights and a dark shade for the shadows—to make it look like light is reflecting off the crystal. Tip: Leave some small white spots blank to act as 'glimmer' highlights.
More Tutorials


