How to Draw a Crying Face: Easy 10-Step Guide
Capturing complex emotions like sadness is a fantastic way for young artists to build expressive drawing skills. This tutorial is perfect for ages 7+ and requires only a pencil, eraser, and paper. Follow these steps to master the anatomy of a tearful expression while developing your character design confidence.
🎯 Final Result

Step-by-Step Instructions
Step 1: Sketching the Expressive Eyes

Start by sketching two rectangular anime-style eyes. Use gentle curved lines for the lids and shade a dark circle inside each for the pupil. Teacher's Tip: Keep your pencil pressure light here; these are your guide shapes for the entire face.
Step 2: Defining the Brow and Nose Bridge

Draw an incomplete egg shape around the eyes to define the lids. Add thick, upturned eyebrows to show distress, and a small curve between the eyes to mark the bridge of the nose. Tip: The higher the inner corners of the brows, the sadder the expression looks!
Step 3: Adding the Nose and Frowning Mouth

Add small curves for the nostrils and a wavy line for the mouth. Add a tiny dash at each corner of the mouth to show tension. Tip: A slight downward curve at the corners of the mouth is key to showing a 'frown' rather than just a flat line.
Step 4: Shaping the Face and Neck

Use smooth, continuous curved lines to draw the ears, cheeks, chin, and neck. Tip: Imagine the face is a soft oval; keep your lines rounded to make the character look more youthful.
Step 5: Starting the Hairline
Add 'L' shaped contours inside the ears. Then, draw a sweeping 'M' shape across the forehead to begin the hair. Tip: Don't worry about individual strands yet; focus on the overall shape of the hair mass.
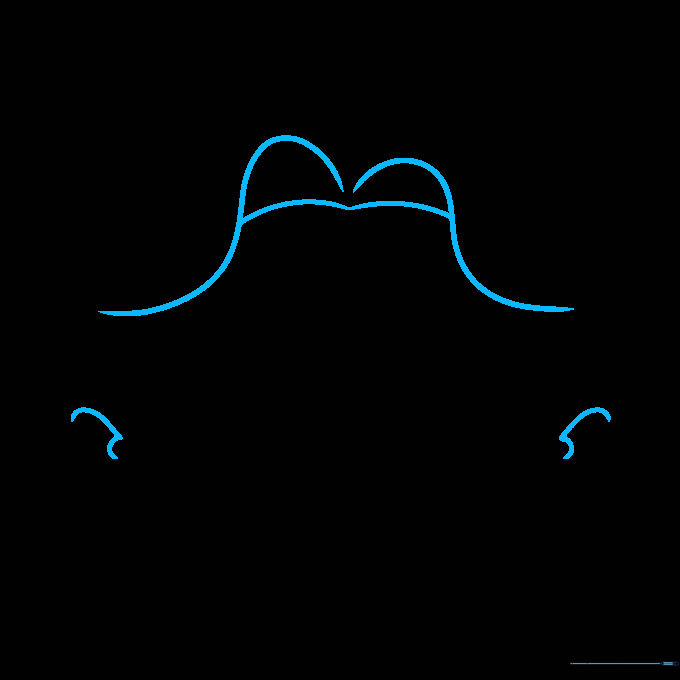
Step 6: Building Hair Volume

Draw a larger 'M' shape above the first one, adding sharp points at the ends to create a natural hair look. Tip: Vary the length of the points to make the hair look less like a helmet and more like real locks.
Step 7: Adding Texture to Hair
Use curved lines to add texture to the hair and draw sideburns connecting the hairline to the ears. Tip: Follow the direction of the hair growth to make your lines look natural.
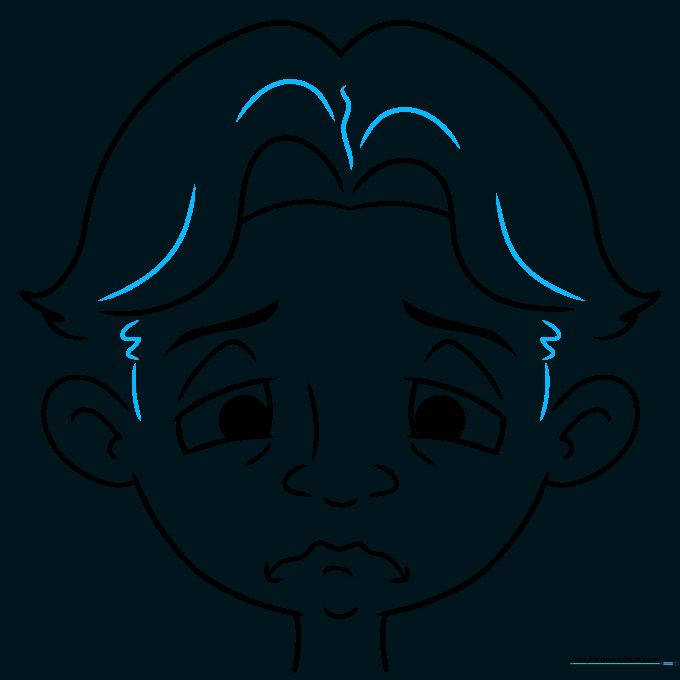
Step 8: Adding Wrinkles and First Tears

Add horizontal lines across the forehead to show a furrowed brow. Draw a small heart-shaped tear at the corner of one eye. Tip: If the heart shape is tricky, start with a small circle and pull it into a point at the bottom.
Step 9: Completing the Tears
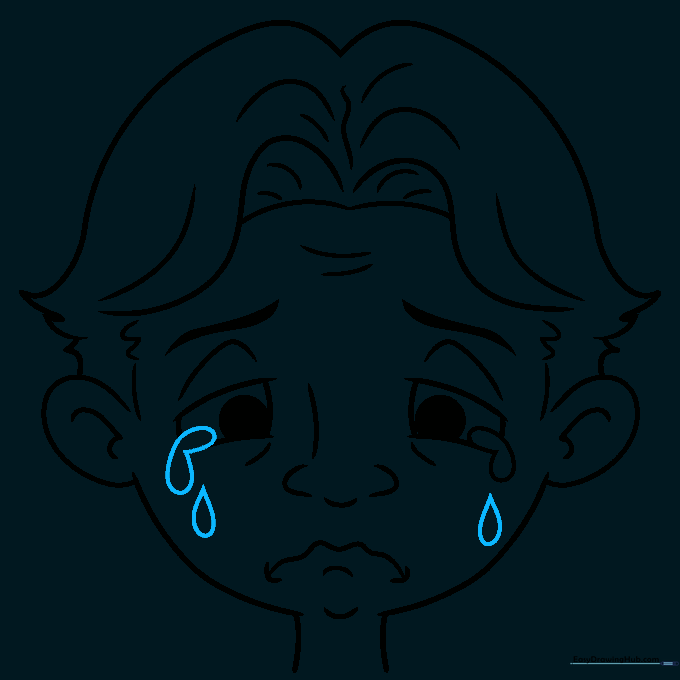
Finish the drawing by adding more teardrops on the cheeks. Tip: Make the tears different sizes to show they are rolling down the face at different speeds.
Step 10: Coloring Your Masterpiece

Add color to your drawing! Try using cool blues for the tears to make them stand out. Tip: Could you change the hair color or hairstyle to make this character your own?
More Tutorials


