How to Draw a Cruise Ship: Easy 10-Step Guide for Kids
Ready to set sail on an artistic adventure? This tutorial is perfect for young artists ages 5 and up who want to learn how to draw a grand cruise ship. You will only need a pencil, an eraser, and some paper to bring this ocean liner to life.
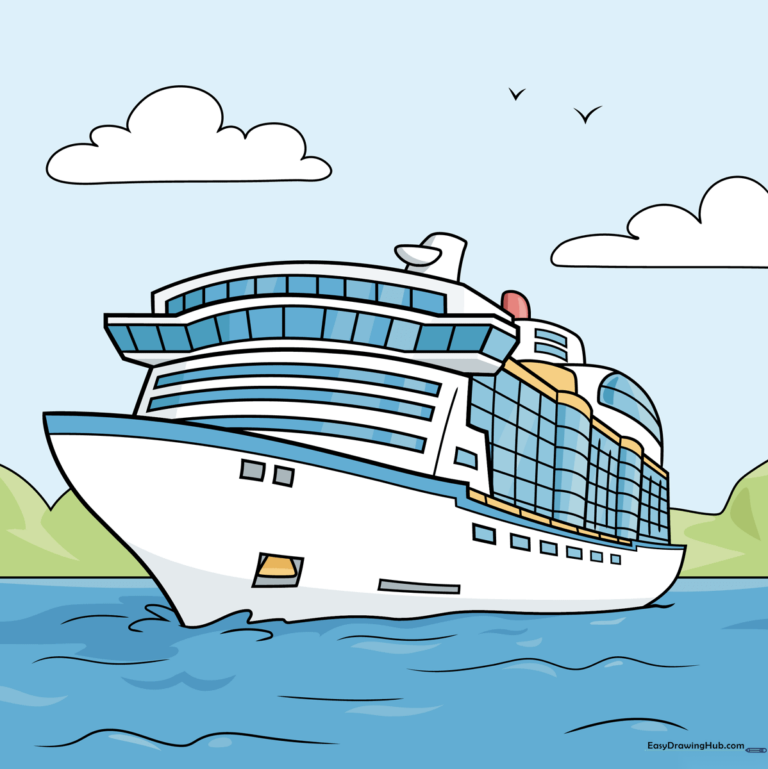
🎯 Final Result
Step-by-Step Instructions
Step 1: Sketching the Hull
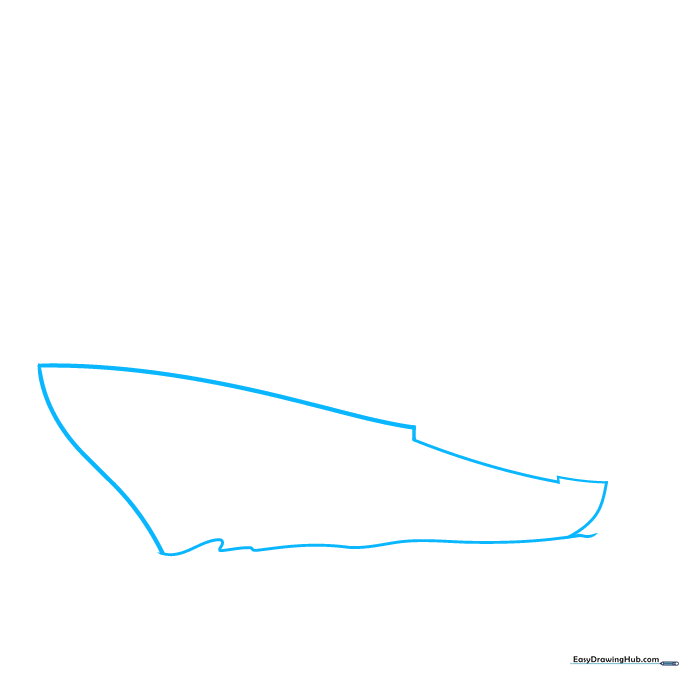
Start by drawing the ship's hull using a series of connected curved lines to form a wide, shallow triangle. Teacher's Tip: Keep the bottom curve smooth to make the ship look like it's gliding through the water.
Step 2: Building the Upper Decks
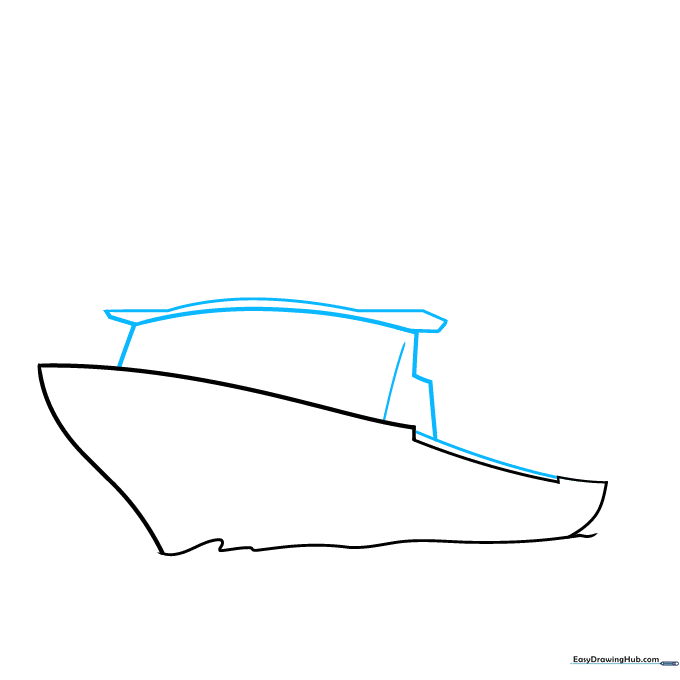
Draw a long horizontal line across the top of the hull. Then, add the upper decks by drawing a 'Z' shaped line. Teacher's Tip: Use a ruler if you want your decks to look extra crisp and modern.
Step 3: Adding the Captain's Bridge
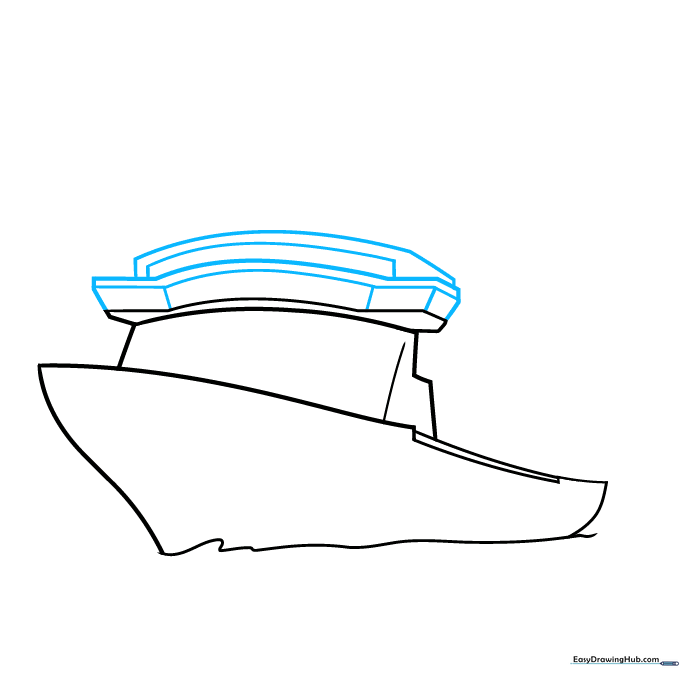
Draw the bridge where the captain steers. Create two parallel curved lines at the top and connect them with short vertical lines to give it depth. Teacher's Tip: Imagine you are looking at the ship from the side; the bridge is the 'eyes' of the vessel.
Step 4: Drawing the Windows
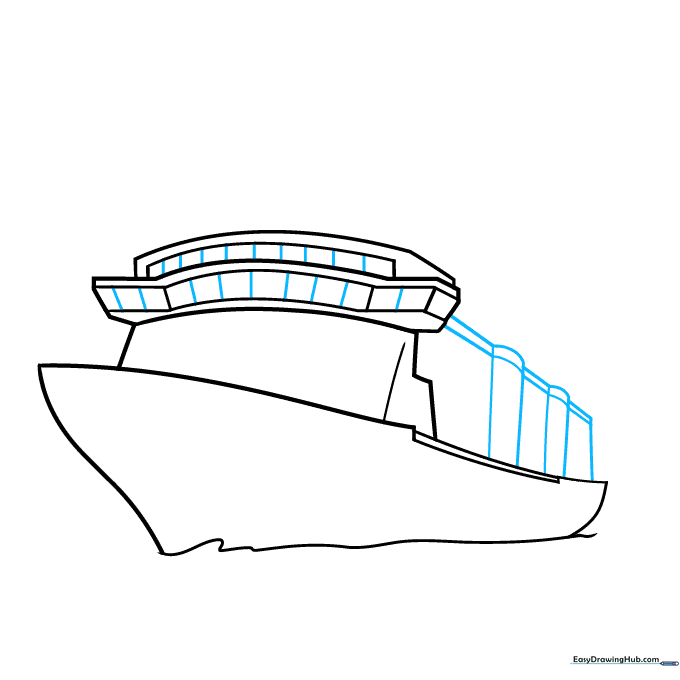
Add vertical lines across the bridge to represent windows. Then, draw small rectangles along the hull to show where the passenger cabins are located. Teacher's Tip: Keep these lines evenly spaced to make the ship look organized.
Step 5: Defining the Decks
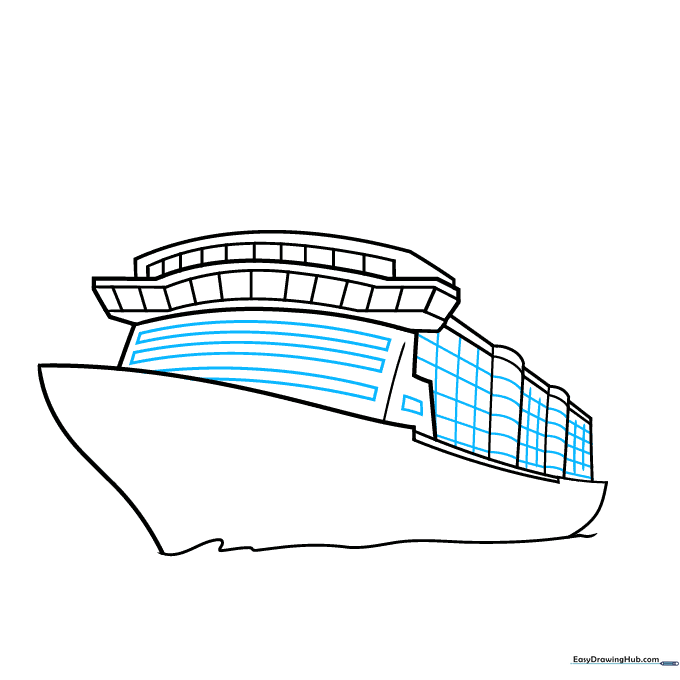
Draw long, narrow rectangles below the bridge and horizontal lines along the side of the ship to separate the decks. Teacher's Tip: These horizontal lines act as the 'floors' of your ship, helping to ground the drawing.
Step 6: Adding Topside Features
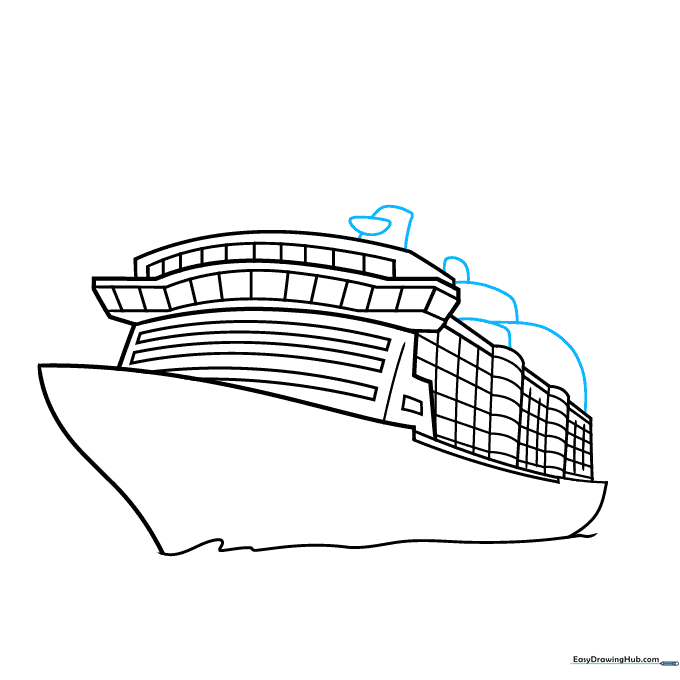
Use curved lines to draw rounded shapes on the top deck. These could be swimming pools or lounge areas! Teacher's Tip: Don't worry about perfect circles; organic, rounded shapes look more natural.
Step 7: Adding Decorative Details

Add curved rectangles along the sides of the hull and the top decks to create railings and decorative panels. Teacher's Tip: These small details add a sense of scale to your drawing.
Step 8: Creating the Horizon and Waves
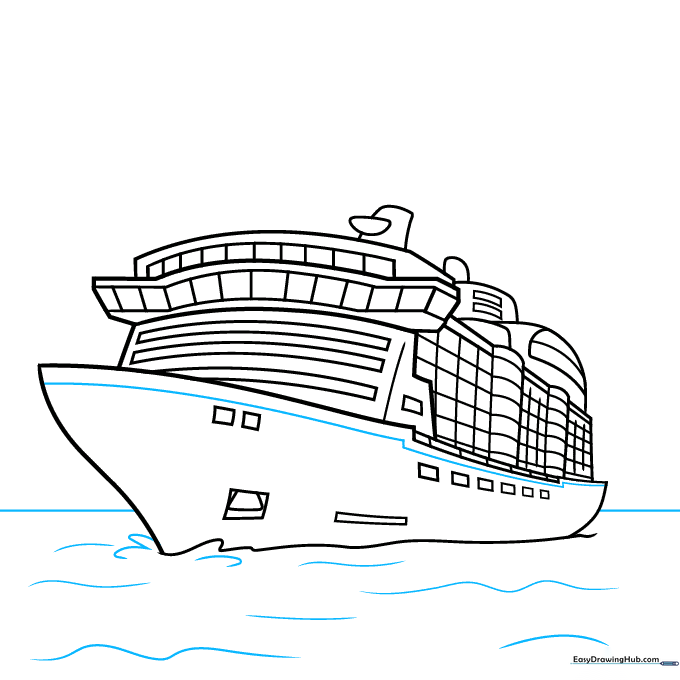
Draw a straight horizon line behind the ship and wavy lines below to create the ocean. Teacher's Tip: Draw the waves with varying heights to make the water look like it's moving.
Step 9: Adding Scenery
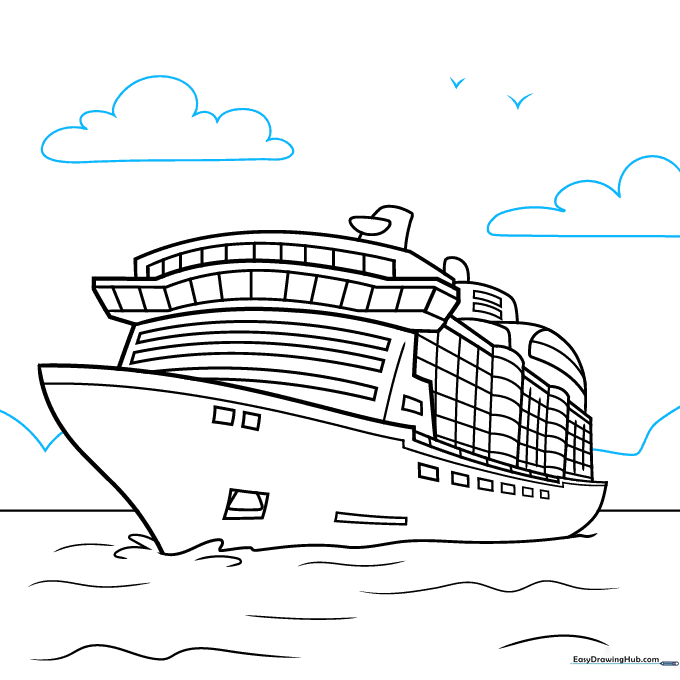
Add small islands on the horizon, fluffy clouds in the sky, and 'V' shaped birds flying above. Teacher's Tip: Keep the background elements light so the ship remains the main focus of your picture.
Step 10: Bringing it to Life with Color
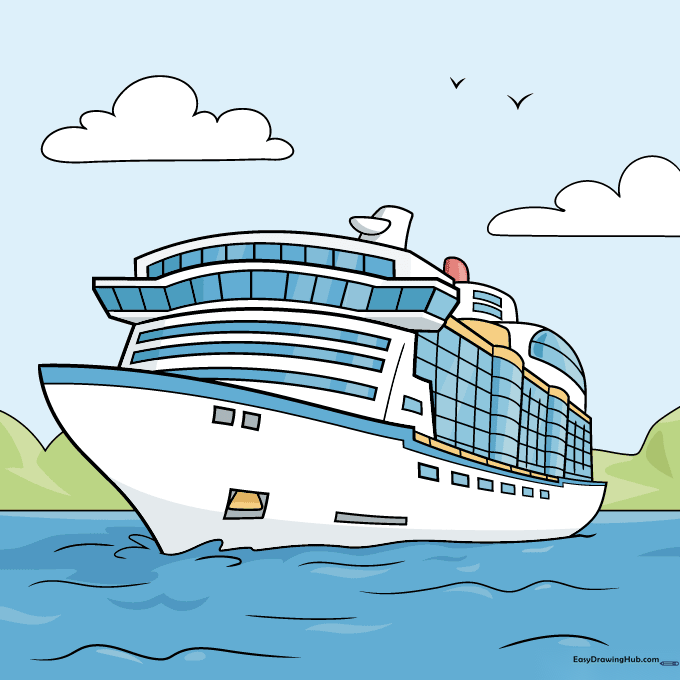
Now for the fun part! Use bright colors for the ship's accents and blues for the ocean. Teacher's Tip: Use a light blue for the water and a darker blue for the shadows to give your sea a 3D look.
More Tutorials


