How to Draw a Crescent Moon: Easy 10-Step Guide for Kids
Bring the night sky to life with this charming crescent moon character! This tutorial is perfect for young artists ages 5 and up. All you need is a pencil, an eraser, and a piece of paper to start building your own celestial masterpiece.
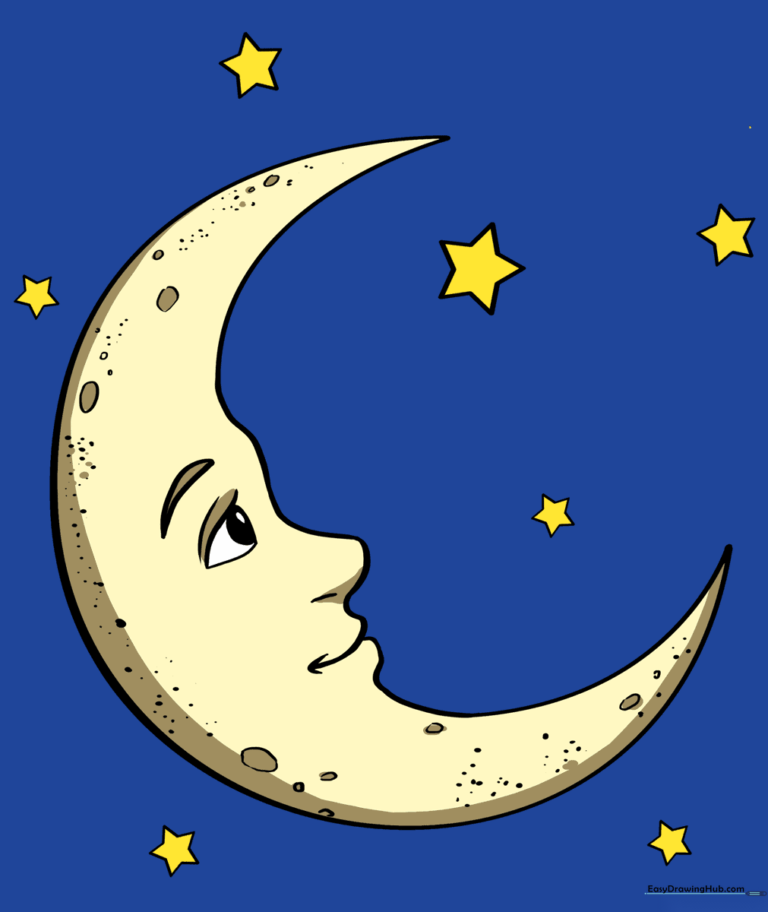
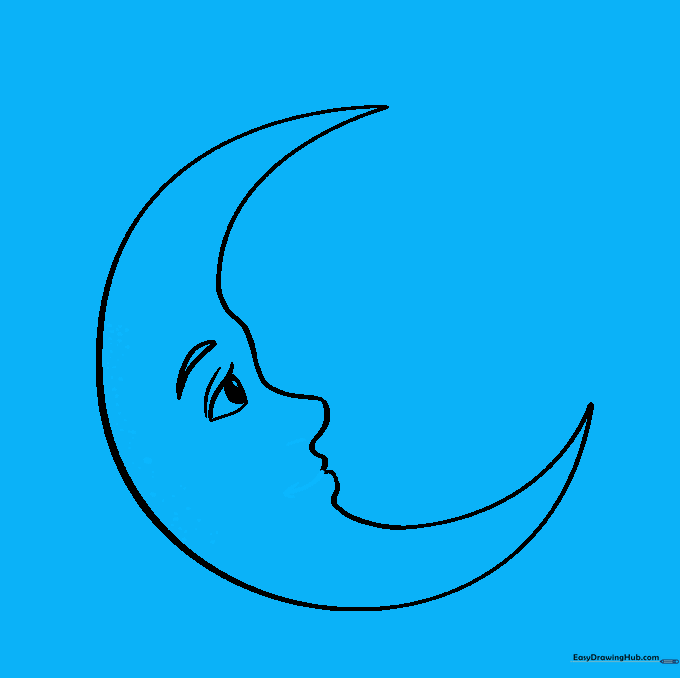
🎯 Final Result
Step-by-Step Instructions
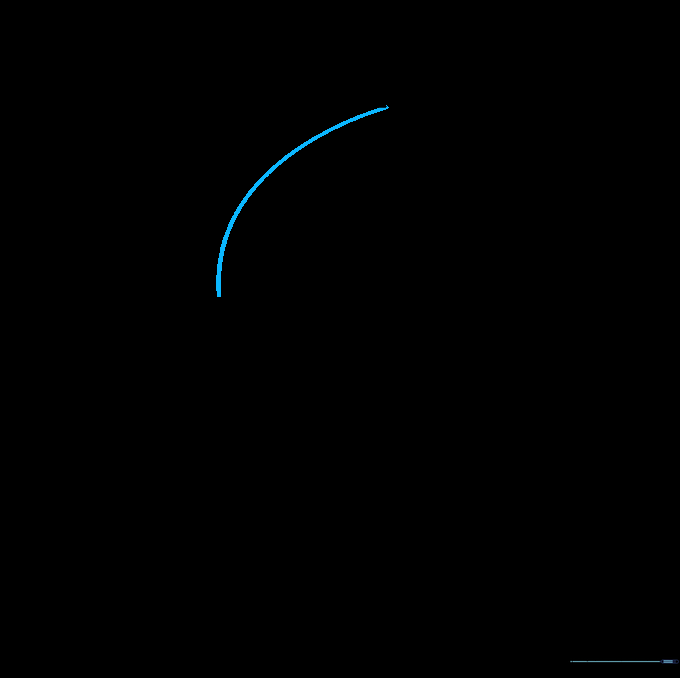
Step 1: Sketching the Outer Curve

Draw a long, sweeping curved line to form the outer edge of the moon. Teacher's Tip: Keep your pencil pressure light so you can easily adjust the shape if it doesn't look quite right on the first try.
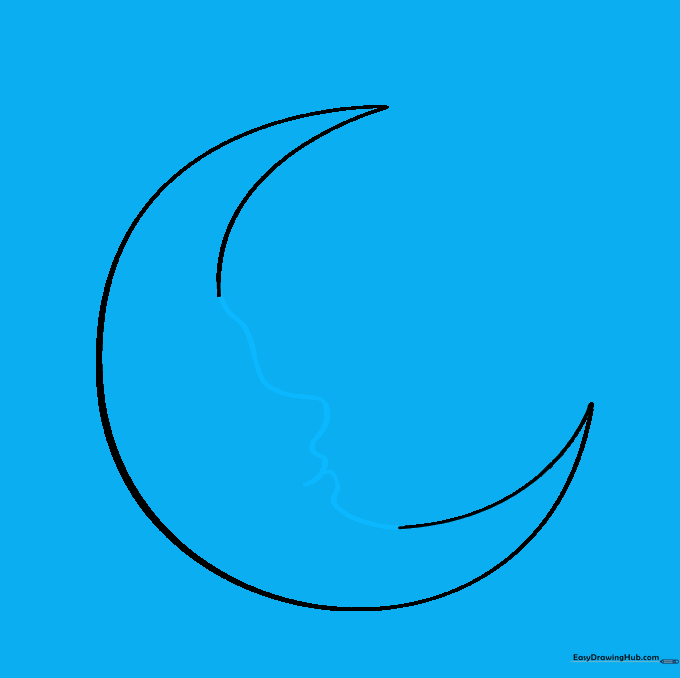
Step 2: Defining the Top Point
Bring a curved line down from the top of your first arc to create a sharp, pointed tip. Teacher's Tip: Imagine you are drawing the top of a banana to get that perfect, smooth curve.
Step 3: Closing the Bottom Point
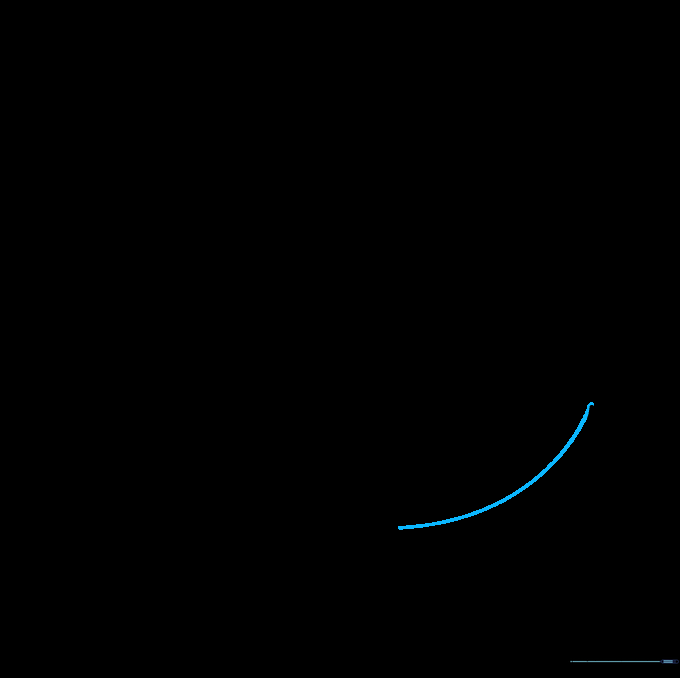
Repeat the process at the bottom, drawing a curved line from the other end to form a matching sharp point. Teacher's Tip: Try to make both points look symmetrical for a balanced, professional look.
Step 4: Adding Facial Features
Use small, gentle curves to outline the brow, nose, and lips on the inner side of the moon. Teacher's Tip: Keep these lines soft to give your moon a friendly, gentle expression.
Step 5: Drawing the Eyebrow
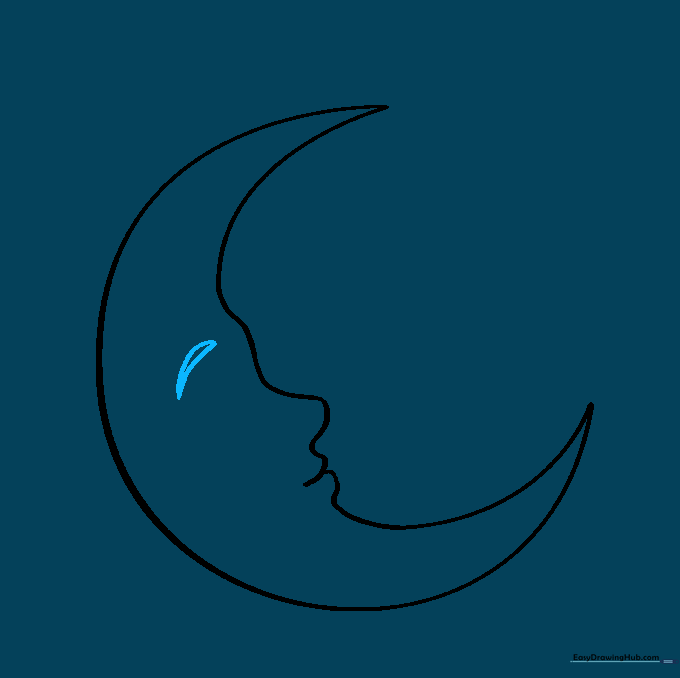
Sketch a small, pointed, curved shape above the eye area to form the eyebrow. Teacher's Tip: A slightly arched eyebrow makes the moon look curious and happy!
Step 6: Sketching the Eye
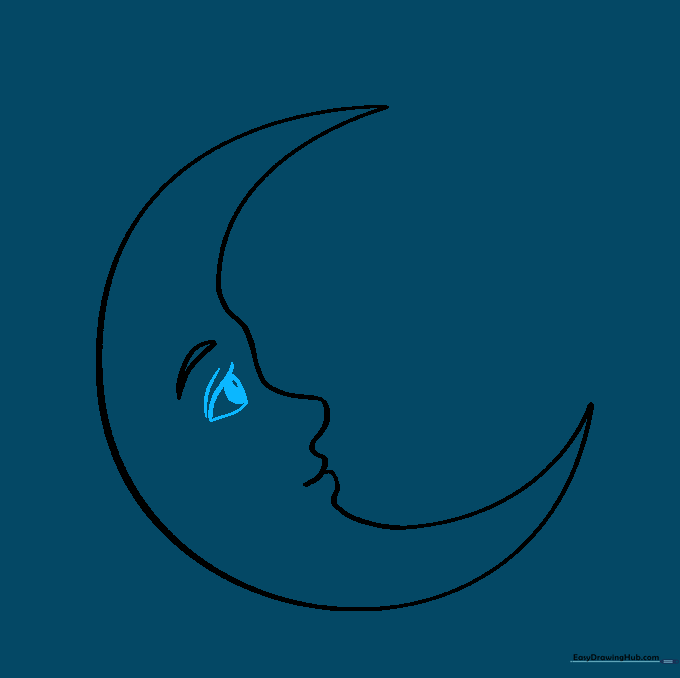
Draw a triangular eye shape with a curved eyelid and a pupil. Leave a tiny white circle inside the pupil for a 'sparkle' effect. Teacher's Tip: That little white dot is the secret to making your drawing look alive!
Step 7: Adding Texture and Details
Add a small curve for the nostril and a smile for the mouth. Sprinkle small dots across the surface to create a crater-like texture. Teacher's Tip: Vary the size of your dots to make the moon look more realistic.
Step 8: Refining the Surface
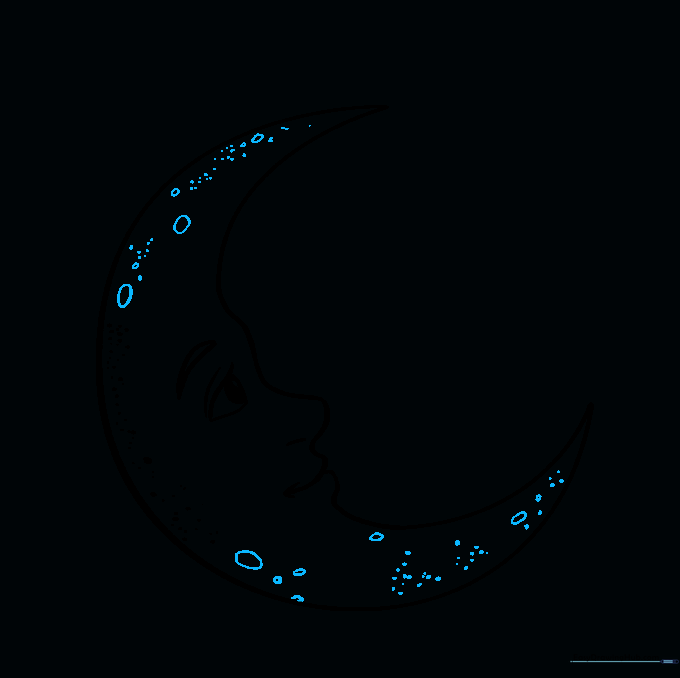
Continue adding dots and small circles toward the pointed tips of the moon. Teacher's Tip: Don't overdo it—a few well-placed craters look better than a crowded surface.
Step 9: Creating the Night Sky
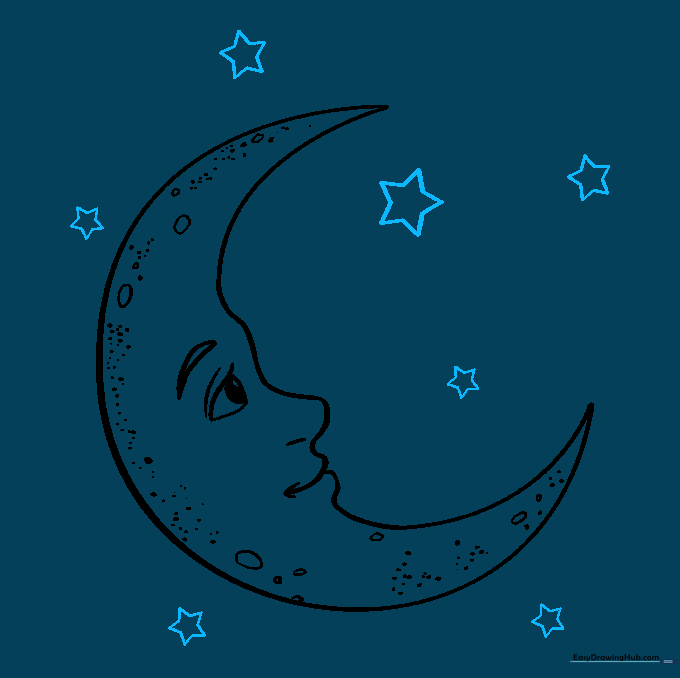
Draw several five-pointed stars around your moon to complete the scene. Teacher's Tip: If drawing stars is tricky, start by drawing a small 'X' and then connecting the points.
Step 10: Adding Color
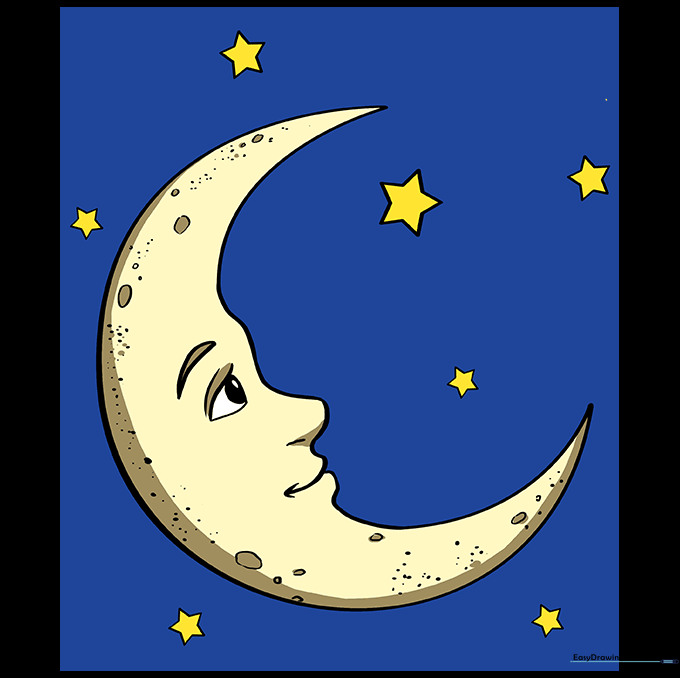
Bring your drawing to life with vibrant colors! Use yellow or gold for the moon and deep blues or purples for the night sky. Teacher's Tip: Use a blending technique with your crayons for a smooth, magical glow.
More Tutorials


