How to Draw a Crazy Cartoon Character: Easy 10-Step Guide
Ready to bring a wacky personality to life? This tutorial is perfect for young artists ages 7+ looking to practice expressive facial features and dynamic posing. Grab a pencil, an eraser, and a piece of paper to start building your own unique cartoon character today.
🎯 Final Result

Step-by-Step Instructions
Step 1: Sketching the Expressive Face

Start by drawing the nose and eyes. Use two curved lines for the nose and cheek, then add partial ovals for the eyes. Tip: Make one eye larger than the other to give your character a silly, asymmetrical look. Shade the pupils to show them looking in different directions!
Step 2: Adding the Grin
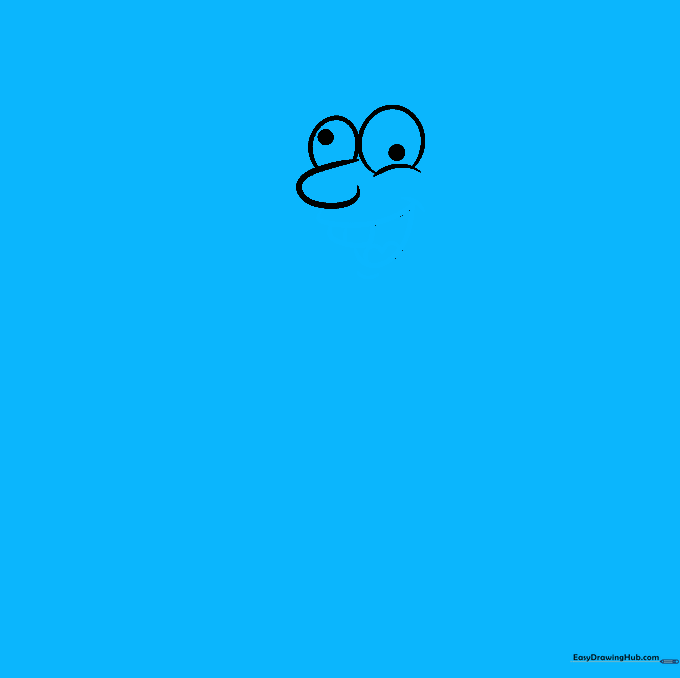
Draw the mouth using curved lines for the lips, buck teeth, and tongue. Tip: Add a small dimple at the corner of the mouth to make the expression feel more lively. Keep your lines loose and playful!
Step 3: Defining the Head and Neck
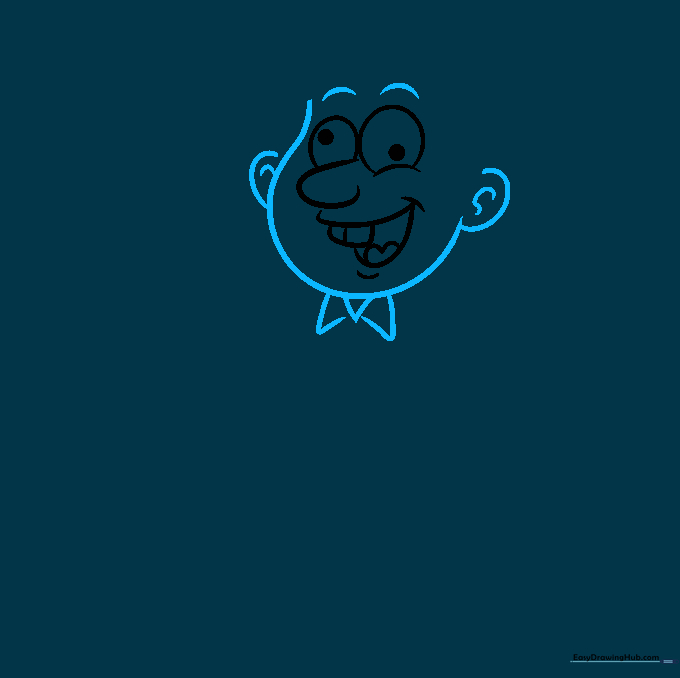
Outline the face with a long curve and add 'C' shapes for ears. Draw triangles below the head to form the neck and collar. Tip: Don't worry about perfect symmetry; a slightly lopsided face adds to the 'crazy' character vibe.
Step 4: Styling the Messy Hair

Use jagged, connected curved lines to create wild, messy hair. Tip: Let the sideburns extend down toward the ears to frame the face. The more uneven the lines, the crazier the character looks!
Step 5: Drawing the Torso
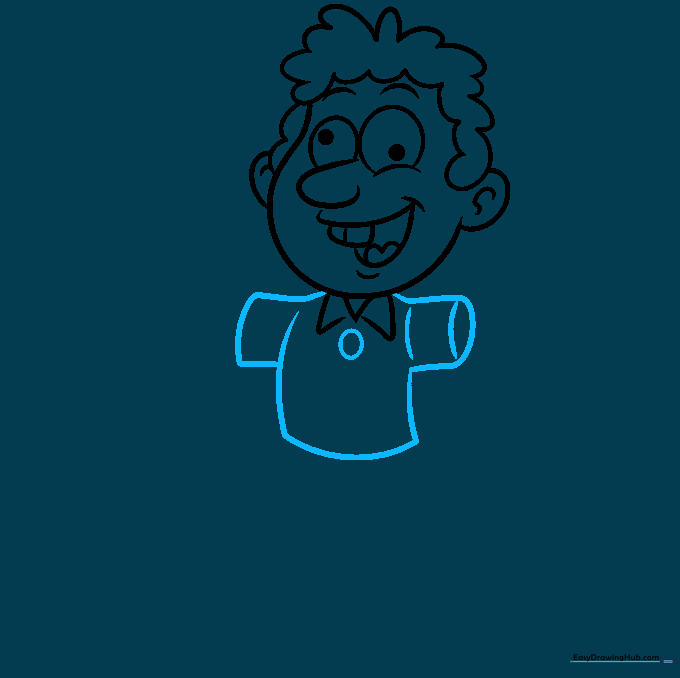
Draw the shoulders, sleeves, and a rectangular torso. Add a circular button near the collar. Tip: Keep your shoulder lines rounded to make the character look more like a cartoon and less like a stiff drawing.
Step 6: Adding the First Arm
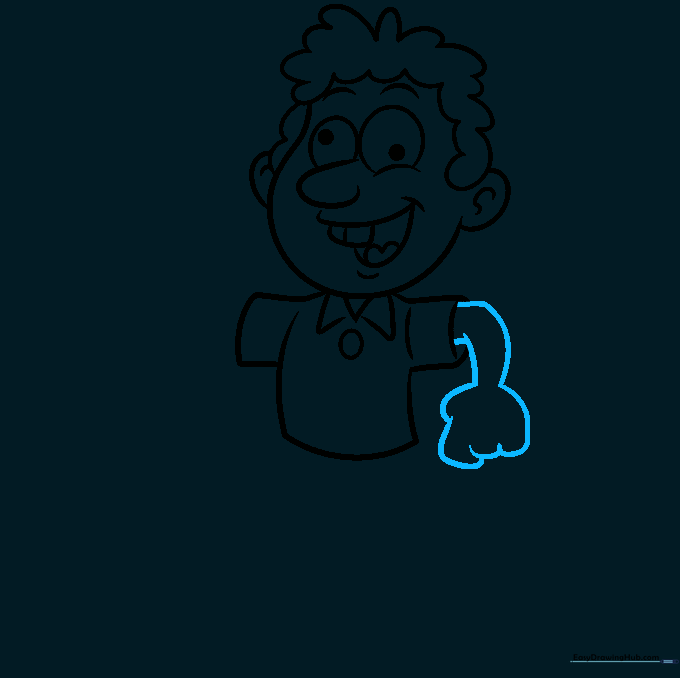
Sketch the arm and a clenched fist. Tip: Use overlapping 'U' shapes for the fingers to create the illusion of a closed hand. If you make a mistake, just erase and try again—that's part of the process!
Step 7: Adding the Second Arm
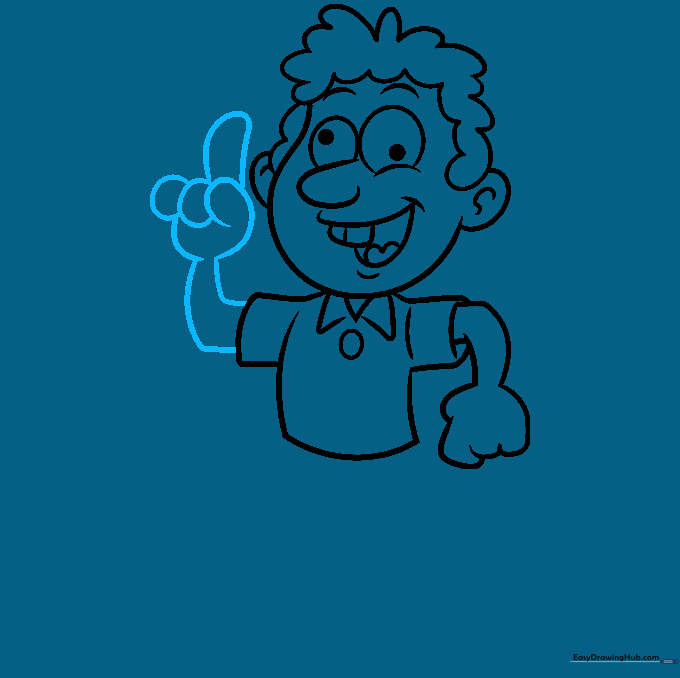
Repeat the process for the second arm. Tip: Try to match the thickness of the arms to keep the character balanced, even if the pose is dynamic.
Step 8: Sketching the Legs
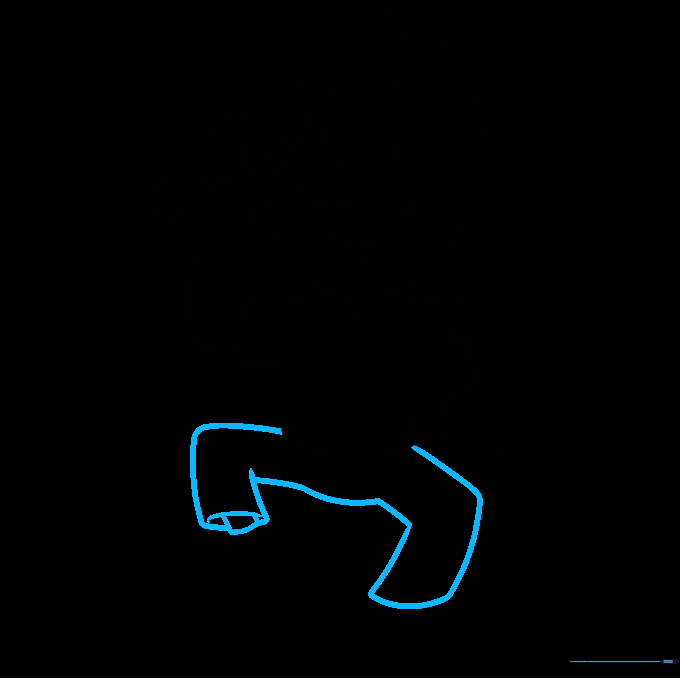
Draw the legs with a bend at the knee. Tip: Use simple curved lines to show the joints; this helps the character look like they are in motion rather than standing perfectly still.
Step 9: Adding Shoes
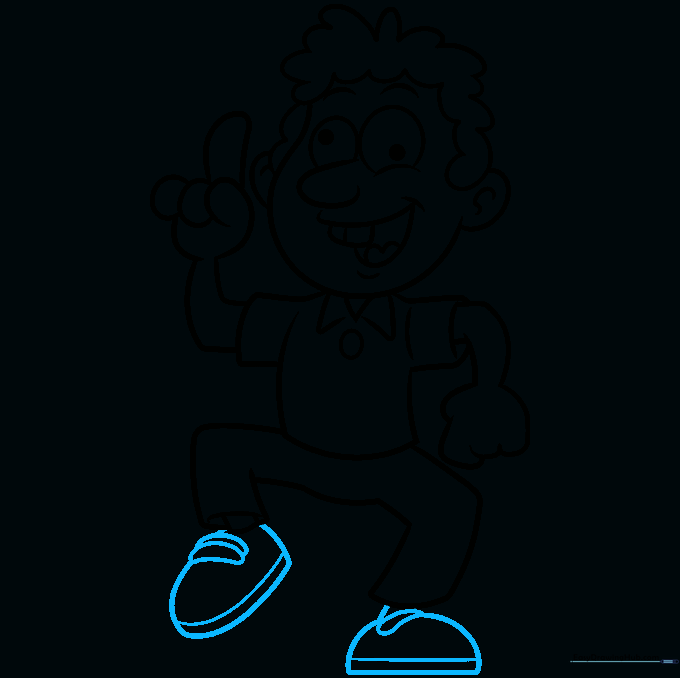
Draw the semicircular shoes with a line for the sole and small curves for the laces. Tip: Adding these small details makes the character look finished and professional.
Step 10: Bring Your Character to Life with Color

Time to color! Use bright, bold colors to emphasize the 'crazy' theme. Tip: Try using complementary colors (like blue and orange) to make your character pop off the page.
More Tutorials


