How to Draw a Coyote: Easy 10-Step Guide for Kids
Ready to bring a desert explorer to life? This tutorial is perfect for young artists ages 5 and up. All you need is a pencil, an eraser, and a piece of paper to start building your own cartoon coyote, step by simple step.
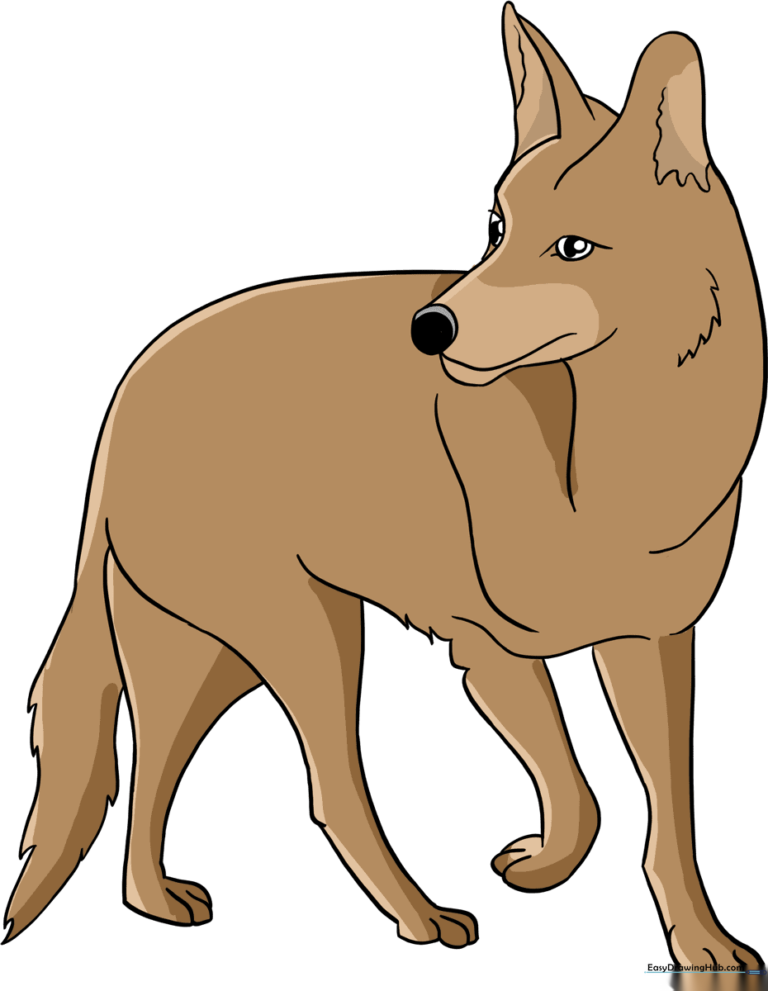
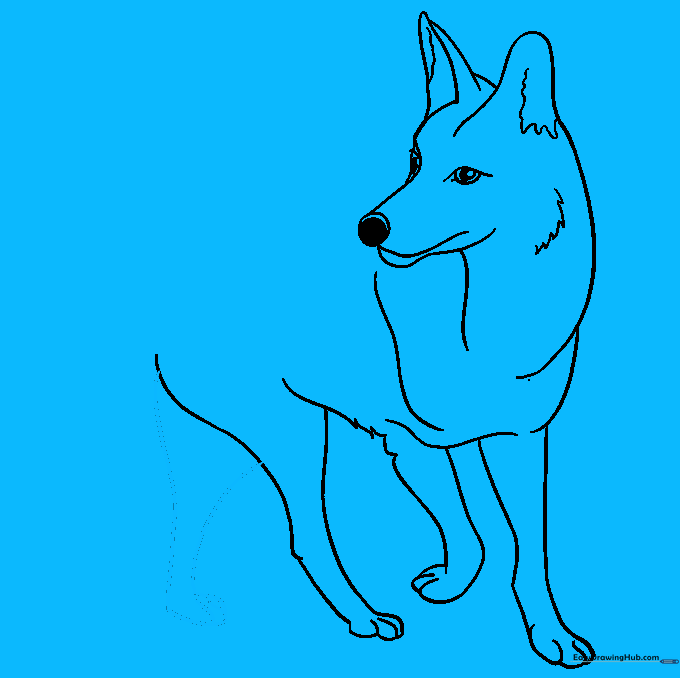
🎯 Final Result
Step-by-Step Instructions
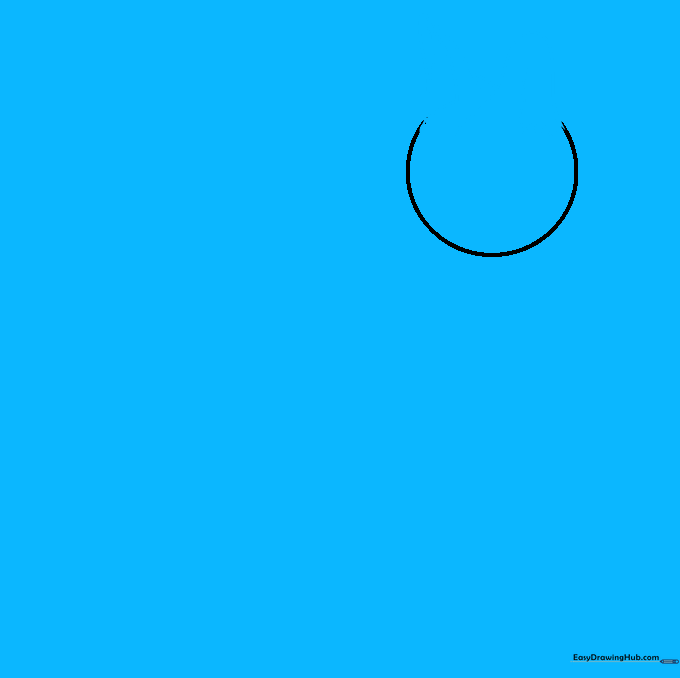
Step 1: Sketching the Head Base

Draw a light circle to serve as the base for the head. Teacher's Tip: Keep your pencil pressure very light here; you'll be erasing parts of this circle later to add the snout and ears!
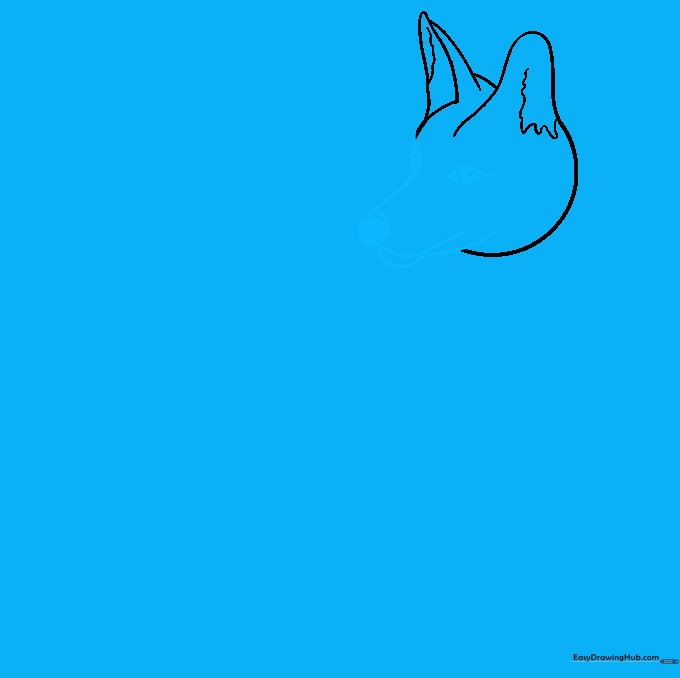
Step 2: Adding Pointy Ears
Erase the top arc of your circle and replace it with two tall, pointed ears. Use overlapping curved lines for the outer edges and wavy lines inside to give them a realistic, furry texture.
Step 3: Defining the Snout and Eyes
Erase a section of the circle's side to draw the snout. Add a small circle for the nose and shade it in. For the eyes, draw two almond shapes with smaller circles inside for pupils. Tip: Leave a tiny white dot in the pupil to make the eyes look bright and alive!
Step 4: Forming the Neck and Fur
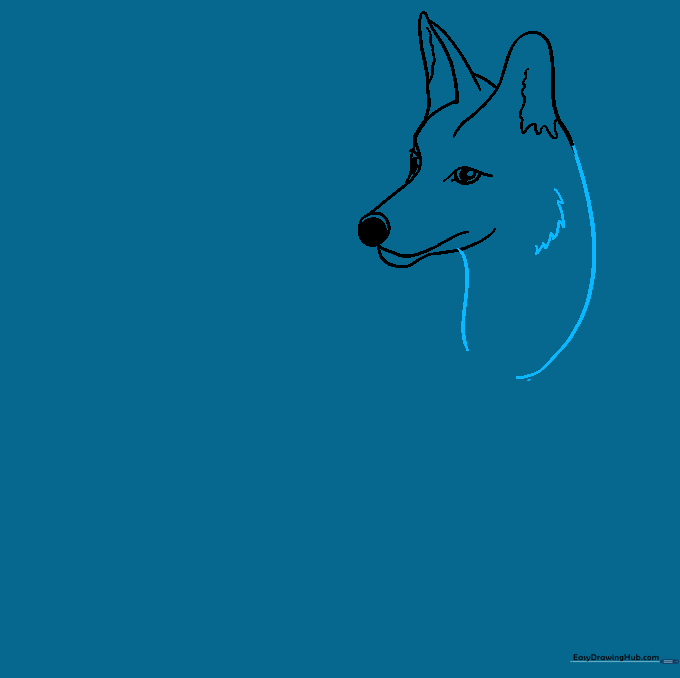
Erase the remaining circle lines and draw the neck using smooth, downward curves. Add short, jagged 'V' shapes along the neck to represent fluffy fur. This adds great texture to your drawing.
Step 5: Sketching the Front Leg
Draw a curved line for the chest, then two parallel lines for the front leg. Finish the paw with small 'U' shapes for the toes. Tip: Keep the leg lines straight to make the coyote look like it's standing tall.
Step 6: Adding the Second Leg
Extend the belly line and draw the second foreleg. Add more jagged 'fur' lines where the leg meets the body to create a natural transition.
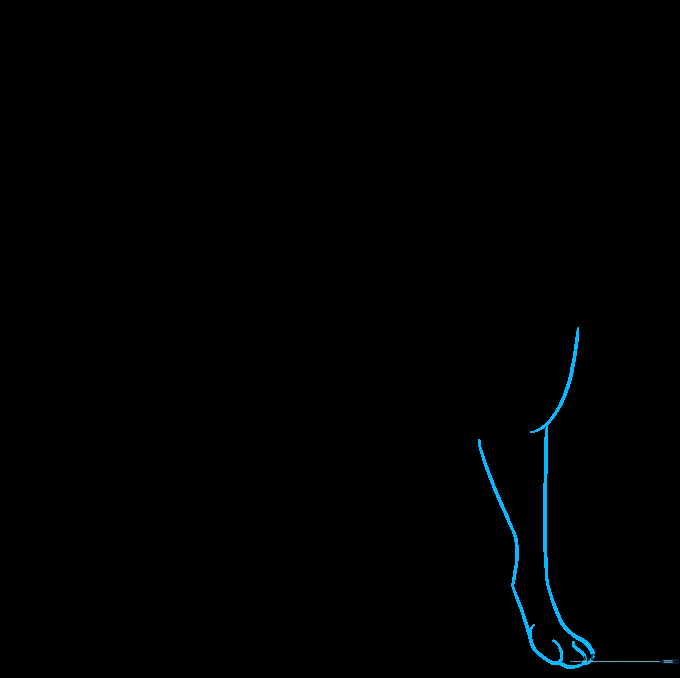
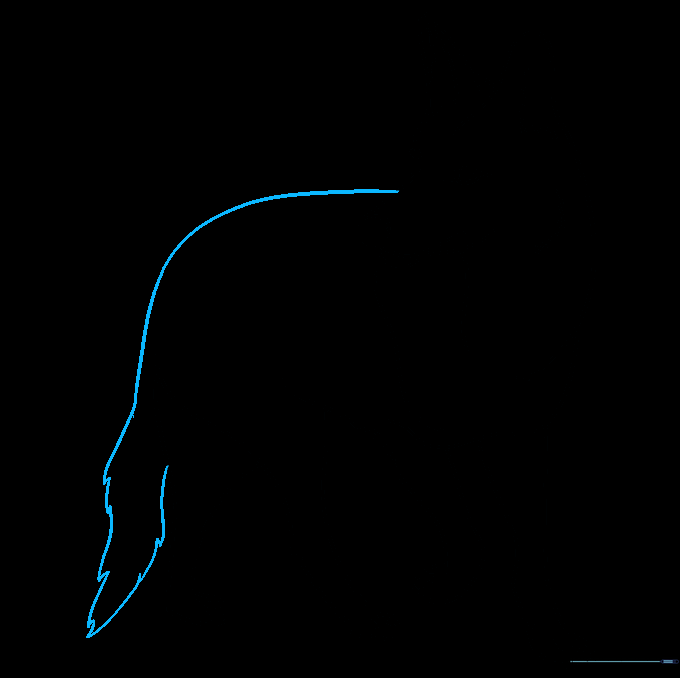
Step 7: Drawing the Rear Leg
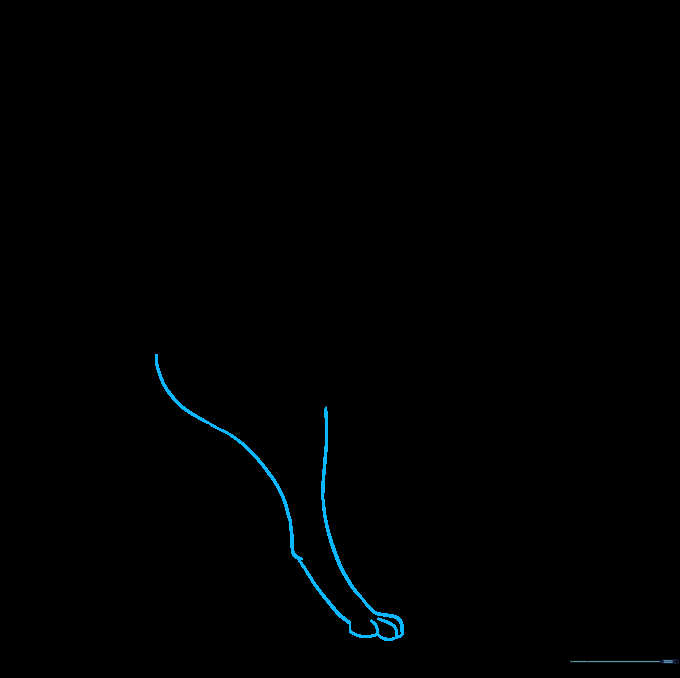
Draw a long, curved line for the back and connect it to the rear leg. Use the same 'U' shape technique for the back paw. This gives your coyote a sturdy stance.
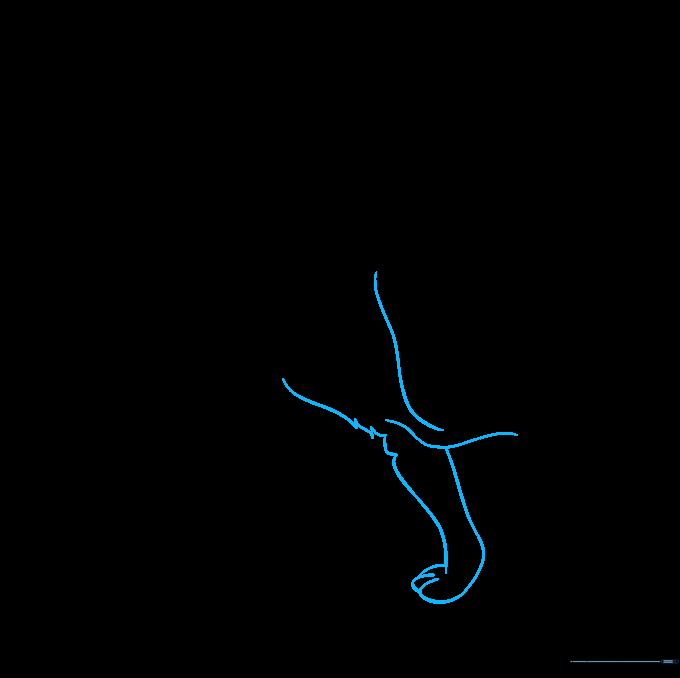
Step 8: Completing the Legs
Add the final rear leg behind the first one. By drawing it slightly offset, you create a sense of depth and movement in your drawing.
Step 9: Adding the Bushy Tail
Draw a long, sweeping curve for the tail. Make it look bushy by using jagged, overlapping lines at the end. A coyote's tail is a signature feature, so make it nice and full!
Step 10: Bring Your Coyote to Life with Color

Time to color! Use shades of grey, tan, or reddish-brown to capture the coyote's natural coat. Tip: Use a darker brown for the shadows under the belly and legs to give your drawing a 3D look.
More Tutorials


