How to Draw a Cowboy: Easy 10-Step Guide for Kids
Ready to head to the Wild West? This tutorial is perfect for young artists ages 7+ looking to master character proportions. Grab your pencil, eraser, and paper to follow along as we build a friendly cartoon cowboy from the hat down to his boots.
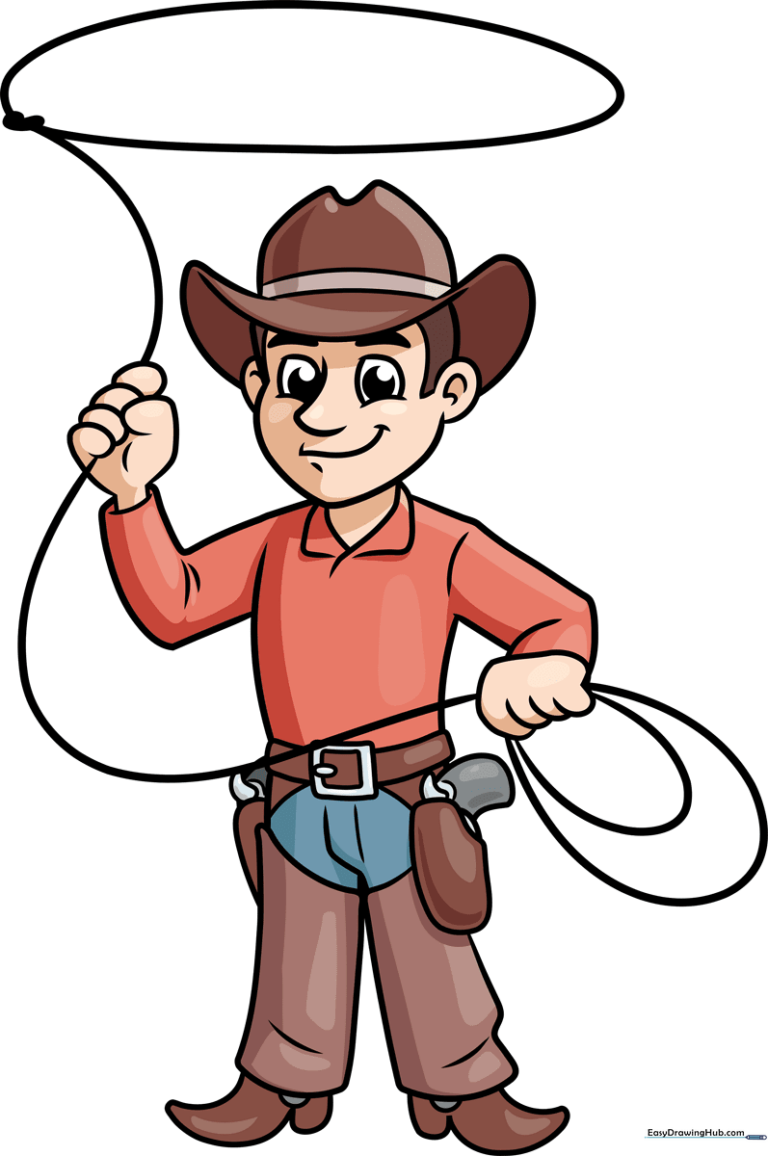
🎯 Final Result
Step-by-Step Instructions
Step 1: Sketching the Cowboy Hat

Start with the iconic hat. Use a curved, 'M' shaped line for the crown and add a band at the base. Extend the brim outward with wide, sweeping curves. Teacher's Tip: Keep your pencil lines light so you can easily adjust the shape of the brim if it looks a bit lopsided.
Step 2: Defining the Face
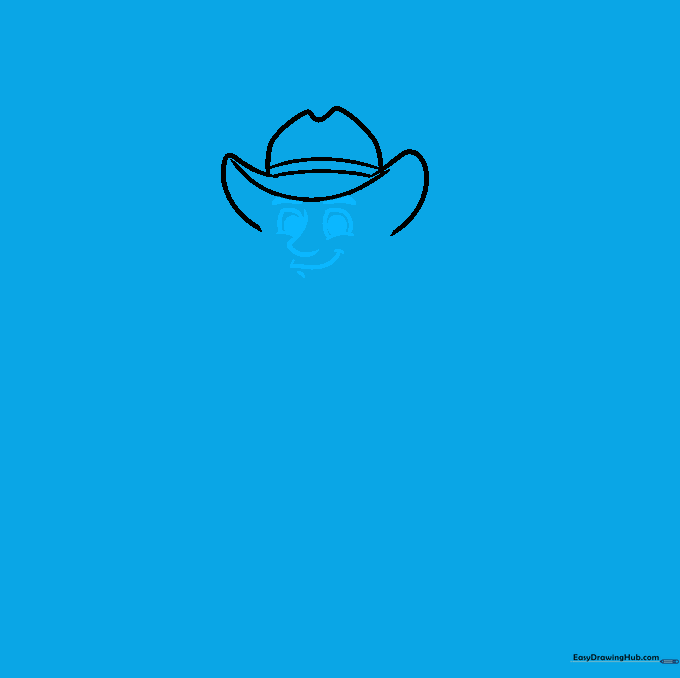
Outline the cheeks and eyes using soft curves. Add pupils inside the eyes, and use simple strokes for the eyebrows, nose, and a friendly mouth. Teacher's Tip: Focus on the spacing between the eyes; keeping them centered makes the character look much more expressive.
Step 3: Adding Ears and Neck
Draw 'C' shaped ears on the sides of the head and add sideburns for character. Finish this step by drawing two triangles below the chin to form the shirt collar. Teacher's Tip: Ensure the collar is symmetrical to give your cowboy a neat, professional look.
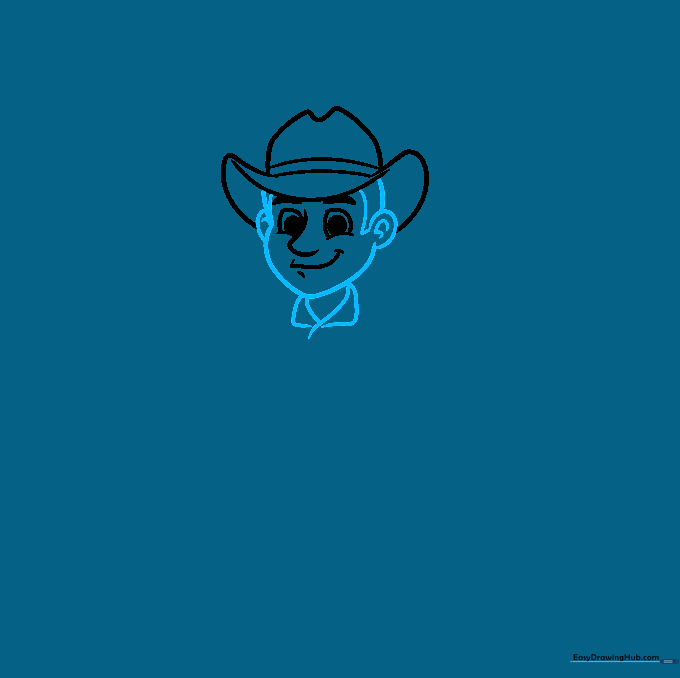
Step 4: Sketching the Arms and Rope
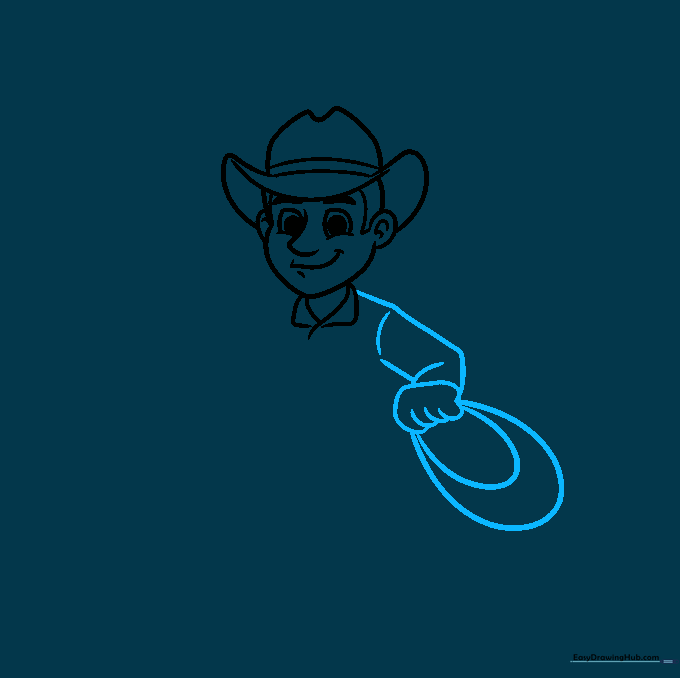
Outline the arms using pairs of curved lines, adding a slight overlap at the elbow for movement. Draw the hands and add 'U' shaped lines to start the lasso. Teacher's Tip: Keep the rope lines loose and flowing to make it look like it's mid-swing.
Step 5: Refining the Torso
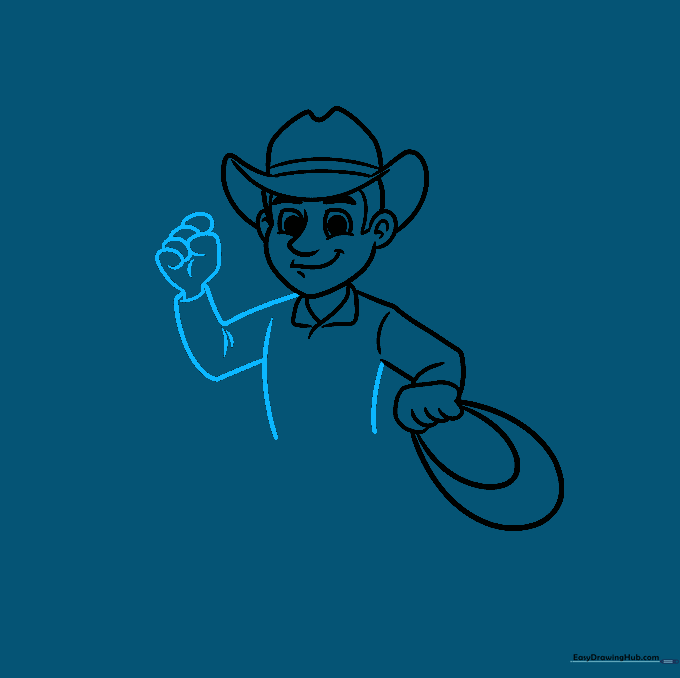
Sketch the sides of the torso and arms, ensuring the sleeves look natural. Add a small line to contour the palm of the hand. Teacher's Tip: Use long, smooth strokes for the torso to help the character look sturdy.
Step 6: The Lasso and Belt
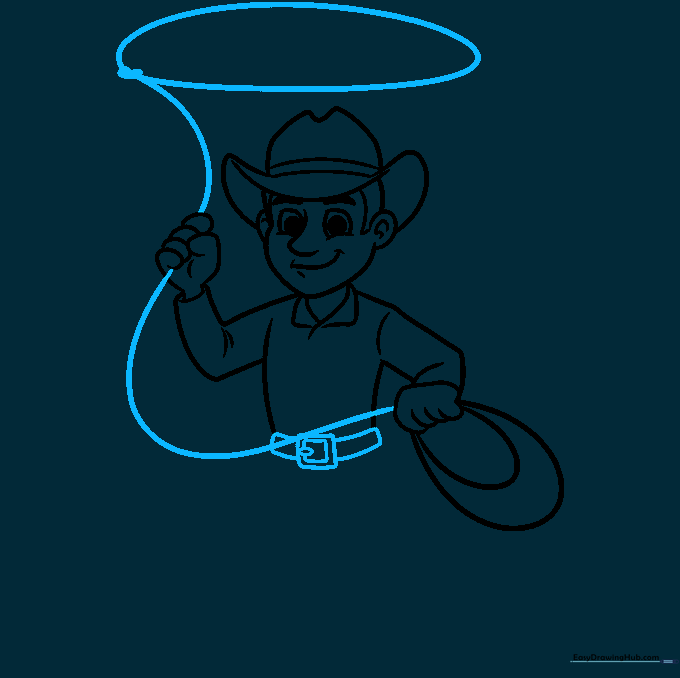
Complete the lasso loop above the hand and draw a detailed belt buckle in the center of the torso. Teacher's Tip: A belt buckle is a great place to add a little personal flair—try drawing a star or a letter inside it!
Step 7: Adding Holsters
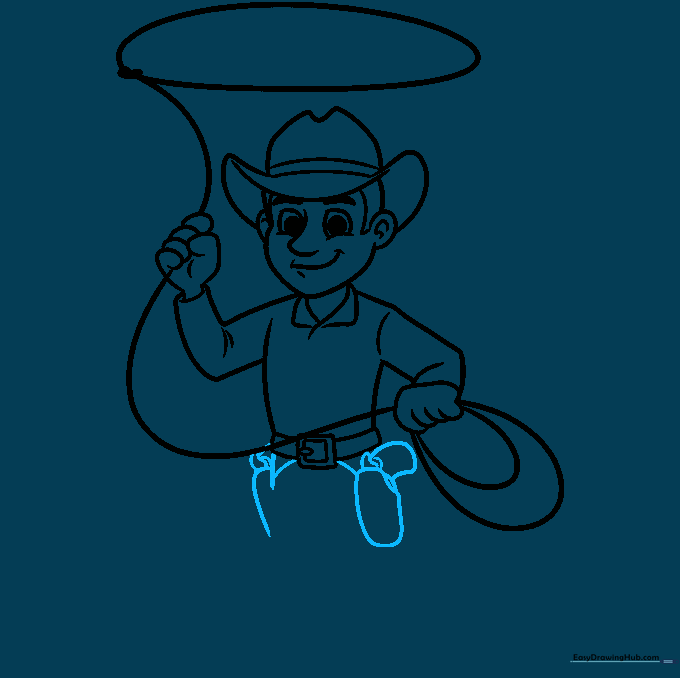
Draw the holsters on either side of the belt, adding the gun grips and hammers. Teacher's Tip: Keep the holsters slightly irregular in shape to make them look like worn, authentic leather.
Step 8: Drawing the Chaps and Boot
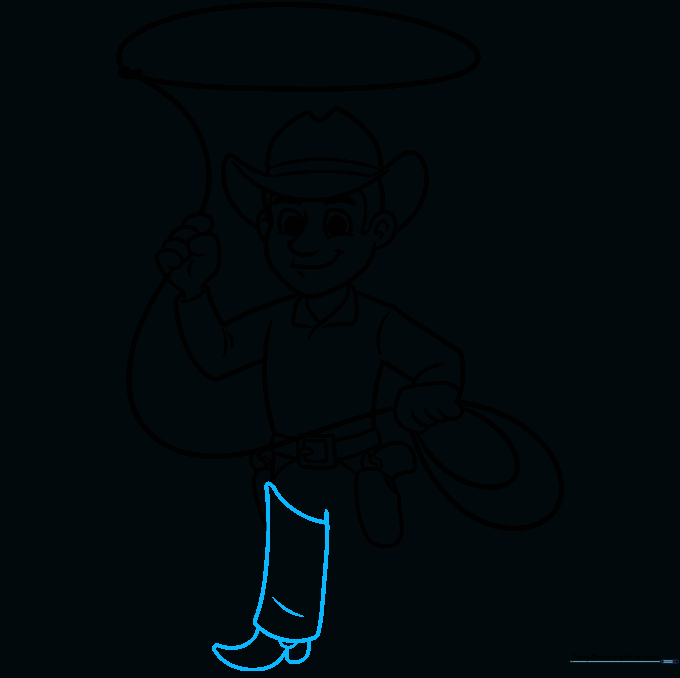
Add the chaps over the legs and draw the first boot with a small heel. Teacher's Tip: Chaps are meant to be baggy, so don't worry if your lines aren't perfectly straight; a little curve adds character.
Step 9: Finalizing the Legs
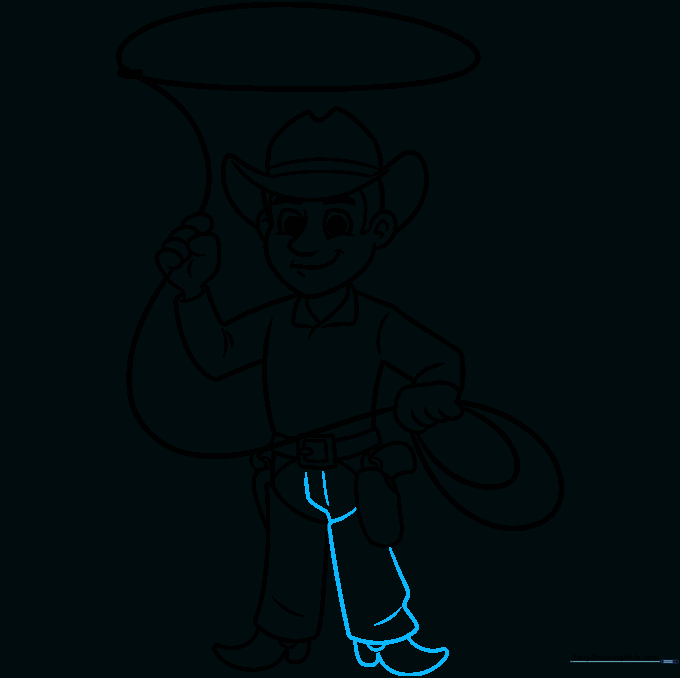
Complete the second leg, chap, and boot. Add small details like the boot's heel and seam lines. Teacher's Tip: Check that both boots are at the same level so your cowboy looks like he's standing firmly on the ground.
Step 10: Coloring Your Cowboy

Bring your cowboy to life with color! Use earthy tones like brown for the hat and boots, and bright colors for the shirt. Teacher's Tip: Try using colored pencils to add shading under the brim of the hat for a more realistic 3D effect.
More Tutorials


