How to Draw a Cow Face: Easy 9-Step Guide for Kids
Bring a friendly farm animal to life with this simple, step-by-step cow face drawing guide. Designed for ages 5 and up, this activity requires only a pencil, paper, and an eraser to build confidence and fine motor control. Follow along to create your own expressive cartoon cow in minutes.
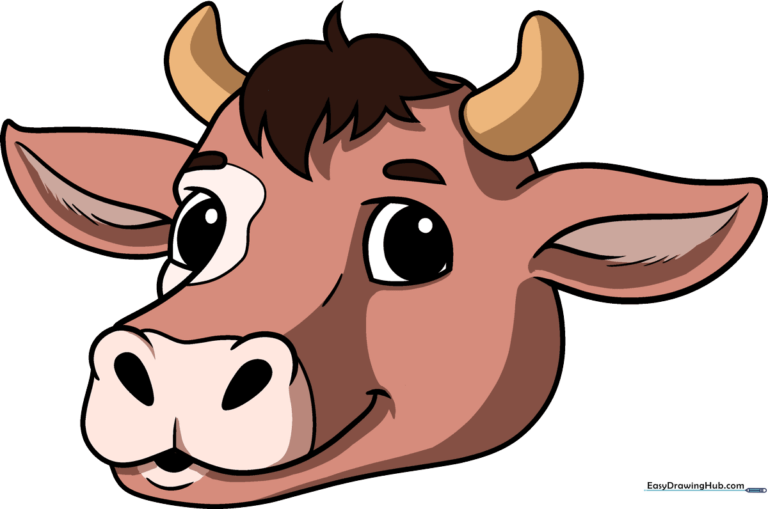
🎯 Final Result
Step-by-Step Instructions
Step 1: Sketching the Eyes

Start by drawing the left eye using a vertical curve paired with a horizontal line. Add two small ovals inside for the pupil. For the right eye, draw a soft hill shape with a curved line underneath, repeating the two-oval pupil pattern. Teacher's Tip: Keep the eyes symmetrical to give your cow a balanced, friendly look.
Step 2: Adding Eye Patches
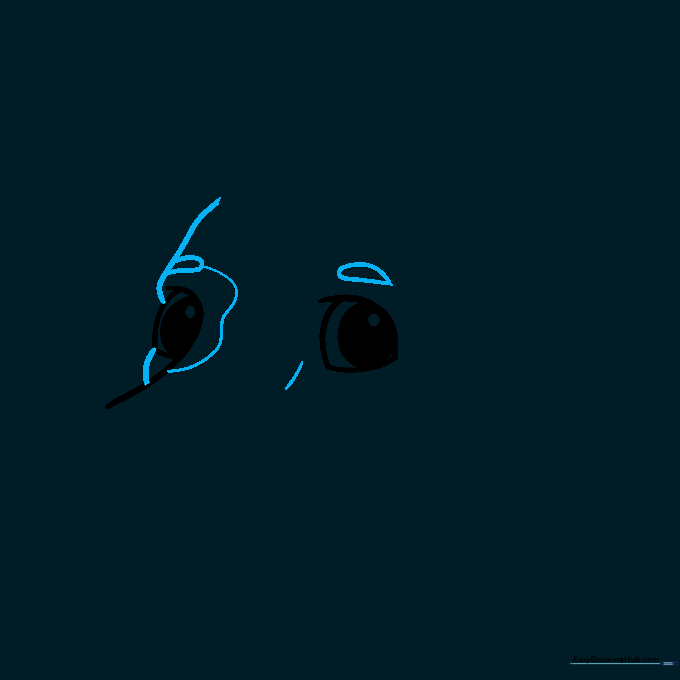
Draw an uneven line above the left eye and a curved line beneath it. Add a cylinder-like shape over the left eye and a stretched teardrop over the right. Use a wavy line to define the cow's unique eye patch. Teacher's Tip: Don't worry about making the patches perfect; cows have irregular, natural markings!
Step 3: Forming the Snout
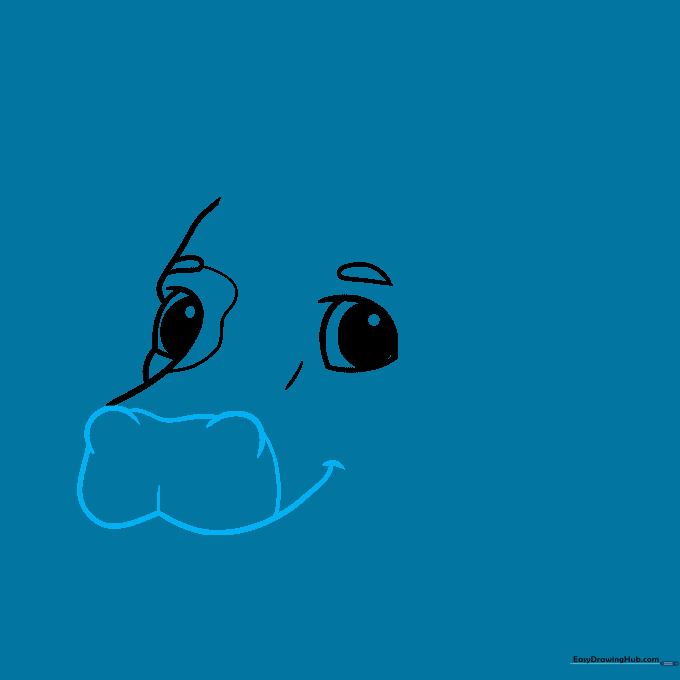
Draw a wide 'W' shape to create the base of the snout. Add two gentle curves above this shape and connect them with a wavy line. Use a vertical line to bridge the gap between the eyes and the snout. Teacher's Tip: The snout is the cow's most expressive feature—keep it rounded and soft.
Step 4: Outlining the Face
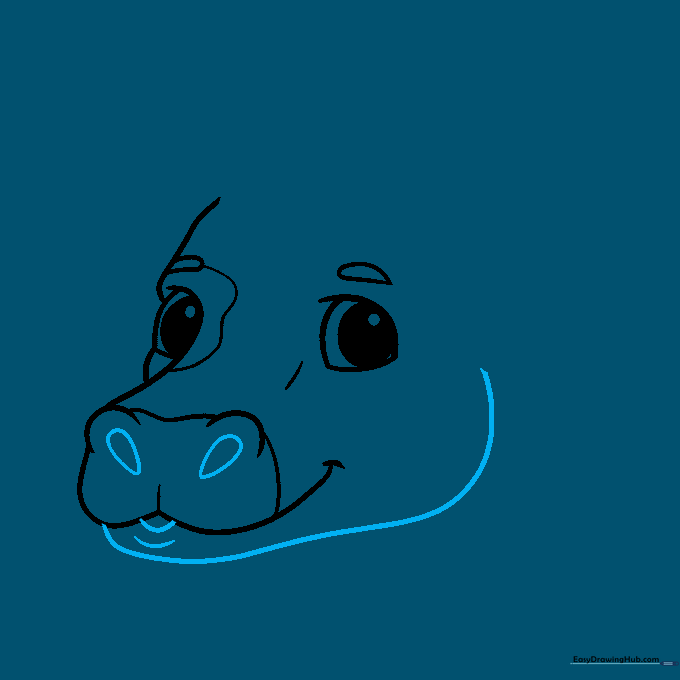
Outline the face with a curve on the right, transitioning into a wavy horizontal line. Add two curves under the snout and draw two teardrop shapes for the nostrils. Teacher's Tip: Nostrils should be placed low on the snout to give the cow a cute, cartoonish appearance.
Step 5: Drawing the Right Ear
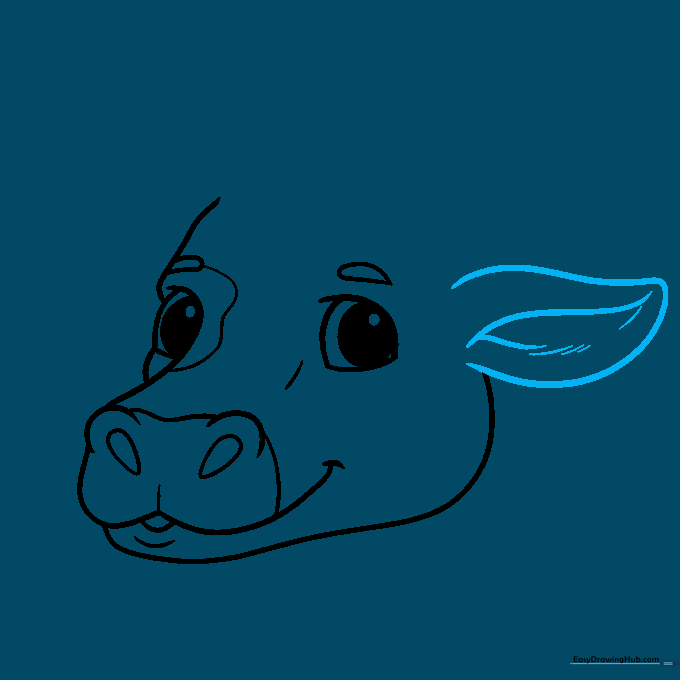
Create a large teardrop shape on the side of the head for the ear. Sketch wavy lines inside to suggest the natural folds of the ear. Teacher's Tip: Ears are flexible, so don't worry if your lines aren't perfectly straight.
Step 6: Drawing the Left Ear

Repeat the same teardrop process on the left side of the head to match the right ear. Teacher's Tip: Try to mirror the size of the first ear to keep the drawing balanced.
Step 7: Adding Hair
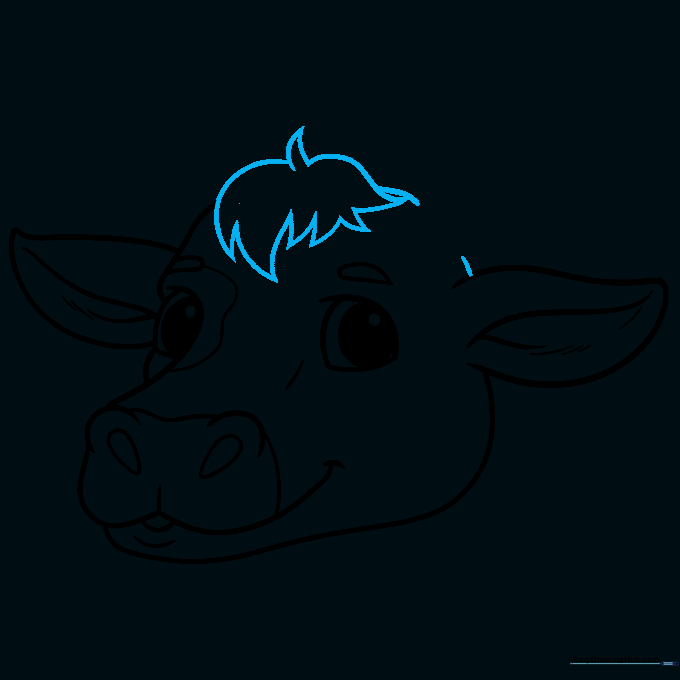
Add loose, sketchy triangles and curves on top of the head to represent a tuft of hair. Teacher's Tip: Use quick, flicking pencil strokes to make the hair look natural and fluffy.
Step 8: Drawing the Horns
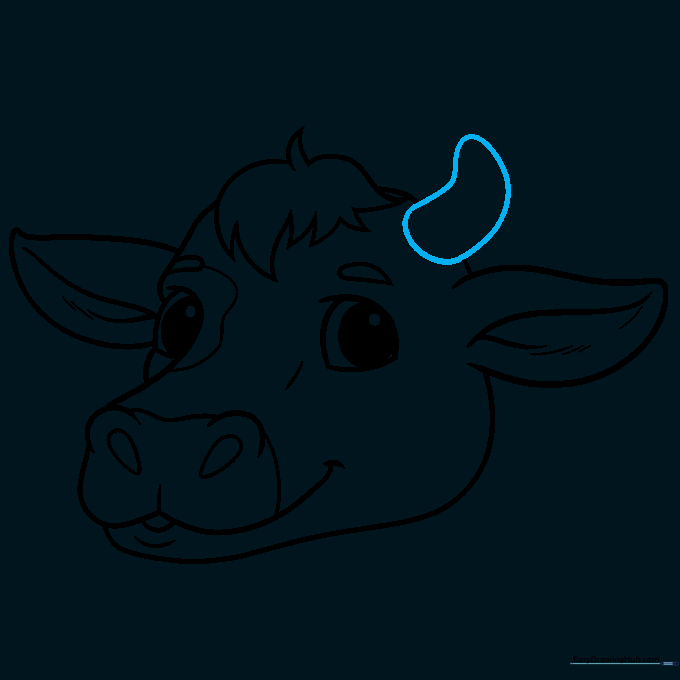
Draw an oblong, bean-like shape on the right side of the head for the first horn. Teacher's Tip: Position the horn slightly behind the ear for a more realistic perspective.
Step 9: Finalizing the Outline
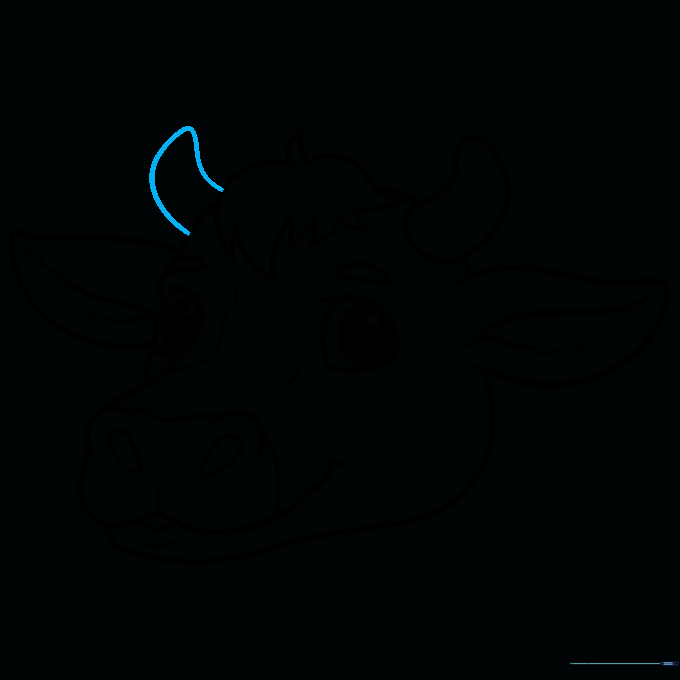
Outline the left horn with a rounded triangle. Go over your entire drawing with a marker to create clean, bold lines. Color the pupils black. Teacher's Tip: Use a steady hand when outlining to ensure your cartoon cow looks professional.
Step 10: Coloring Your Cow
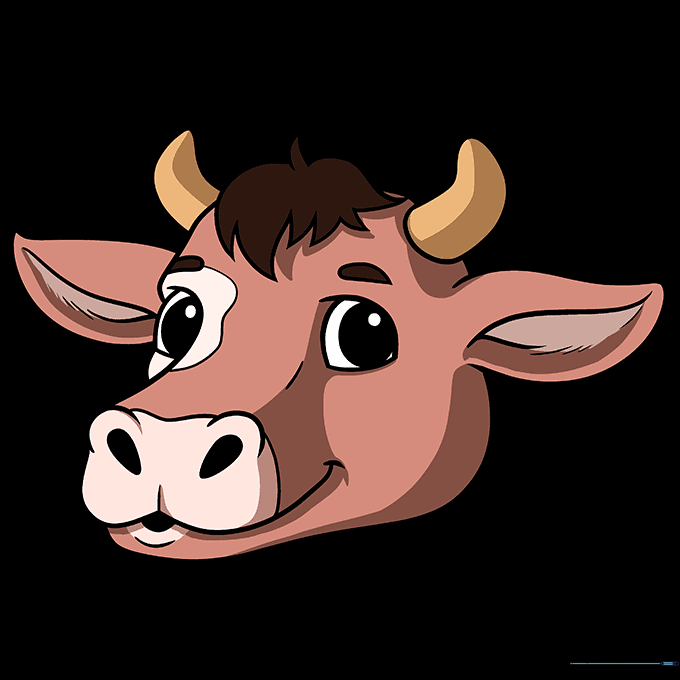
Color the face reddish-brown, using lighter shades for the snout and eye patches. Use dark brown for the hair and eyebrows, and a muted yellow for the horns. Teacher's Tip: Use darker shades of your base colors to add simple shadows for depth.
More Tutorials


