How to Draw a Couch: Easy 10-Step Guide for Kids
Ready to design your own living room masterpiece? This tutorial is perfect for young artists ages 5 and up. All you need is a pencil, an eraser, and a piece of paper to start building your drawing skills one cushion at a time.
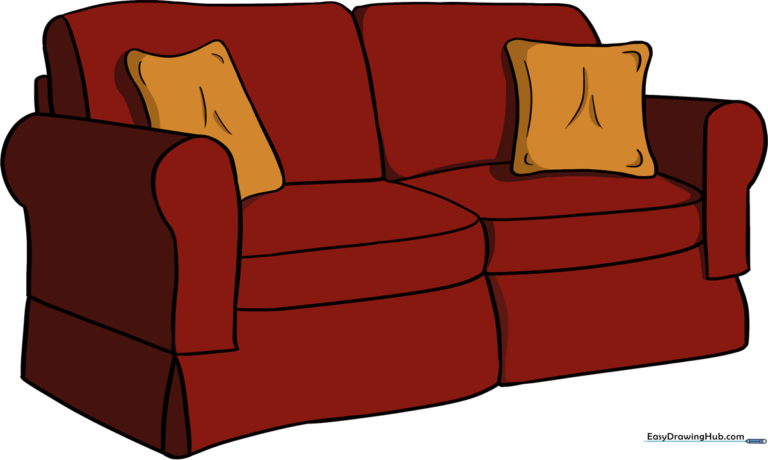
🎯 Final Result
Step-by-Step Instructions
Sketching the First Back Cushion

Use light, curved lines to draw an irregular rectangle. Tip: Keep your pencil pressure soft so you can easily adjust the shape later if needed.
Adding the Second Cushion
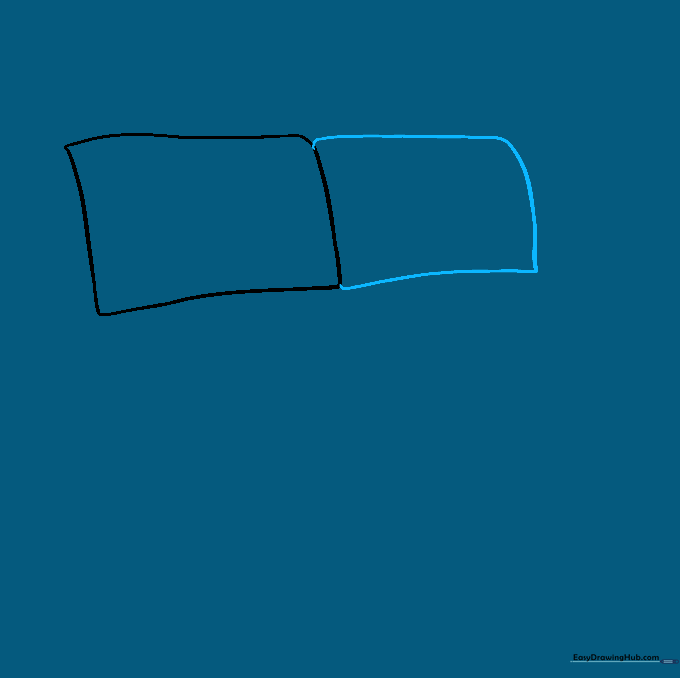
Draw a second rectangle right next to the first using three curved lines. Tip: Try to make the two cushions look like twins—similar in size and height.
Defining the Seat Cushions

Draw two rounded parallelograms beneath the back cushions. Tip: Imagine these are soft, squishy pillows where someone would sit.
Creating the Couch Arm
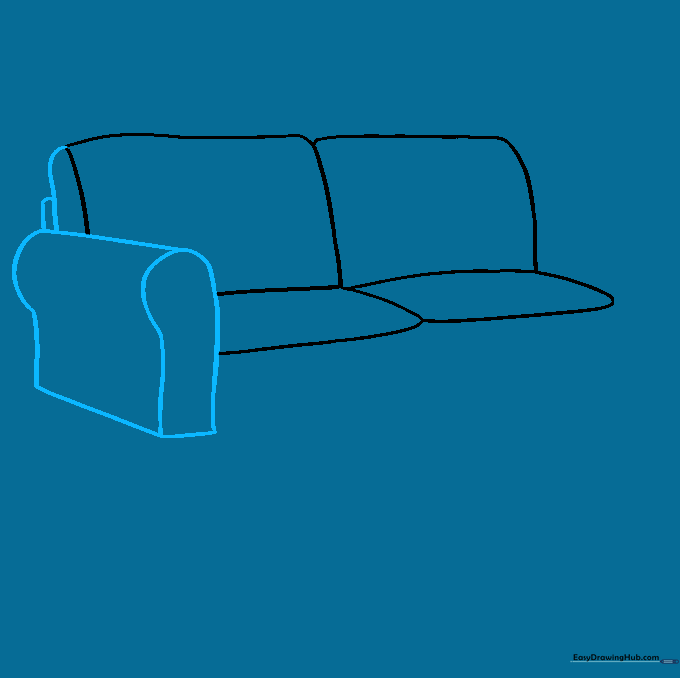
Erase a small section of the side to fit the armrest. Draw a rounded rectangle with a slight bulge at the top corner. Tip: Adding that little 'keyhole' shape at the front helps create the illusion of depth.
Drawing the Far Armrest
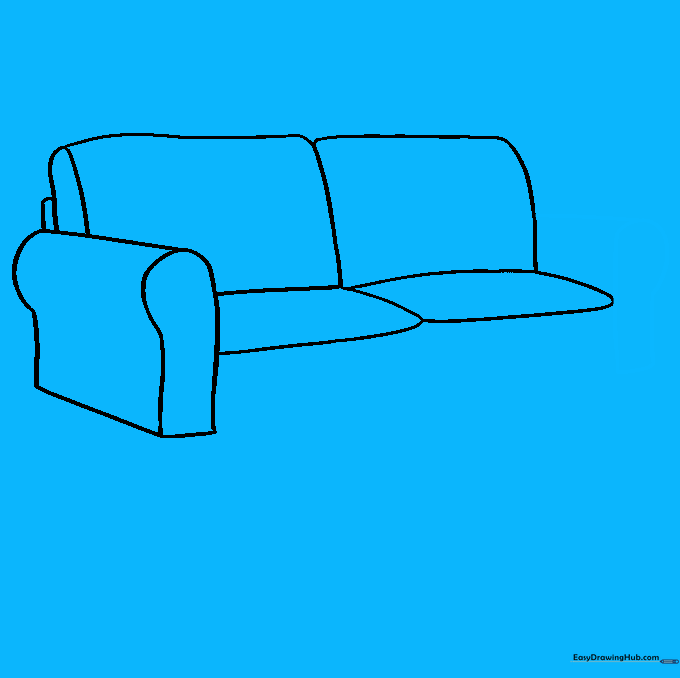
Outline a matching keyhole shape on the opposite side and connect it to the back cushion with a straight line. Tip: Keep this line clean to show the couch has a solid frame.
Adding Cushion Fronts
Draw narrow rectangles below the seat cushions. Tip: These lines define the thickness of the cushions, making your couch look comfy and realistic.
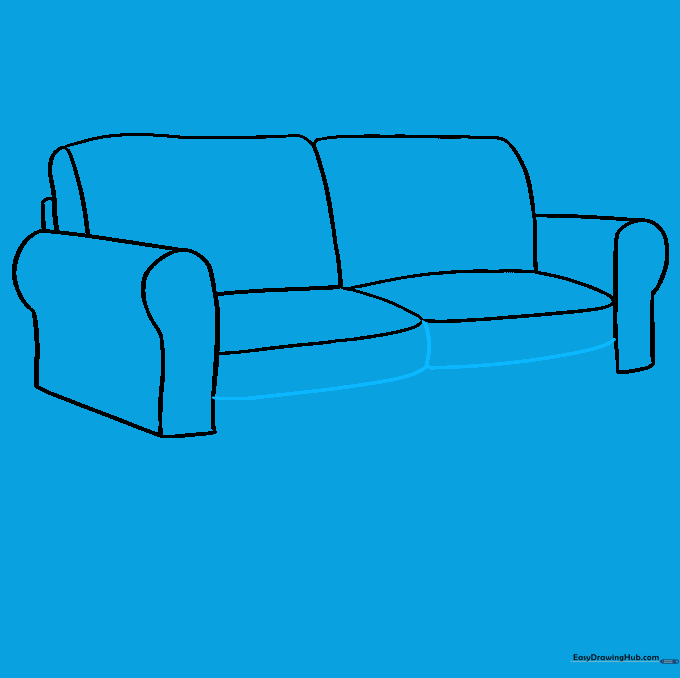
Sketching the Dust Ruffle

Draw a rectangular shape below the seat to represent the dust ruffle. Tip: Keep your lines smooth to make the fabric look soft and draped.
Completing the Couch Base

Add rectangles beneath the remaining cushions and arm. Connect the corners with short, curved lines. Tip: This step anchors your couch to the floor, making it look sturdy.
Adding Decorative Pillows
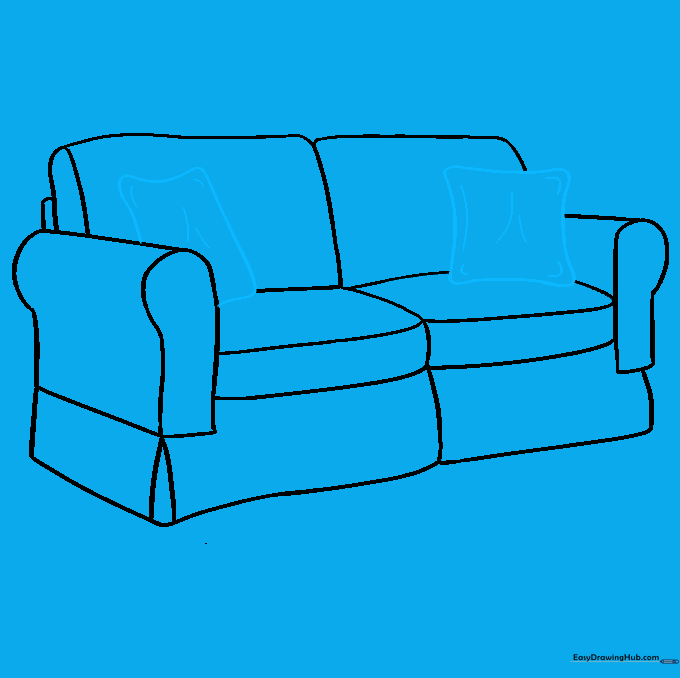
Draw rounded squares for throw pillows. Add small curved lines at the corners to show they are stuffed. Tip: Don't be afraid to erase overlapping lines to make the pillows look like they are sitting on top of the seat.
Coloring Your Creation

Bring your couch to life with color! Tip: Use patterns like polka dots or stripes to make your couch unique and match your imaginary living room.
More Tutorials


