How to Draw a Cosmos Flower: Easy 9-Step Guide
Bring a touch of nature to your sketchbook with this simple cosmos flower tutorial, perfect for artists ages 5 and up. All you need is a pencil, an eraser, and your favorite coloring supplies. Follow these steps to master drawing delicate petals and lacy leaves while building your confidence as an artist.
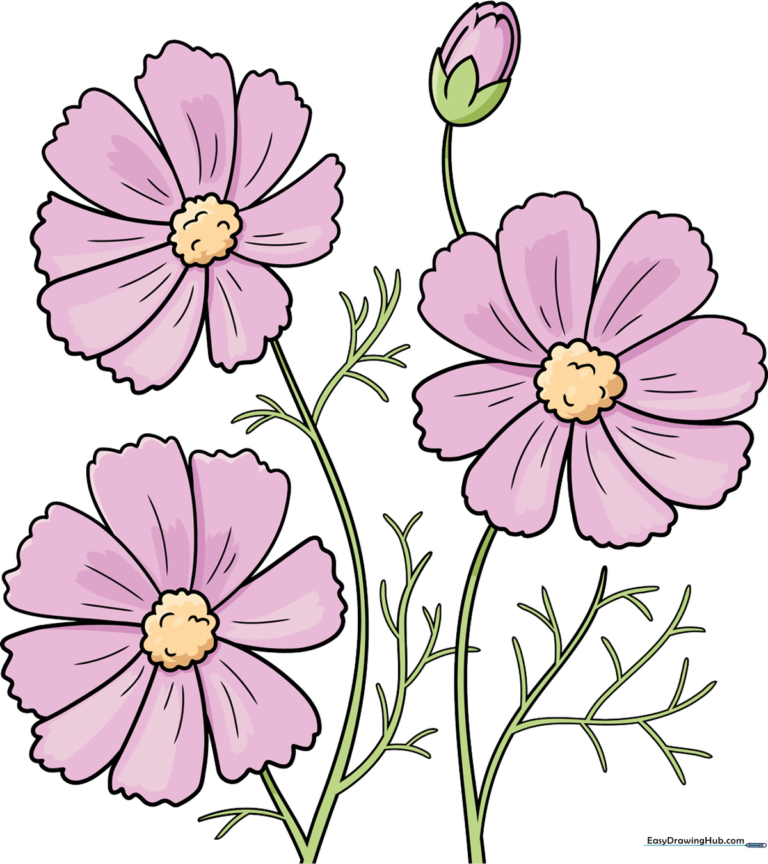
🎯 Final Result
Step-by-Step Instructions
Step 1: Sketching the Flower Center
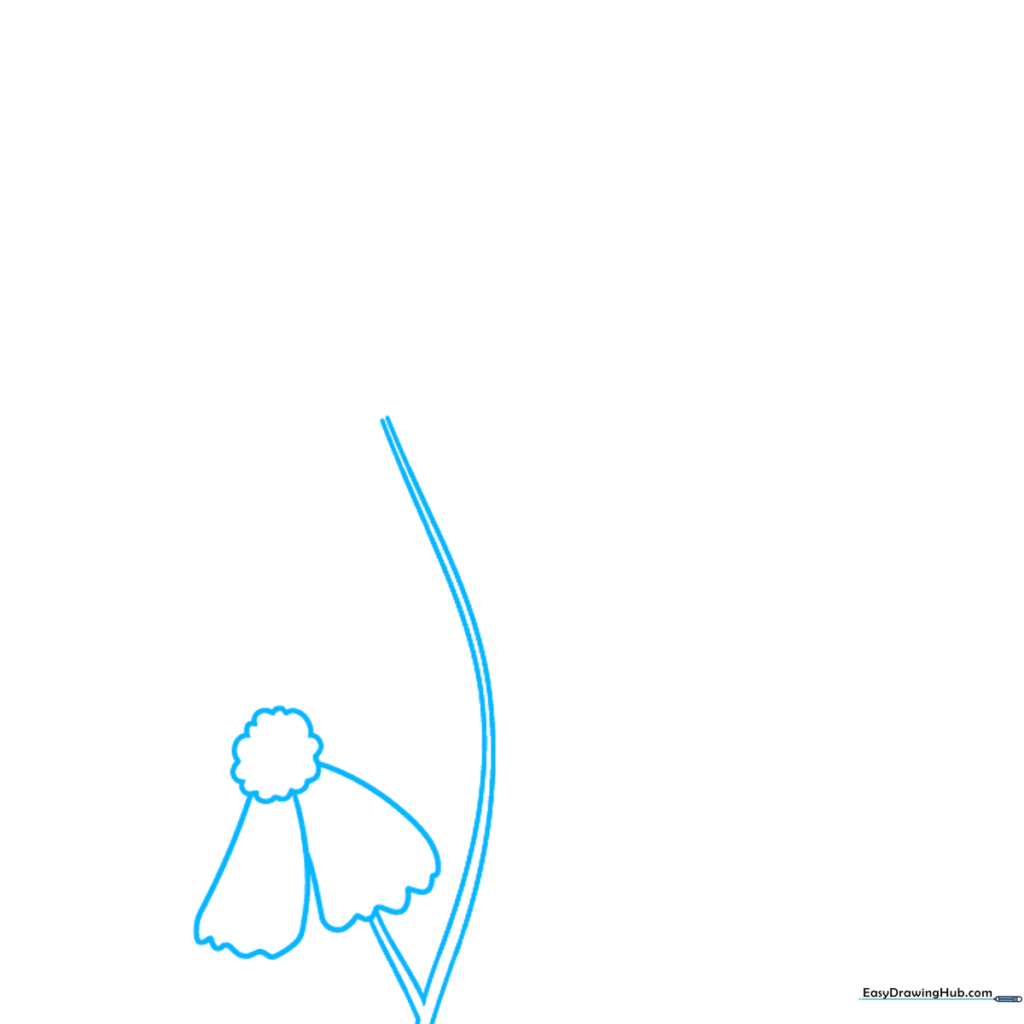
Start by drawing the fuzzy center of your first flower using small, connected 'U' shapes. Tip: Keep the circle roughly the size of a quarter to leave plenty of room for your petals.
Step 2: Adding the First Petals
Extend pairs of curved lines outward from the center to form the petals, connecting them with a gentle wavy line at the tip. Tip: Cosmos petals are slightly notched, so don't worry about making the wavy lines perfectly smooth.
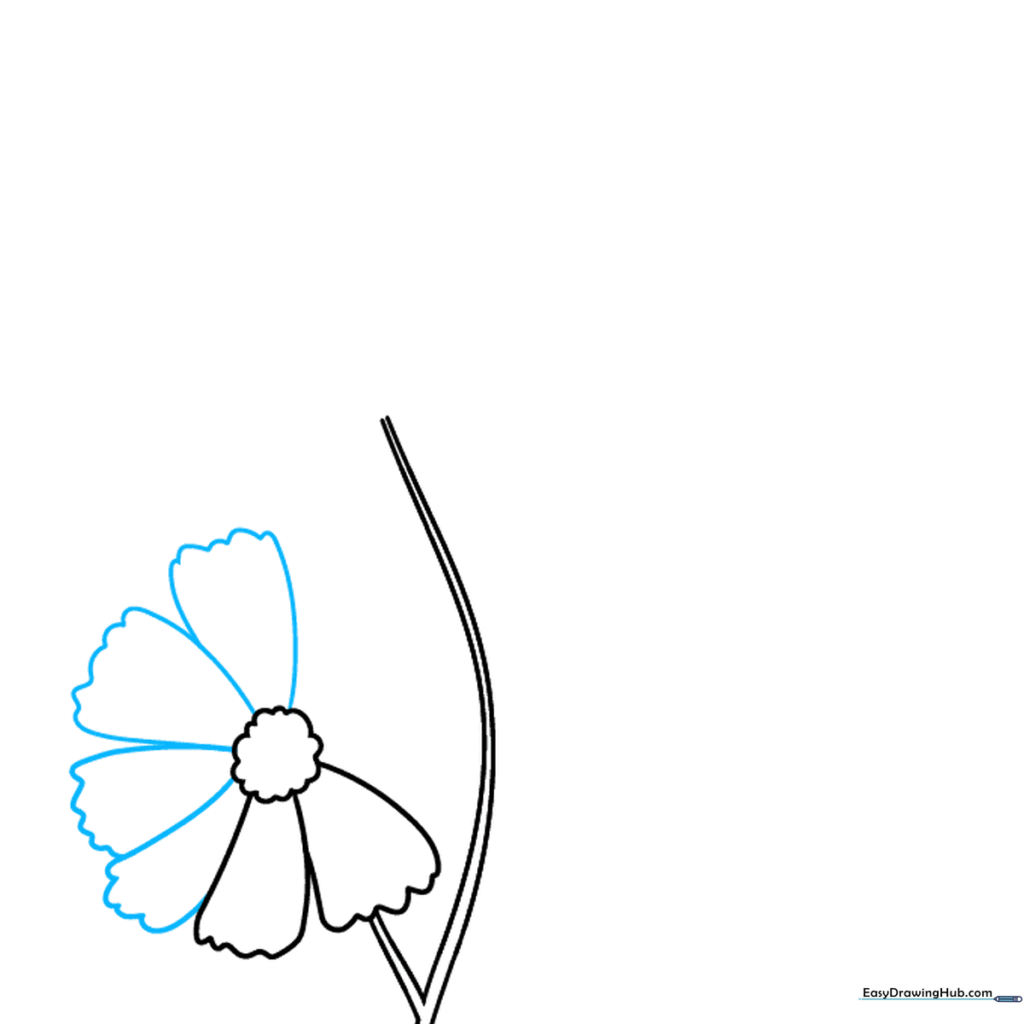
Step 3: Completing the First Bloom

Continue adding petals around the entire center until the flower is full. Then, draw a 'V' shaped stem extending downward. Tip: Vary the length of your petals to make the flower look more natural.
Step 4: Adding a Second Flower
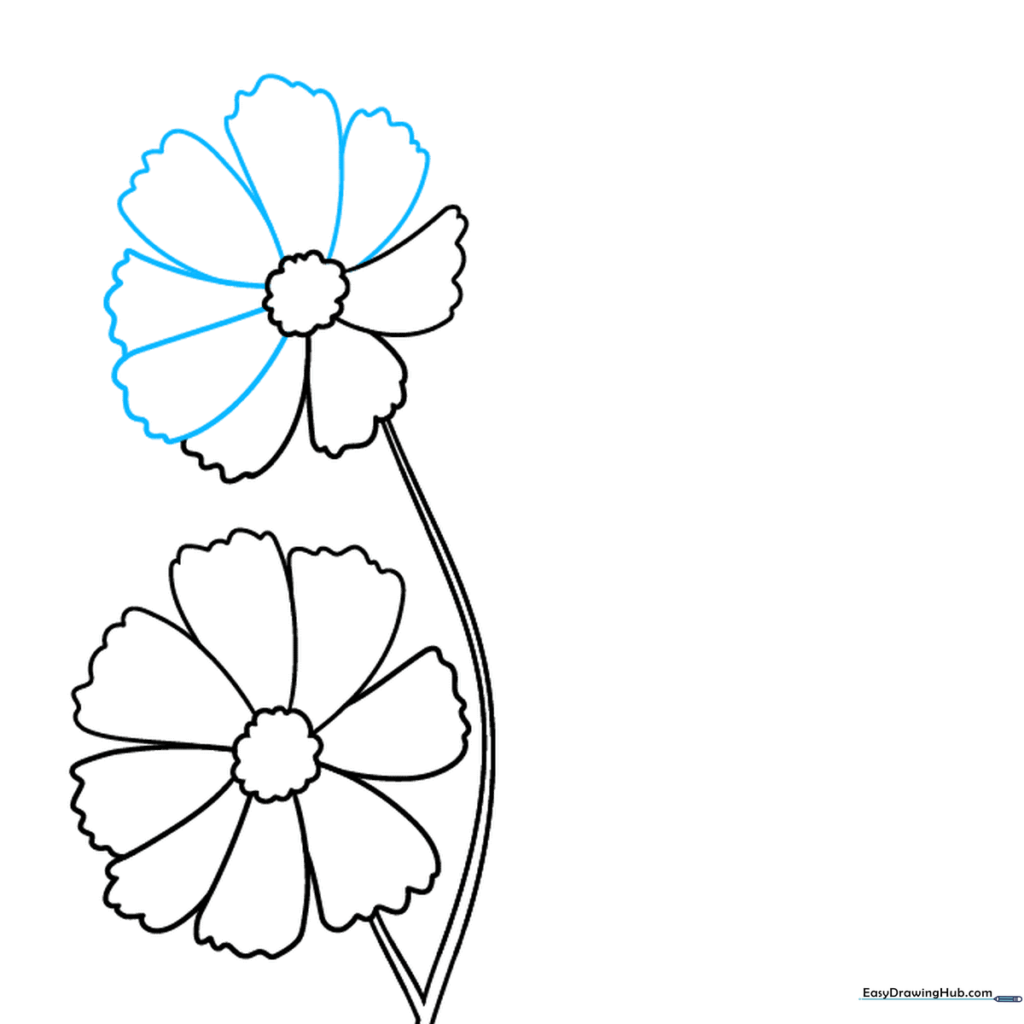
Draw a second flower head at the top of your stem using the same circular center and petal technique. Tip: Try overlapping a few petals to give your drawing depth.
Step 5: Adding the Third Bloom
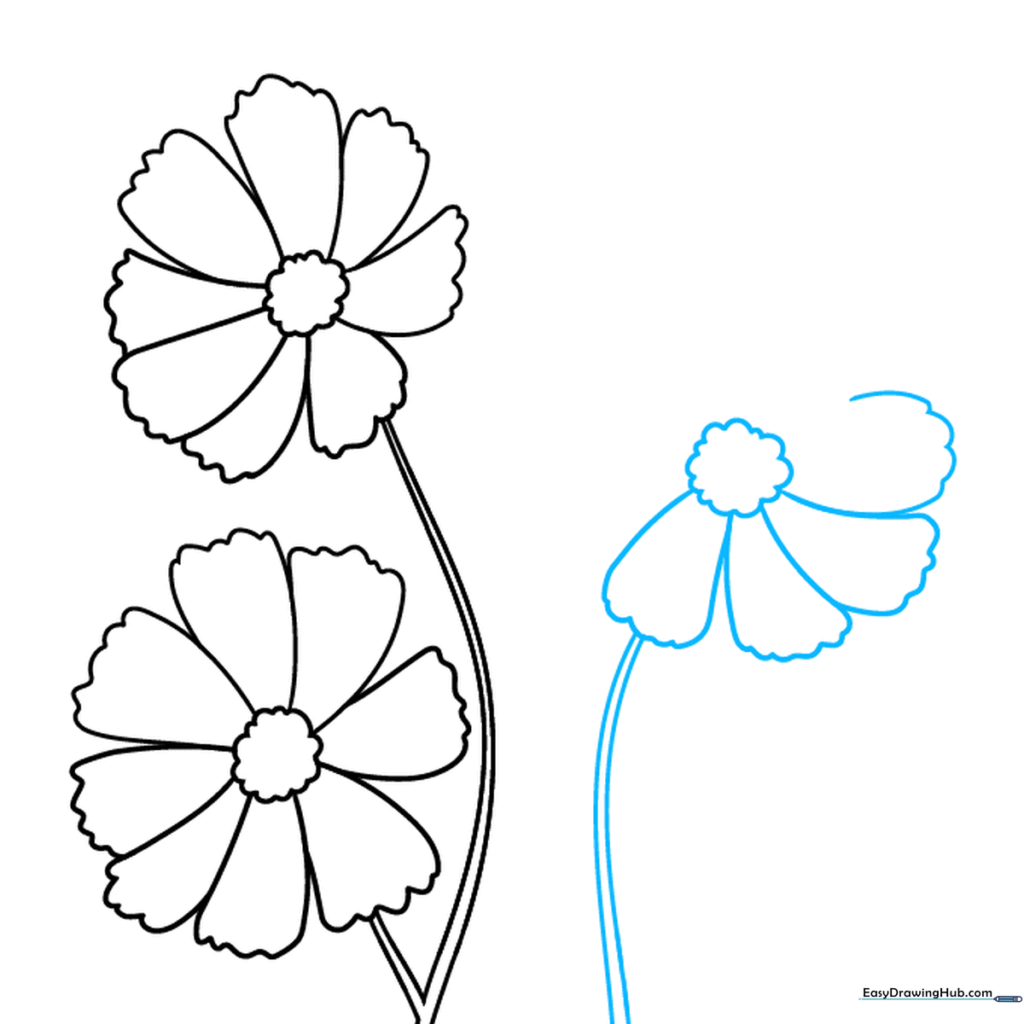
Add a third stem and flower head to your composition. Tip: Position this one slightly lower to create a balanced, asymmetrical look.
Step 6: Sketching Lacy Leaves
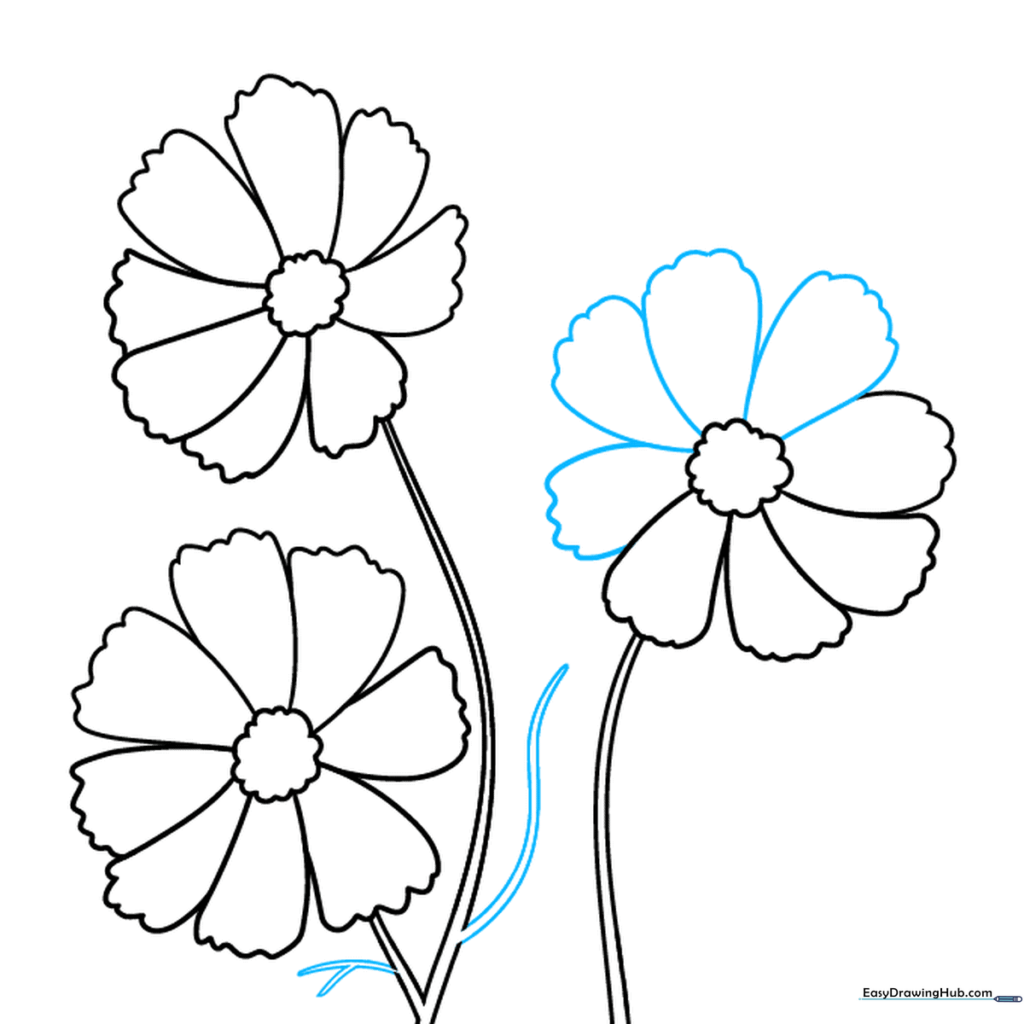
Cosmos leaves are thin and feathery. Draw pairs of curved lines branching off the stems, creating 'Y' shapes. Tip: Use quick, light strokes to keep the leaves looking delicate.
Step 7: Filling in the Foliage
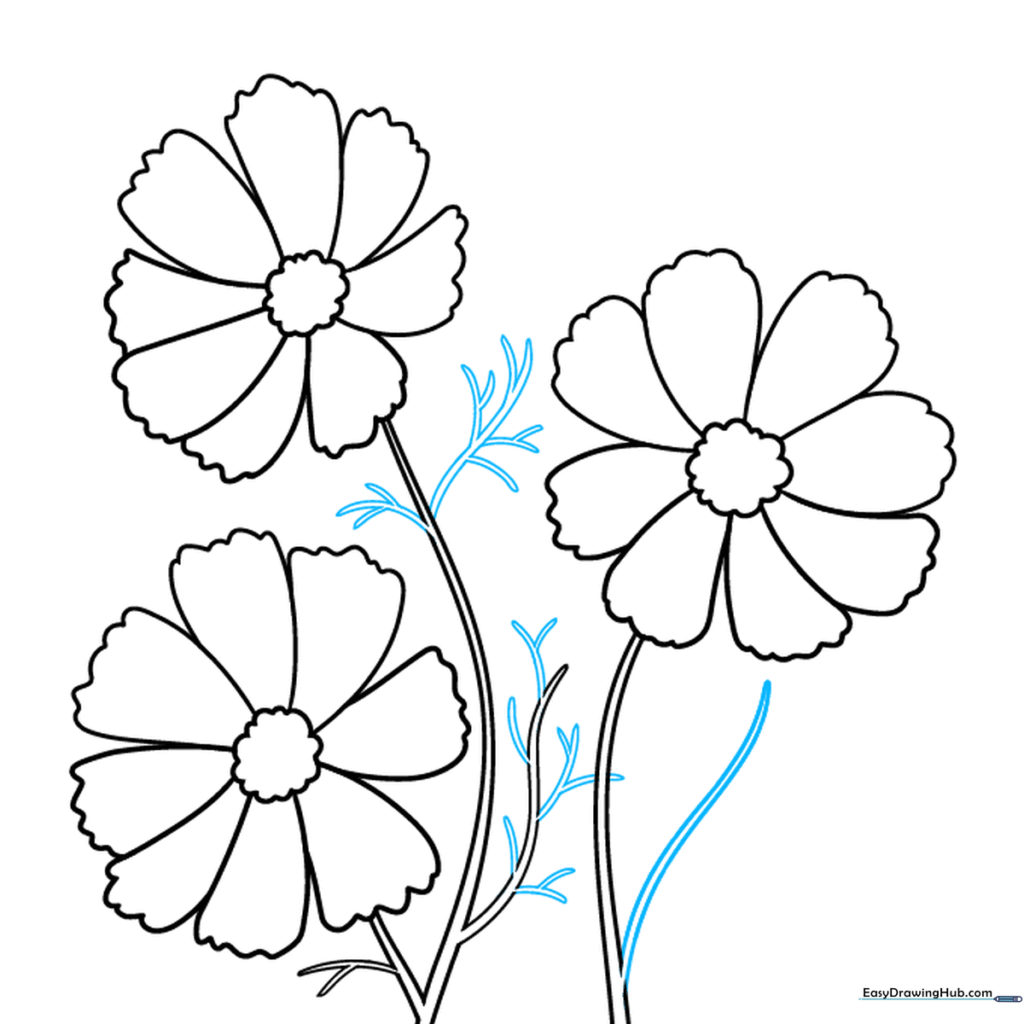
Add more 'Y' shaped branches along the stems to fill out your drawing. Tip: Don't make the leaves too symmetrical; nature is delightfully messy!
Step 8: Adding an Unopened Bud
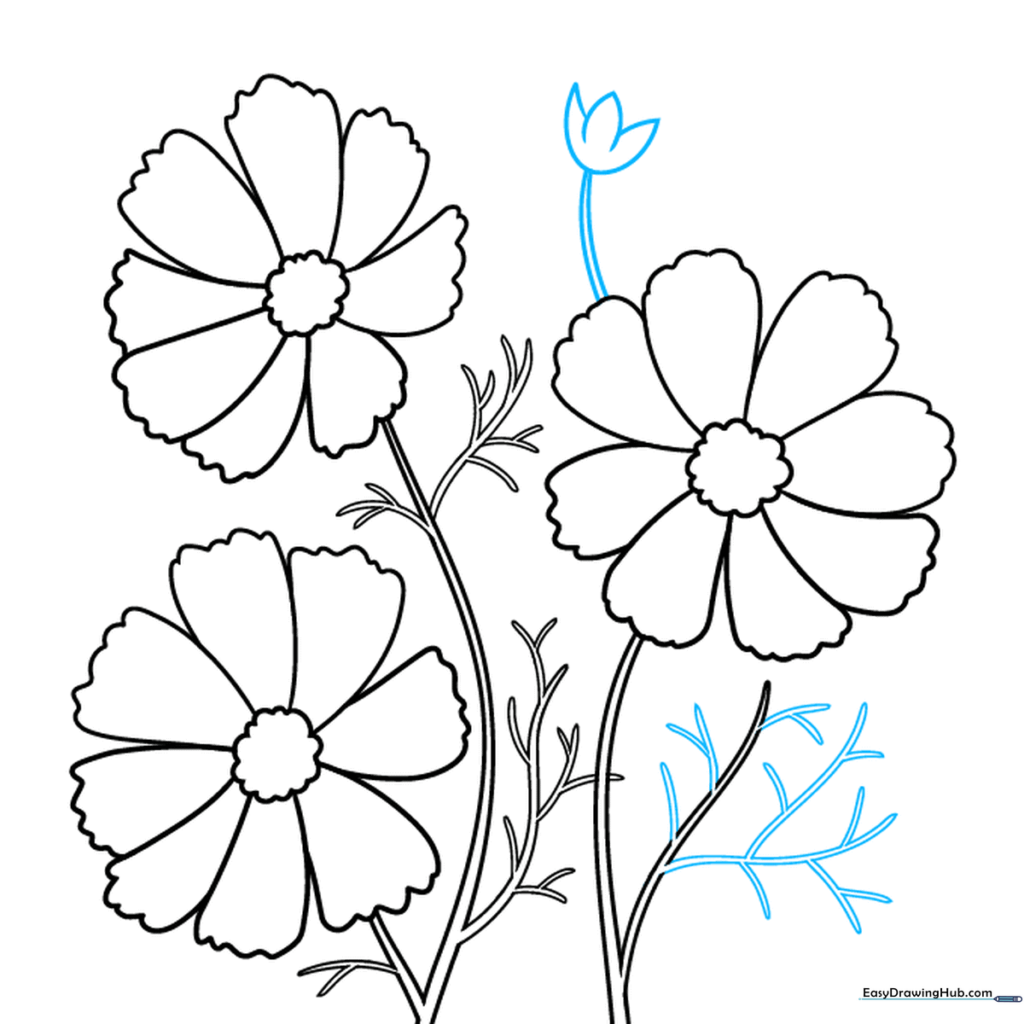
Draw a small tulip-like shape at the end of a new stem to represent an unopened bud. Tip: This adds a realistic touch to your floral arrangement.
Step 9: Final Details

Add small 'U' shapes to the centers of the flowers for texture and refine your petal edges. Erase any extra guidelines. Tip: Use a darker pencil to go over your final lines for a clean, professional finish.
Step 10: Color Your Masterpiece
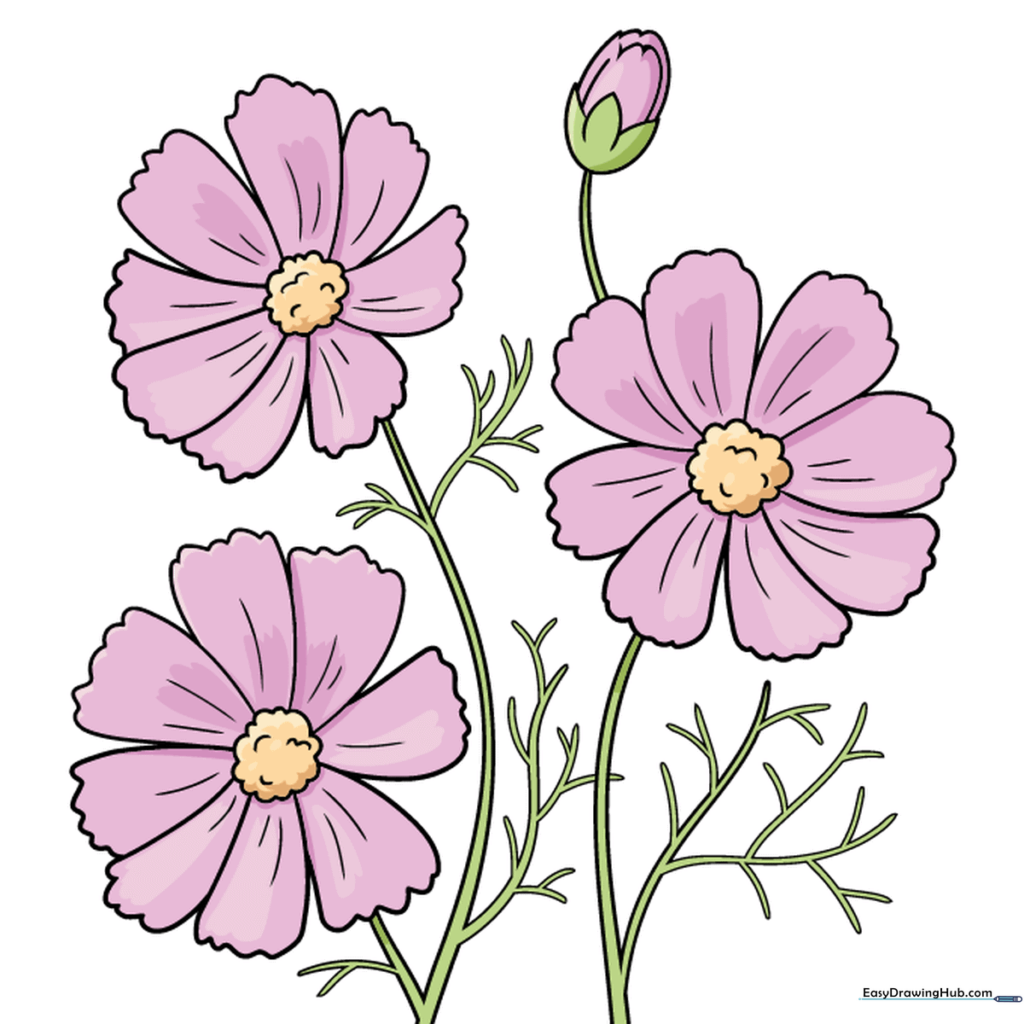
Bring your cosmos to life! Use warm pinks, purples, or oranges for the petals and bright yellow for the centers. Tip: Add a little darker shade near the center of the petals to create a beautiful gradient effect.
More Tutorials


