How to Draw a Corgi: Easy 10-Step Guide for Kids
Ready to bring a fluffy Corgi to life? This tutorial is perfect for young artists ages 6+ looking to master cartoon proportions. Grab a pencil, an eraser, and your favorite markers to follow along as we build this adorable pup from simple shapes to a finished masterpiece.
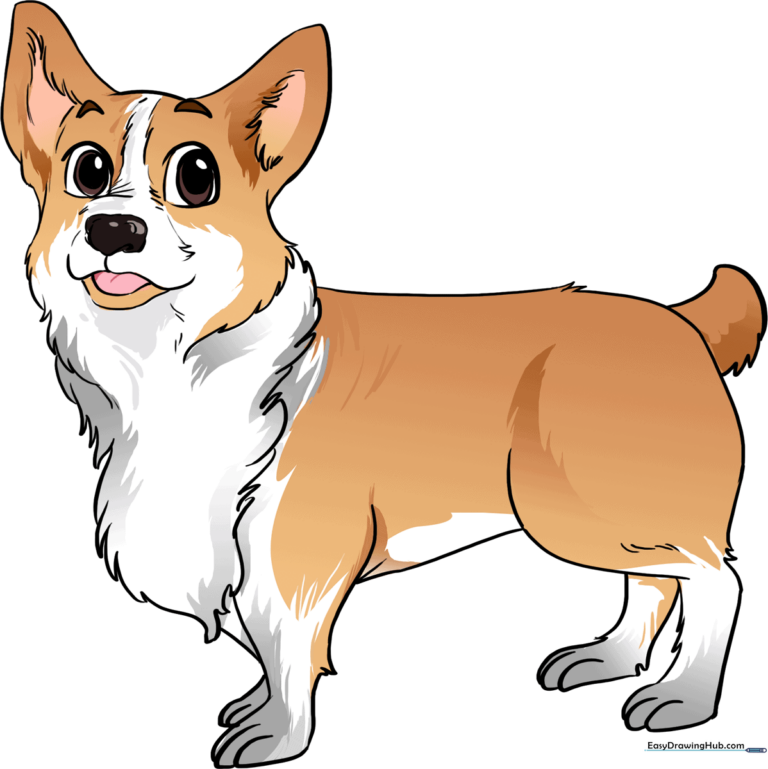
🎯 Final Result
Step-by-Step Instructions
Step 1: Sketching the Head Base

Draw a light circle to serve as the foundation for the head. Teacher's Tip: Keep your pencil pressure very light here so you can easily erase these guidelines once the face is finished.
Step 2: Defining the Snout

Sketch the snout using soft, curved lines for the nose and open mouth. Add tiny, jagged lines where the snout meets the face to mimic soft fur texture.
Step 3: Adding Ears and Ruff
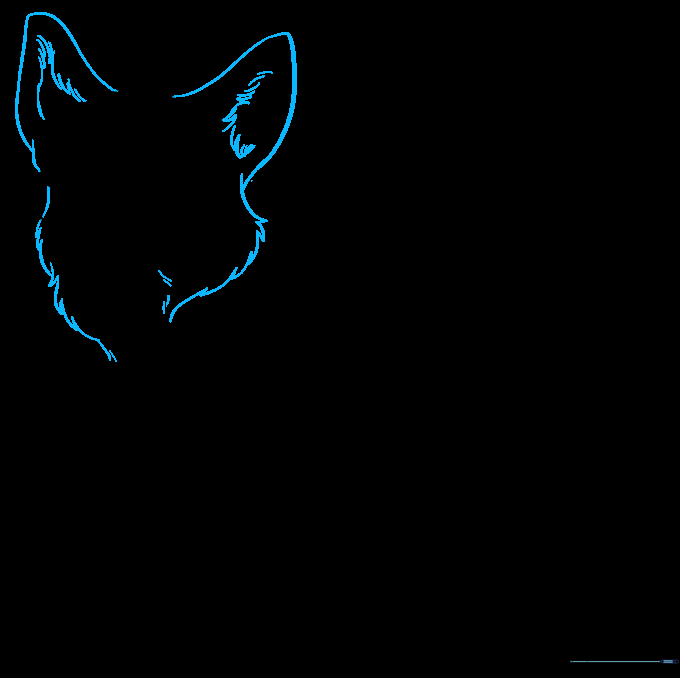
Draw two rounded triangles for the ears and use overlapping curved lines to create the fluffy neck ruff. Tip: Corgis have large, expressive ears—don't be afraid to make them nice and tall!
Step 4: Cleaning the Guidelines

Gently erase the original circle from Step 1. You should now have a clean, clear outline of your Corgi's head and neck.
Step 5: Facial Features
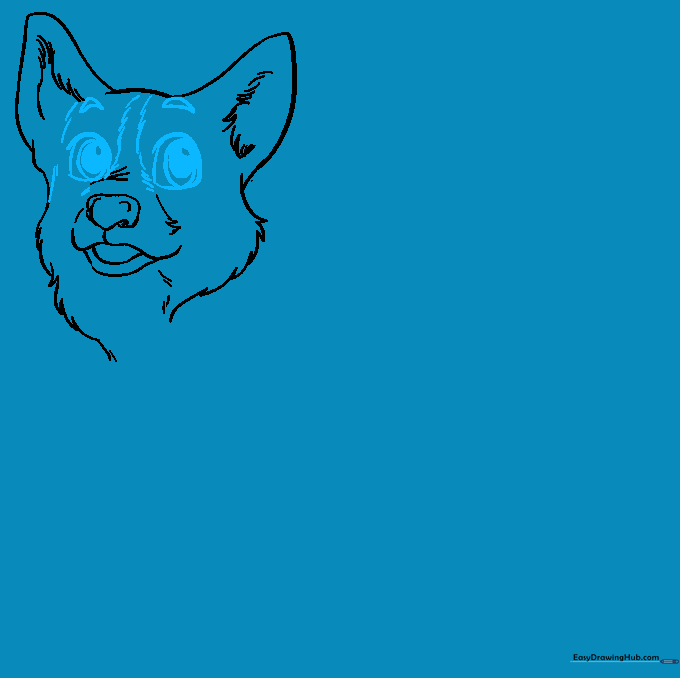
Draw the eyes using thick curved lines, adding smaller ovals inside for pupils. Add small curved 'eyebrows' above the eyes and a stripe running down the center of the face to the nose.
Step 6: Drawing the Chest
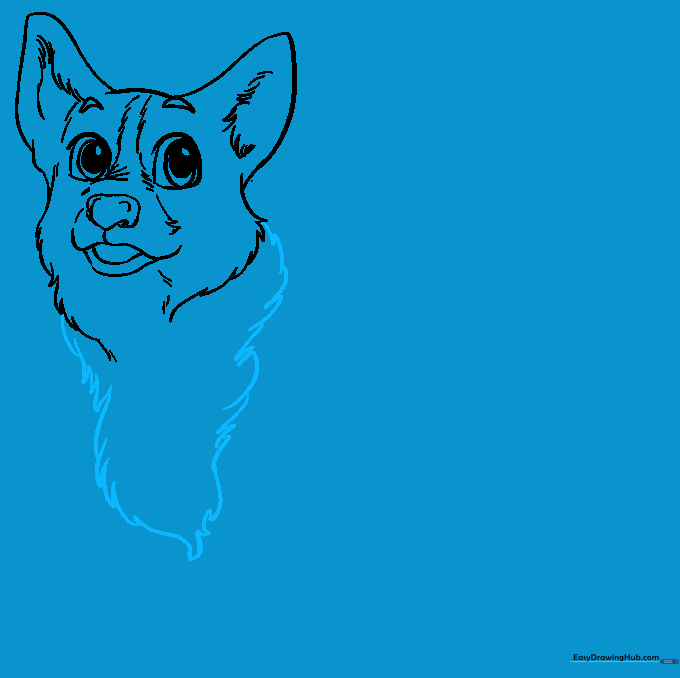
Create the chest using short, overlapping strokes that meet at points to form an inverted triangle. This gives your Corgi that signature fluffy look.
Step 7: Front Legs and Paws
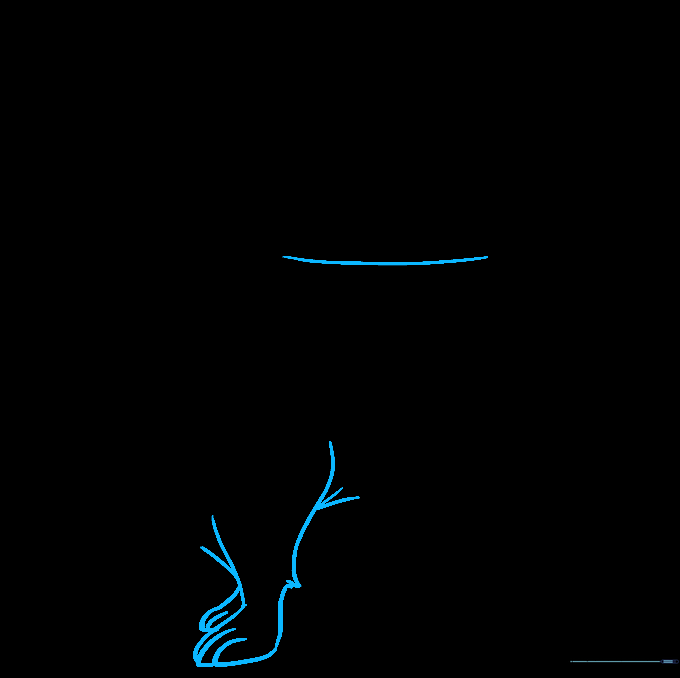
Draw the back line and the front legs. Use overlapping curves for the paws. Tip: Corgis have short, sturdy legs, so keep them relatively thick.
Step 8: Belly and Hind Legs

Outline the belly, hip, and rump with smooth curves. Add the hind legs using parallel lines, finishing with rounded paws.
Step 9: Adding the Tail

Draw a small, fluffy tail. Use a smooth curve for the top and jagged, short lines for the underside to show off that thick fur.
Step 10: Bring Your Corgi to Life with Color
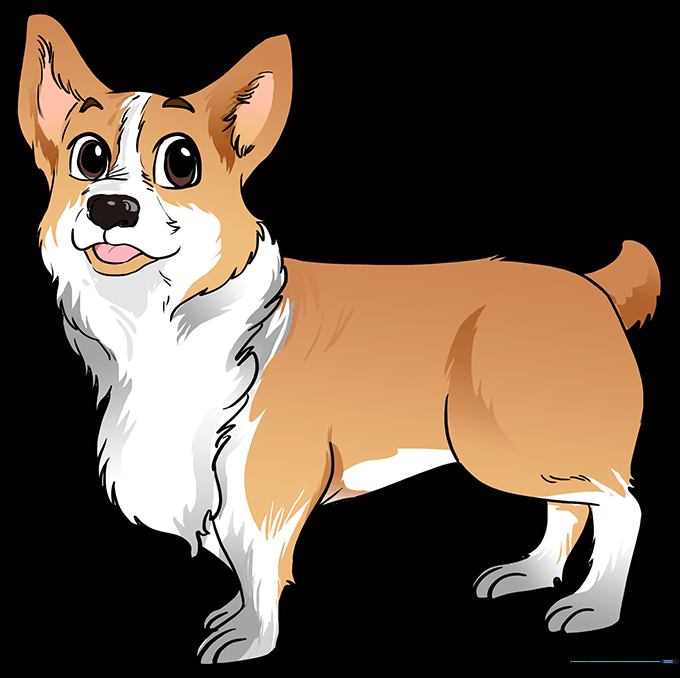
Time to color! Use warm tones like red, golden-brown, or black for the coat, and keep the chest and face markings white for that classic Corgi look.
More Tutorials


