How to Draw a Converse Shoe: Easy 10-Step Guide
Ready to design your own footwear? This tutorial is perfect for young artists ages 6+ who want to learn how to draw a classic high-top sneaker. You will only need a pencil, an eraser, and a piece of paper to get started. Follow along to practice basic shapes and perspective while creating a cool, customizable shoe design.
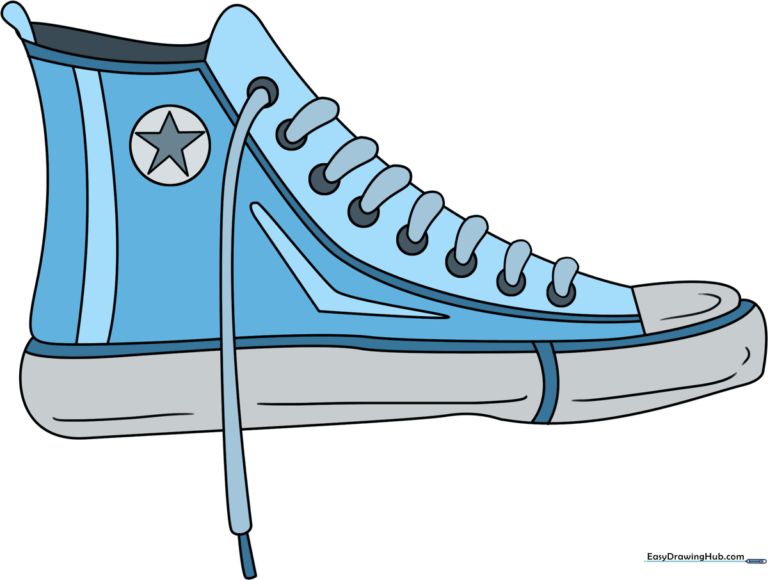
🎯 Final Result
Step-by-Step Instructions
Step 1: Sketching the Base Shape
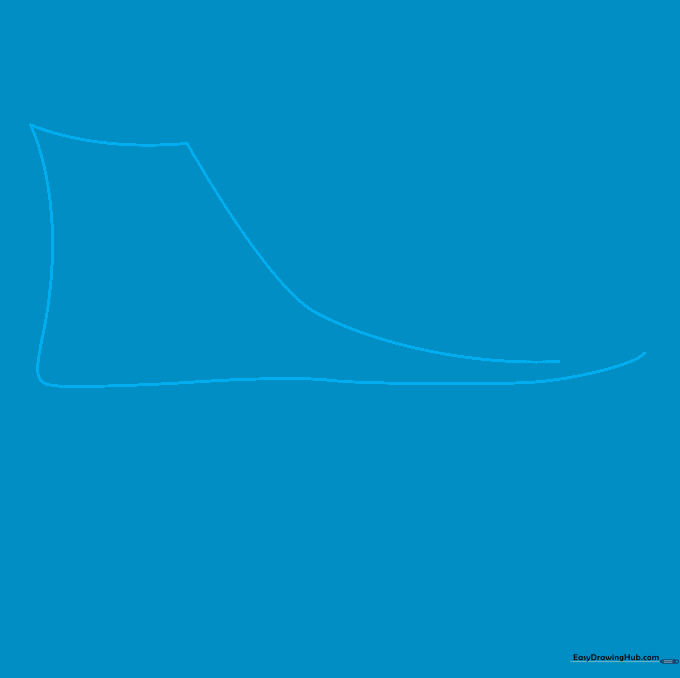
Use light, sweeping curved lines to outline the main body of the shoe. It should look like a rounded rectangle with one corner left open. Teacher's Tip: Keep your pencil pressure very light here so you can easily adjust the proportions later.
Step 2: Defining the Toe Cap
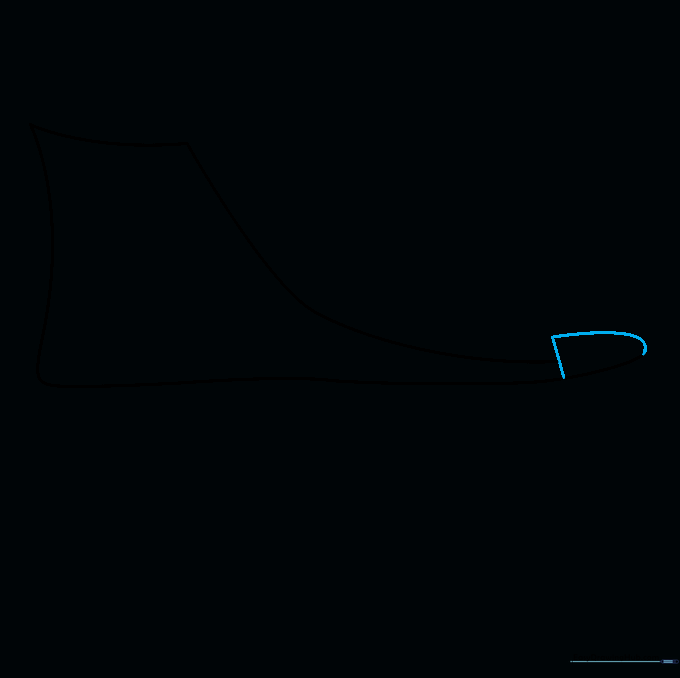
Draw a smooth dome shape at the front of the shoe to create the toe cap. Connect it to the main body using a short straight line and a long curve. Teacher's Tip: Think of this as the 'nose' of your shoe—keep it rounded to make it look realistic.
Step 3: Sketching the Tongue
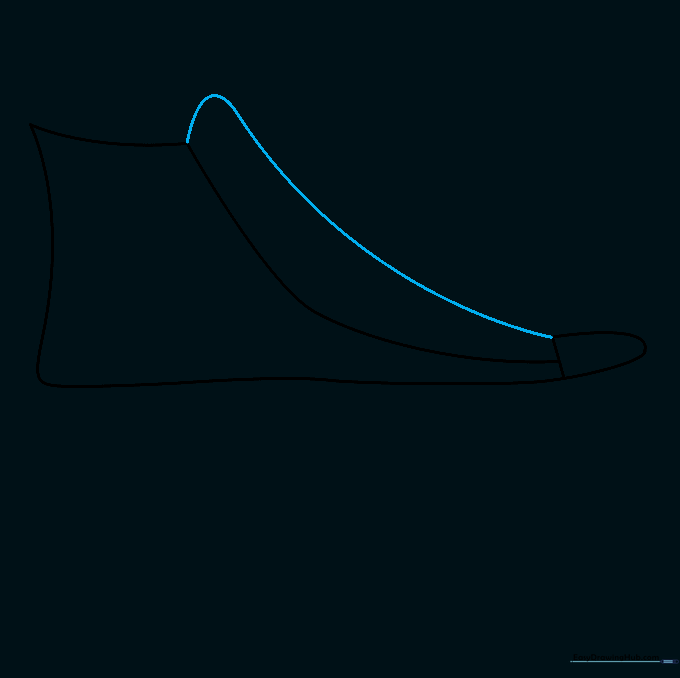
Draw a long, graceful curved line from the top side of the shoe down to the toe cap. This defines the tongue and the vamp area. Teacher's Tip: Use a fluid motion with your wrist to get a natural, smooth curve.
Step 4: Adding Lining and Stitching
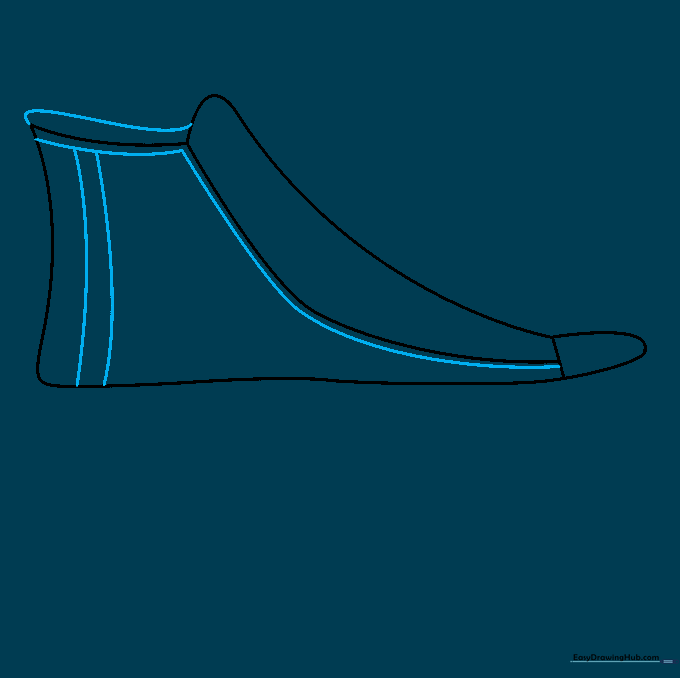
Draw a curved line inside the opening to show the inner lining. Then, add parallel lines along the tongue and side to represent the classic double stitching. Teacher's Tip: Keep your stitching lines close together to make them look like real thread.
Step 5: Drawing the Sole

Draw a long, sweeping curved line from the heel to the toe to form the outer sole. Add smaller curved lines across the sole for texture. Teacher's Tip: The sole is the foundation of the shoe, so make sure it looks thick and sturdy.
Step 6: Placing the Eyelets
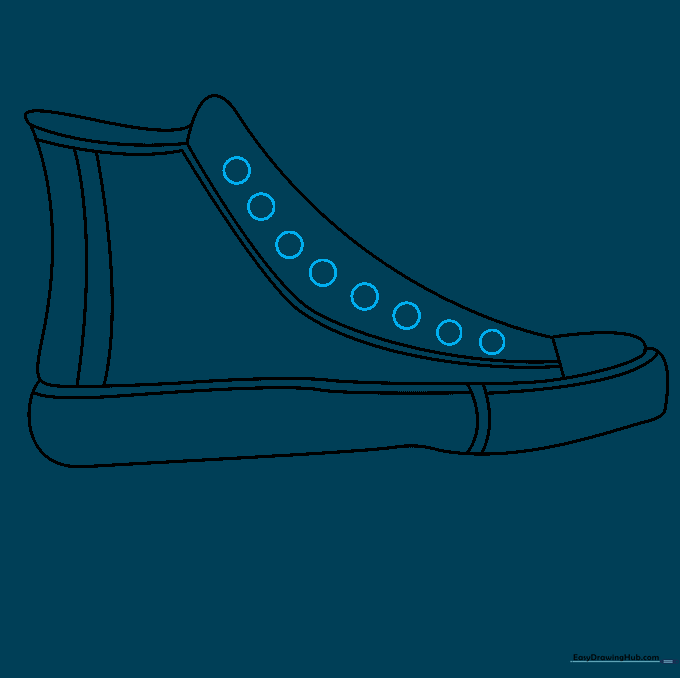
Draw a series of small, evenly spaced circles along the side of the tongue area. These are the eyelets for the laces. Teacher's Tip: Try to keep them in a straight line to make your drawing look professional.
Step 7: Sketching the Laces
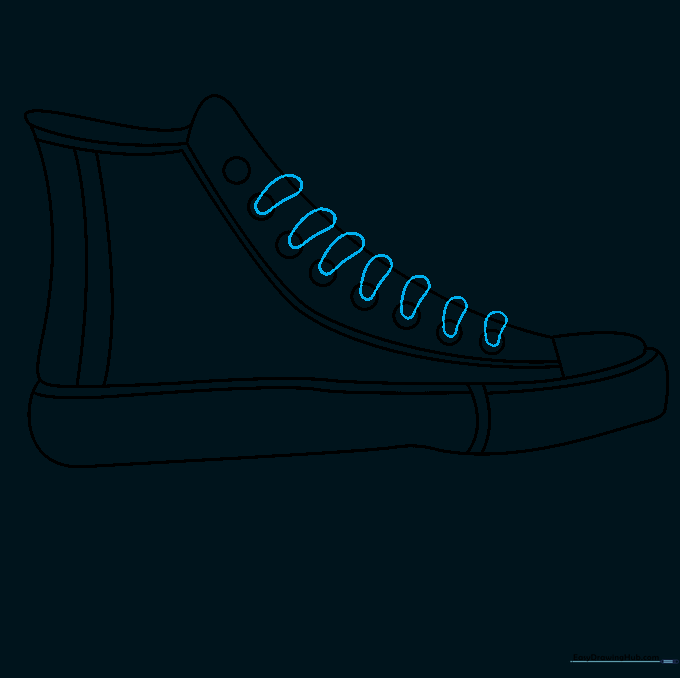
Enclose irregular, overlapping shapes over the eyelets to represent the laces. Teacher's Tip: Don't worry about making them perfect; laces are naturally bunched and messy!
Step 8: Adding Untied Laces
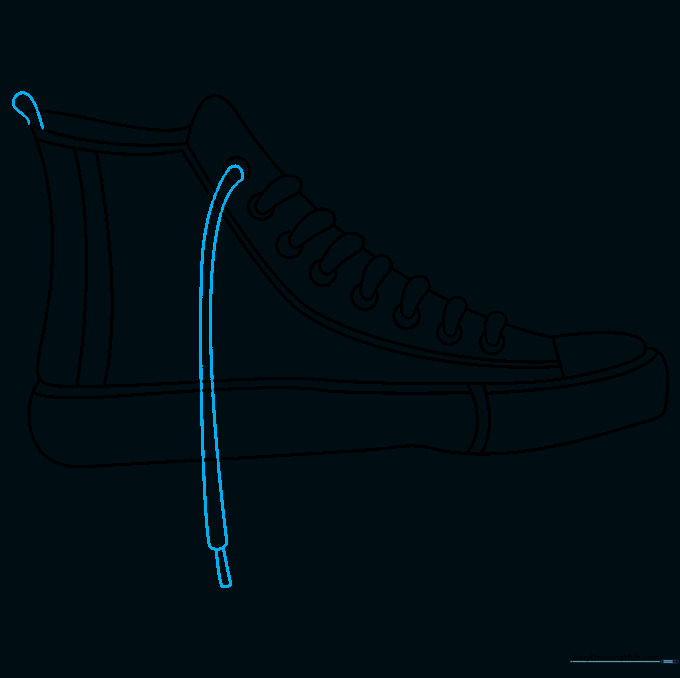
Extend two long curved lines from the top eyelet to show an untied lace hanging down. Add a small shape at the back for the heel liner. Teacher's Tip: Use a light touch to show the 'flow' of the loose lace.
Step 9: Final Details and Logo
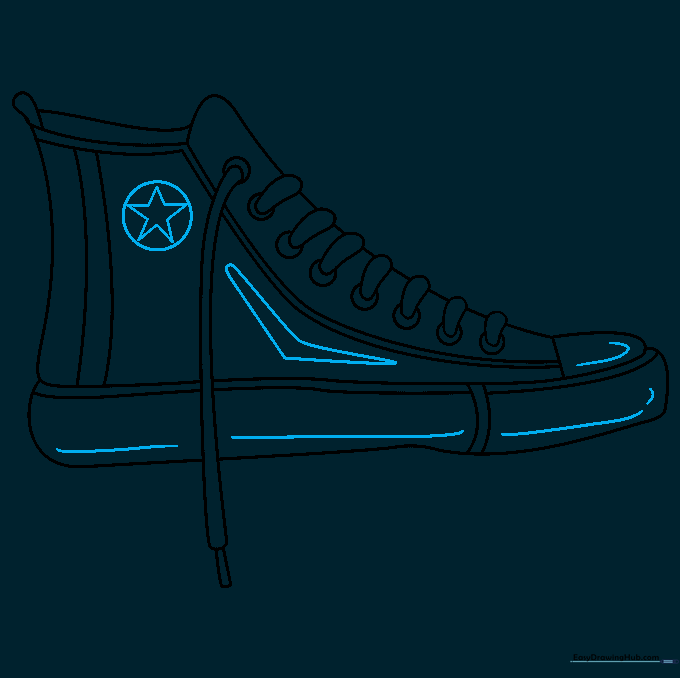
Draw a circle on the side with a five-pointed star inside for the brand logo. Add a boomerang-shaped detail below the laces and refine the toe texture. Teacher's Tip: If the star is tricky, draw a small 'X' first to help you space the points evenly.
Step 10: Bring Your Shoe to Life with Color
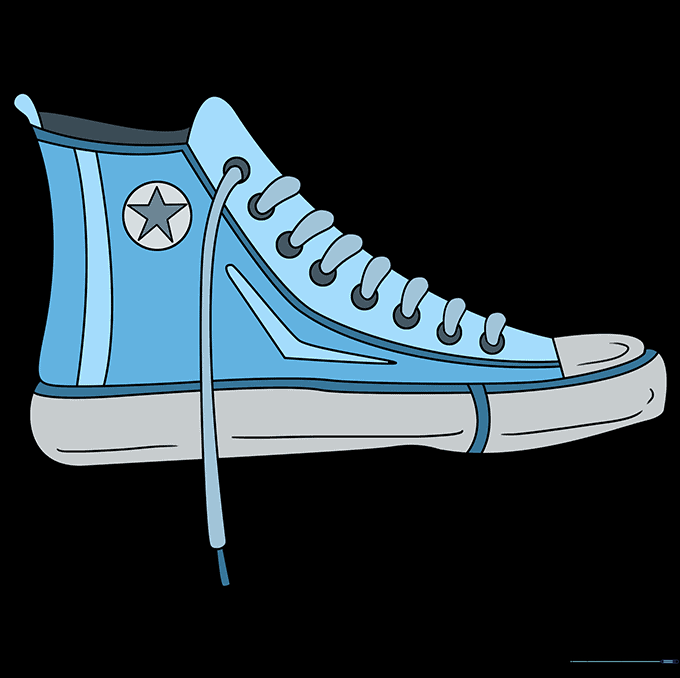
Time to get creative! Use your favorite markers or colored pencils to fill in your sneaker. Teacher's Tip: Try using bright, bold colors for the canvas and keep the sole and toe cap a clean, crisp white.
More Tutorials


